How to Prepare for — and Everything You Need to Know Before — Having the Exterior of Your Historic House Painted


Painting the exterior of a historic home is not like painting any other house. Here’s what you need to know before the first brush ever hits the wood.
If you own a historic home, you already know that almost everything about maintaining it is a little more complicated, a little more expensive, and a whole lot more rewarding than a standard house. Painting the exterior is no exception. After years of owning, renovating, and watching historic homes get painted — sometimes well, sometimes not — I’ve learned a lot of hard lessons so you don’t have to.
Whether your home is on the National Register, located in a local historic district, or simply a beautiful old house with good bones and original windows, this is for you. And if you’re newer to old house ownership and want a broader roadmap, my Old House Renovation Guide is a great place to start.
Choosing a Painter
First, Know This: Not Every Painter Wants the Job
Let’s start with something most people don’t realize: many painters don’t love painting old houses — especially historic ones. The prep work is tedious, time-consuming, and often requires a level of patience and craftsmanship that not every crew has. A historic home with original wood siding, intricate trim, and layers of old paint is a completely different animal than a new construction or a vinyl-clad ranch.
This is important context for everything that follows. Finding the right painter — one who wants this work and knows how to do it well — is just as important as any of the prep steps below.
Understand the Levels of Service — and Choose Wisely
Before you get a single quote, you need to know what you’re asking for. Paint prep on a historic home generally falls into three tiers:
- Low Level: Minimal prep work, then paint. Quick and cheap — and it will peel faster. The less prep, the quicker it peels. Full stop.
- Medium Level: Scrape and sand, add new glazing to windows as needed, prime, then paint. This is the most common middle-ground approach and, done well, can yield a solid result.
- High Level: Scrape and sand down to bare wood, address any rot or wood damage, restore windows, prime, then paint. This is the gold standard for historic preservation — and the investment shows in how long the paint job lasts.
Also don’t forget that caulking is part of prep. Make sure the scope of work includes re-caulking around windows, doors, and trim as needed. Gaps are where water gets in, and water is the enemy.
Be very explicit with your painter about which level you expect, and get it in writing. Vague agreements about “good prep” mean different things to different people.
Do Your Research and Hire Someone Who Cares
I’ll say it plainly: it takes a special kind of painter to do a historic home right. Very few are willing to put in the tedious, time-consuming prep work that makes a paint job last 8–12 years instead of 3–4.
Here’s how to find one:
- Ask for referrals specifically from other historic homeowners, your local preservation society, or a historic district commission
- Go drive by their past work — ideally jobs they did 3–5 years ago — and look at how the paint is holding up. Is it peeling? Are the window sashes showing wear? The proof is in the aging.
- Ask about their lead paint certification, their prep process, and what products they use and why
- Get everything in writing — scope of work, prep level, number of coats, specific products, timeline, and cleanup expectations
A great painter will welcome these questions. Someone who gets defensive or vague is telling you something.
Colors, Sheens, and Historical Accuracy
This is the fun part — but it comes with decisions to make.
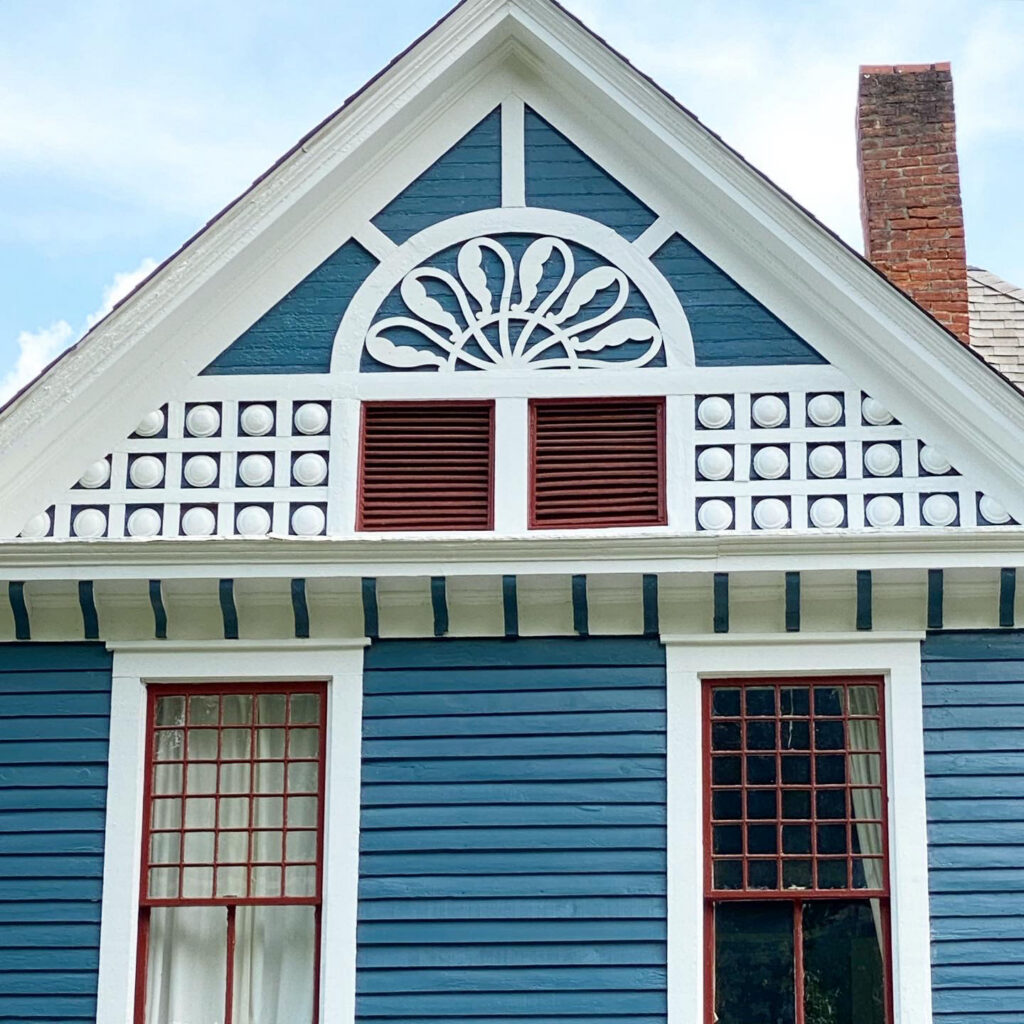
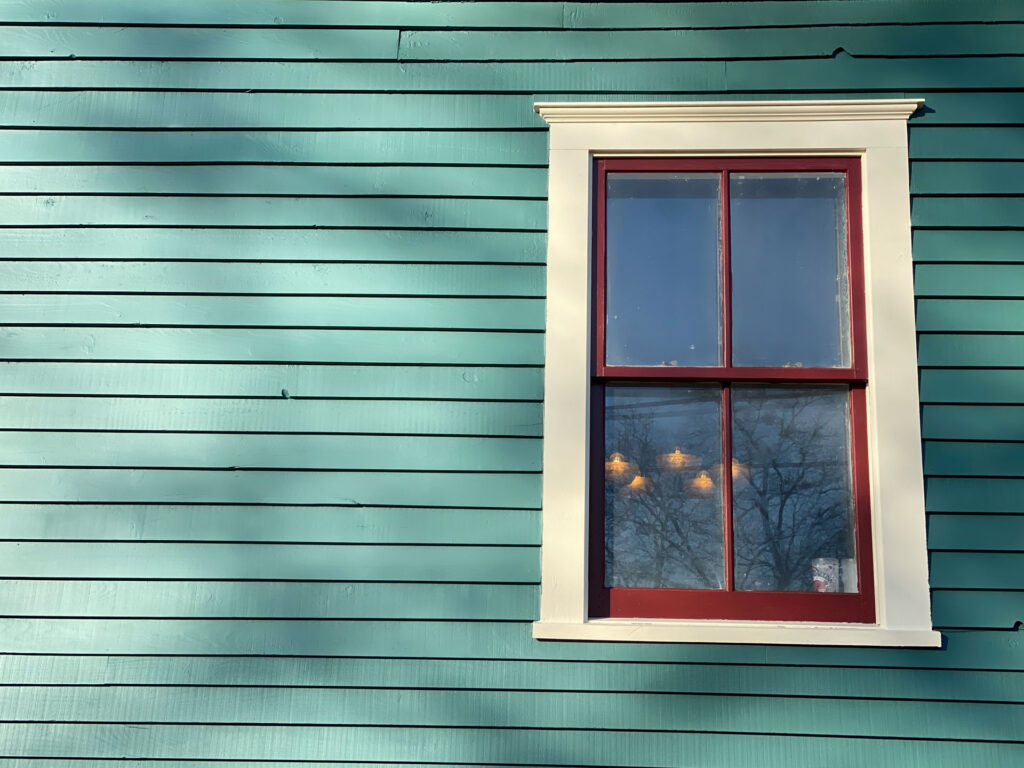
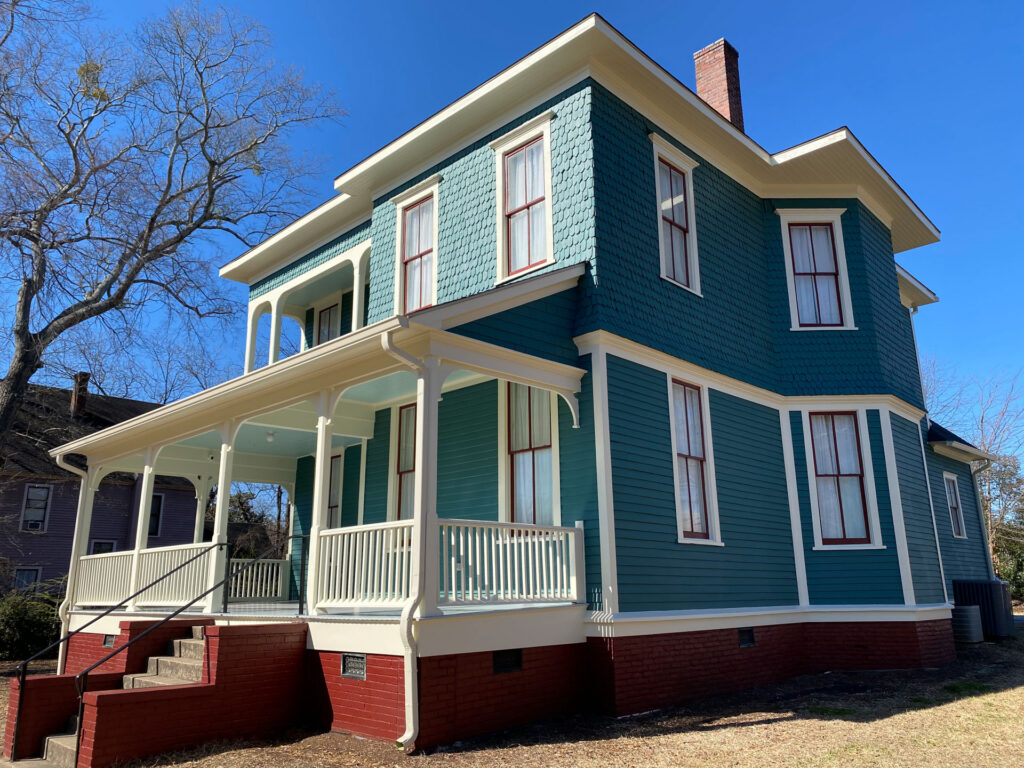
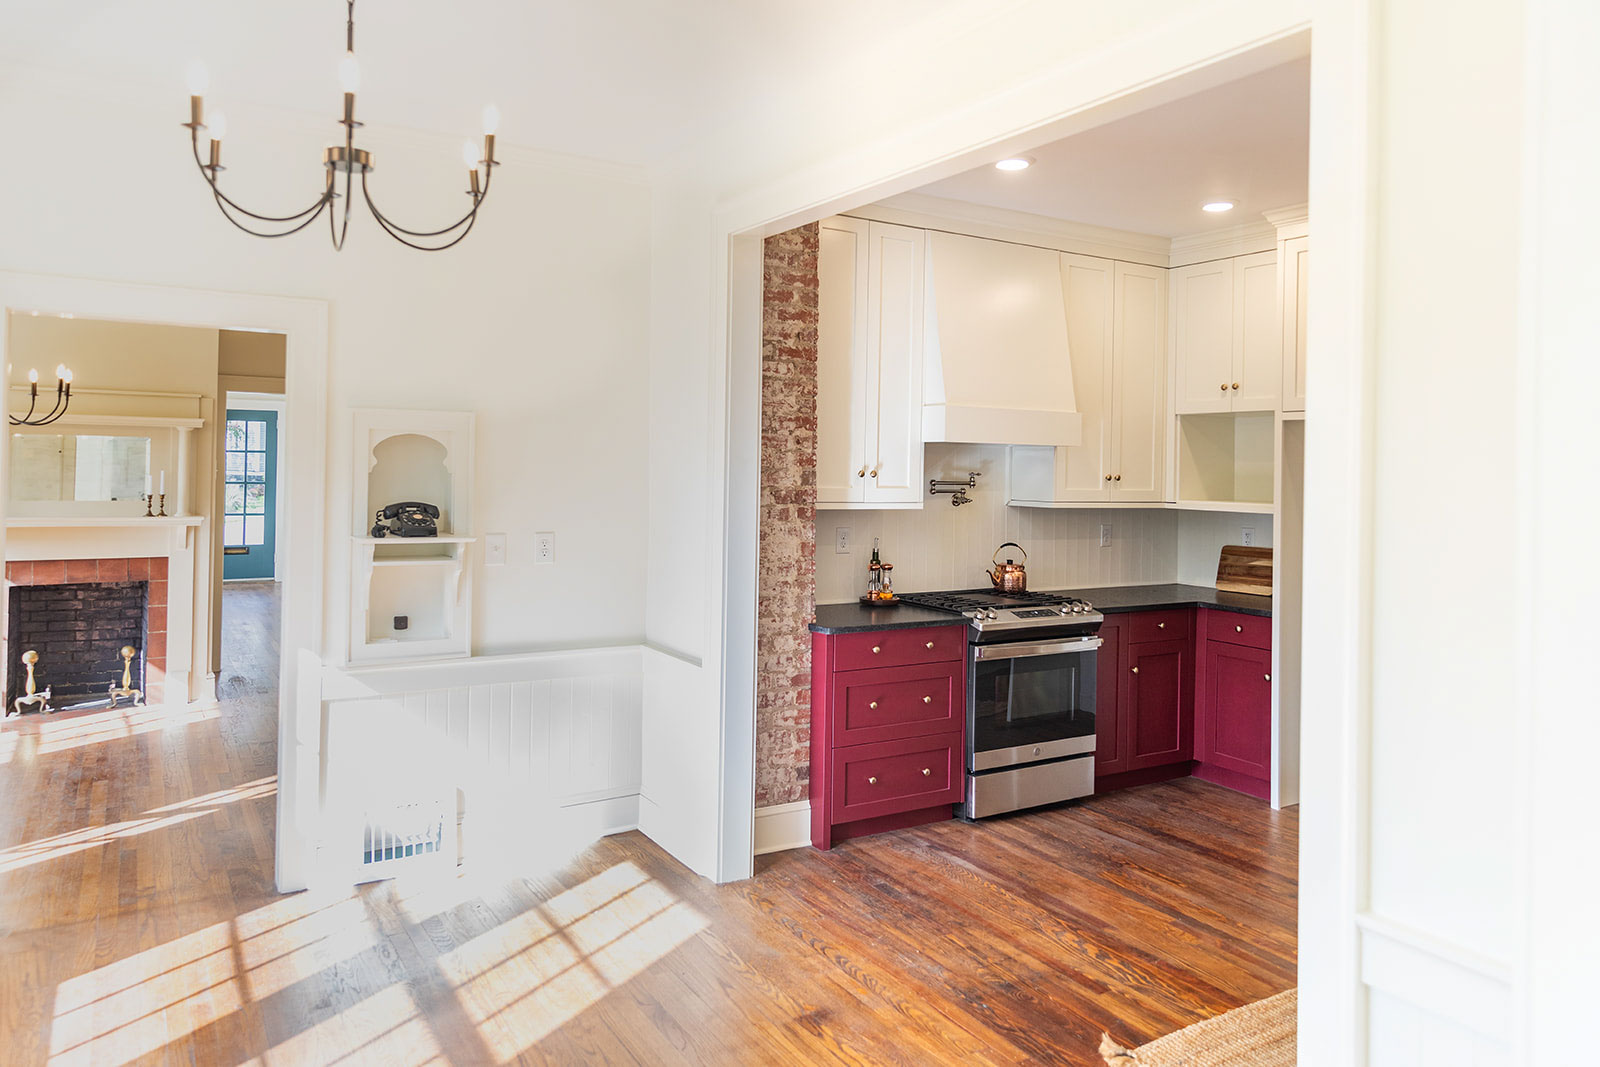
Colors: Many historic homes were painted with three or even four colors: a body color, a trim color, a sash color, and sometimes a detail or accent color for decorative elements. The more colors, the more historically accurate — and yes, the more costly, both in materials and in the labor of carefully cutting in multiple shades. Decide what matters most to you and budget accordingly.
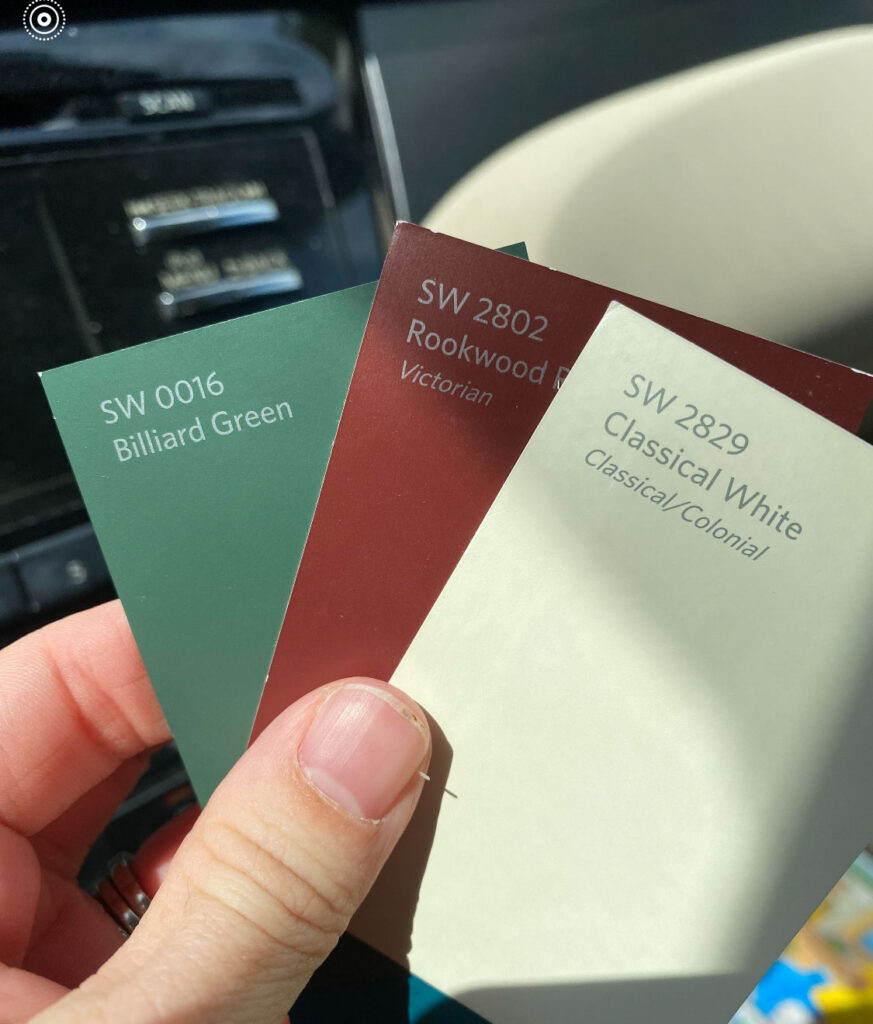
Sheens: Different surfaces call for different sheens. Siding typically takes a flat or low-luster finish; trim and doors often look best in a semi-gloss or satin. Talk this through with your painter before they show up with the wrong product. For what it’s worth, most painters I work with prefer Sherwin Williams and I’ve had great results with them on historic exteriors — it holds up beautifully and the color depth is excellent.
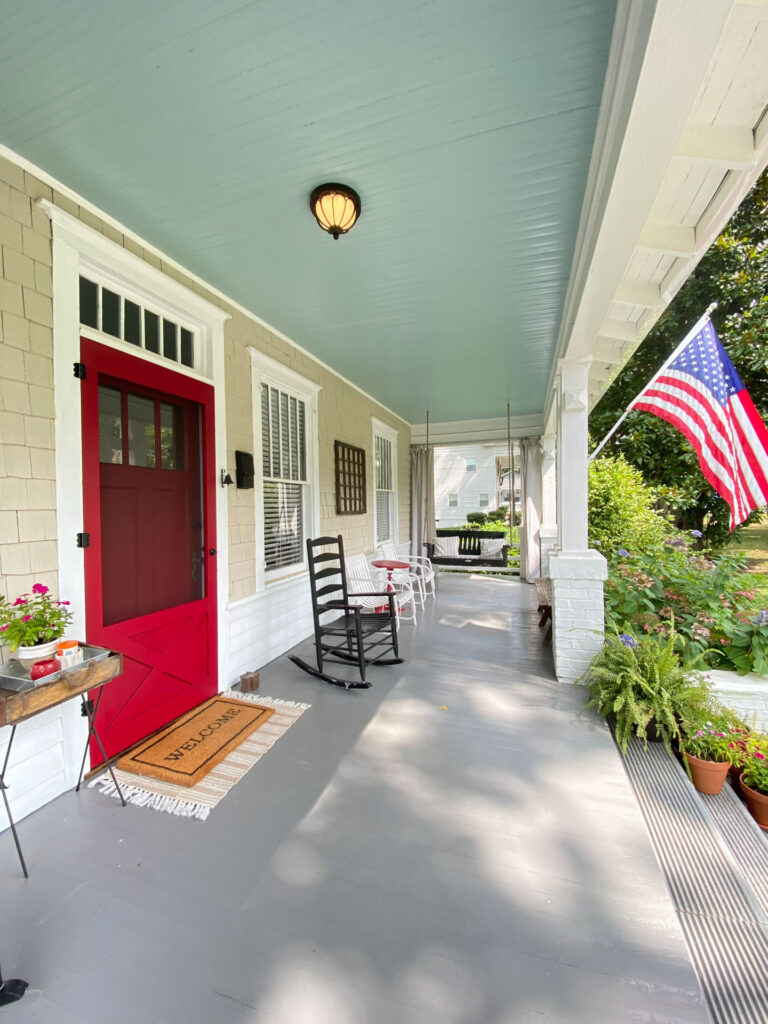
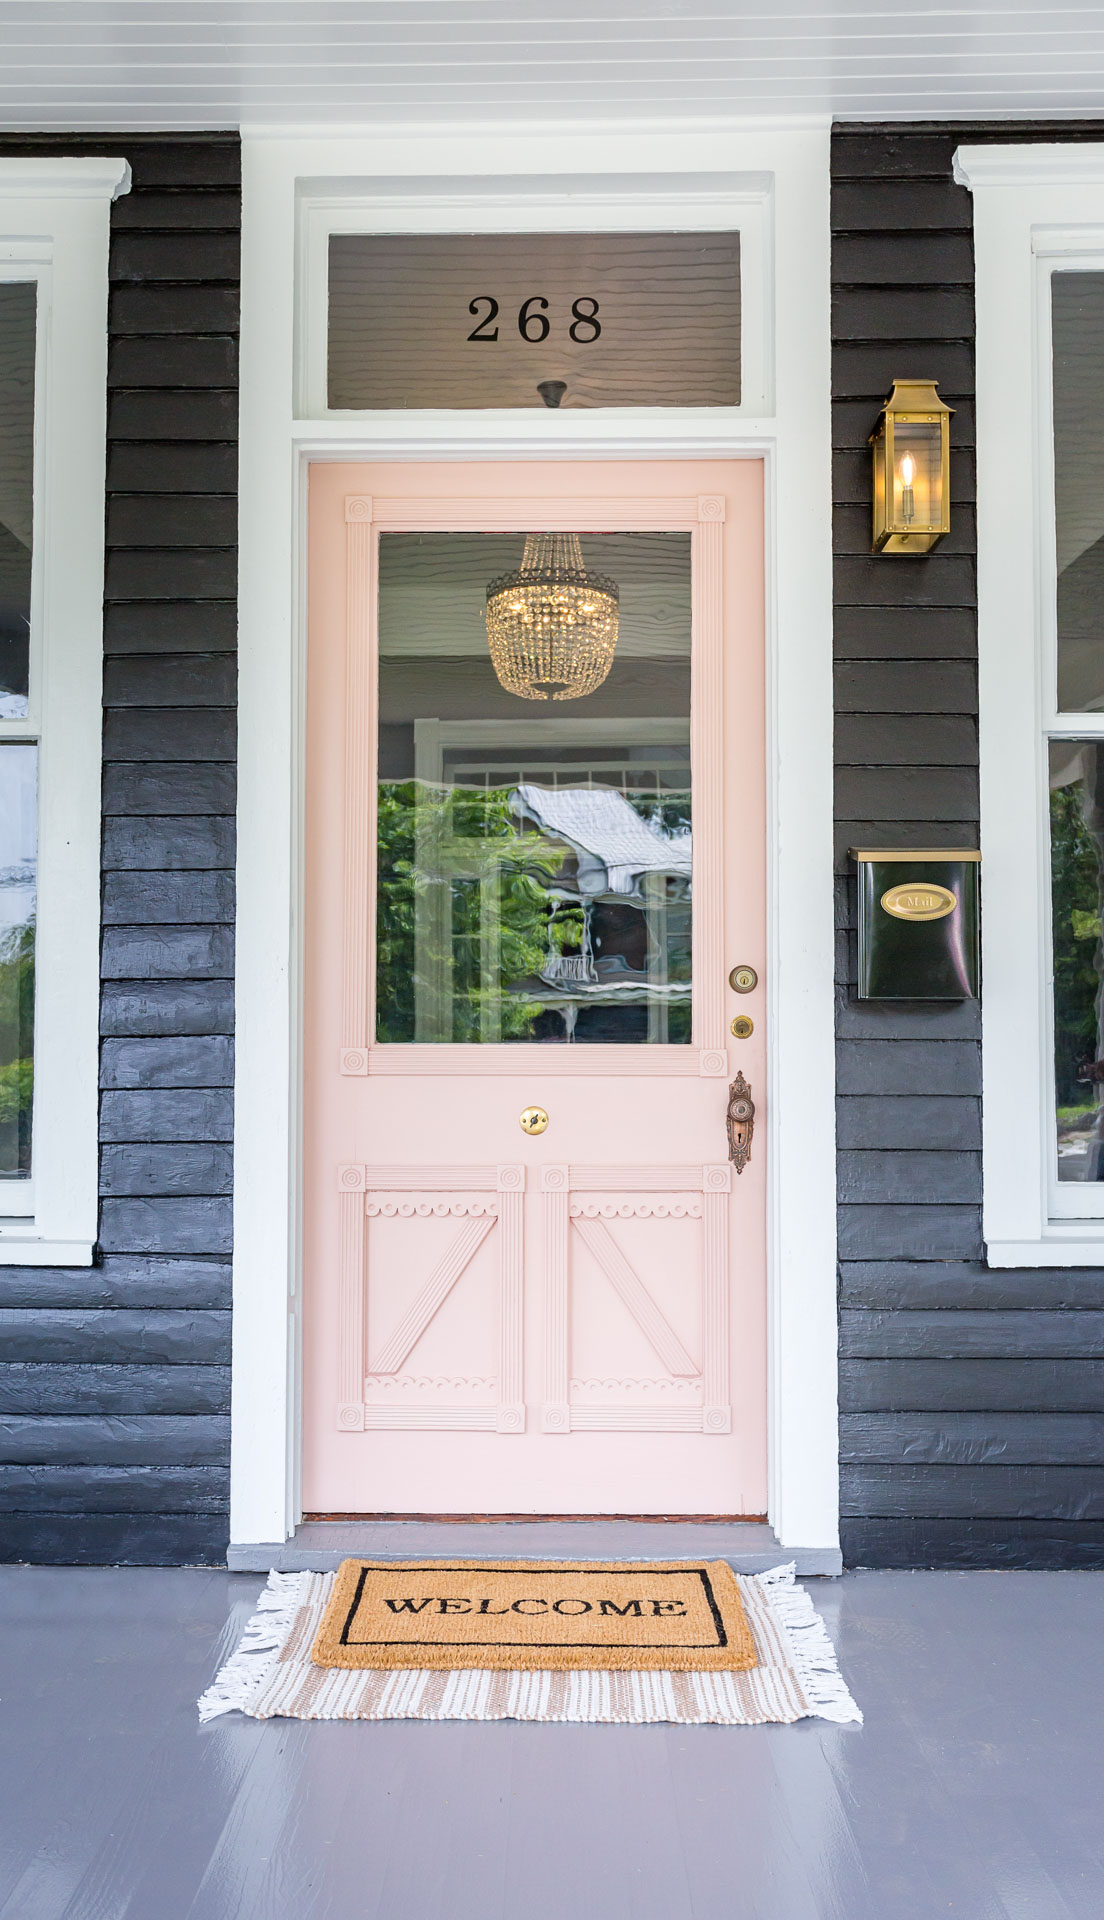
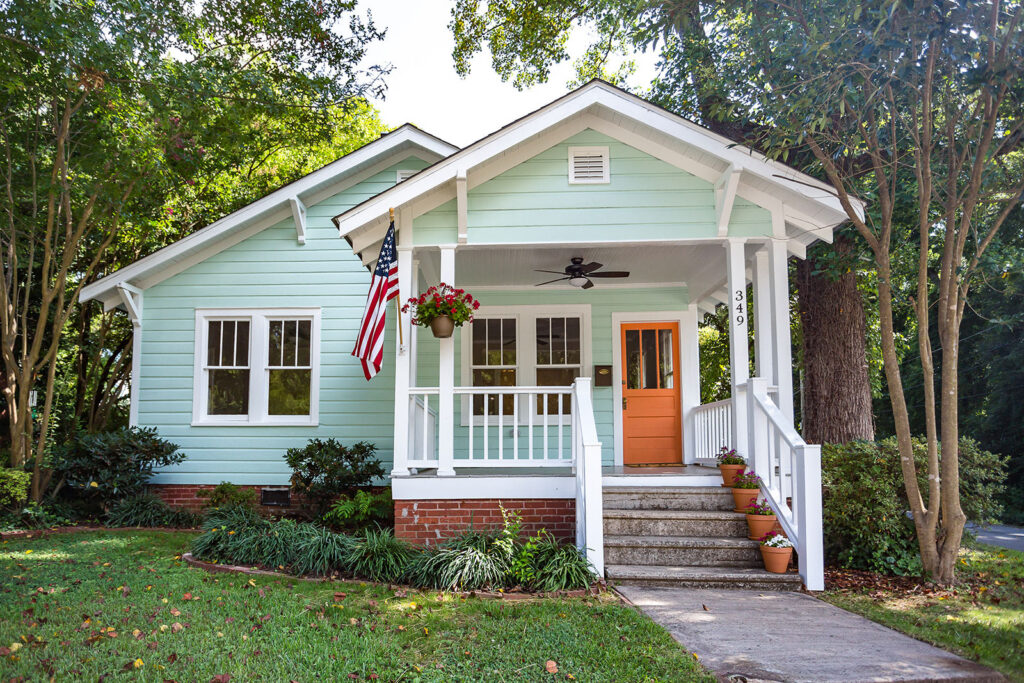
And please — consider a pop of color on the front door. A front door is one of the easiest, most impactful ways to add personality and curb appeal to a historic home. A deep lacquered red, an inky navy, a cheerful yellow, a moody green — these colors photograph beautifully, make your home memorable, and are easy to repaint if you change your mind. Don’t default to the safe choice. Your door deserves better. Need some inspiration? I’ve rounded up My Favorite Colorful Front Doors to get you started.
Two Quick Tips:
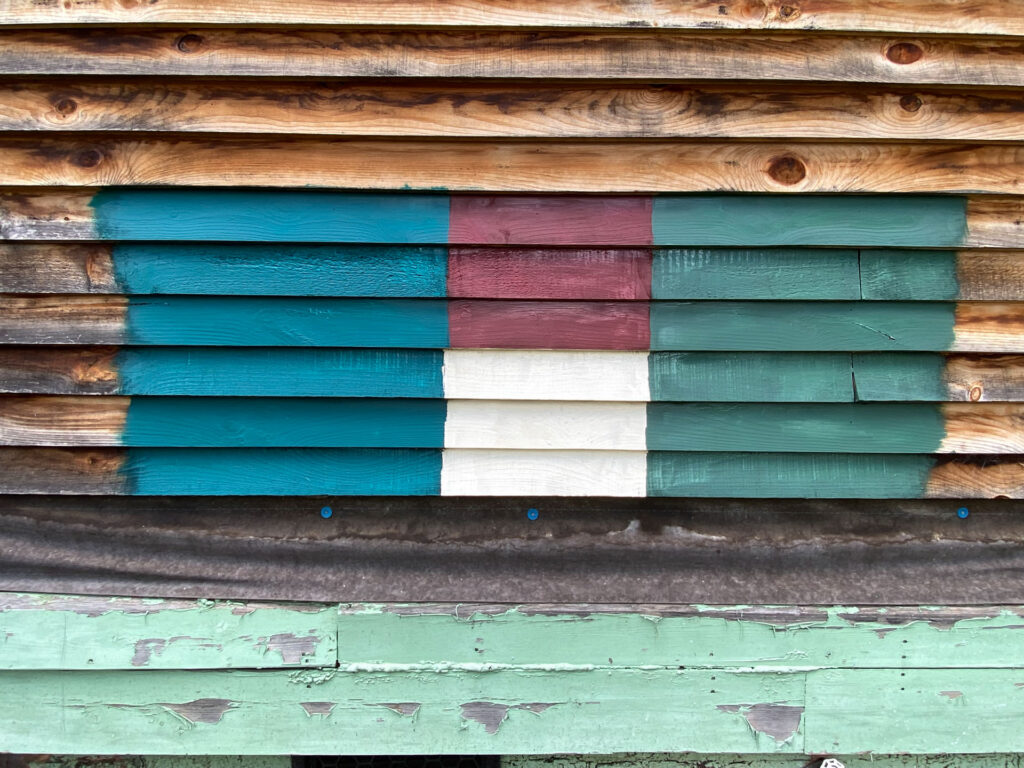
- If you’re not 100% sure about your colors, paint samples on at least two different sides of your house. You would be amazed at how different a color can look when the sun hits it.
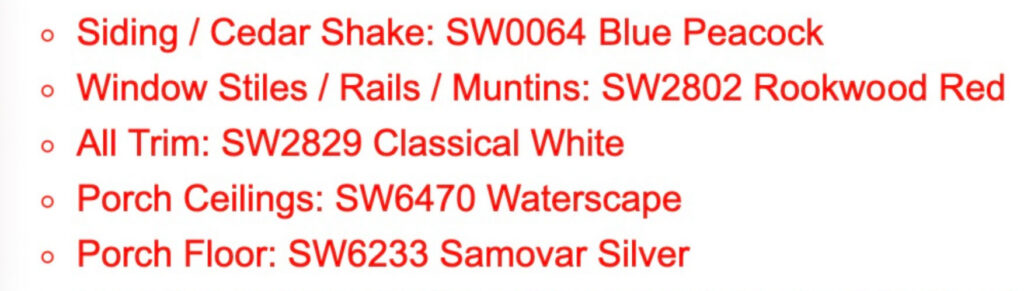
- 2. Once you’ve nailed down your paint selections, type out a list for your painter and make sure it’s super clear where which color goes.
Match Your Storm Doors, Storm Windows, and Screens
This one is simple but often overlooked:
- Storm doors and screen doors should be painted the same color as your main entry door. Mismatched colors look disjointed to me. The one exception: if your door is stained rather than painted, match either the stain tone or the window sash color — either works, but pick one and be intentional about it.
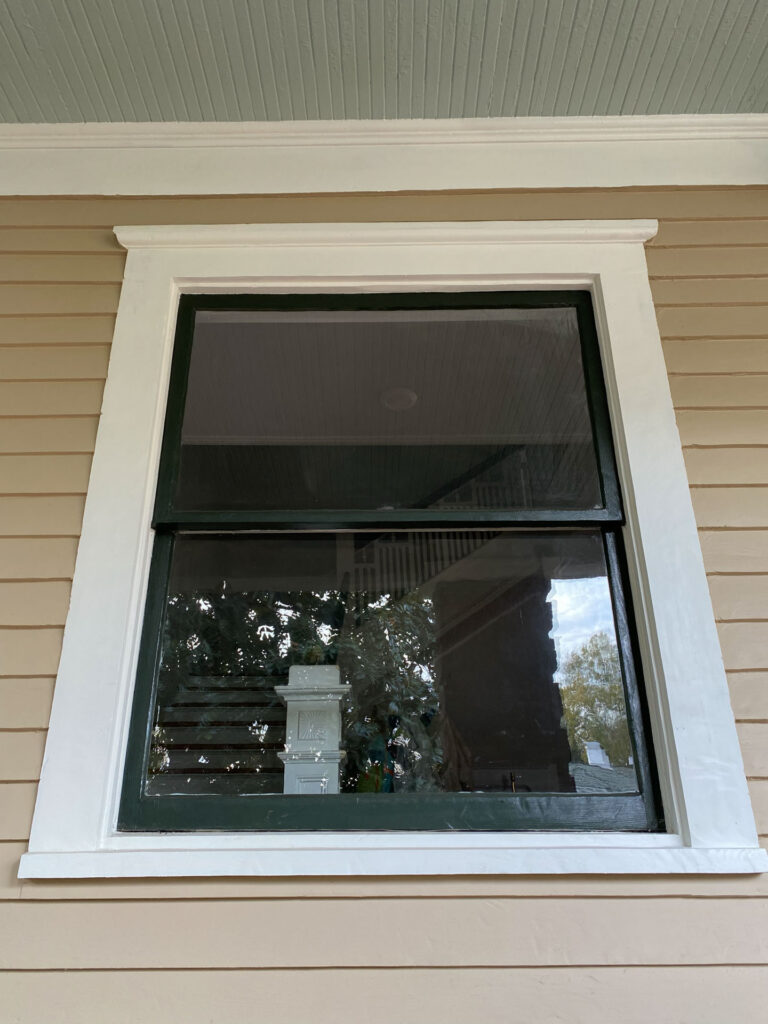
- Storm windows and window screens should be painted to match your window sashes. Cohesion matters, and it’s these small details that make a historic home look considered rather than assembled over time.
Let’s Talk Windows
A Word on Window Restoration: Find a Specialist
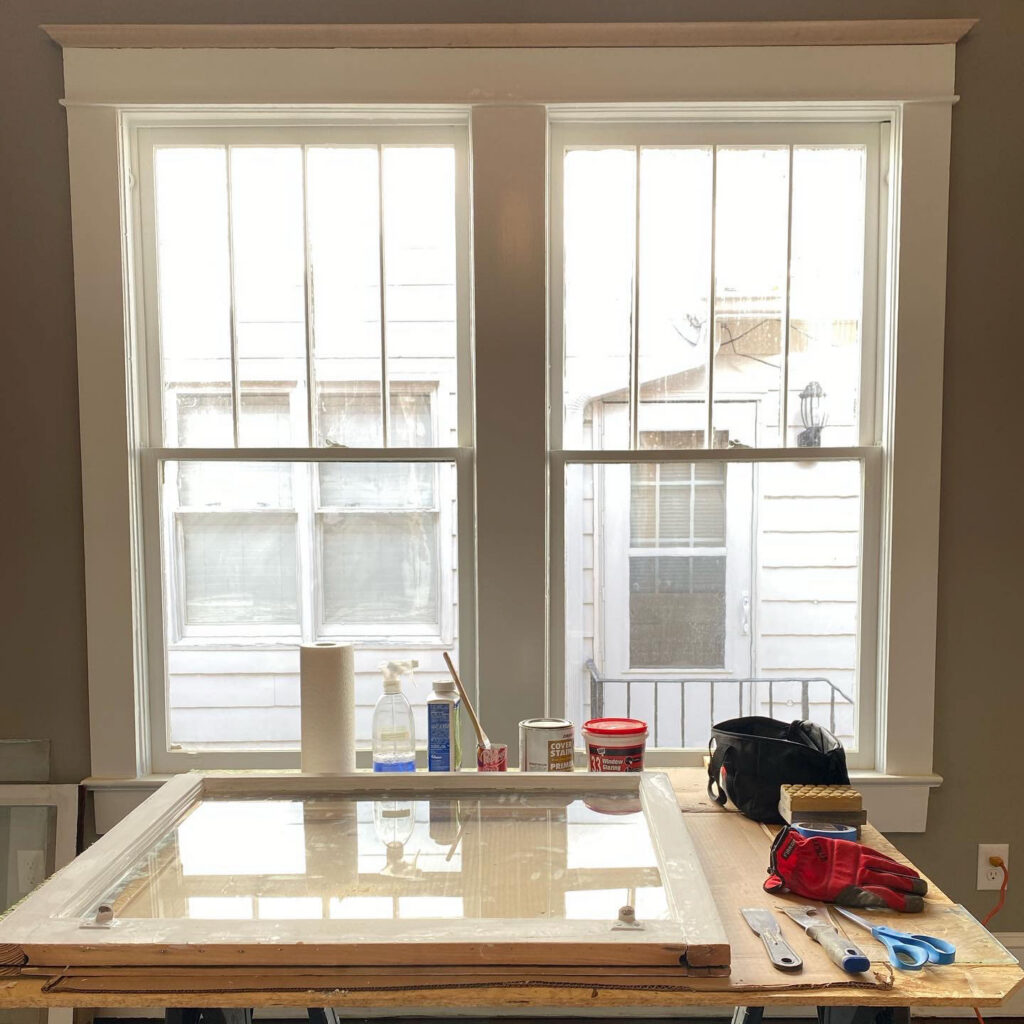
Here’s the truth: I have yet to find a painter who actually restores windows. This is almost always a specialty service requiring a separate contractor — someone who re-glazes, re-ropes weights, repairs sashes, and gets those beautiful old windows functioning the way they were meant to. It is expensive. It is absolutely worth it. And it’s a conversation you’ll need to have before your painter shows up, not after.
It’s also something you could tackle yourself as a long-term DIY project — and honestly, it’s one of the most satisfying things you can do for an old house. I have a window restoration section in my resources that’s a good starting point, and a few supplies you’ll want to have on hand: Sarco glazing compound (never use DAP — ever), Samson sash cord, and a good pro scraper. There’s a bit of a learning curve at first, but once you get the rhythm, it’s just move to the next window and repeat. A lot of work — but the kind that pays you back every time you look at it.
While I don’t do a deep dive into the full restoration process in my Old House Renovation Guide — I do cover where window restoration fits in the bigger renovation sequence, which is worth knowing before you dive in. Original windows, properly restored, are far more energy-efficient than most people assume, and infinitely more beautiful than replacements. If you’re investing in a proper paint job, make sure you know whether restoration needs to happen first.
Don’t Let Them Paint Your Windows Shut
Speaking of windows — this deserves its own section because it’s happened to me personally, and it will make you want to pull your hair out.
I watched a paint crew work on a house I had renovated, and I’m fairly certain they painted nearly every window shut. I spent hours getting them open again. Here’s what I’d recommend:
- Before painting begins: Go through the house, unlock every window, open them from the inside – or at least make sure they aren’t painted shut from the inside, and seal them off with plastic sheeting and painter’s tape as best you can. It won’t guarantee that dust stays out, but it helps significantly.
- Have a direct conversation with your painter about not painting windows shut — it sounds obvious, but it needs to be said out loud.
- Discuss a plan in advance for how to open any that do get painted shut, which will likely require someone to access the interior of your home. Know this going in.
And while we’re here: plan for a thorough deep clean once sanding is complete. Even with plastic sheeting, dust travels everywhere including the inside of your home. Hire a cleaner or set aside a full day — it’s worth it.
Specific Areas Worth Mentioning
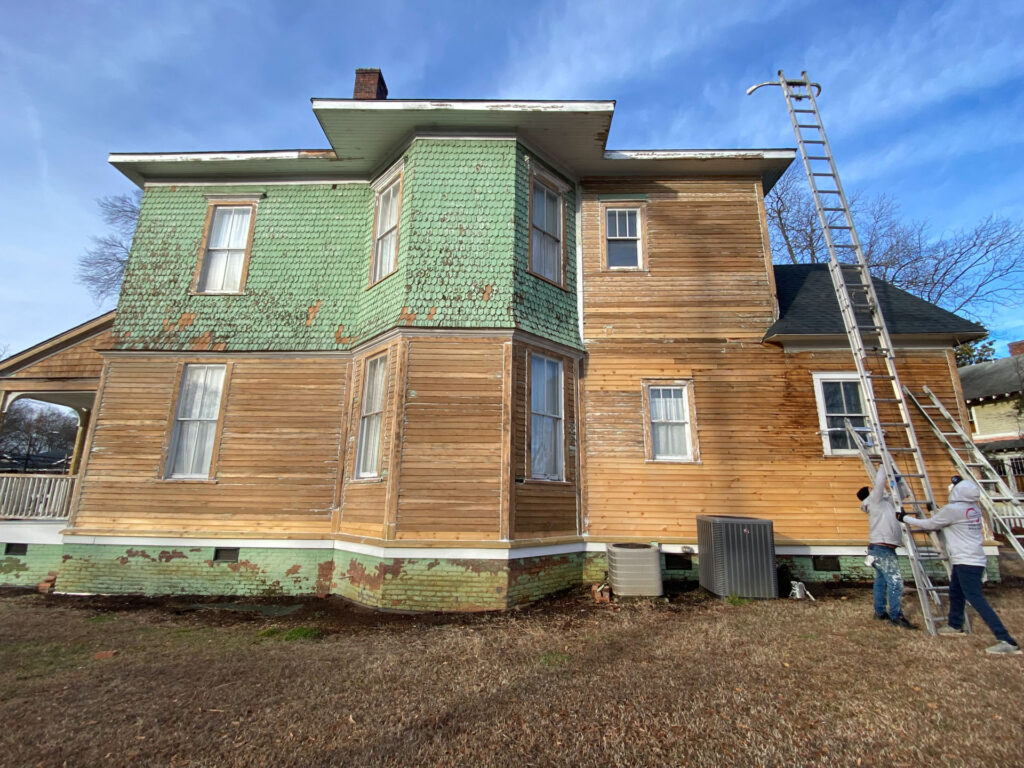
Know Your Siding — It Matters More Than You Think
Not all historic siding is the same, and the type you have affects both how it should be painted and what products your painter should be using. The two most common types you’ll find on historic homes are clapboard and cedar shake, and they are not treated the same way.
Clapboard (also called lap siding) is the long, horizontal wooden boards you see on most traditional historic homes. It takes paint well and is typically finished in a flat or low-luster sheen. Flat is a good choice if your siding has seen some wear and imperfections — it’s much more forgiving and hides a multitude of sins. Satin gives a bit more sheen and is slightly easier to clean, but it will show every flaw, so the prep work has to be thorough.
Cedar shake is a different story. If your cedar shake has never been painted, keep it that way — use a solid color stain instead of paint. Stain penetrates the wood rather than sitting on top of it, which means it won’t peel the way paint will and allows the wood to breathe properly. If your cedar shake has already been painted at some point, you’re committed to painting it going forward, and proper prep is especially important since paint on shake is more prone to peeling.
I’ve written a three-part series that goes much deeper on restoring historic siding if you want the full picture: Part 1 | Part 2 | Part 3
Painted Brick – Yes, or No?
Let’s talk about brick for a moment. This comes up often with historic homes and the answer is pretty straightforward: if it’s not painted, don’t paint it. That is considered historically accurate. Brick and mortar need to breathe, and paint traps moisture inside the masonry — leading to spalling, deterioration, and a very expensive problem down the road. Once you paint brick, you’re essentially committed to painting it forever.
If your brick is already painted, that’s a different situation — but it still requires attention. Make sure your painter does the correct prep work, including addressing any areas where paint has bubbled or is peeling away from the surface. That bubbling is the brick telling you exactly what it thinks about being painted. It needs to be properly scraped, primed with the right masonry primer, and repainted with a breathable, masonry-appropriate product.
And if I truly can’t convince you to leave your unpainted brick alone — please consider staining it instead. Stain penetrates the surface rather than sitting on top of it, which means the brick and mortar can still breathe the way they’re supposed to. The result is also far more natural-looking than paint, and it won’t peel. It’s a much kinder option for the long-term health of your home.
Your brick has likely been doing its job beautifully for a hundred years or more. Let it keep doing it.
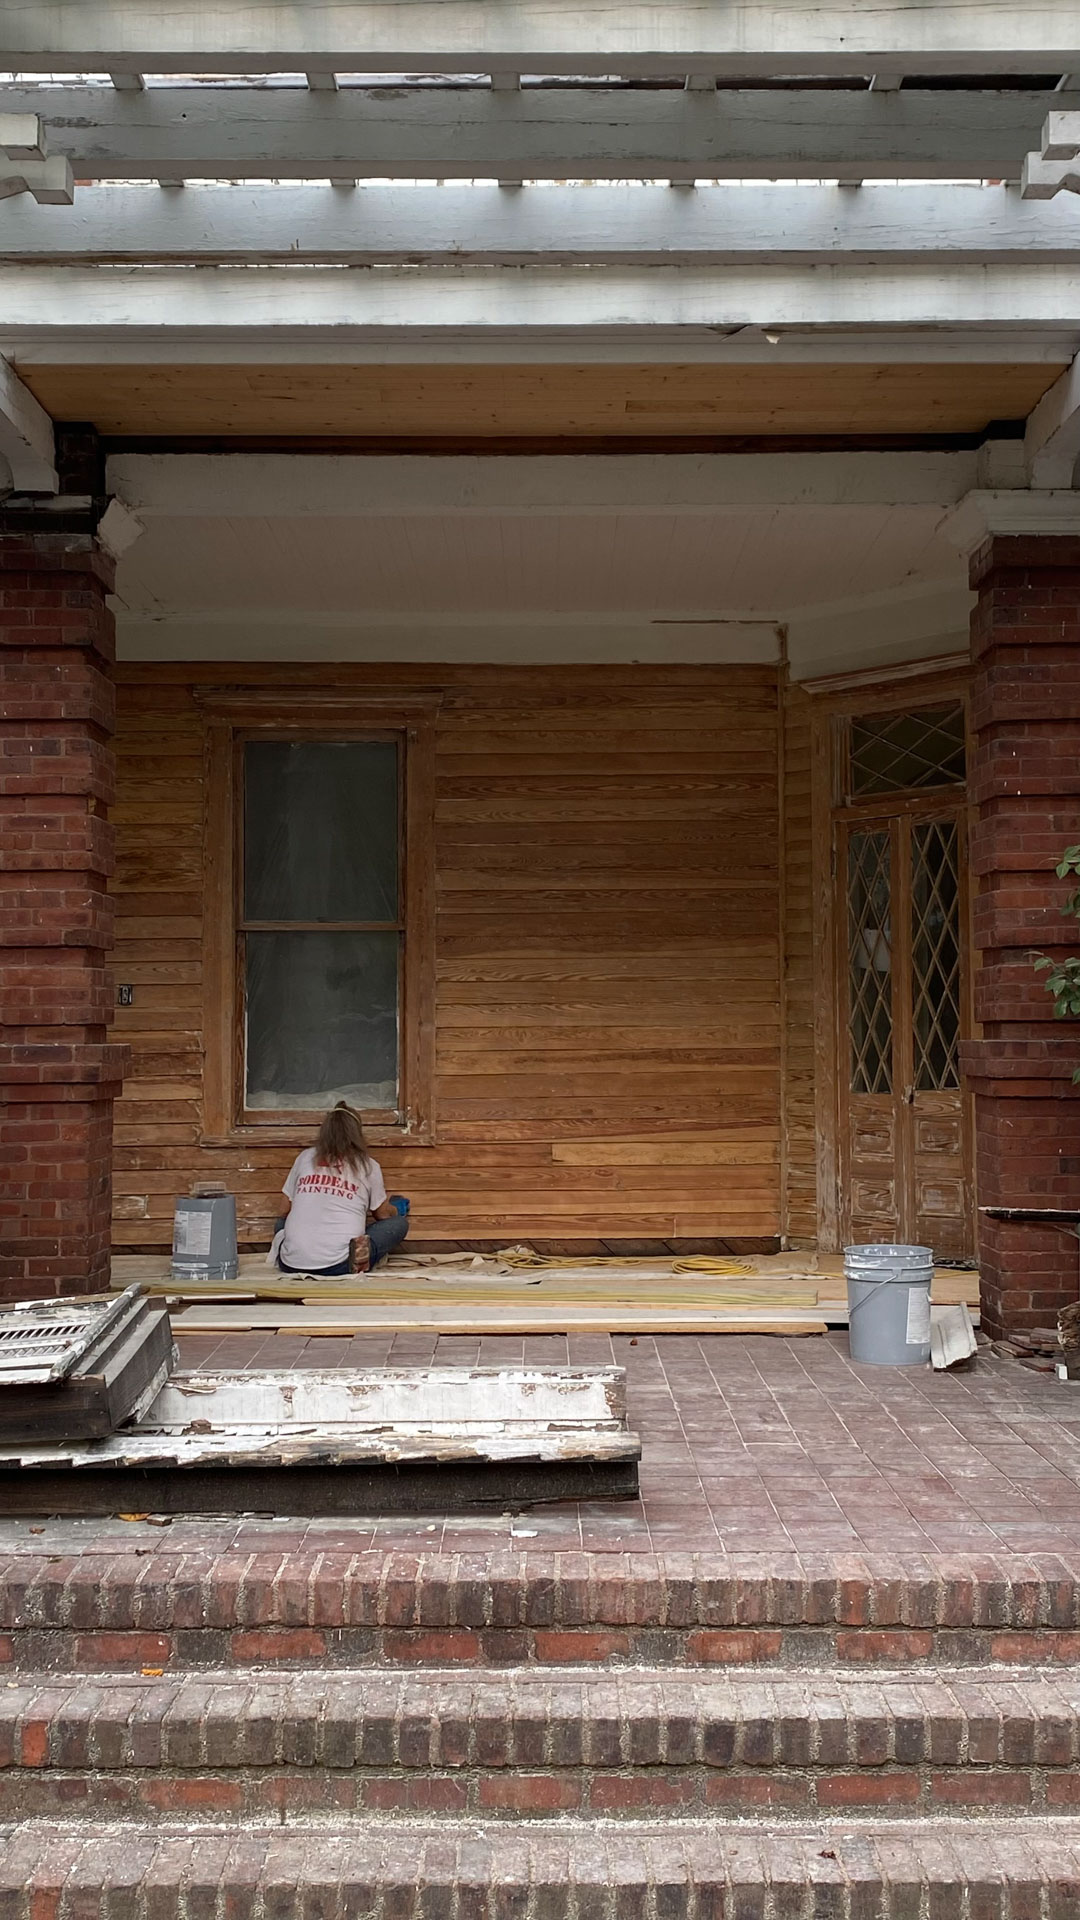
Don’t Forget the Porch Floor
Porch floors on historic homes are almost always tongue and groove wood and need to be painted too. They also take more abuse than any other painted surface on the exterior — foot traffic, sun, rain, furniture, and everything in between. This is not the place to cut corners on paint selection.
I recommend oil-based paint for porch floors. It penetrates the wood more deeply than latex, holds up far better under heavy use, and lasts significantly longer. Always prime first — no exceptions. It’s a bit more work and a longer dry time, but your porch floor will thank you for years.
A Few More Things Worth Mentioning
Lead Paint Is Almost Certainly Present
If your home was built before 1978, assume there is lead-based paint somewhere on the exterior. In a truly historic home, there are likely multiple layers of it. If you want to know what you’re dealing with before the painter arrives, a lead paint test kit is an inexpensive first step.
- Make sure your painter is EPA RRP (Renovation, Repair, and Painting) certified and follows proper containment and disposal protocols.
- If you have young children or anyone with health vulnerabilities at home, seriously consider arranging for them to stay elsewhere during the scraping and sanding phase. Dust travels — even with careful containment, it finds its way inside.
- Ask explicitly what their containment, cleanup, and disposal plan is for lead paint debris. This is not a question to skip.
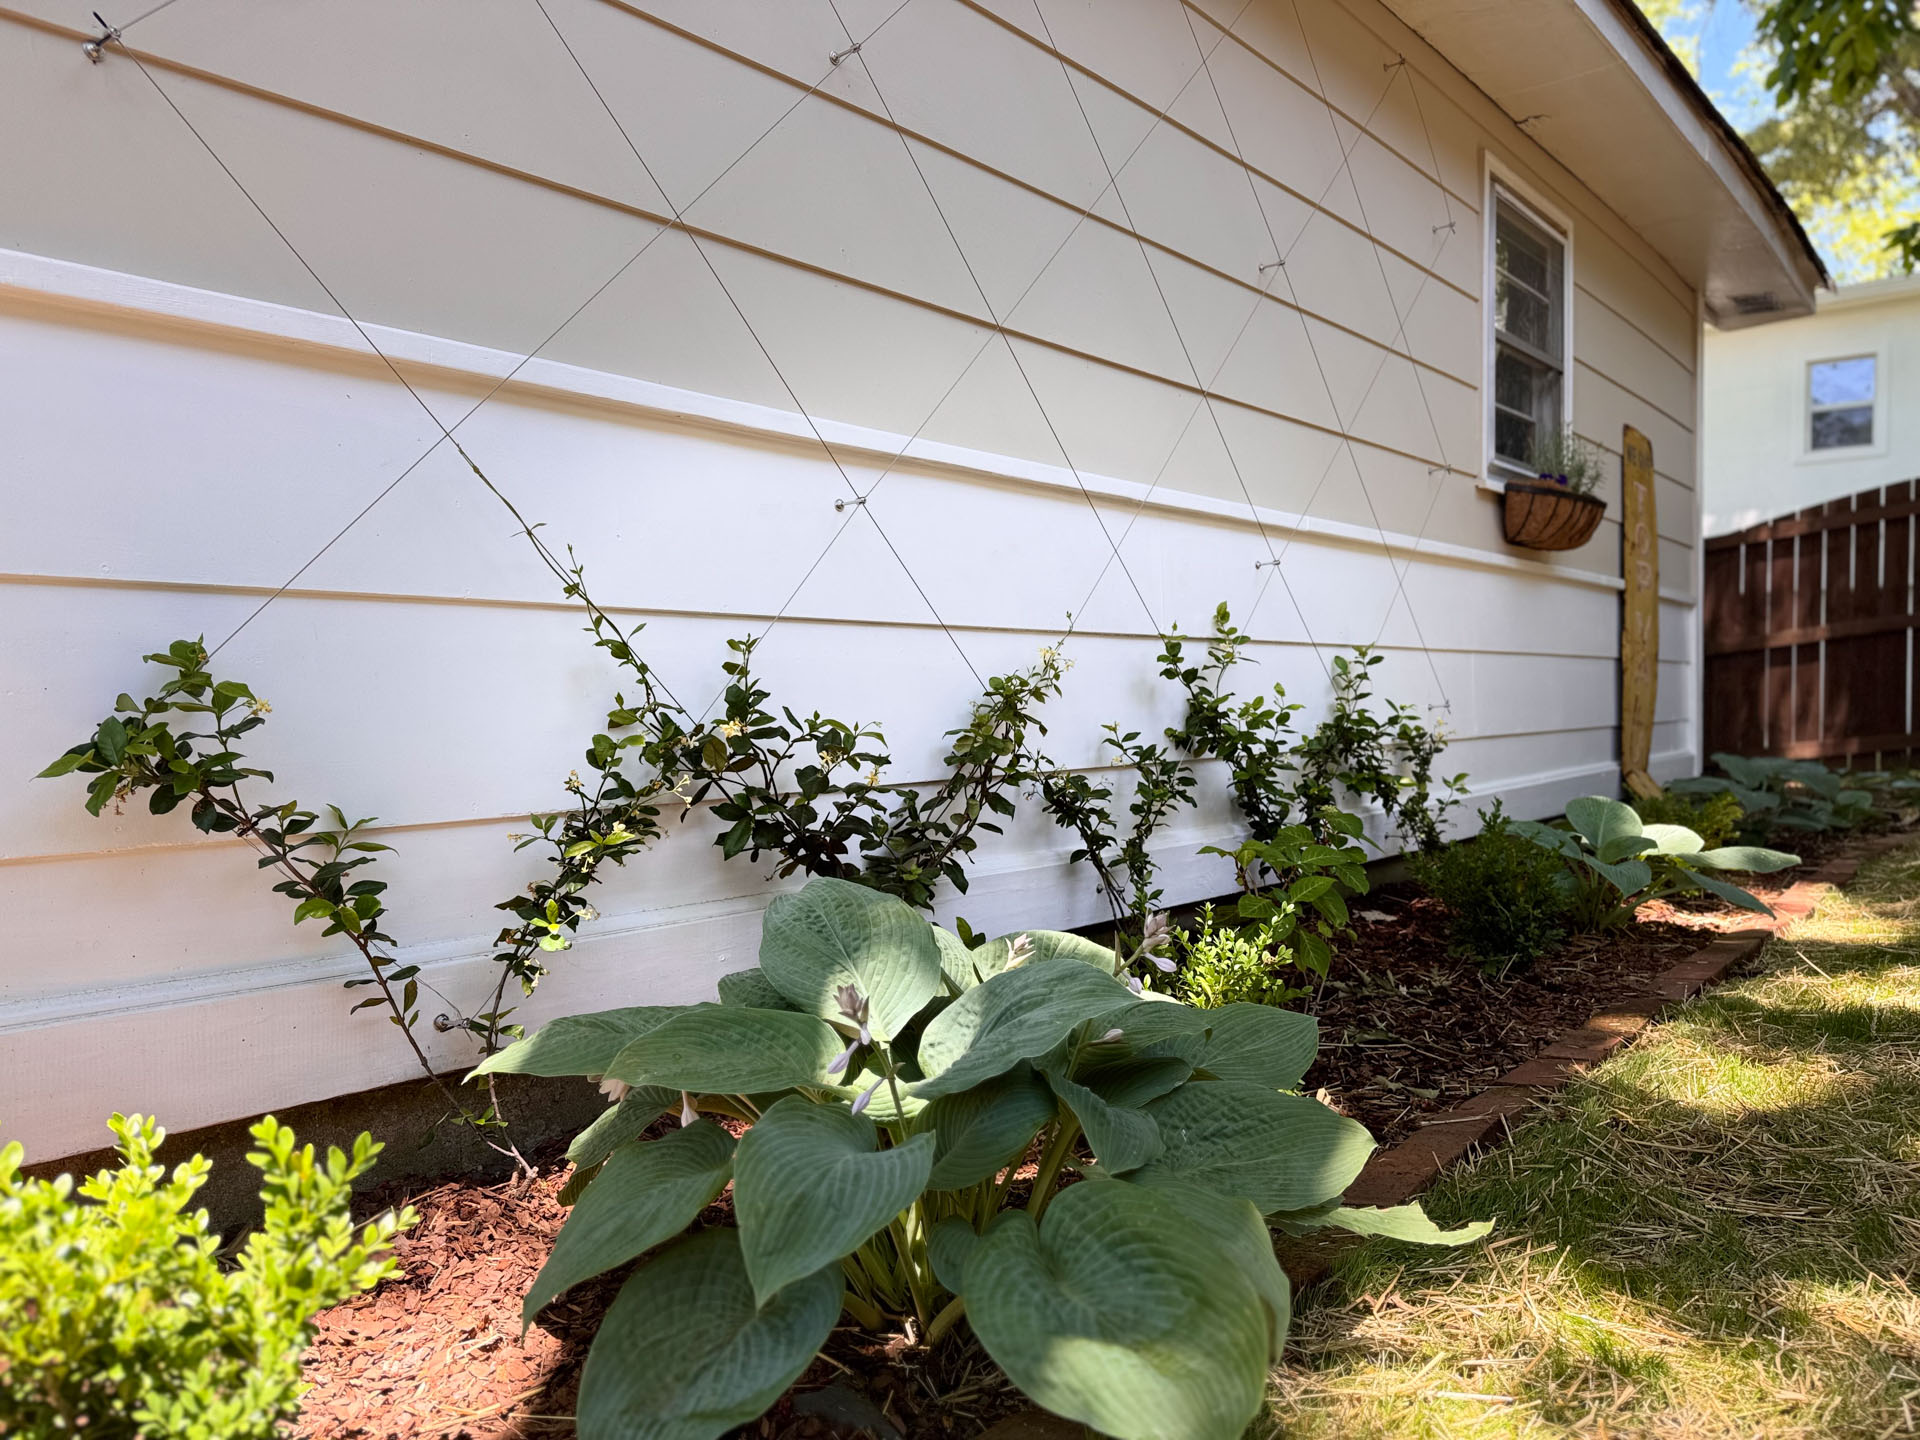
Protect Your Landscaping
Paint chips, sanding dust, and overspray will end up in your yard. Talk with your painter about:
- Covering or moving plantings near the foundation and along the house
- Making sure paint chips and debris are not simply raked into the mulch — they need to be properly collected and disposed of, especially given the likelihood of lead content
- Protecting any hardscape, fencing, or garden features that are close to the work zone
This is especially important for raised beds or vegetable gardens. Better to relocate if in pots or cover them entirely.
Keep Pets Away from the Work Zone
This one is non-negotiable. Sanding dust, paint fumes, and lead debris are all hazardous to animals. Keep pets inside or off the property during active work, especially during the prep phase. Make sure your painter knows you have pets so they’re mindful of leaving gates open.
Watch for Overspray — On Everything
It sounds obvious. It keeps happening anyway.
Have an explicit conversation about overspray on window screens, roofing, gutters, downspouts, and hardscape. Spray equipment makes work faster, but it also puts paint where it doesn’t belong when a crew gets careless or the wind picks up. Ask whether they’ll be brushing and rolling or spraying, and what their masking protocol is for surfaces that shouldn’t get painted.
Timing, Approvals, and Documentation
- Timing matters. Paint adheres best in moderate temperatures — not too hot, not too cold, and not during rain or high humidity. Make sure your painter is not rushing to beat the weather in ways that compromise the job.
- Check your historic district guidelines. If your home is in a locally designated historic district or on the National Register, there may be specific approved color palettes or review processes. Check before you commit to colors.
- Document everything beforehand. Walk the property and photograph any existing damage, rot, or peeling before work begins. This protects you and your contractor.
A Few of My Favorite Exteriors
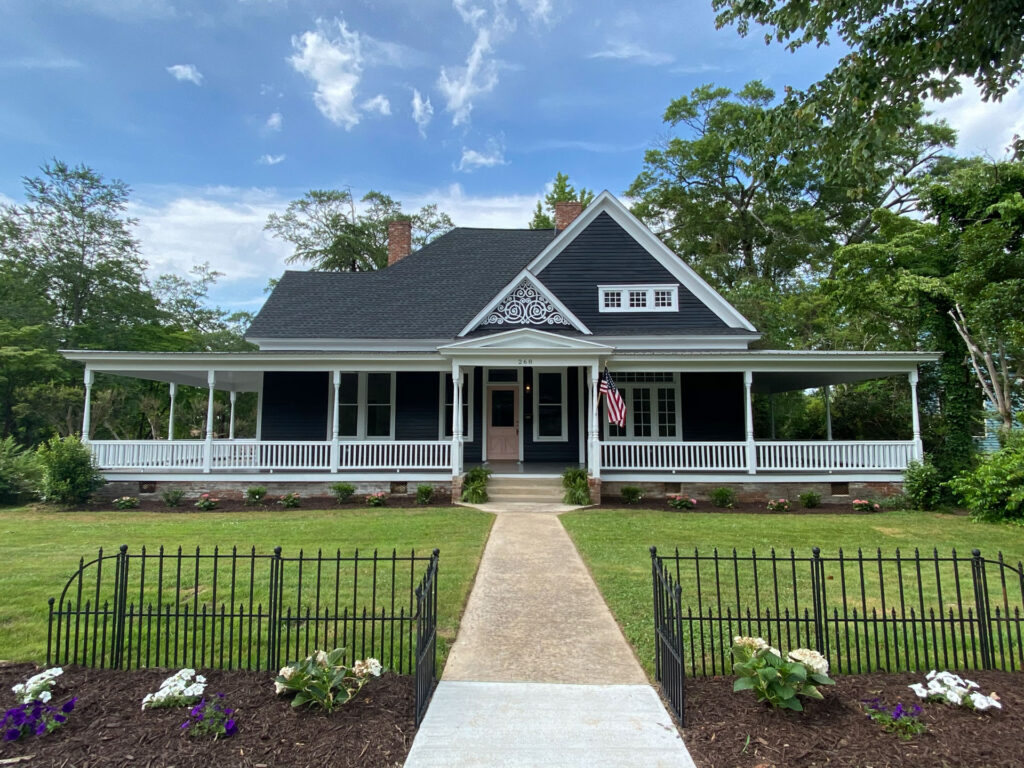

The Bottom Line
Painting a historic home is an investment — in the beauty of the house, in its longevity, and in the fabric of the neighborhood. Done right, with the right prep and the right painter, a paint job on a historic home is something to be proud of for a decade or more. Done wrong, you’ll be doing it again in three years.
Take your time, ask the hard questions, and don’t just hire the lowest bidder. Your house deserves the extra care.
And if painting is just one piece of a bigger renovation puzzle, don’t miss my Old House Renovation Guide. It covers everything from where to start to how to prioritize projects so you’re not overwhelmed (or overspending) along the way.


+ Show / Hide Comments
Share to: