The Pergola Restoration: History, Construction, and Design
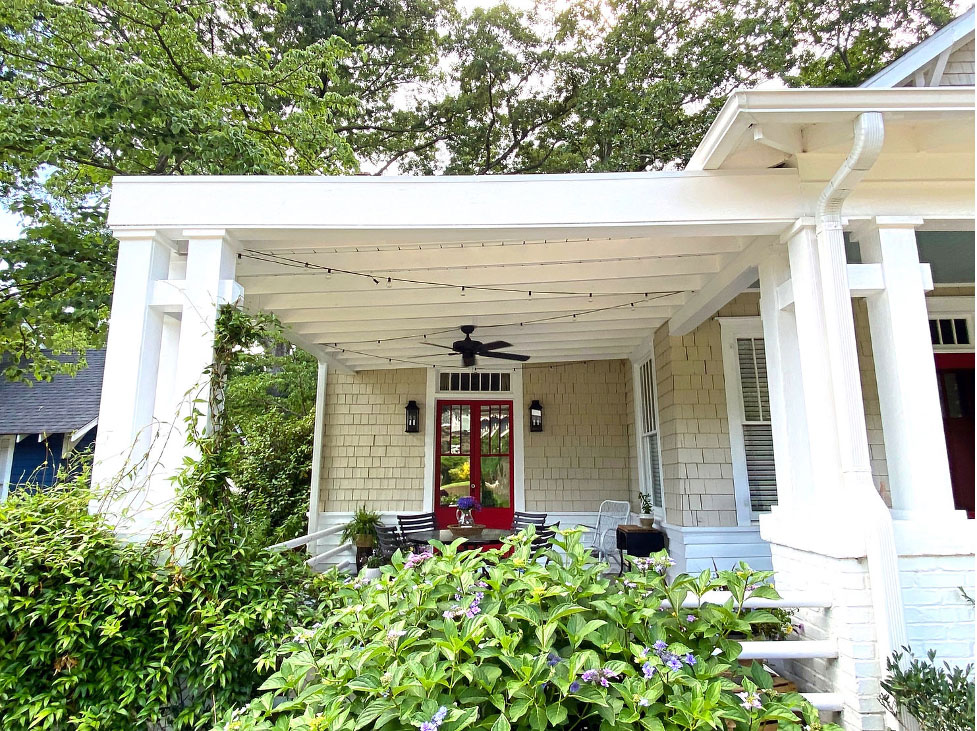
Let’s skip to the good part! The pergola restoration is completed and I’m truly loving this new outdoor space. Allow me to walk you through the history of this space including how I discovered it had been removed. Then we’ll take a look at the construction plan and design details.
The History of My Pergola Restoration
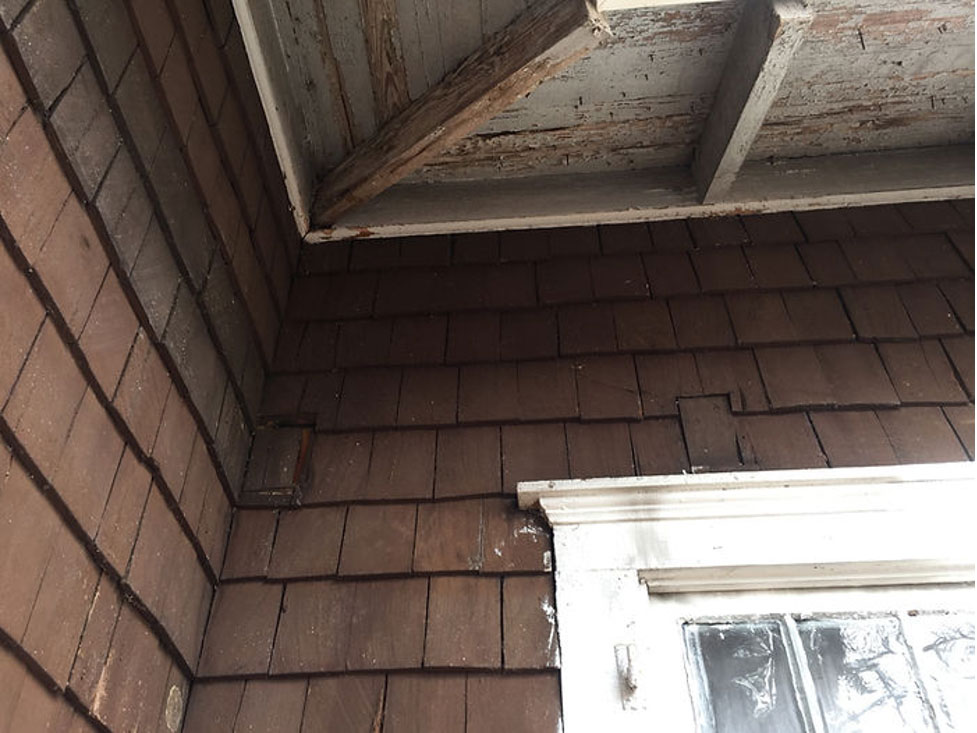
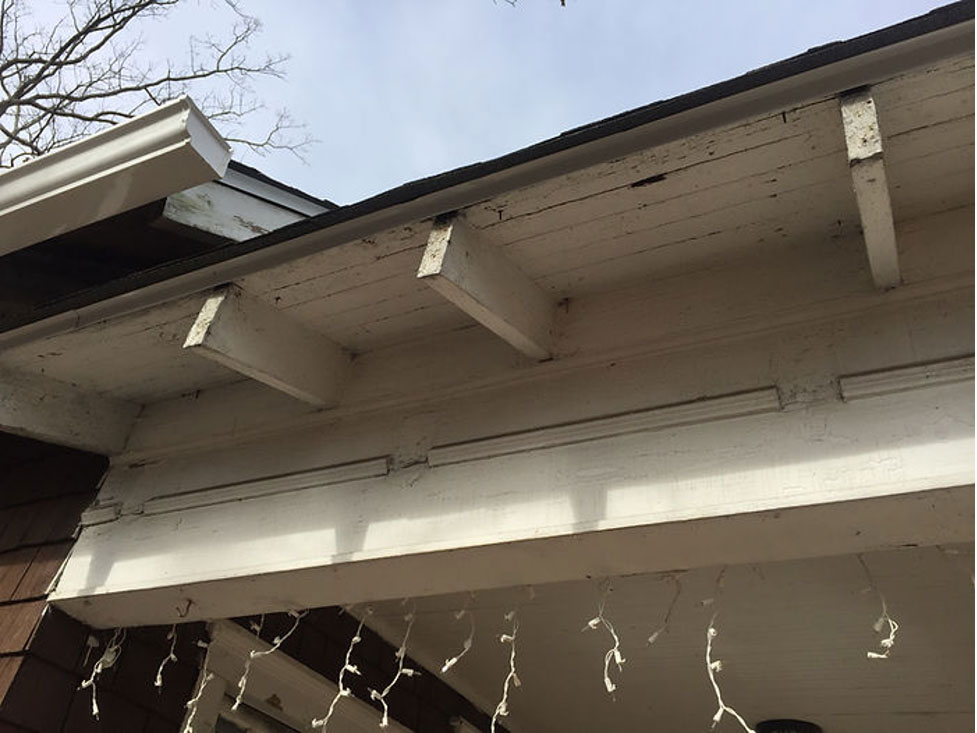
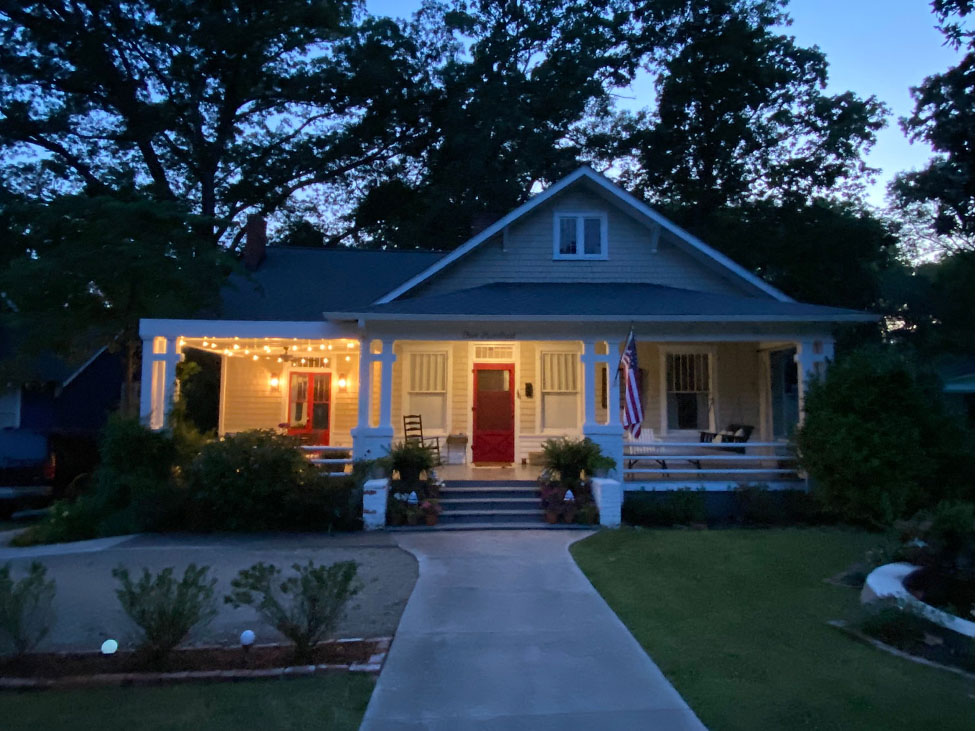
Early in the renovation process of my house I noticed some oddly shaped cedar shakes. They were in the front corner of my house, patched poorly, and where the side patio was located. There were also notches in the trim detail along the porch band. And last, the corner of the house was completely dilapidated due to so much rain over the years and the lack of protection overhead. What did all of this suggest? That once upon a time a covering of some sort for this space had been removed.
Construction Plan to Restore
With no pictures to guide me, I met with my contractor to discuss what my options were. We discussed how to restore what I’m calling the covered pergola, and make it seem as timeless as the house.
After our brainstorming session, I drafted a design plan based. This plan included the structural guidelines he suggested along with the historic details that were important to me. Together we developed a construction plan for the pergola restoration and made small tweaks as needed once the work began.
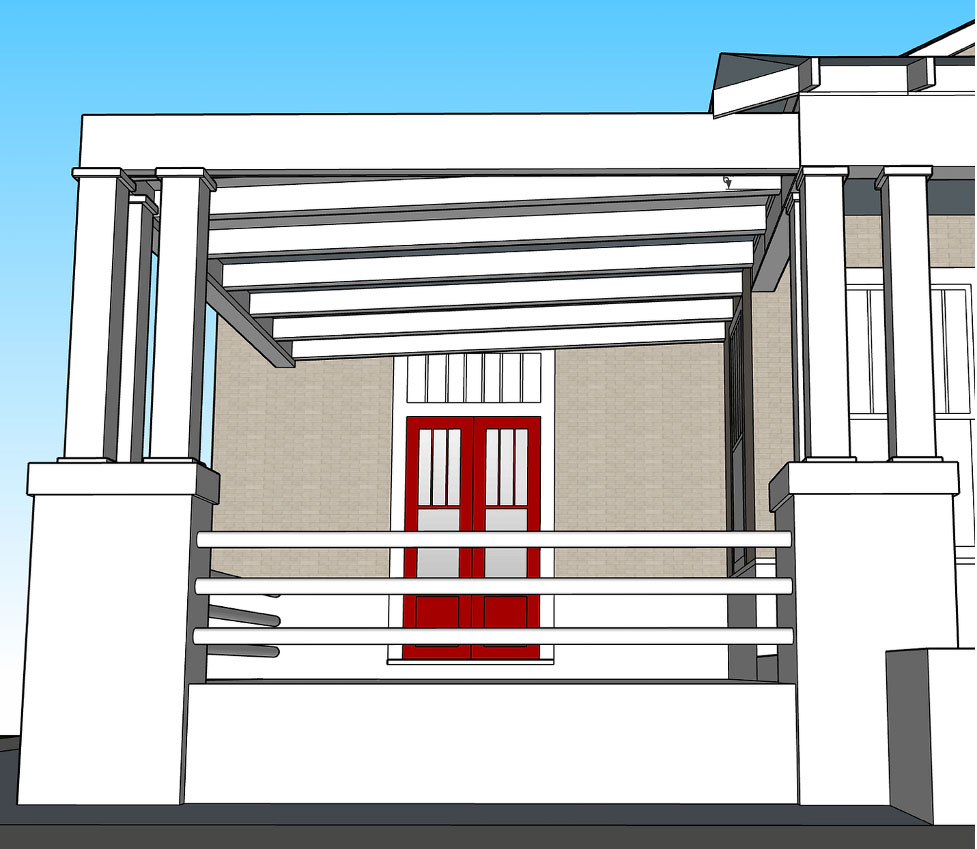
It was very important to me to repeat the architectural details such as the interlocking columns of my front porch. I wanted to make sure the band of the new structure aligned with the original front porch.
When you’re adding onto a historic home, the goal should always be to look as authentic as possible.
If you need help redesigning your home, check out my Design Services.
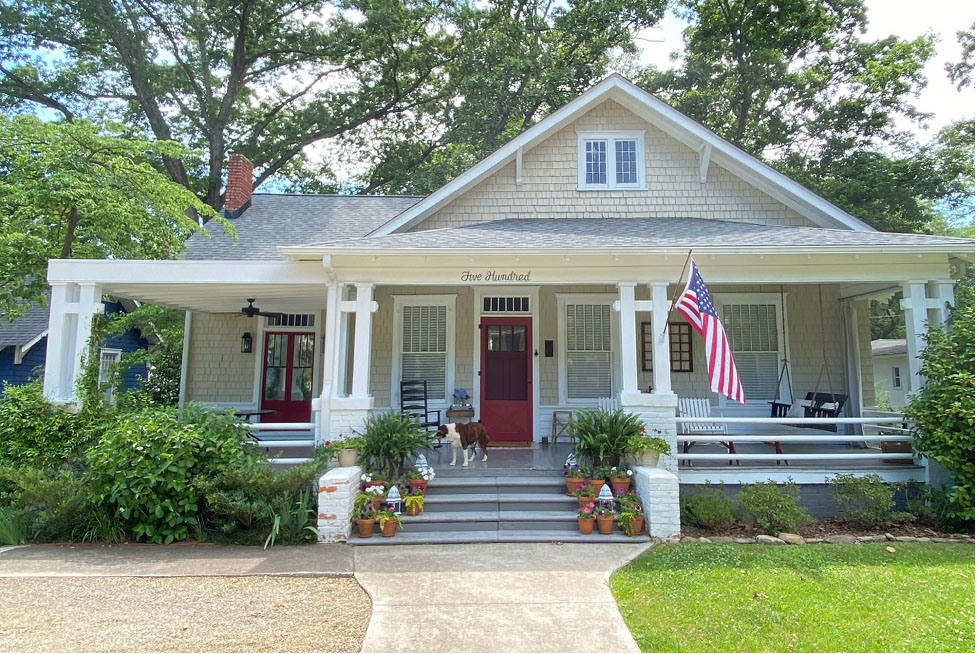
I also wanted it to have the feel of a pergola but without the slope showing from the front. Since I wanted the new structure to function as a covered outdoor space, I settled on a covered pergola. The hope is that as the yellow jasmine and roses grow up, it will look like a traditional pergola in time, but also protect the house from the elements.
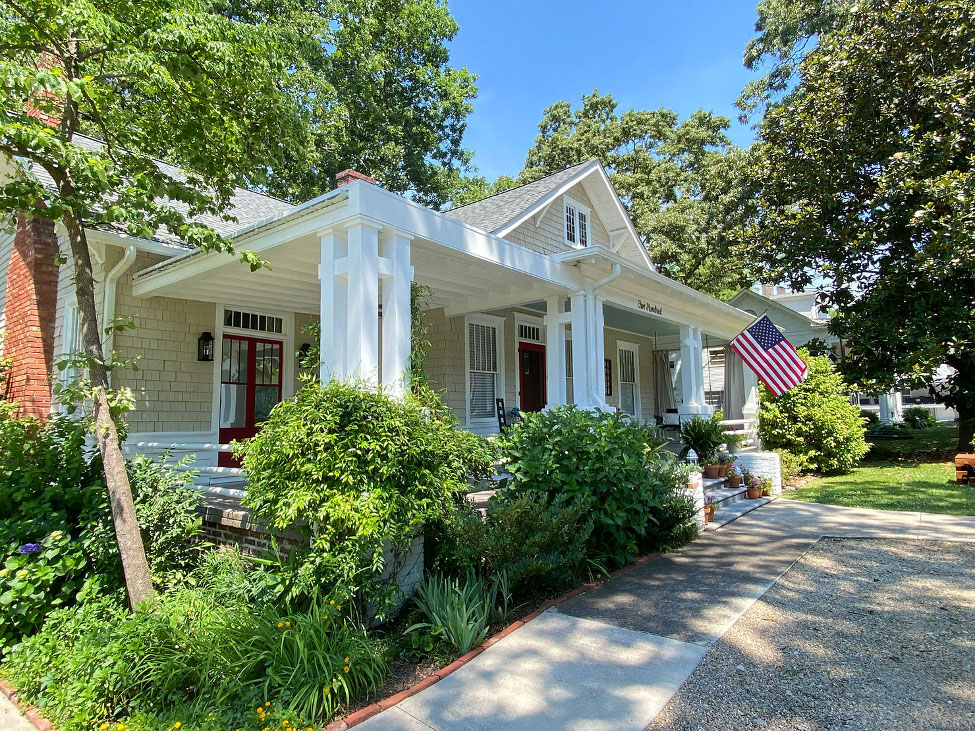
The other unique feature we came up with was to have an opening within the adjacent band. This would allow the metal roof to protrude past the band and allow the rainfall to run off. With everything painted white you can hardly tell it’s there but it’s still able to keep water off the porch. I’ve decided to wait and see how it works before deciding whether or not to add gutters.
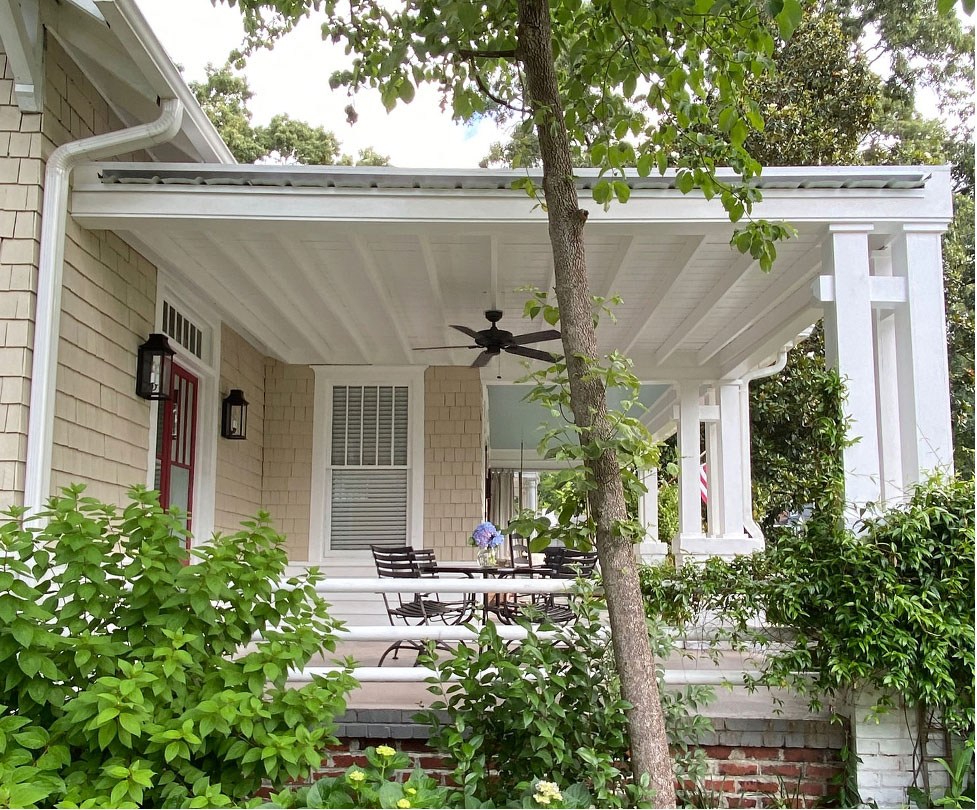
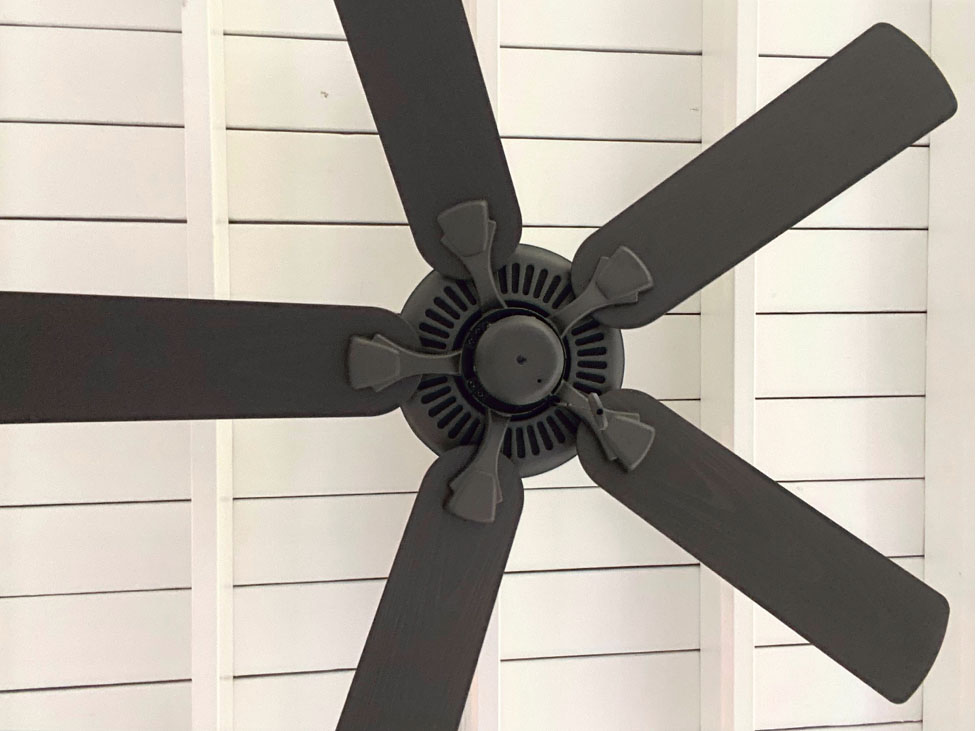
We used decking boards attached to the top of the rafters to give the feel of a beadboard ceiling, without having to cover the rafters. By painting everything white, it really made the space feel bigger. A much needed ceiling fan was added to cool the space off for those hot summer days.
Design Details
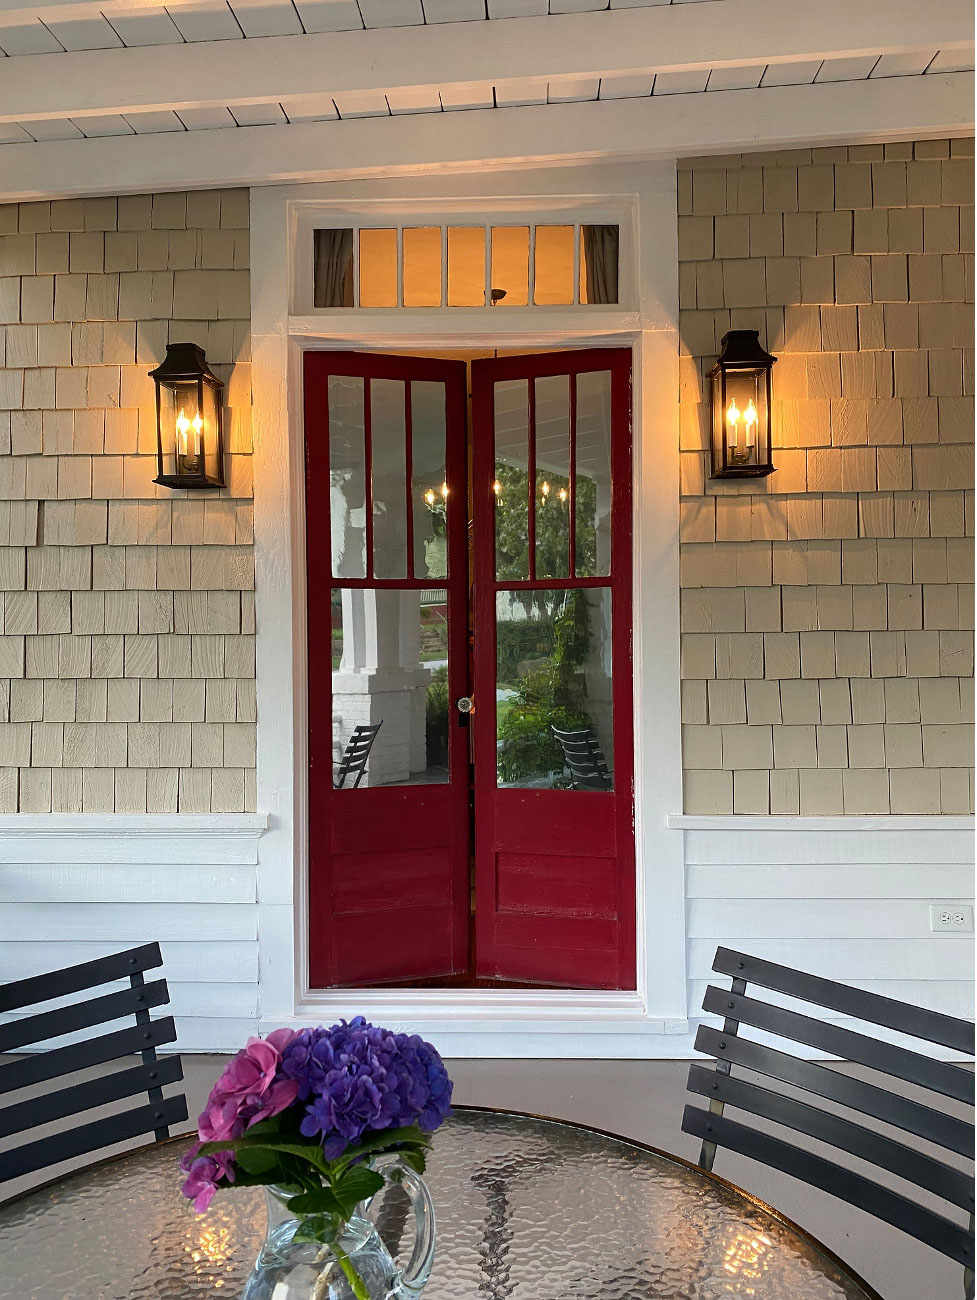
Once construction was completed, I was able to get to work on styling the space. The first step was to add two lanterns on each side of the red patio doors. They have the look and feel of gas lanterns at a fraction of the cost and look beautiful at night.
I then added a vintage glass doorknob and a new surface mount door lock to the patio doors.
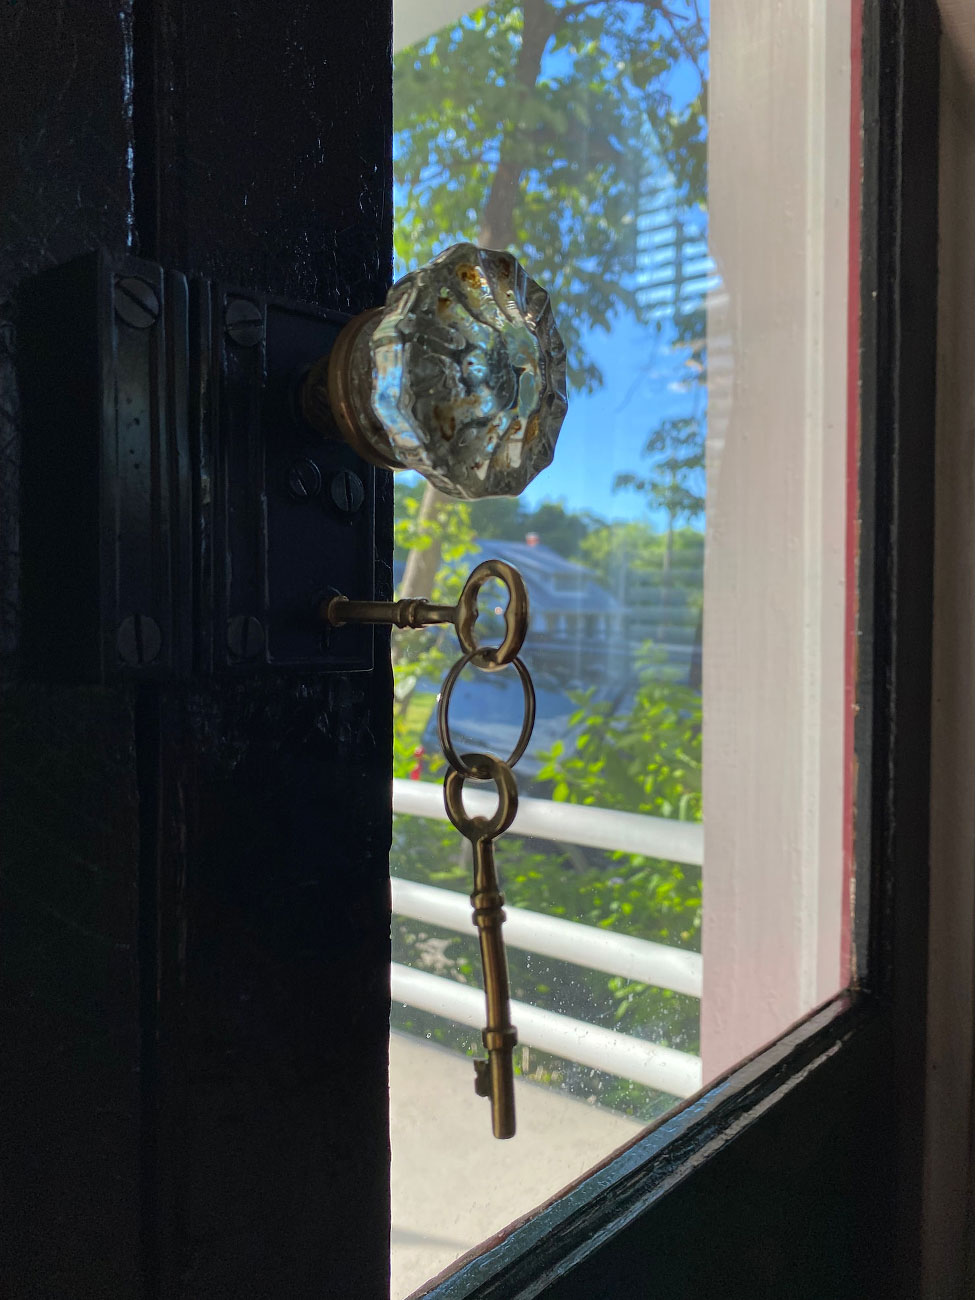
If you are unable to find true authentic door hardware, look for vintage inspired ones like some of these options:
I was then able to bring in furniture I already had including a round glass table with black iron chairs. Next I centered those items on a new round outdoor rug that fits the space perfectly.
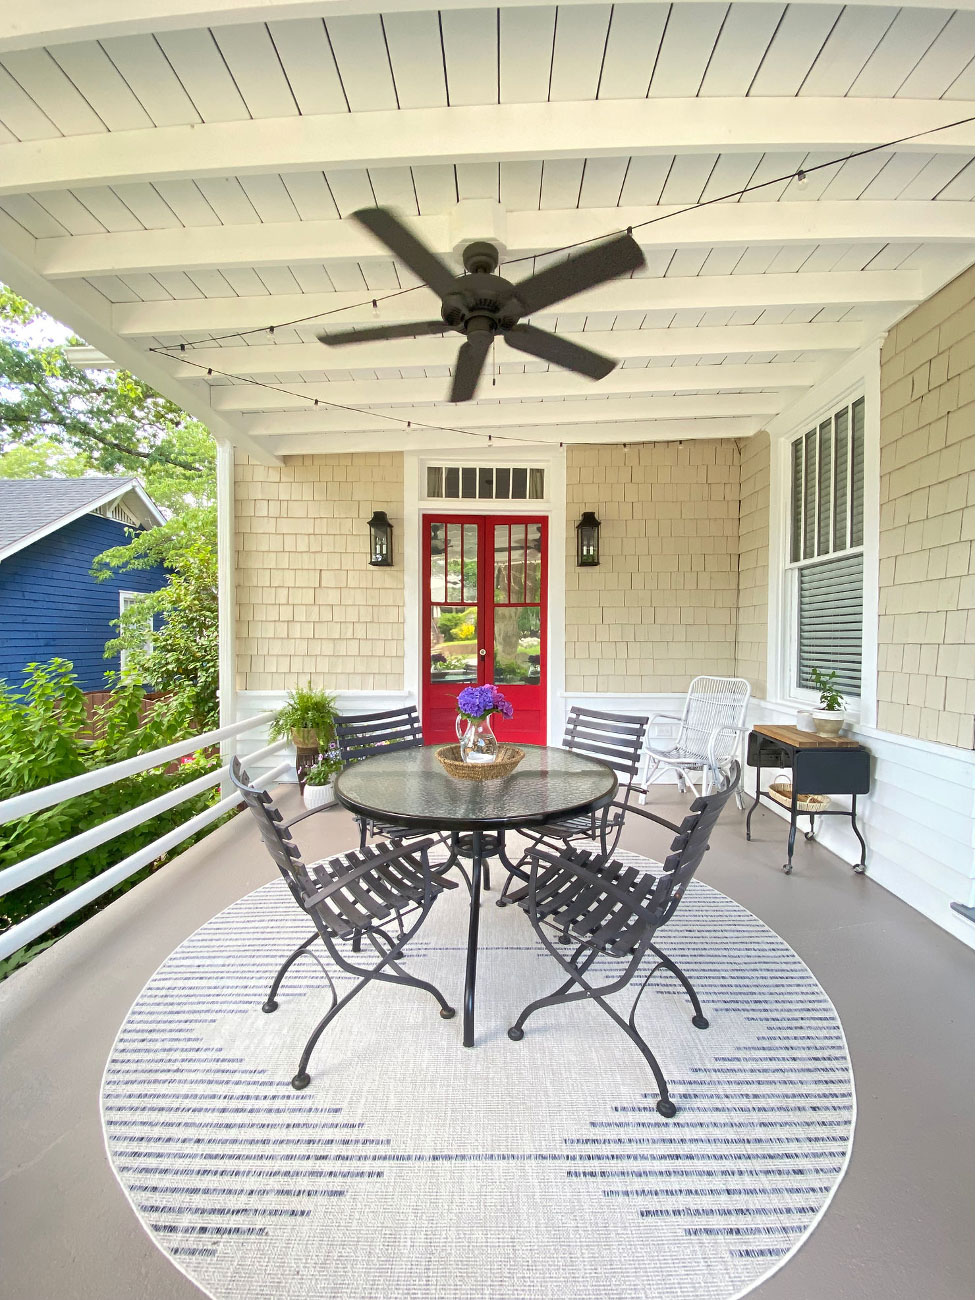
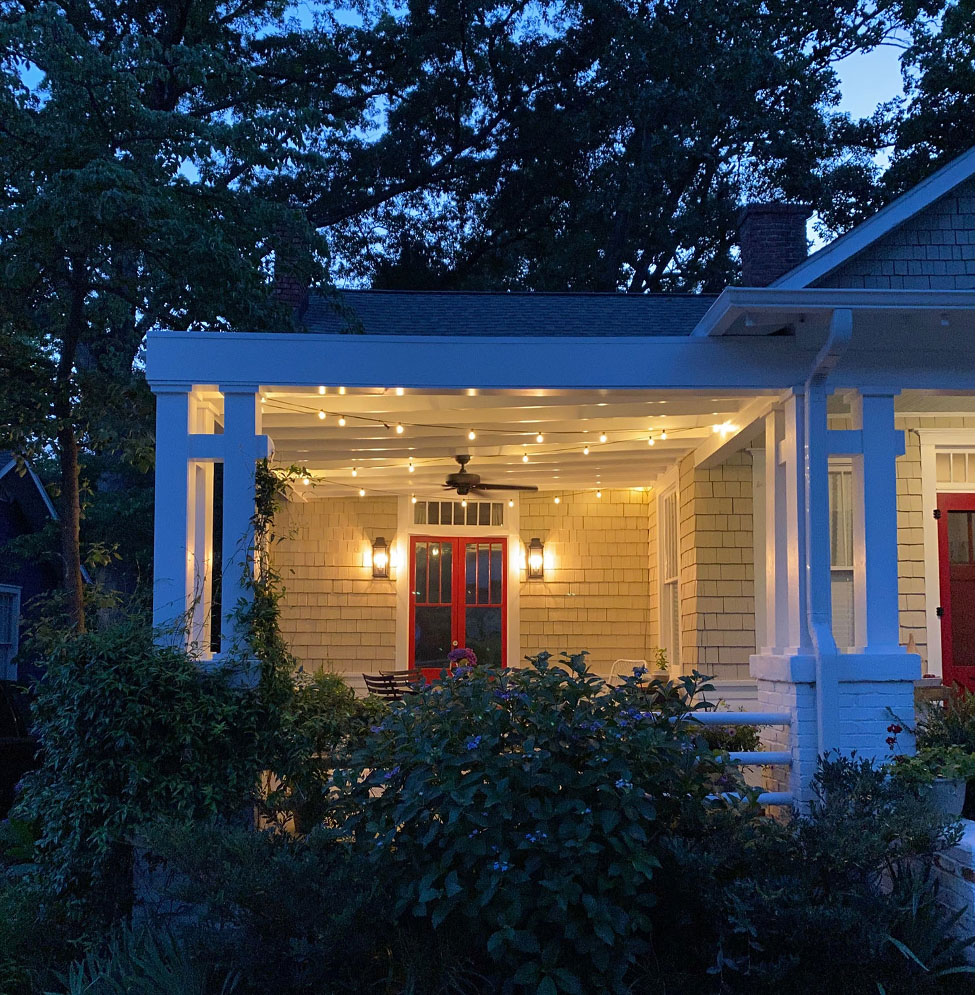
In one corner I added a chair and small table for extra seating. In the other three corners I added flowers and plants. To wrap things up, I hung string lights on the ceiling. These light up the space at night and creates an intimate space for evenings with family and friends.
shop
favorites
All of our favorite shoppable links and sources in one place! We love to share our projects with you and hope these resources help you as you design your own home.


+ Show / Hide Comments
Share to: