Inside My Historic Home Renovation Design Process


You’ve found the old house.
You love the character, the details, the history… and then reality hits:
Where do you even start? What if you make the wrong call? What if you ruin something you can’t get back?
That’s the point where most homeowners freeze.
If you’ve been searching for a historic home renovation design process that actually makes sense—and helps you avoid expensive mistakes—you’re in the right place.
Why My Approach Is Different
After 67 renovations—including 29 full home renovations—I’ve learned this:
A successful renovation isn’t about starting over. It’s about working with the house, not against it.
Preserving original character isn’t something I try to squeeze in at the end—it’s built into every decision from the beginning.
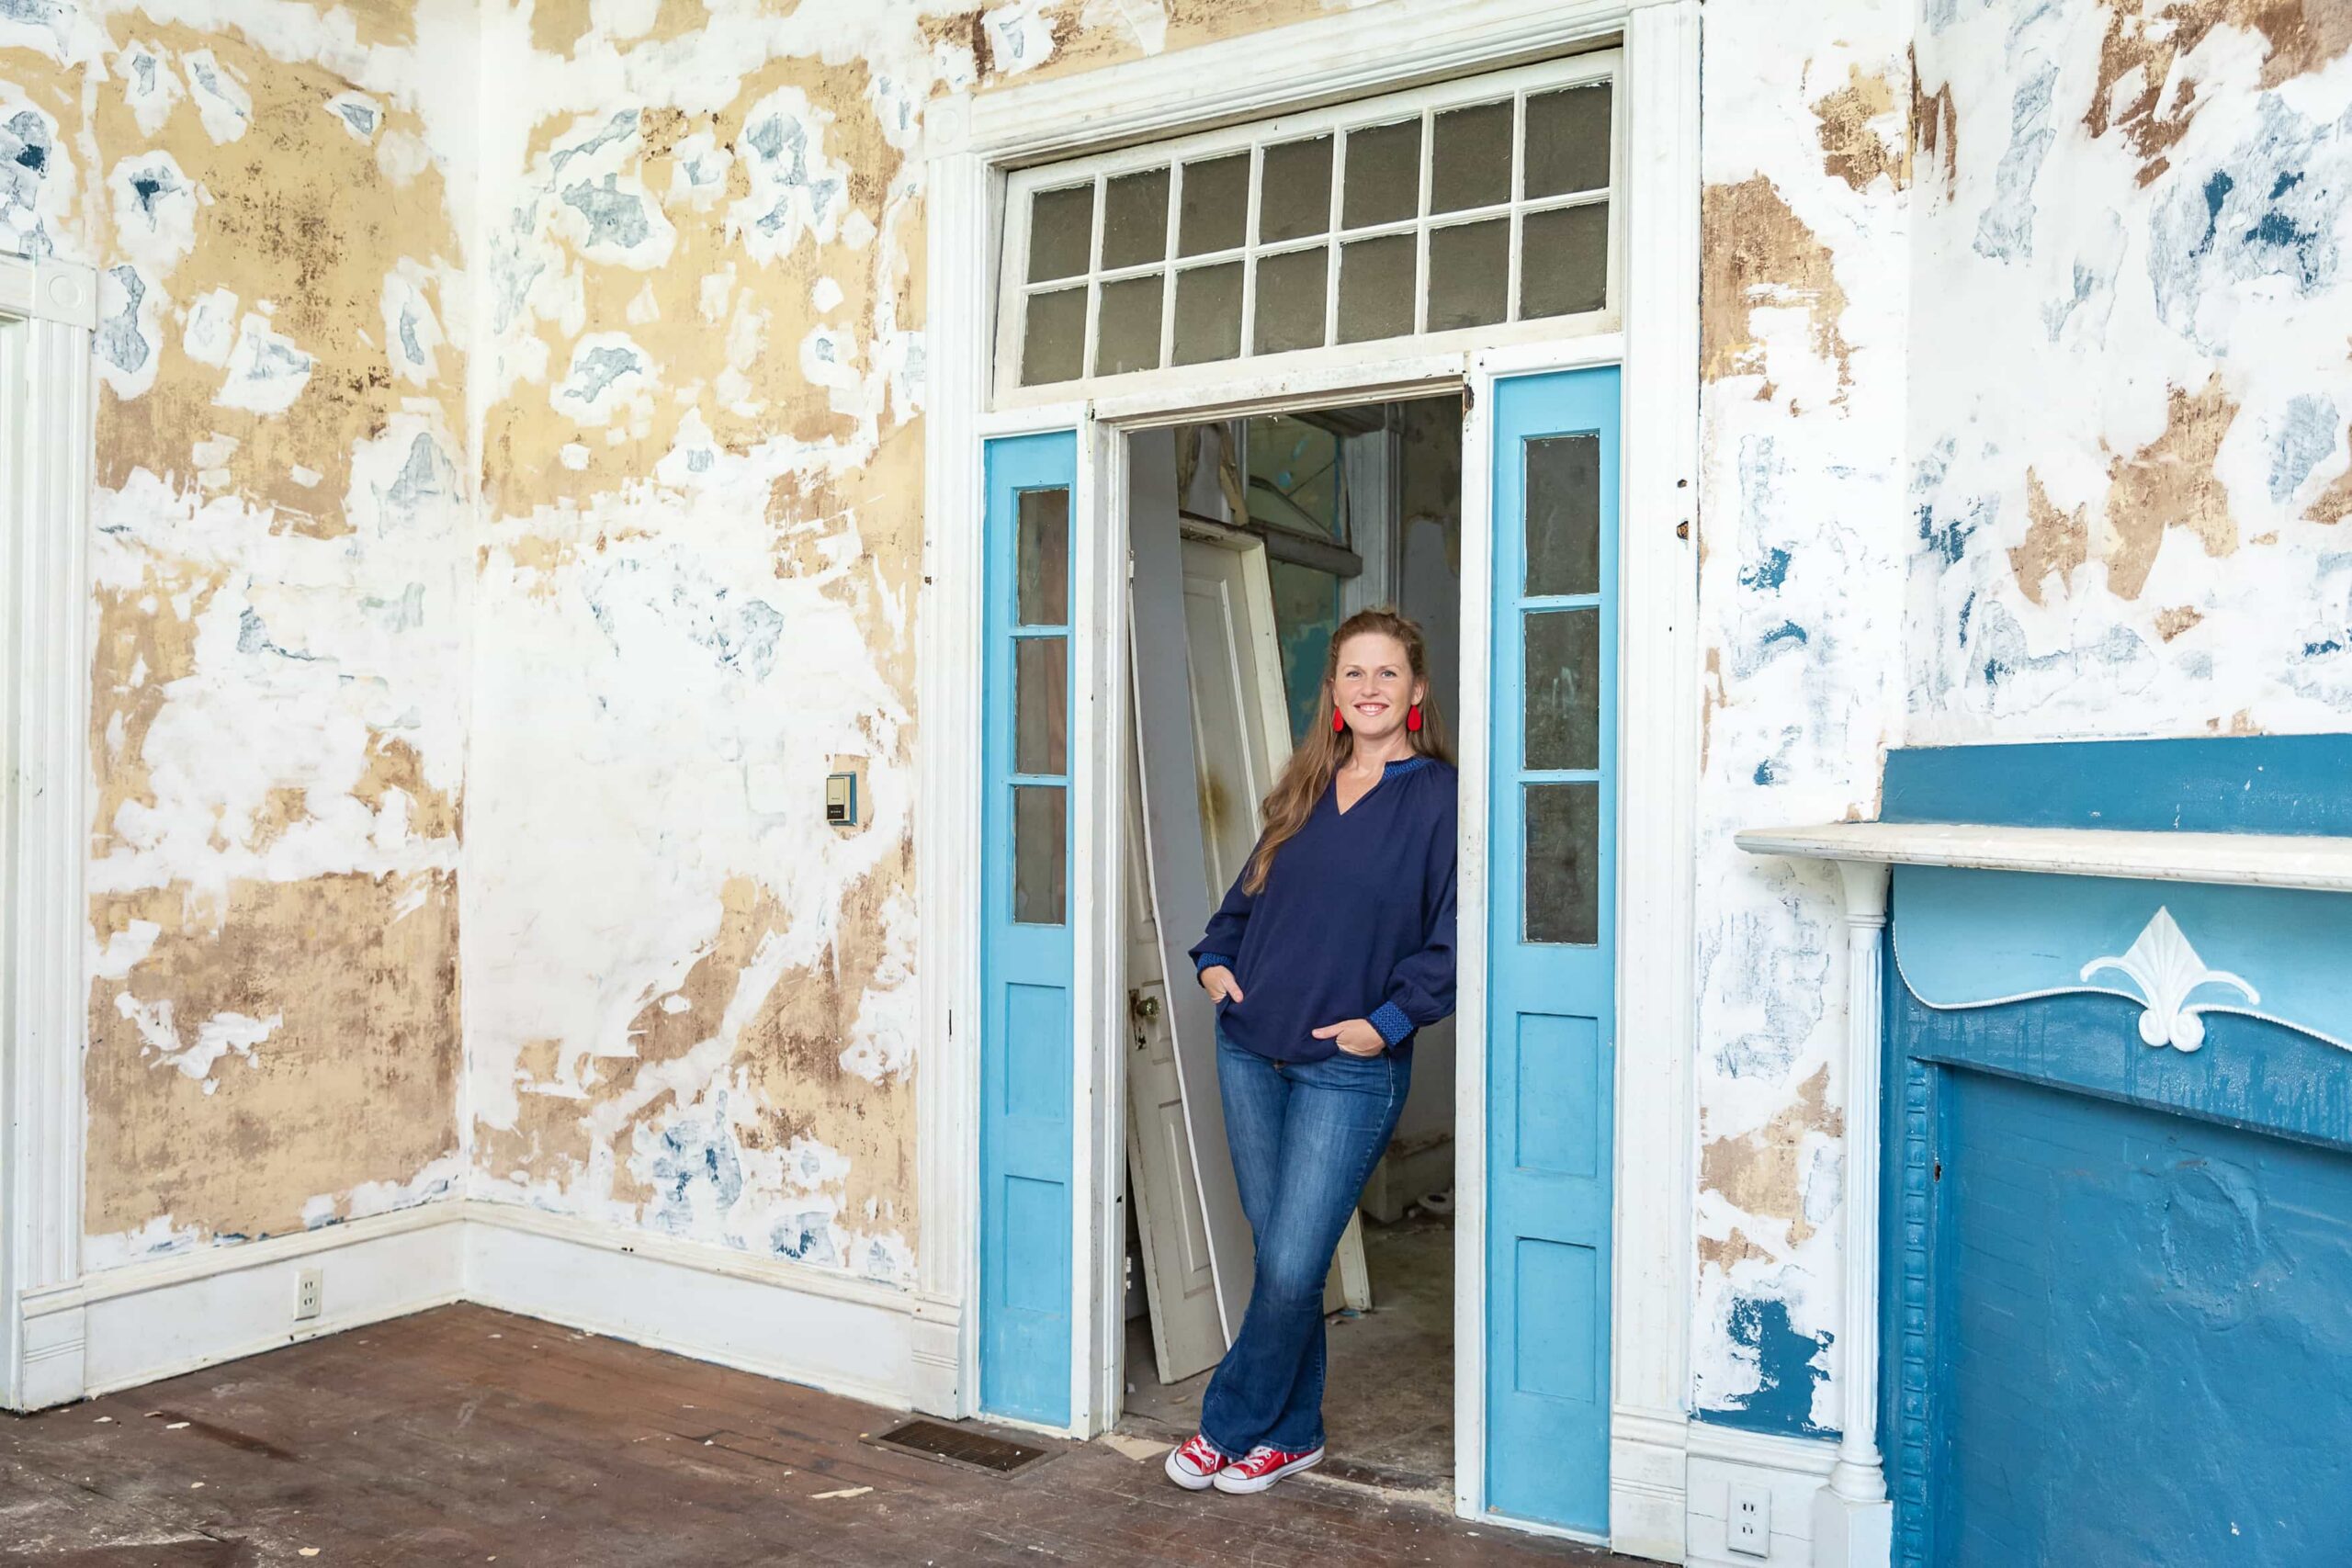
If we haven’t met yet, I’m Heather. I work exclusively with older and historic homes, and I’ve spent the last 20+ years helping homeowners figure out how to update their spaces without stripping away what made them fall in love with the house in the first place.
My goal is to help you move forward with a clear plan—so you’re not second-guessing every decision once construction starts.

How You Can Work With Me
There are two ways I help homeowners:
- The Renovation Library – if you want guidance and resources to tackle things on your own
- Design Services – if you want a fully reworked floor plan and expert direction before construction begins
Let’s walk through what it actually looks like to work together on a design.
My Historic Home Renovation Design Process
Step One: Start With the Questionnaire
Everything begins with a short questionnaire.
This gives me a clear picture of your home, your goals, and what you’re hoping to accomplish. From there, I’ll let you know if we’re a good fit and send over a custom proposal.
There’s no pressure here—you’re just getting clarity on next steps.
Step Two: Lock In Your Spot + Prep for Our Call
When you’re ready to move forward:
- You’ll sign your service agreement
- Pay a 50% deposit to reserve your spot
- Schedule your 30-minute virtual consultation
At least 72 hours before our virtual consultation, you’ll send over:
- A measured floor plan (I’ll guide you on exactly what I need)
- Up to 10 current photos of your current space
- Inspiration images or a Pinterest board
- Your wishlist and renovation goals
This way, we can spend our time actually solving problems—not gathering basic info. It also gives me plenty of time to come up with suggestions on the layout ahead of time.
Step Three: Your Custom Floor Plan Options
After our consultation, I get to work rethinking your layout.
Instead of giving you one option and hoping it works, I create two or more strategic floor plan concepts, each designed around your priorities and how you actually live in your home.
You’ll receive a recorded walkthrough where I talk you through each option—what works, what doesn’t, and why.
Because the goal isn’t just to hand you plans—it’s to help you understand them.
Step Four: Refining the Plan (This Is the Important Part)
Once you’ve had time to review everything and select the layout that works best for your family, we move into the refinement phase.
You’ll have two full weeks to sit with the options, think things through, and send feedback. We’ll go back and forth over email, making adjustments until it feels right.
No rushed decisions.
Just the time and space to actually make good choices.
Step Five: Finalizing Everything Together
At the end of the two week refinement period (or sooner if you make decisions quickly), we’ll meet for a 60-minute live editing session.
This is where we fine-tune everything in real time—layouts, details, and any lingering questions.
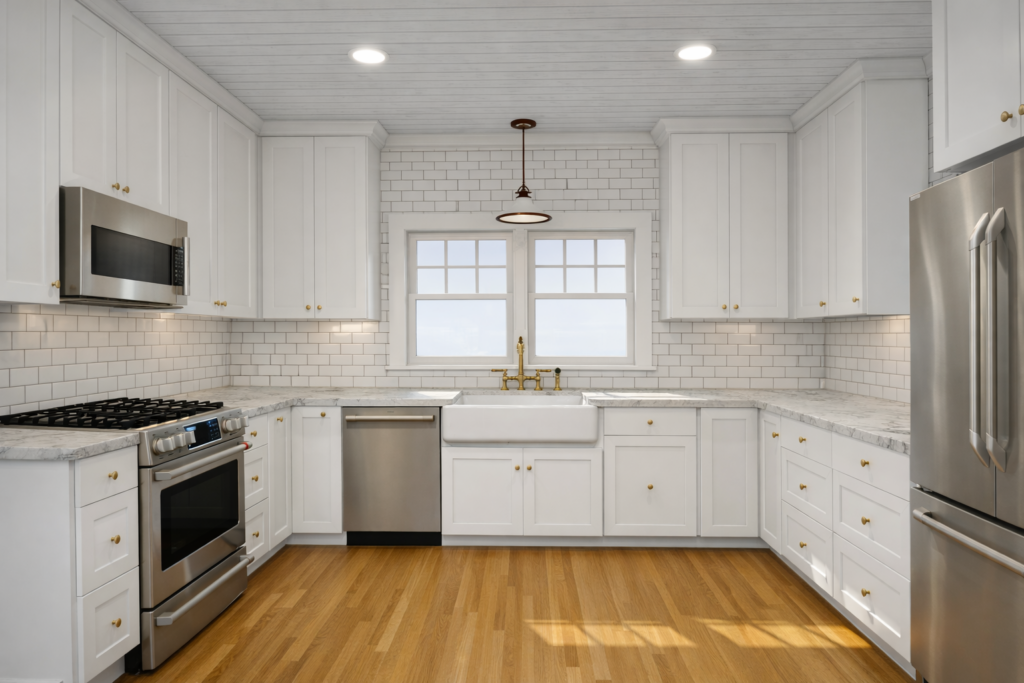
The 3D renderings are especially helpful here. You’re not guessing what something might look like—you’re seeing it before construction even starts.
At the end of this session, once you feel confident in every detail, you’ll give final approval on your plan.
You’ll also take care of the remaining 50% balance at this point, which gives me the green light to move into preparing your final deliverables.
Step Six: Your Final Plans, Ready to Use
Now I take everything we finalized and package it into clear, usable plans you can actually move forward with.
You’ll receive:
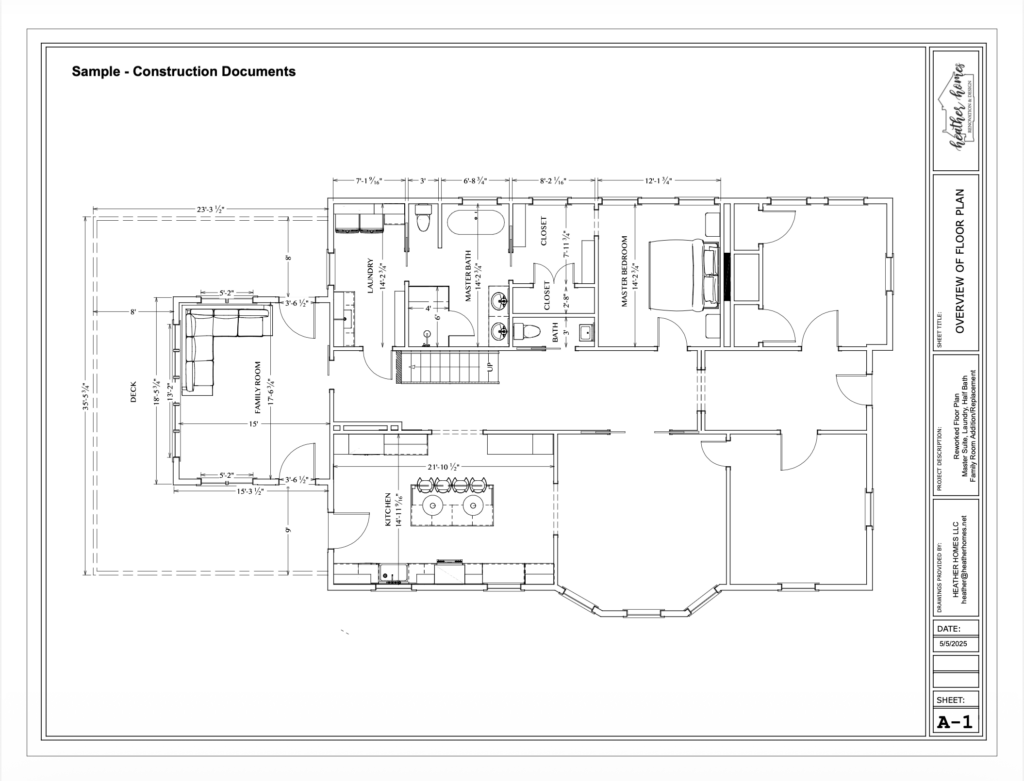
- Before and after dimensioned floor plans with notes
- A finalized layout ready to send to contractors for pricing
- Cabinet layouts and wall elevations (kitchens, pantries, laundry, etc.)
- A full 3D rendering gallery
- A recorded walkthrough you can reference anytime
Everything is organized and delivered through a Dropbox folder so you can easily access it whenever you need it.
Who This Is For (And Who It Isn’t)
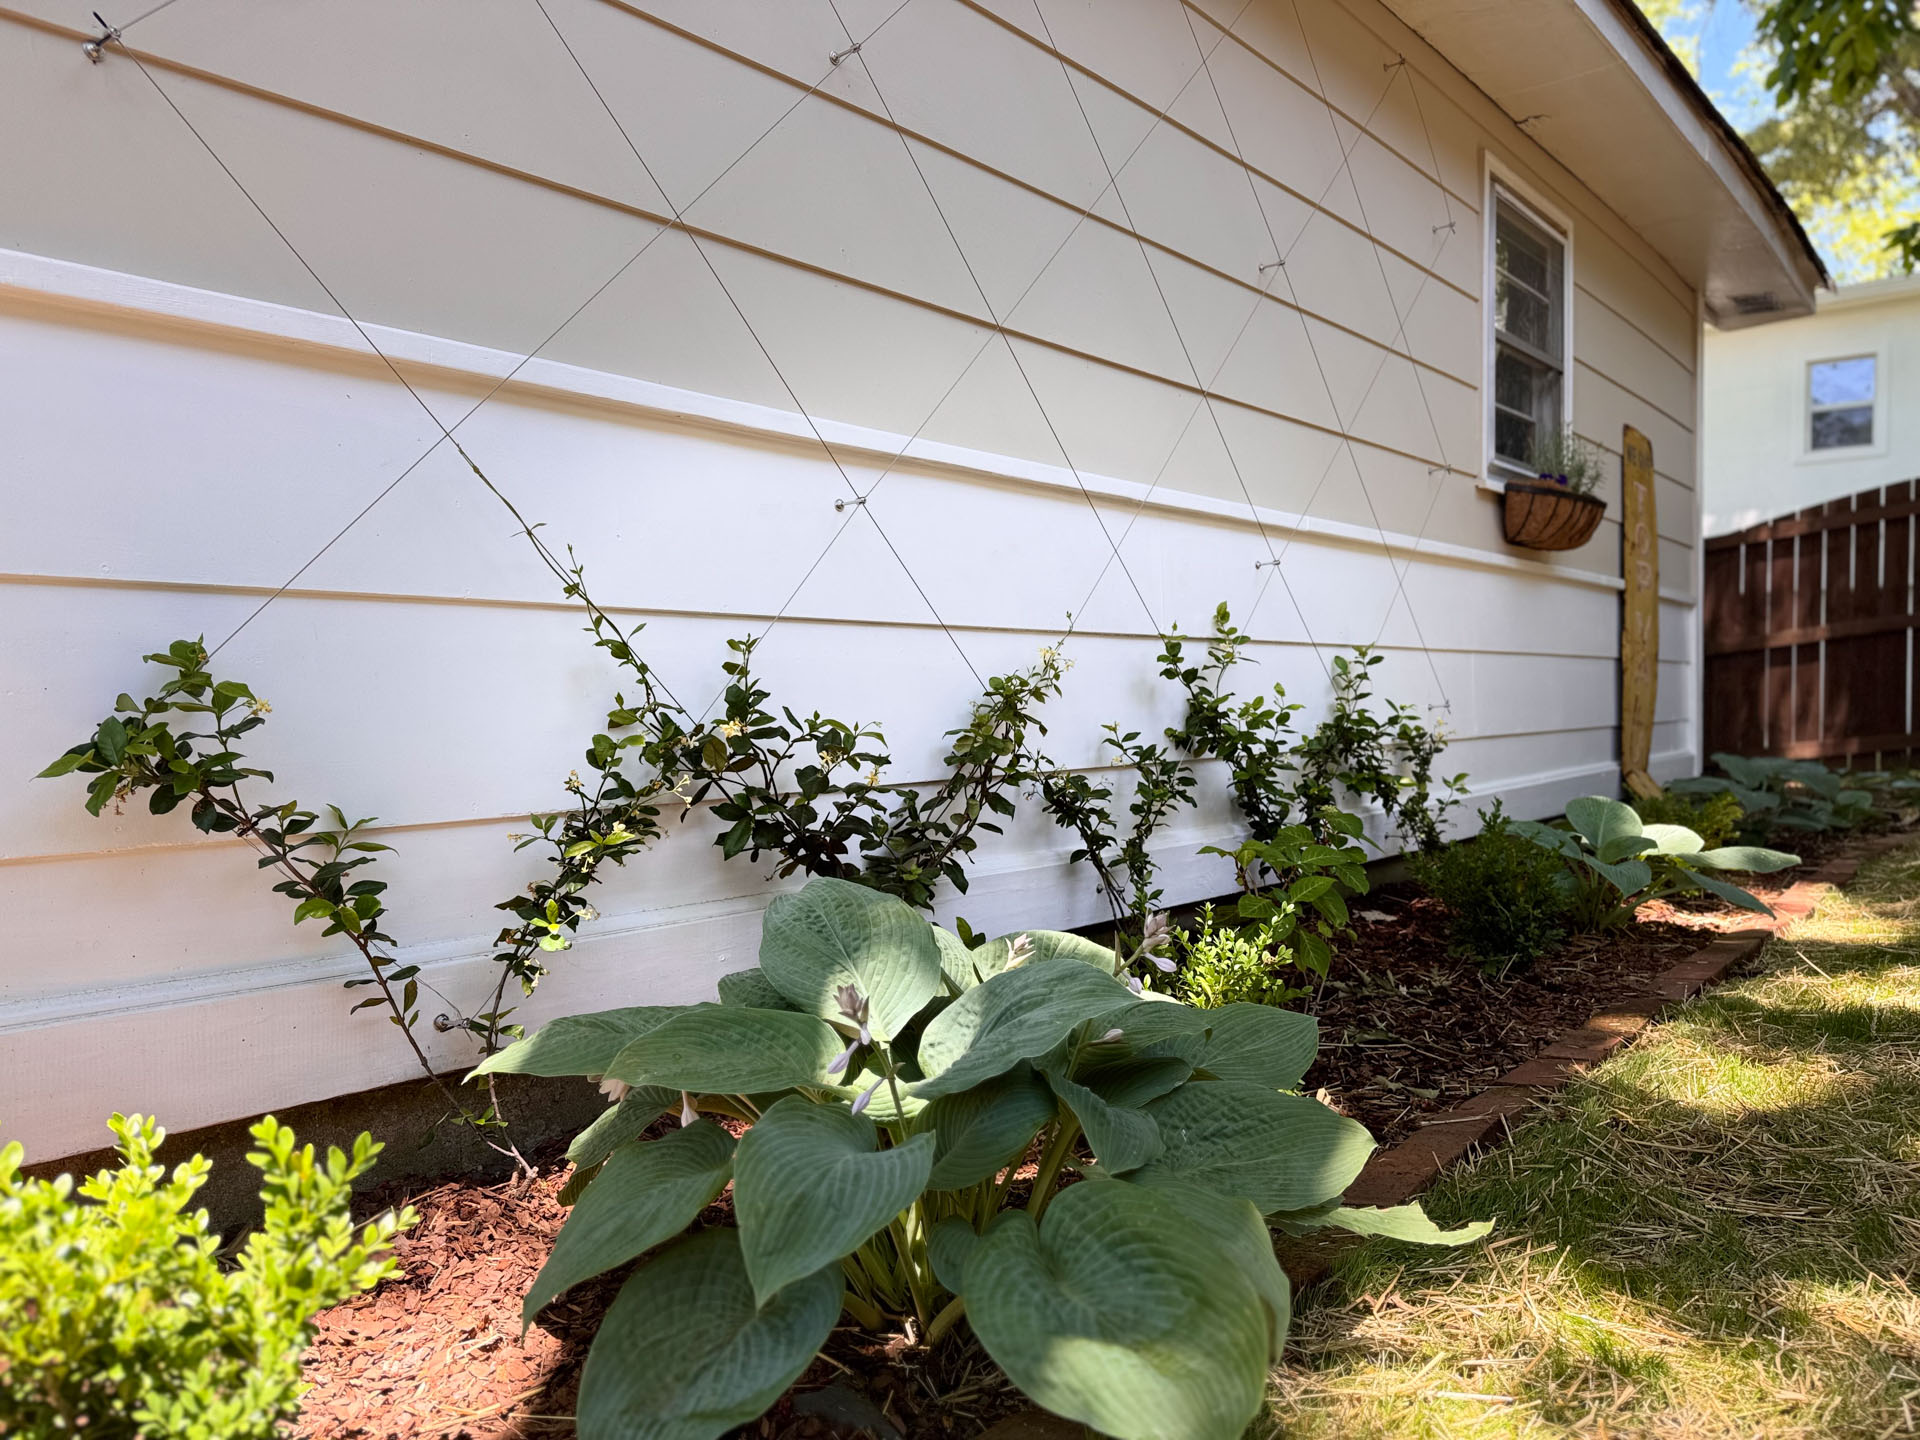
This is for homeowners with older homes—typically pre-1950—who want to improve how their home functions without losing its character.
If you care about preserving original details and making thoughtful decisions, you’ll feel right at home in this process.
If your goal is to gut everything and start from scratch, I’m probably not the best fit—and that’s okay.
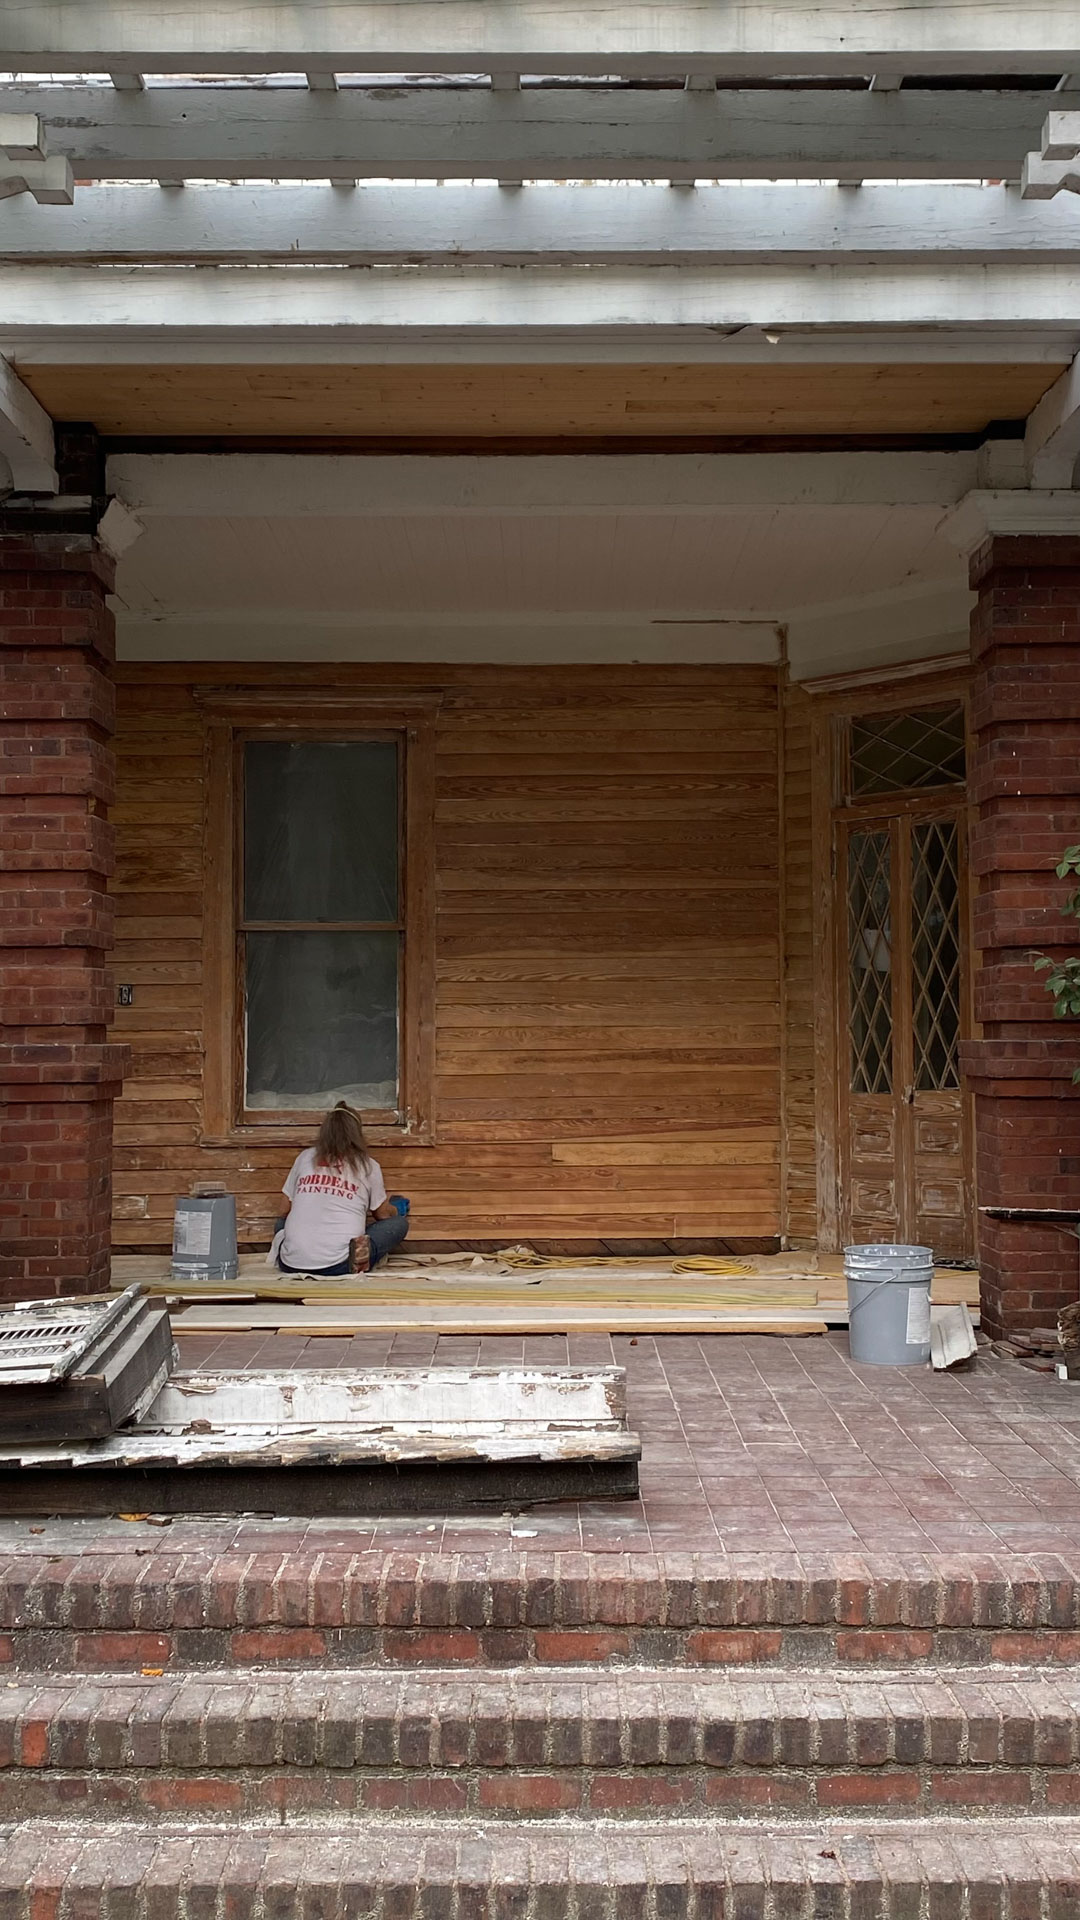
A Quick Real-Life Example
I worked with homeowners in a 1920s home who came to me completely frustrated after meeting with a contractor.
They’d been told their original floors and windows would need to go—“because of code.”
That wasn’t true.
What bothered them most wasn’t just the misinformation—it was that no one was considering the history of the home or what those details meant to them.
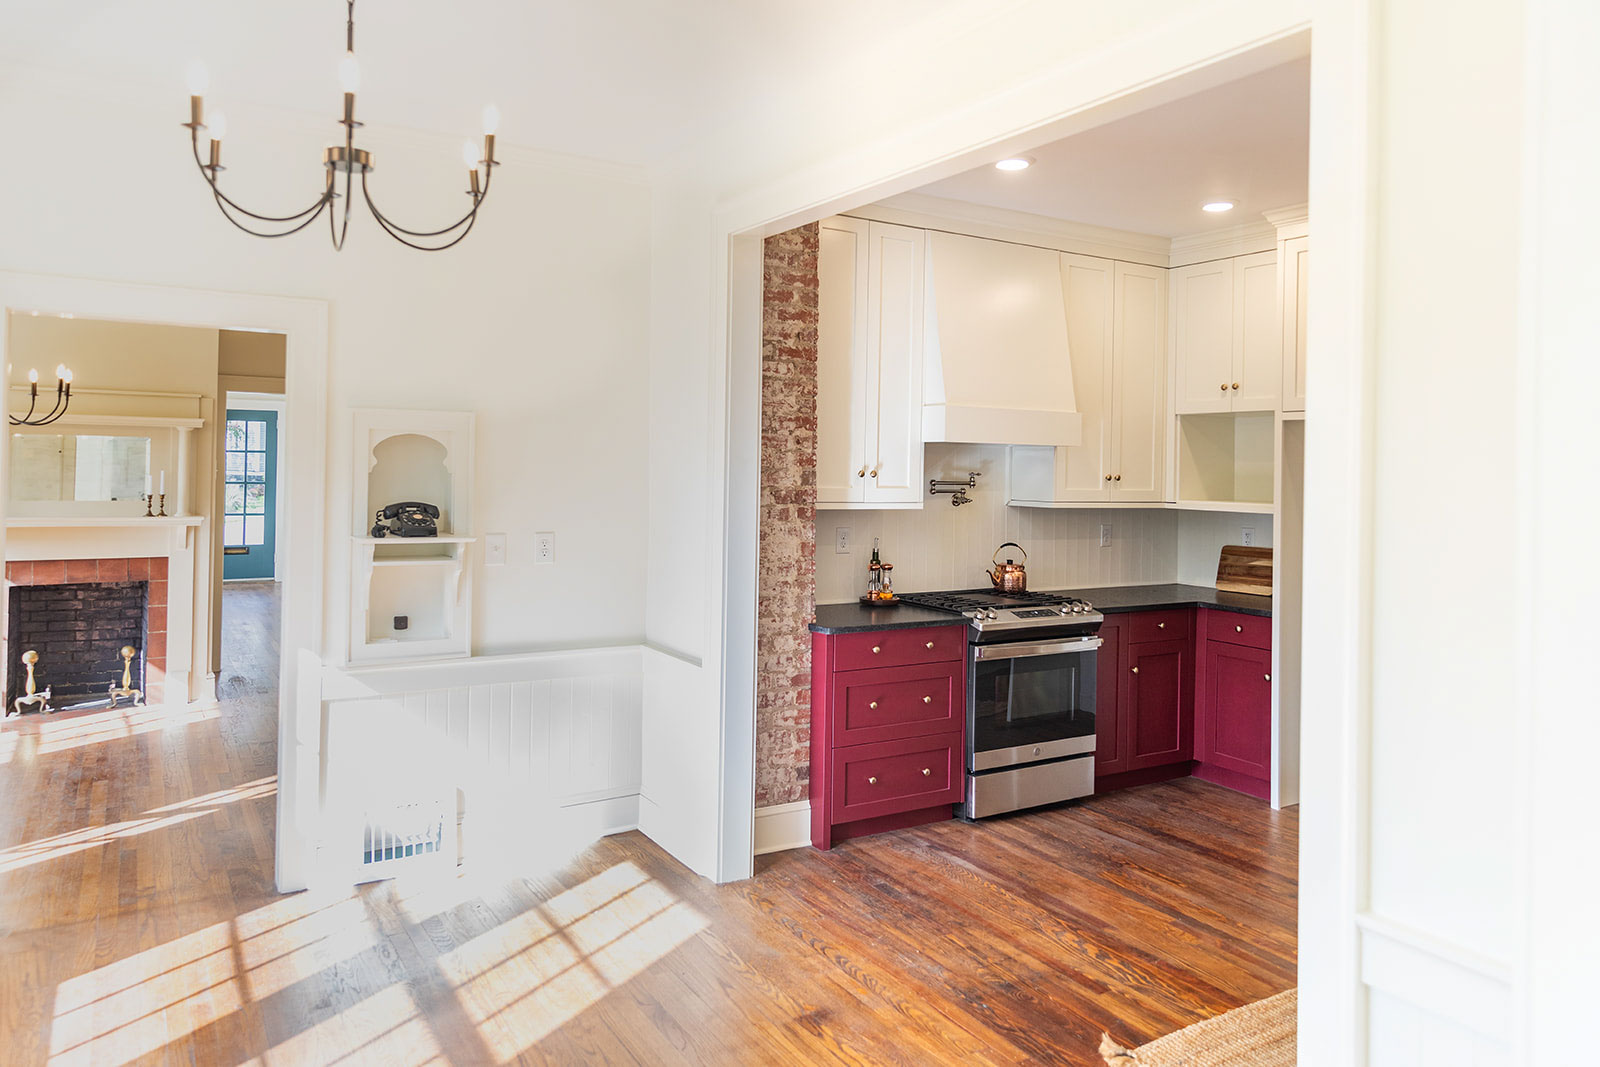
We reworked the layout, designed an addition, and created a plan that honored the home’s character while making it work for modern life.
That’s always the goal: a home that functions better and still feels like itself.
Ready to Take the First Step?
If you’ve been putting off your renovation because you’re worried about making the wrong decision—or you just don’t know where to start—this is your next step.
The questionnaire takes about five minutes.
There’s no obligation.
But it’s how you go from overwhelmed… to having a clear plan.
One Last Thing to Think About
What would it feel like to know your layout works—before construction even begins?
Because that’s what this process is designed to give you.


+ Show / Hide Comments
Share to: