Beadboard Ceiling + Vintage Chandelier
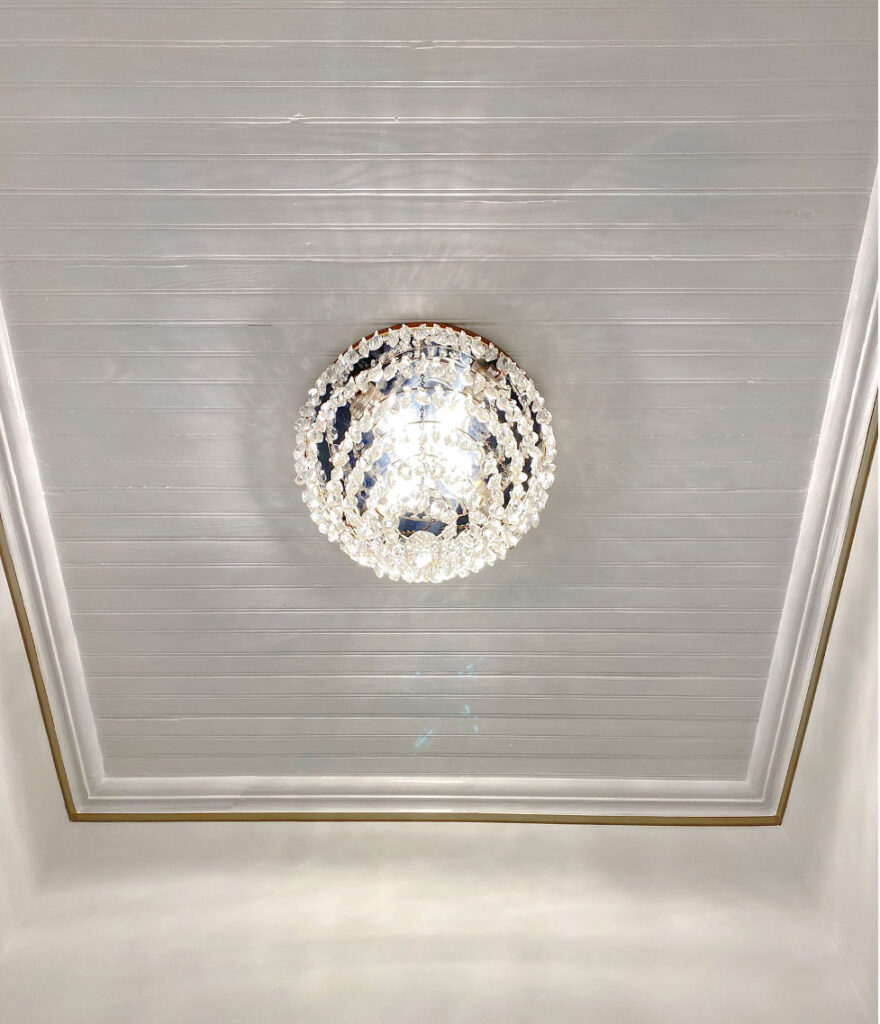
I think everyone needs a little fancy in a space or two of their home. I was able to add some fancy to the small hallway that connects my master bedroom, closet, and bathroom with beadboard ceiling and a vintage chandelier. And I am simply in love with the way it turned out.
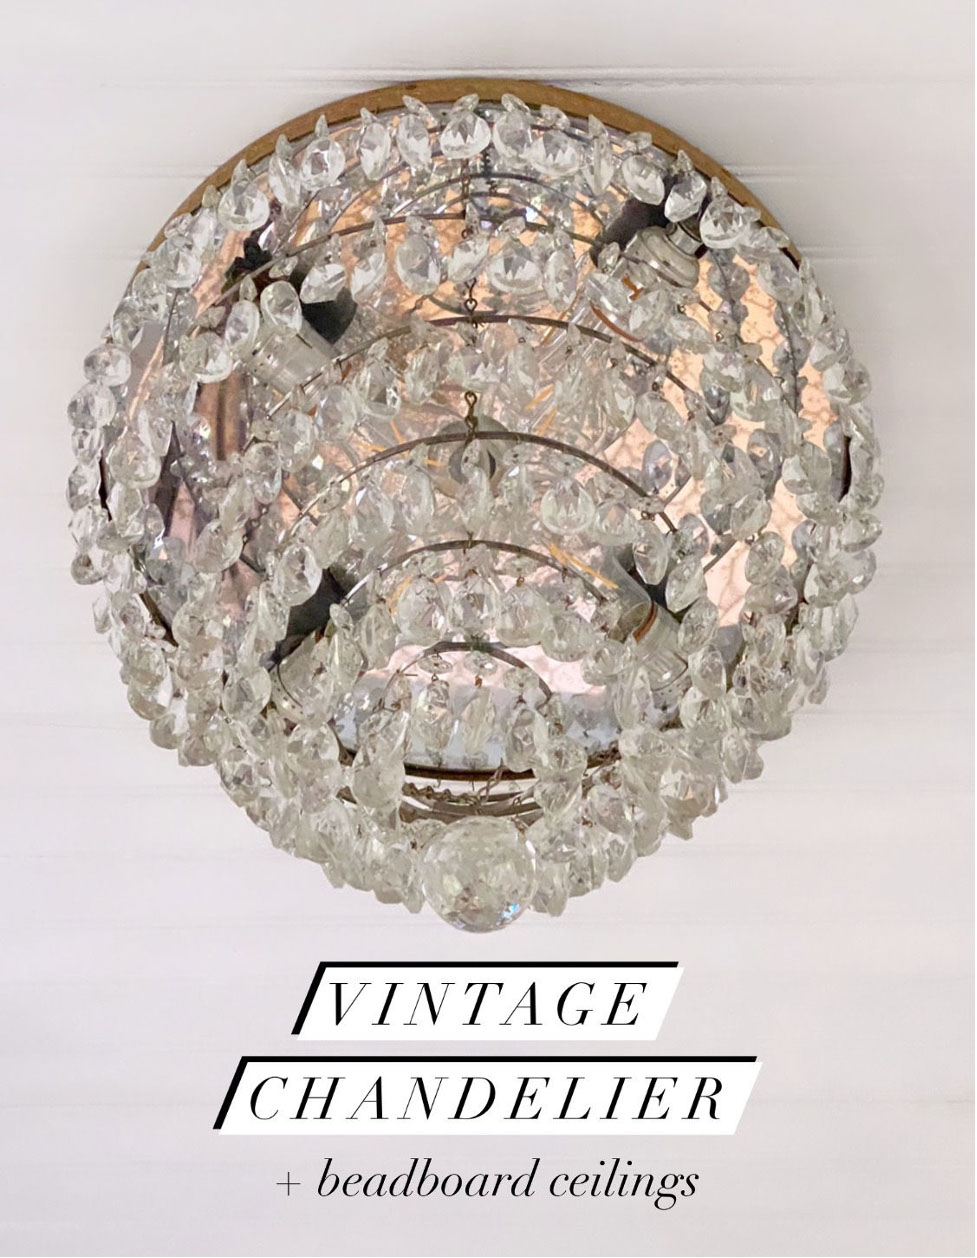
Master Hallway Glam Up
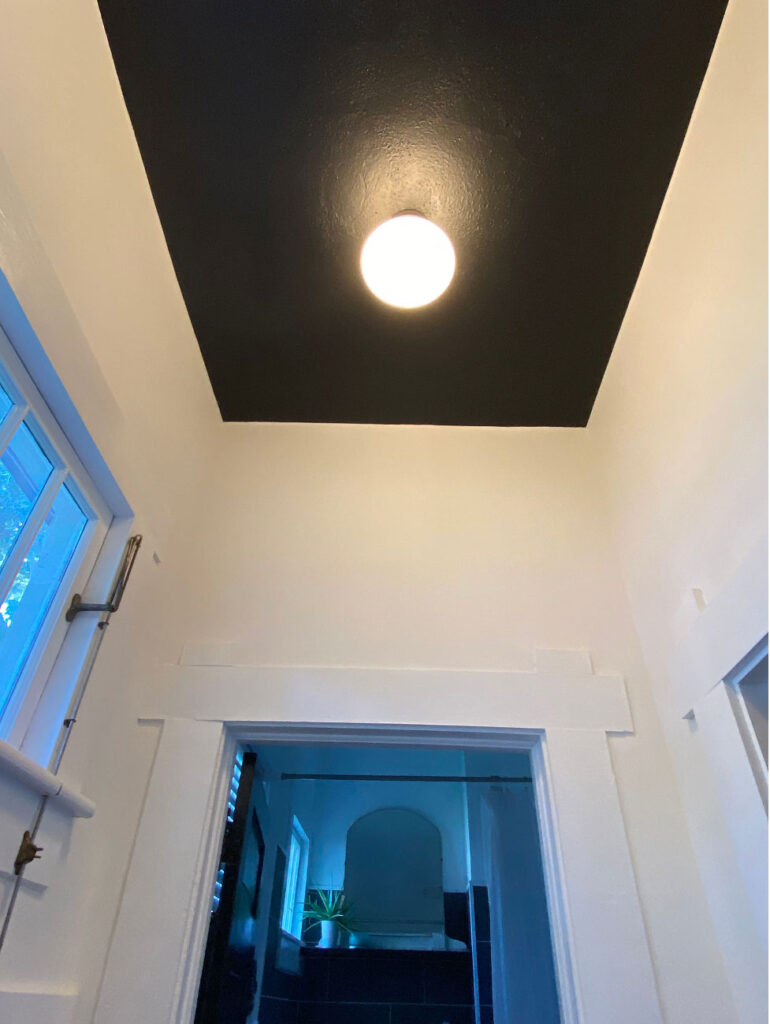
Believe it or not, the small hallway in the master suite of my home was originally the pantry of the old kitchen. When I reconfigured the entire floor plan of my house, this little space became an area that connects my master bedroom to the closet and bathroom. It was fine before with the ceiling painted black and one of my favorite go-to light fixtures installed, but once I upgraded the master closet, I knew this area would be next.
Vintage Chandelier
A few months ago I found three vintage chandeliers that were being tossed at a nearby renovation so I asked if I could take them and the homeowners kindly said yes. I just knew I would be installing one them in this space.
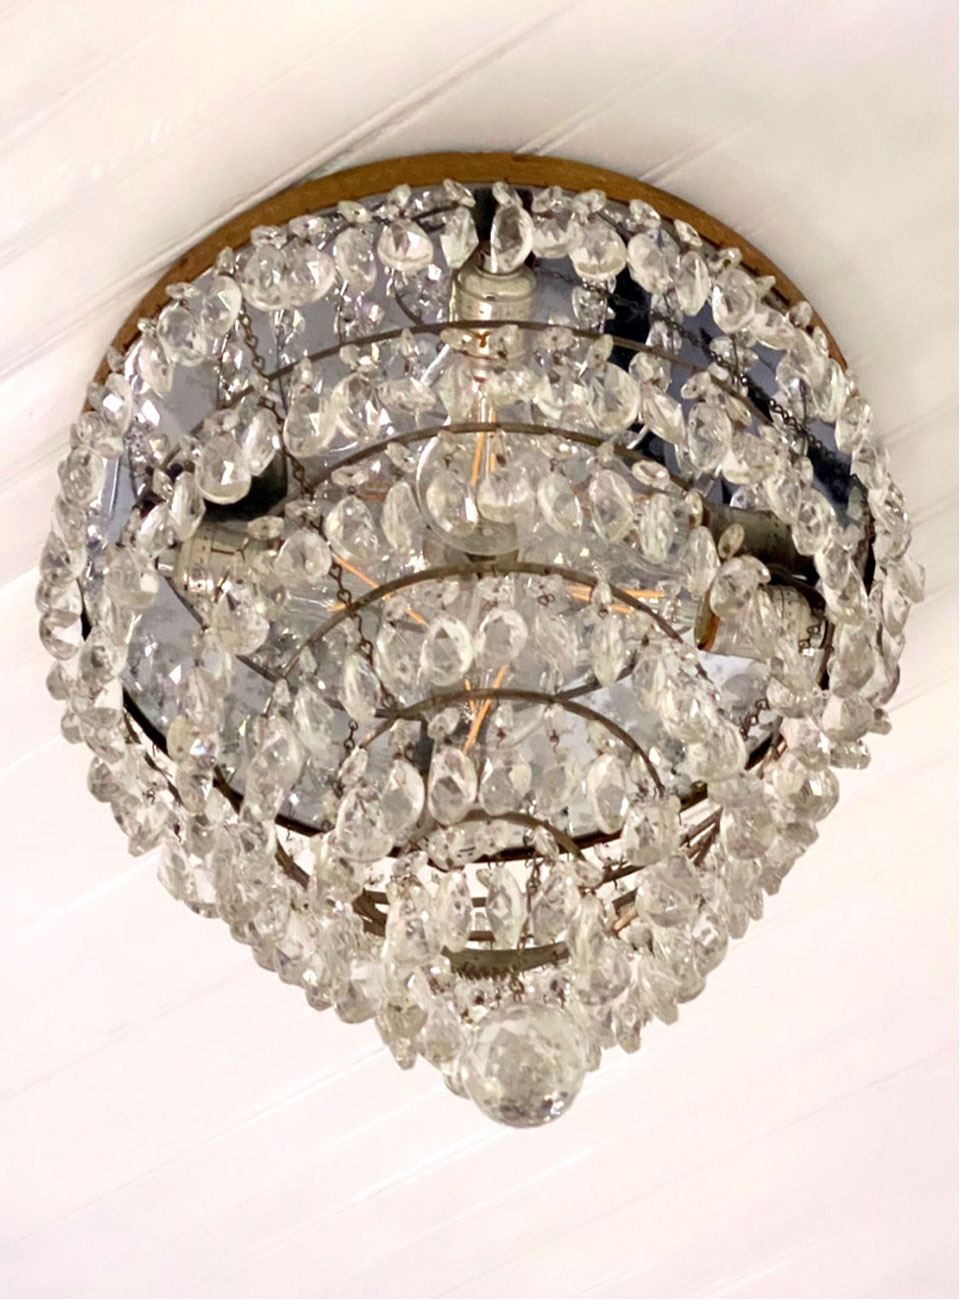
It has a beautifully aged mirrored back plate with a gold band and a whole lot of crystals.
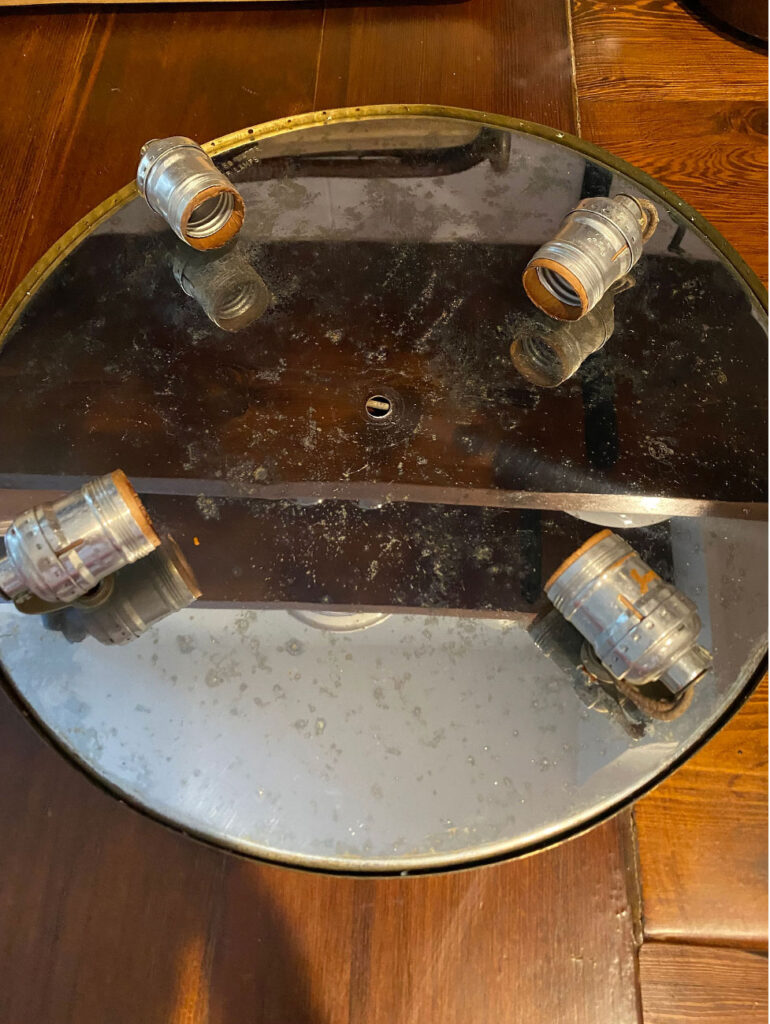
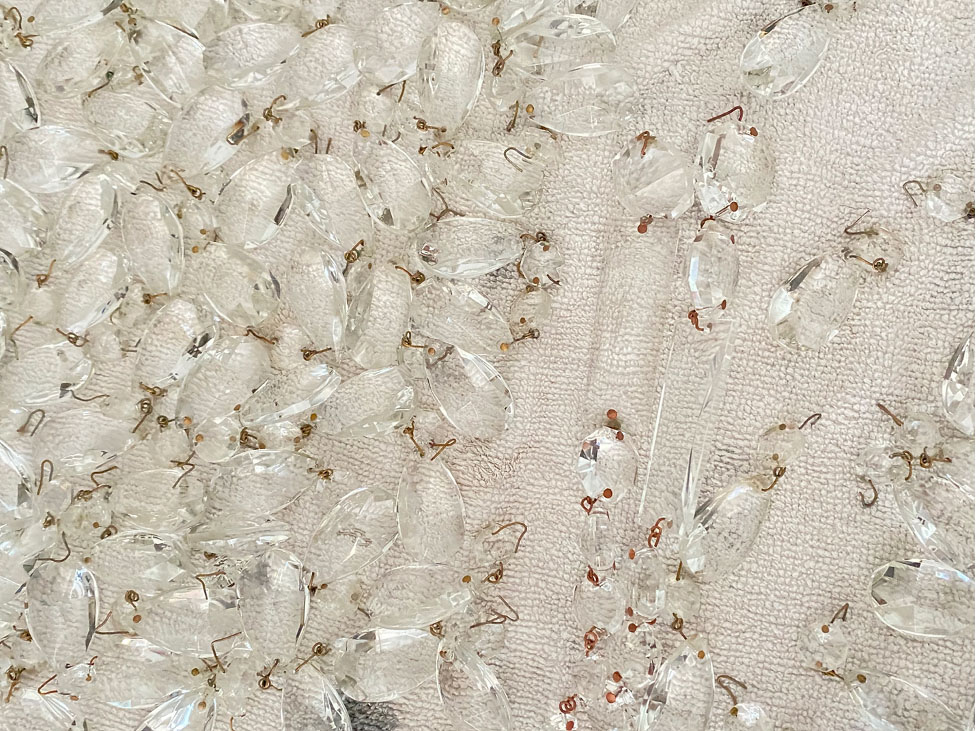
The first thing I had to do was to remove every single piece of crystal, one by one, and then clean them. I used a simple mixture of half water and half white vinegar to soak them in for several hours and then used a small toothbrush to clean every single piece.
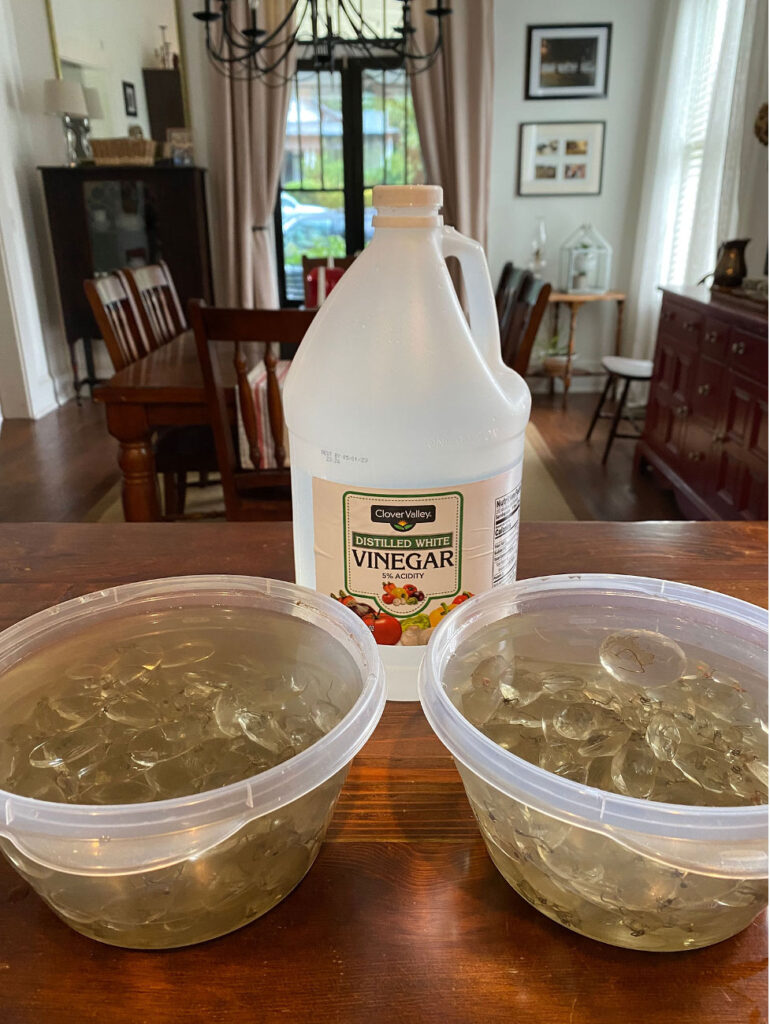
I lost track of how many pieces and how long it took so let’s just say it was a labor of love.
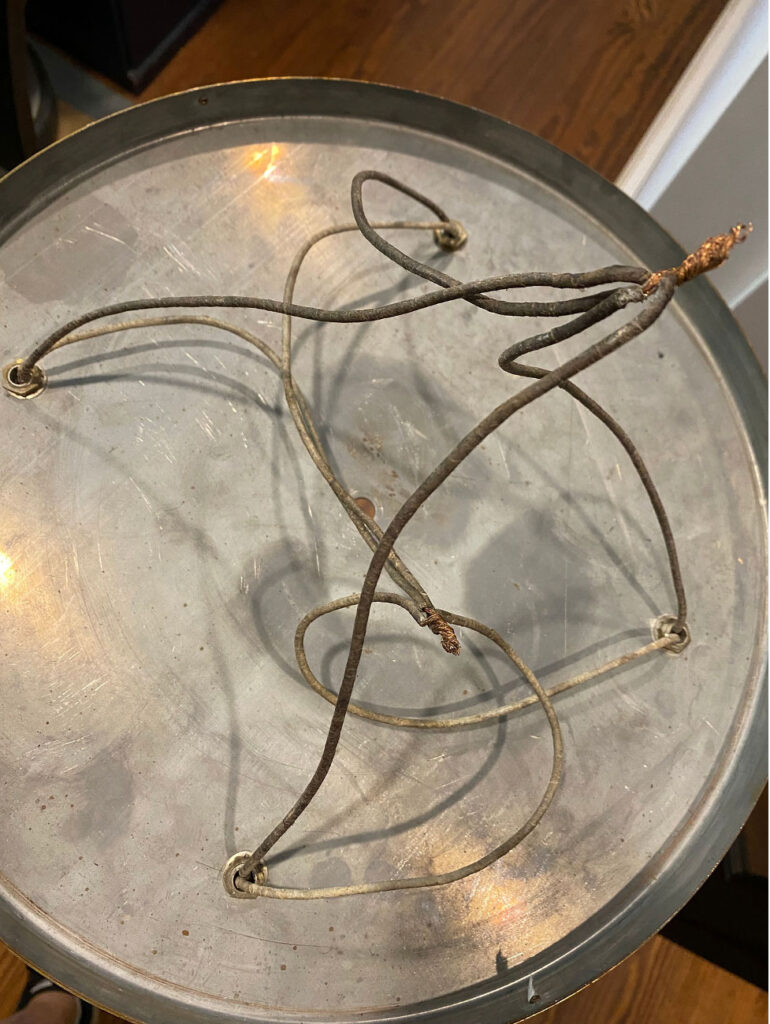
With all of the pieces ready for installation, I first had to mount the base to the ceiling using a metal rod that luckily came with the fixture. I chose not to have the old light fixture rewired and instead simply connected all of the black wires to black, and white to white. I’m not an electrician by any means but the installation was simple enough and so far, so good.
Beadboard Ceiling
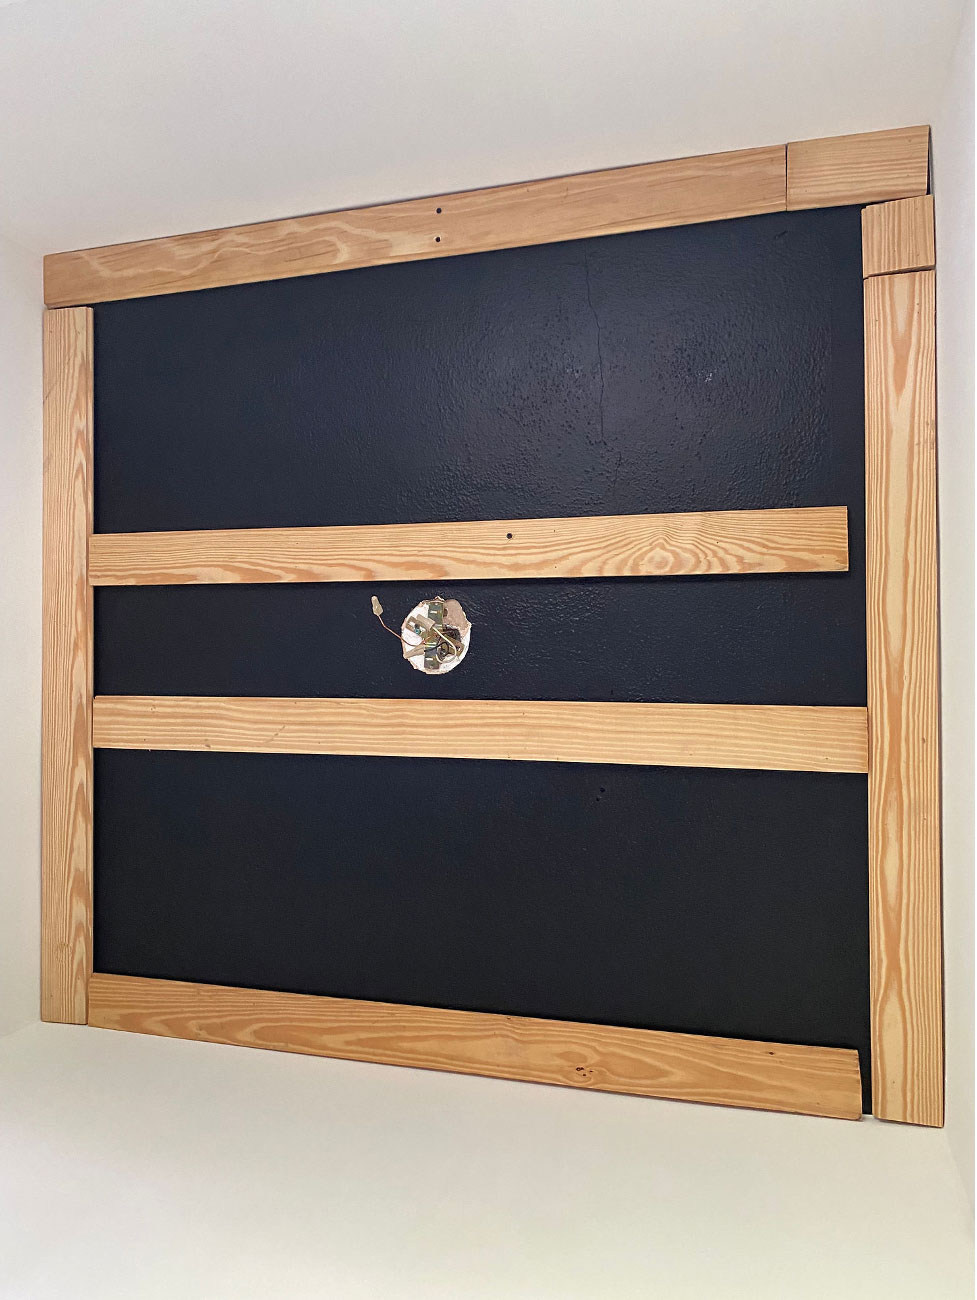
With the chandelier ready for installation, I then got to work on the ceiling itself. I had saved some old vintage beadboard and crown molding and thought this would be the perfect place to install them. I began by using some old pieces of scrap wood along the perimeter of the ceiling and added two additional supports in the middle to help support the chandelier.
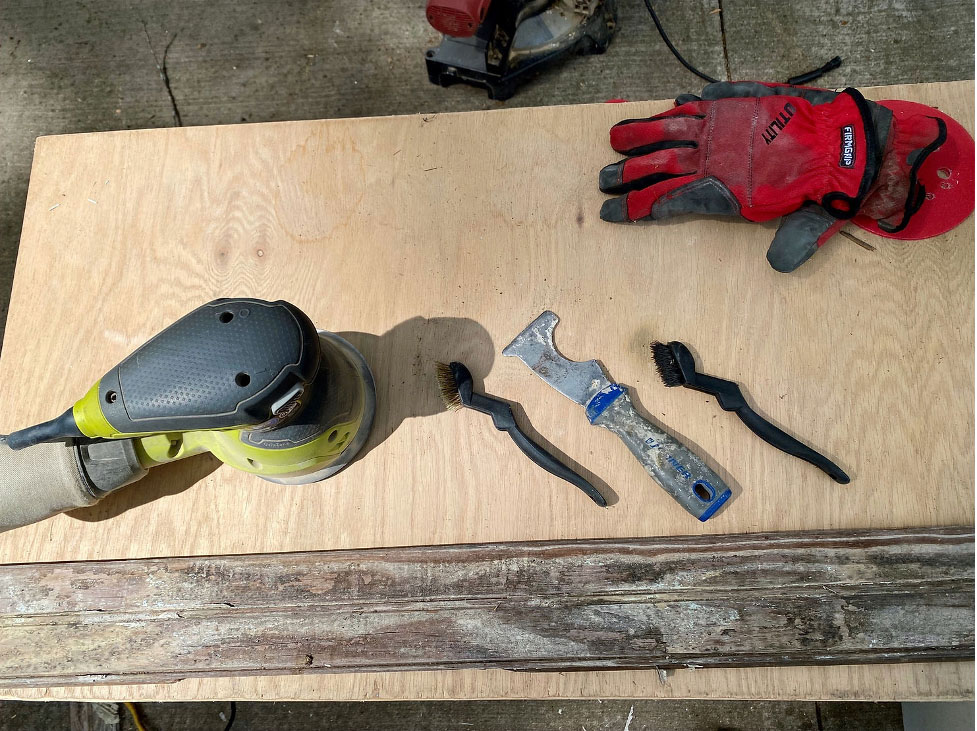
The next step was the least fun but absolutely necessary. I took all of the salvage materials, stripped off most of the paint, and then sanded them down to as smooth of a finish as possible.
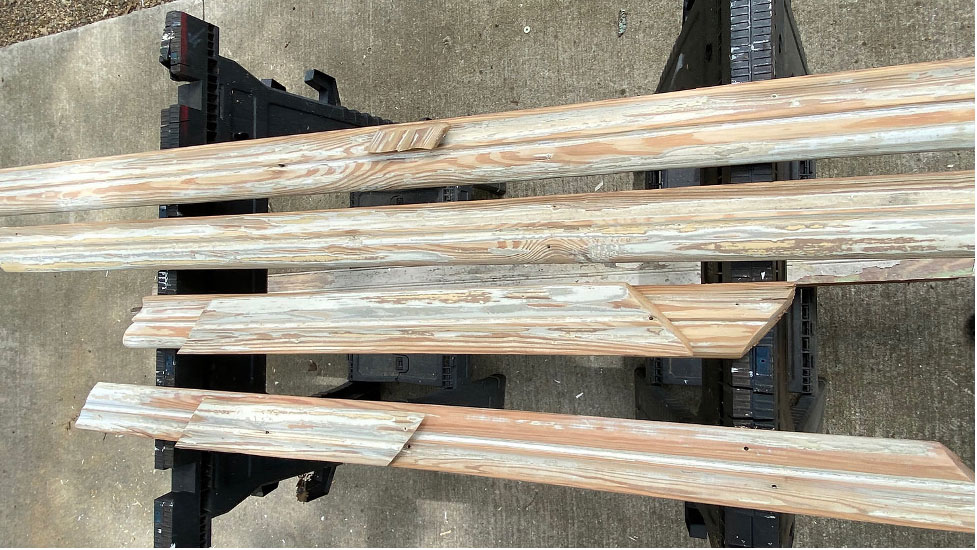
The next step was to install the beadboard ceiling and crown molding using my Ryobi finish nail gun. This is one of my favorite tools I own because it’s battery operated which makes it easy to use especially in small spaces.
As much as I hate to admit it, I made a couple of wrong cuts with the crown molding where I had to piece some material together but it’s nothing that a little caulk can’t fix.
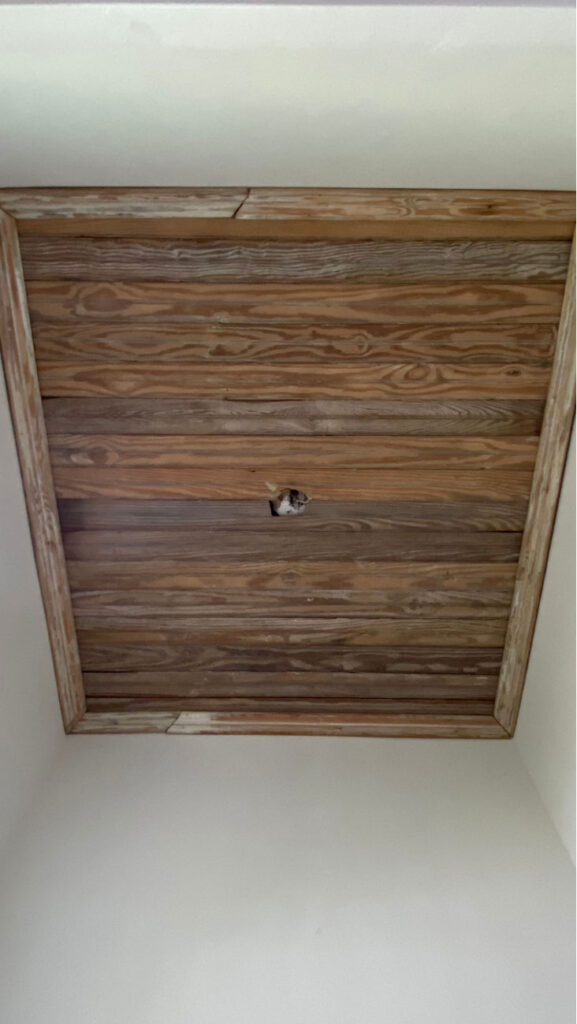
Next I just needed to add a lot of caulk, a couple of coats of primer, a couple of coats of paint, and it was time to install the vintage chandelier.
The Reveal
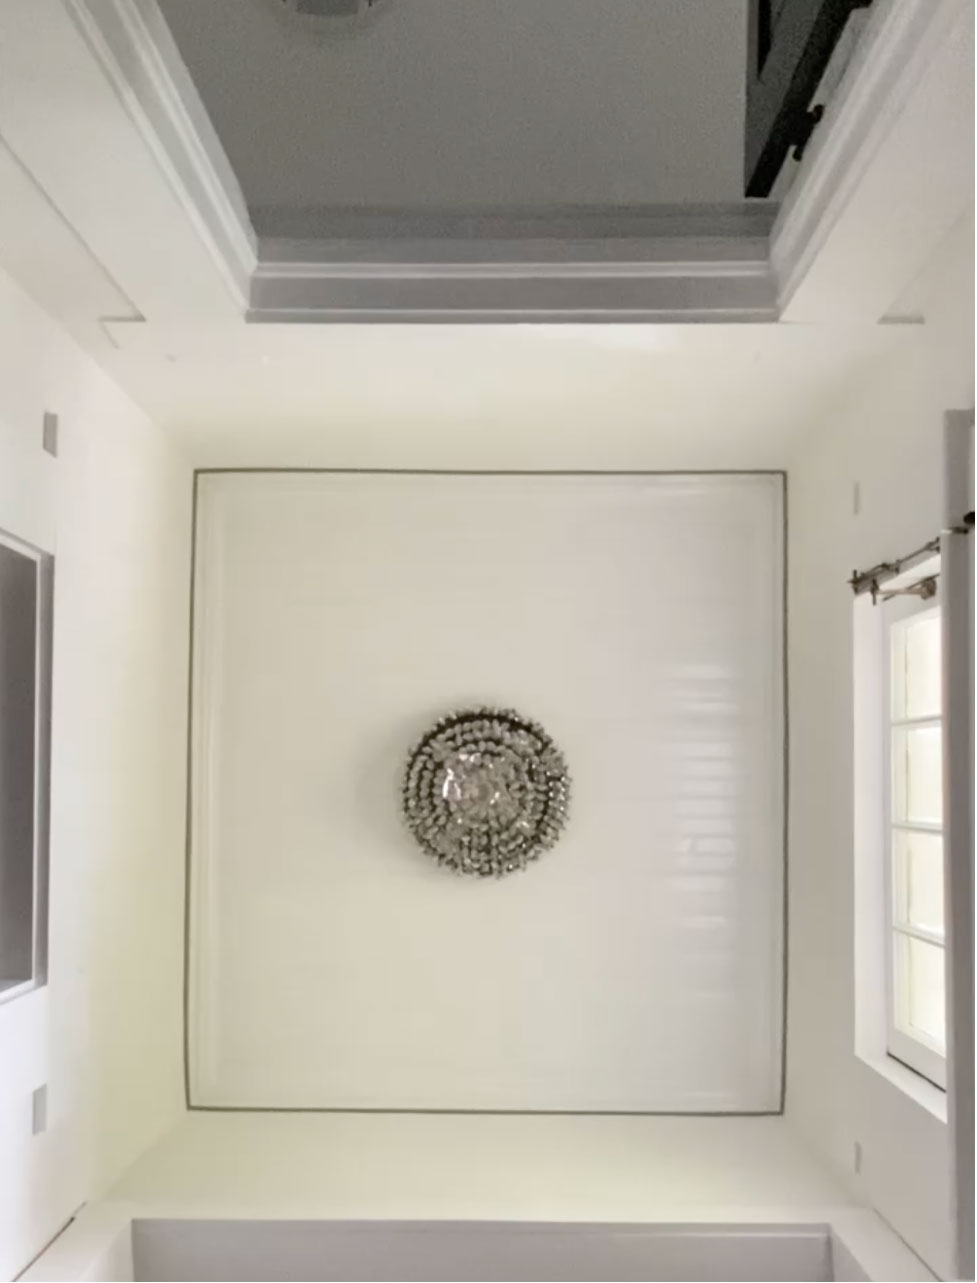
I think it’s safe to say I’m in love with this small little space now. It’s fancy, and extra, and feels like a pretty piece of jewelry. I just love it.
And just for fun I added a little piece of trim along the bottom of the crown molding and painted it grey. It may or may not be hiding the imperfections of the installation.
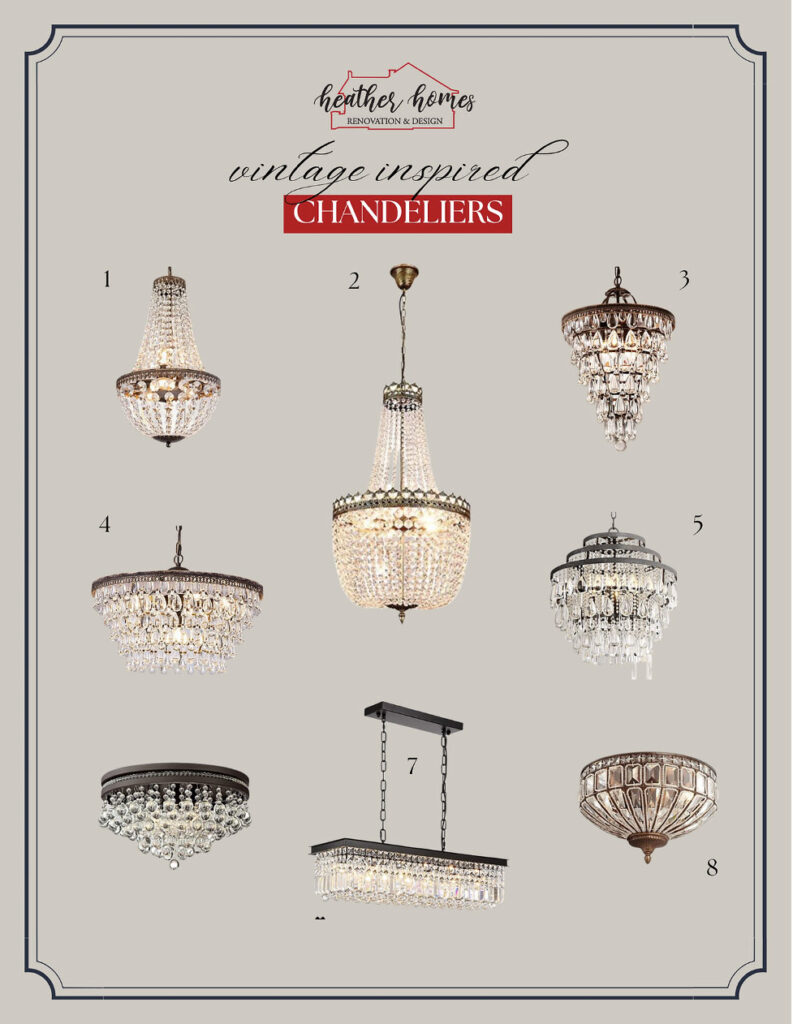
While I realize my job allows me to run across more vintage fixtures and salvage materials than the average person, there are still great options you can purchase to pull off the look if you’re hoping to add a little fancy to a space in your home. I’ve pulled together some great and affordable options I hope will steer you in the right direction.
shop
favorites
All of our favorite shoppable links and sources in one place! We love to share our projects with you and hope these resources help you as you design your own home.

+ Show / Hide Comments
Share to: