Reworking the Floor Plan of Peronneau Place


This historic home had been a rental property for several years so once I purchased Peronneau Place, reworking the floor plan was one of the first tasks on my renovation to-do list. The first time I walked through the house it was dark due to the paneling covering all of the plaster walls and the house had a sadness to it. It also had a lot of deferred maintenance items to address and the layout also didn’t make any sense. We’ll take a look at how I reworked the floor plan, some of the original features we uncovered and restored, and see how many of the interior spaces turned out after we worked our magic on them.
The Before
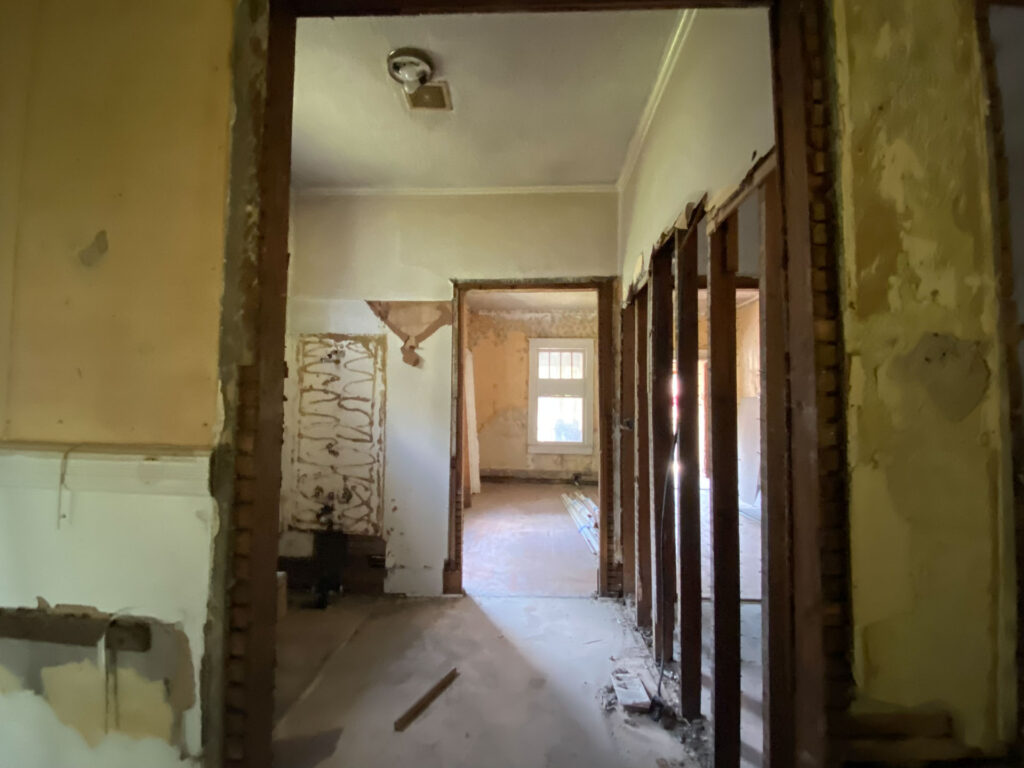
Three words: dated, dark, and tired. That’s how the interior of Peronneau Place felt when I first walked through the house. At some point in the 80’s I’m guessing, dark sheets of paneling had been installed covering all of the plaster walls and some of the trim. This house was also a rental house for many years so it had it’s fair share of deferred maintenance that had to be addressed.
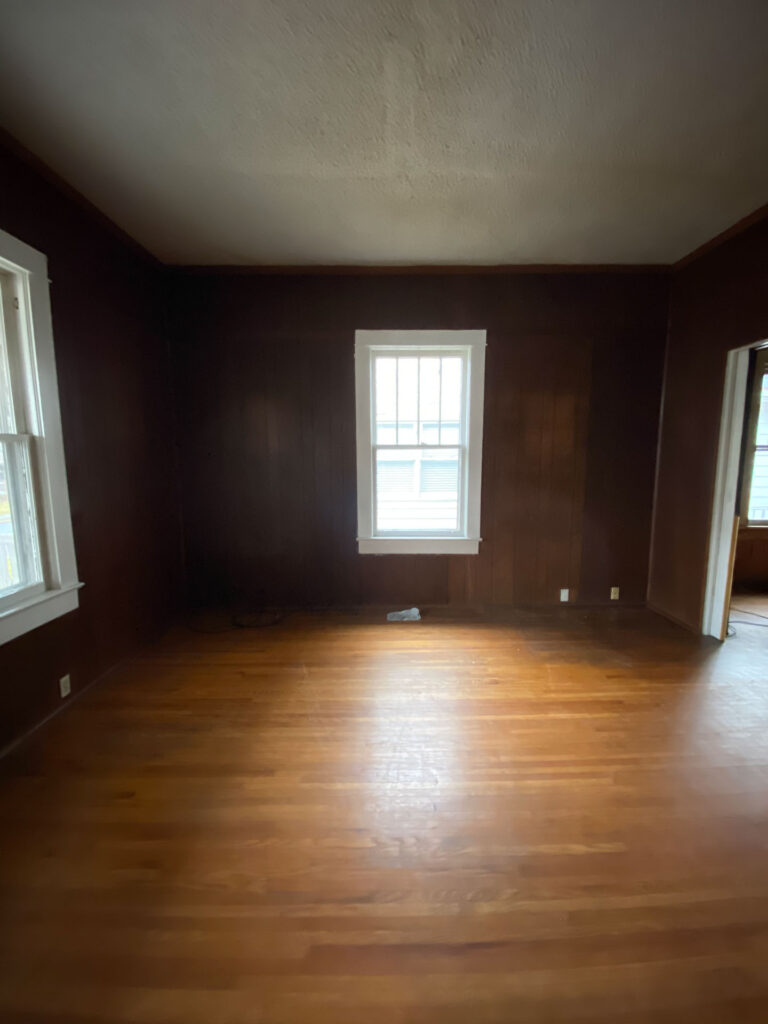
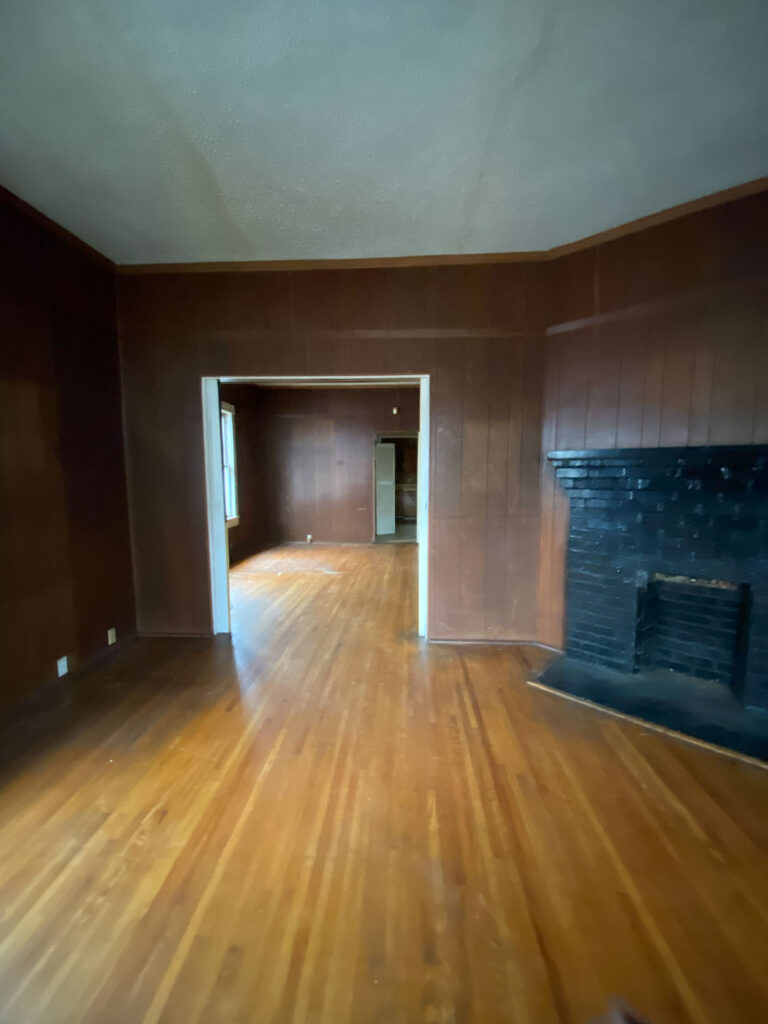
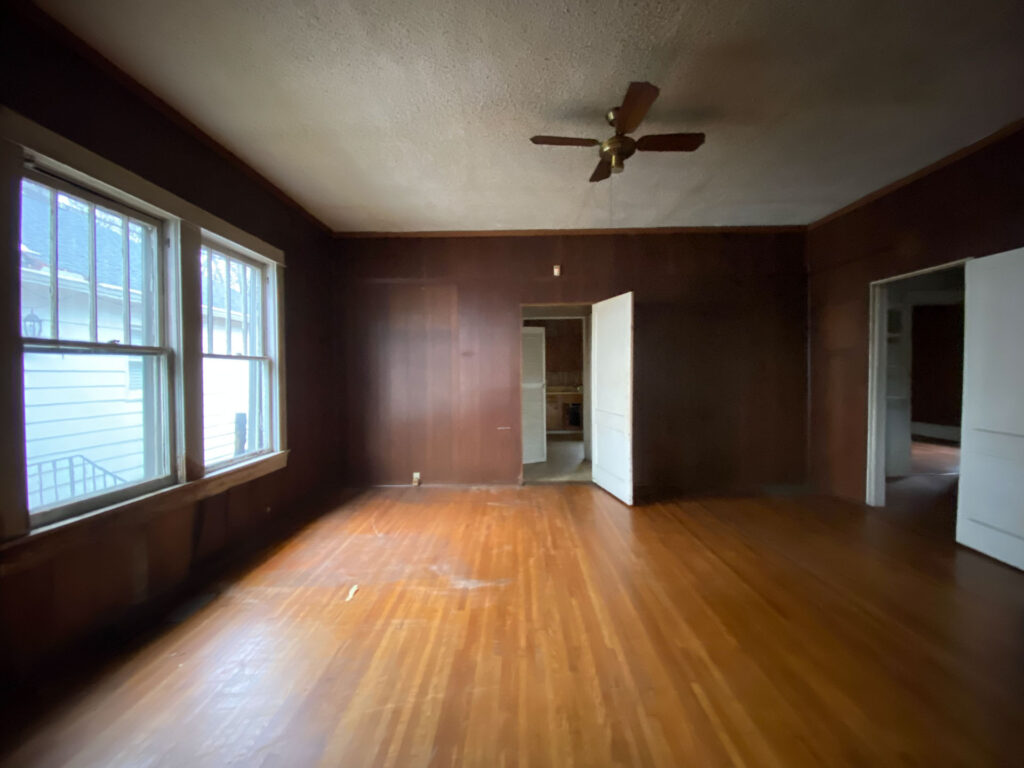
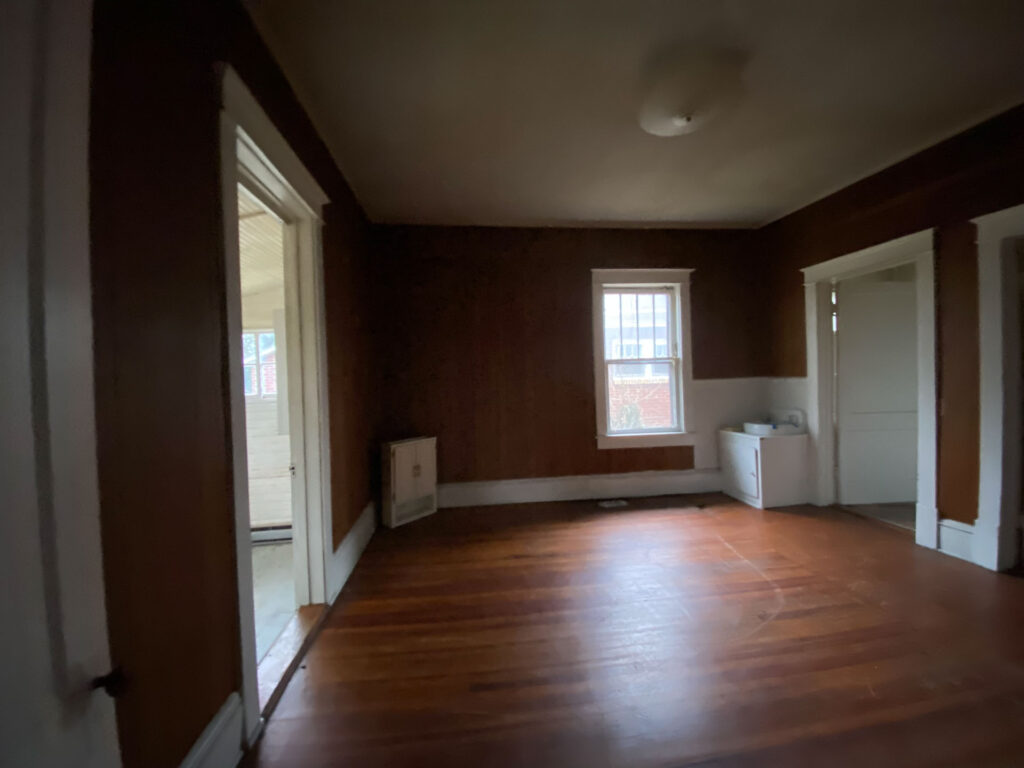
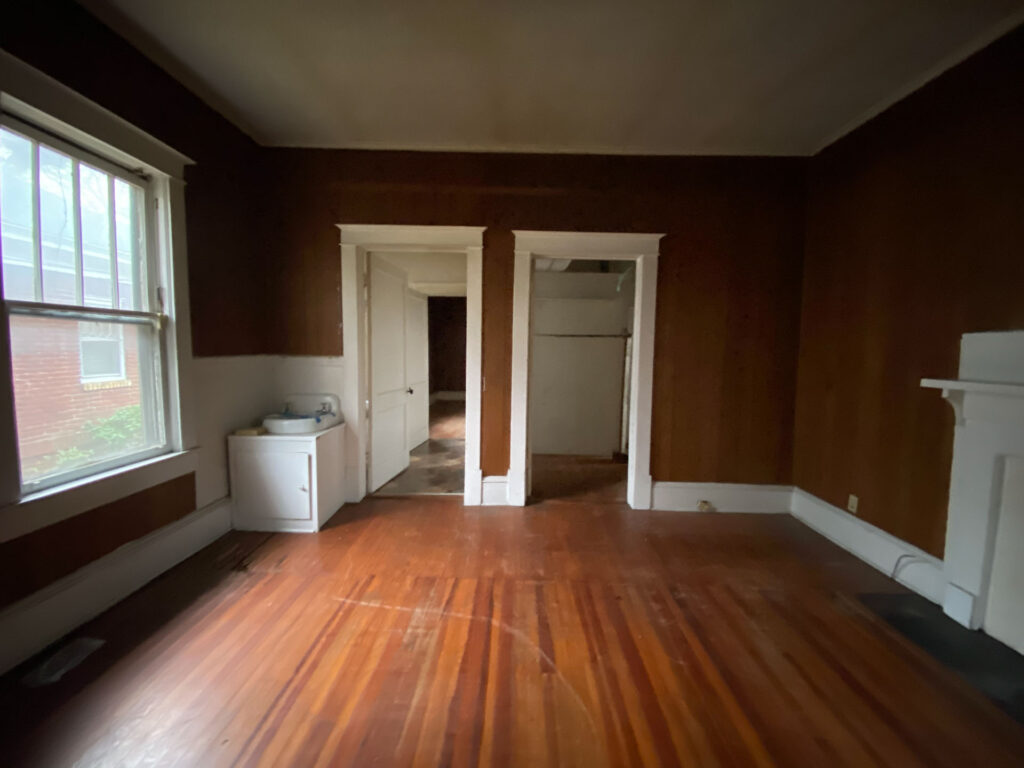
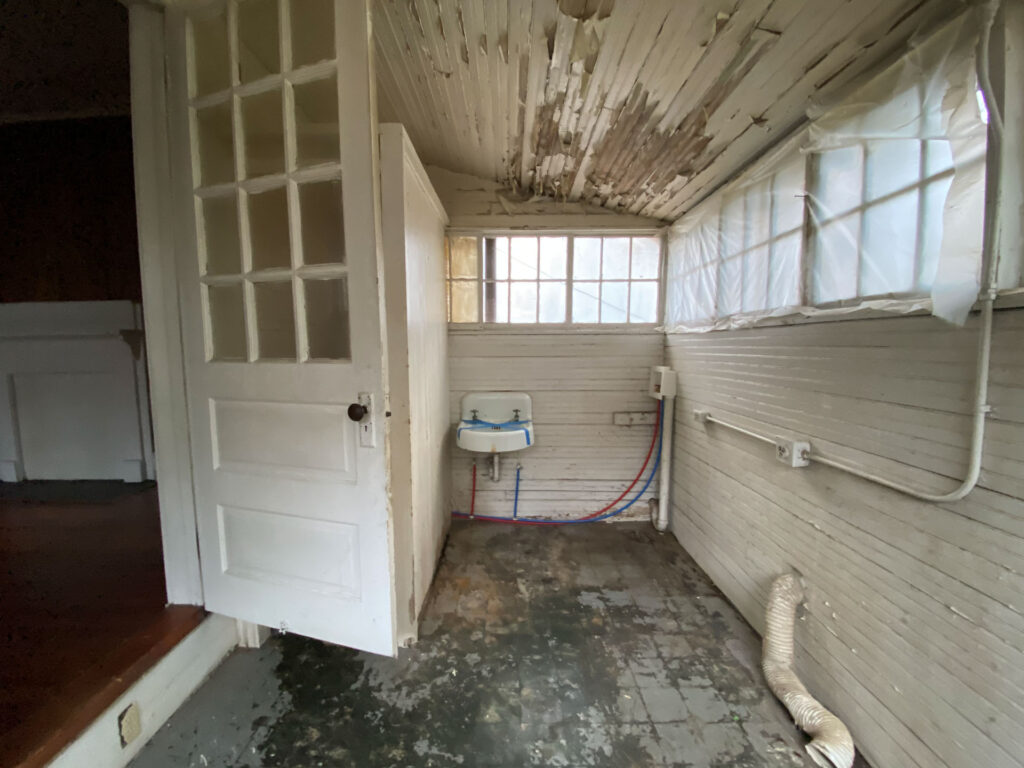
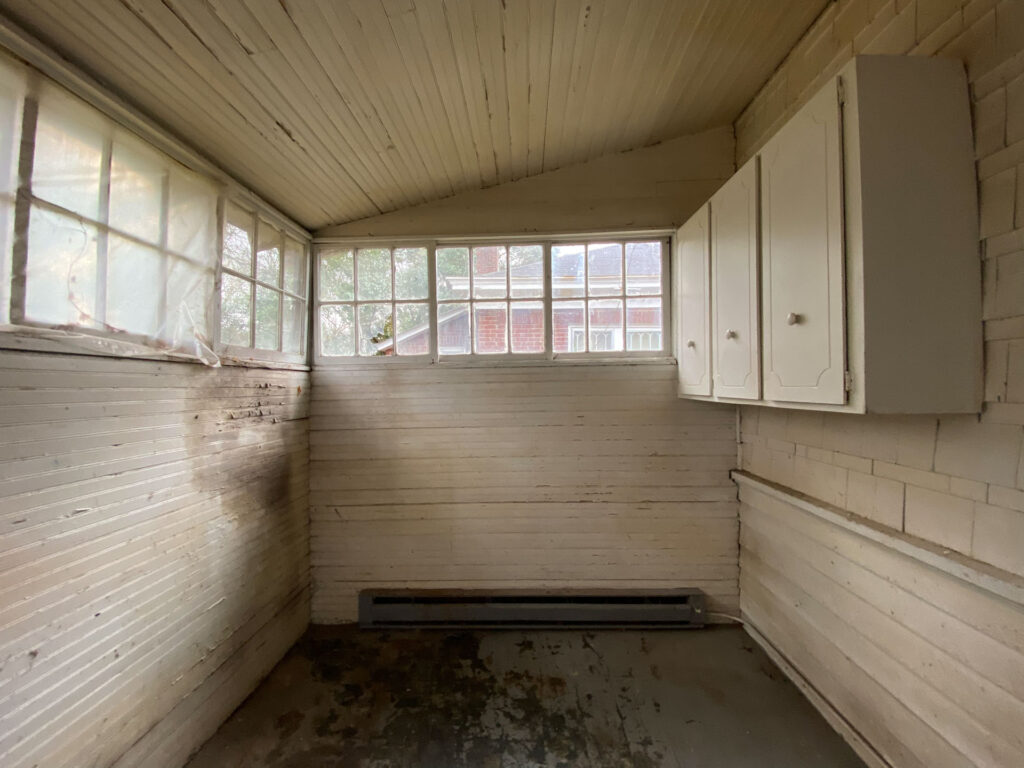
And then there’s the layout. Well, let’s just say there wasn’t much that made sense. There was a central hallway off the dining room that also was the closet for the back bedroom. The back bedroom had one entrance from the kitchen and another through the jack-and-jill bathroom it shared with the second bedroom and a random sink in the corner. It also had a half bath along the back of the house that I can only describe as an enclosed porch perhaps. No insulation and a cold cement floor with drafty windows. I can only imagine how cold that room must have been in the winters. Once I got all of my measurements it was time to get to work on the new floor plan.
The Reworked Floor Plan
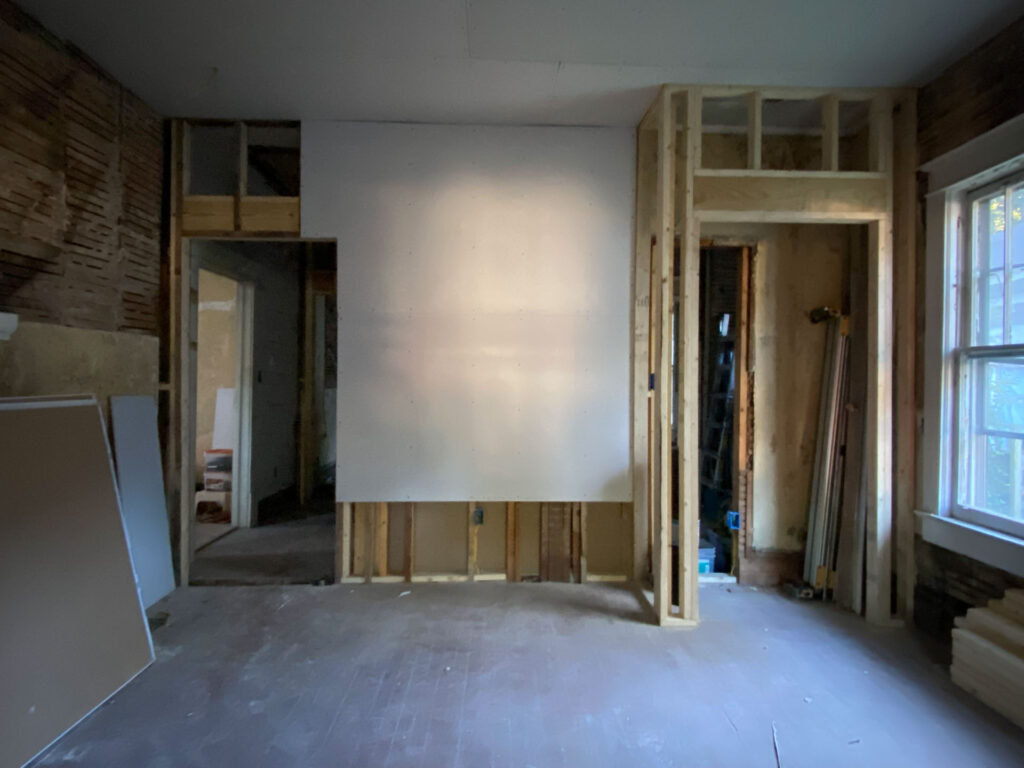
As I mentioned before, the middle portion of the house (labeled hallway and bathroom below) along with the half bath on the back of the house were the biggest issues. The kitchen was also quite small with stairs that led to a crawl space which to me was wasted space.
THE BEFORE:
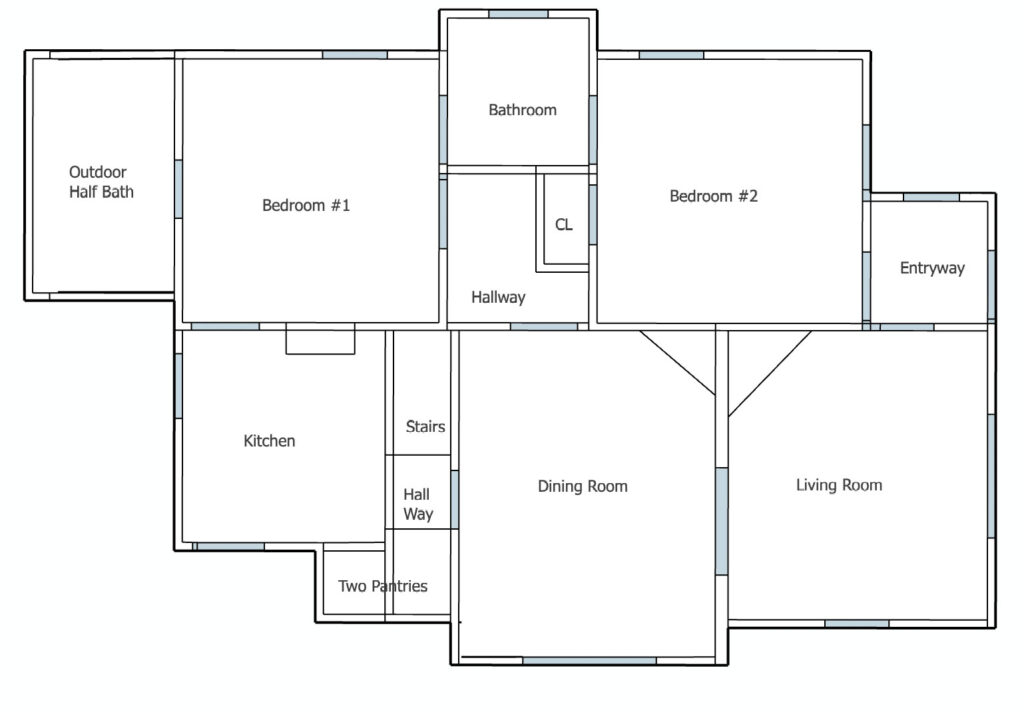
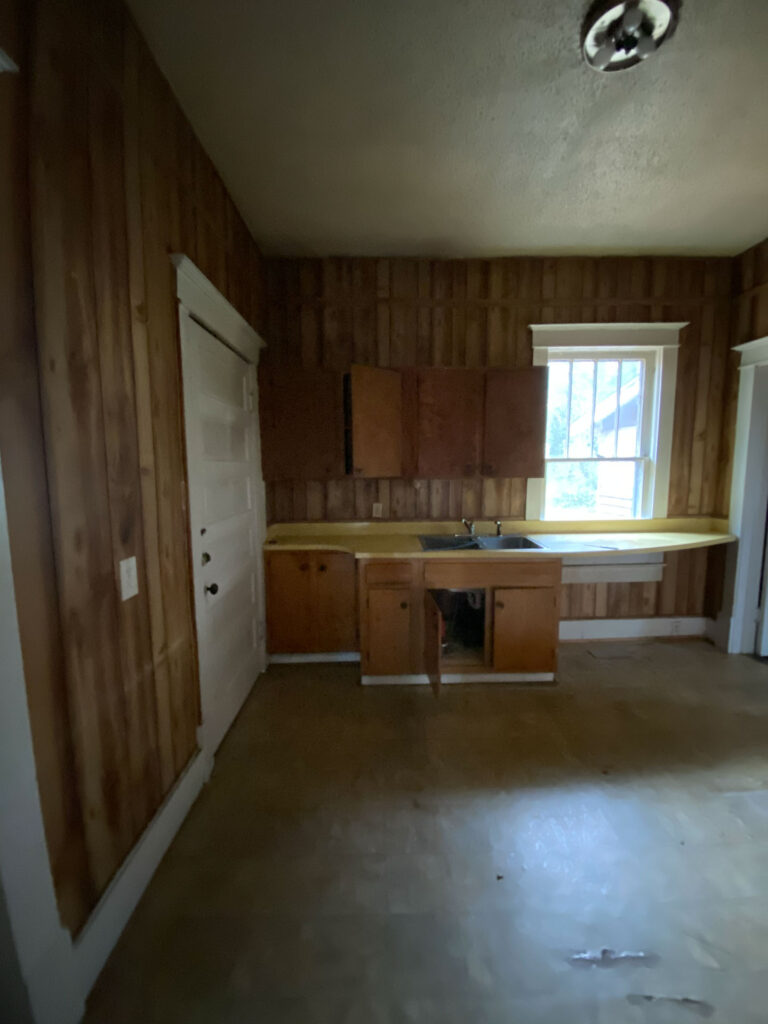
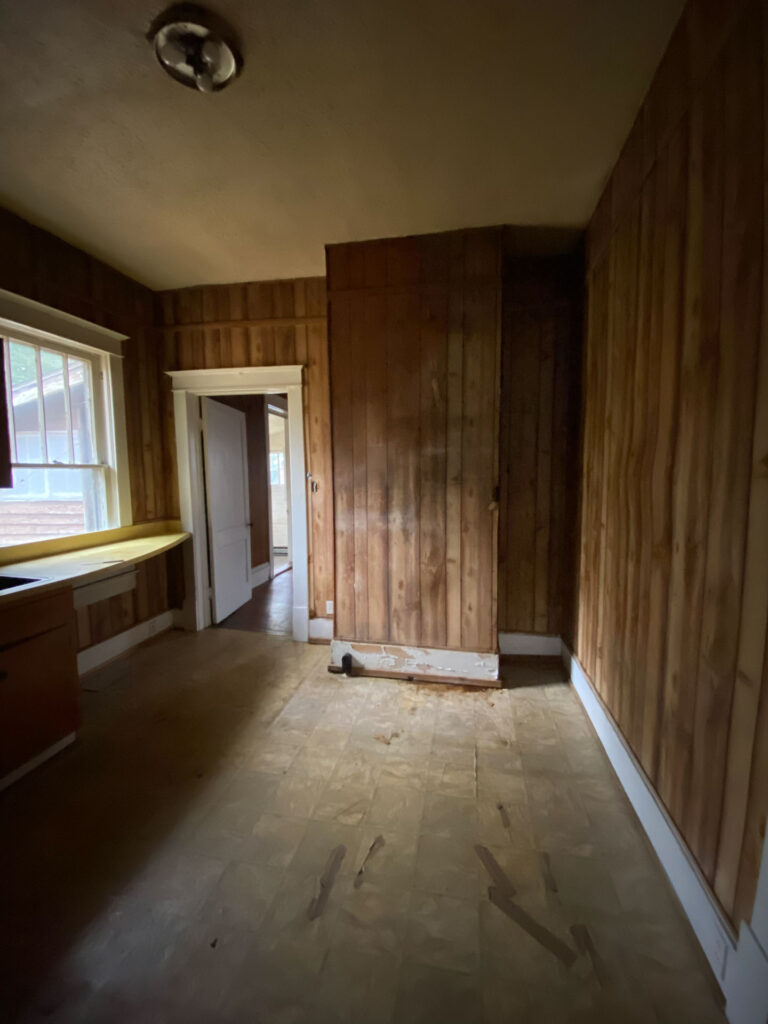
The solution was to rework all of those spaces. The first task was to create a private master suite in the back of the house, and a second bedroom and guest bathroom accessible through the now central hallway. In doing so I could eliminate the awkward back bedroom door from the kitchen to have more walls to work with in the new kitchen. I also completely eliminated the stairs to the crawl space accessed through the old kitchen and gave up one of the two pantries to add space for the refrigerators to be recessed. We’ll take a deep dive into the kitchen changes and the master suite in another post. For now we’ll take a look at how we transformed the middle portion of the house and refreshed the living and dining rooms.
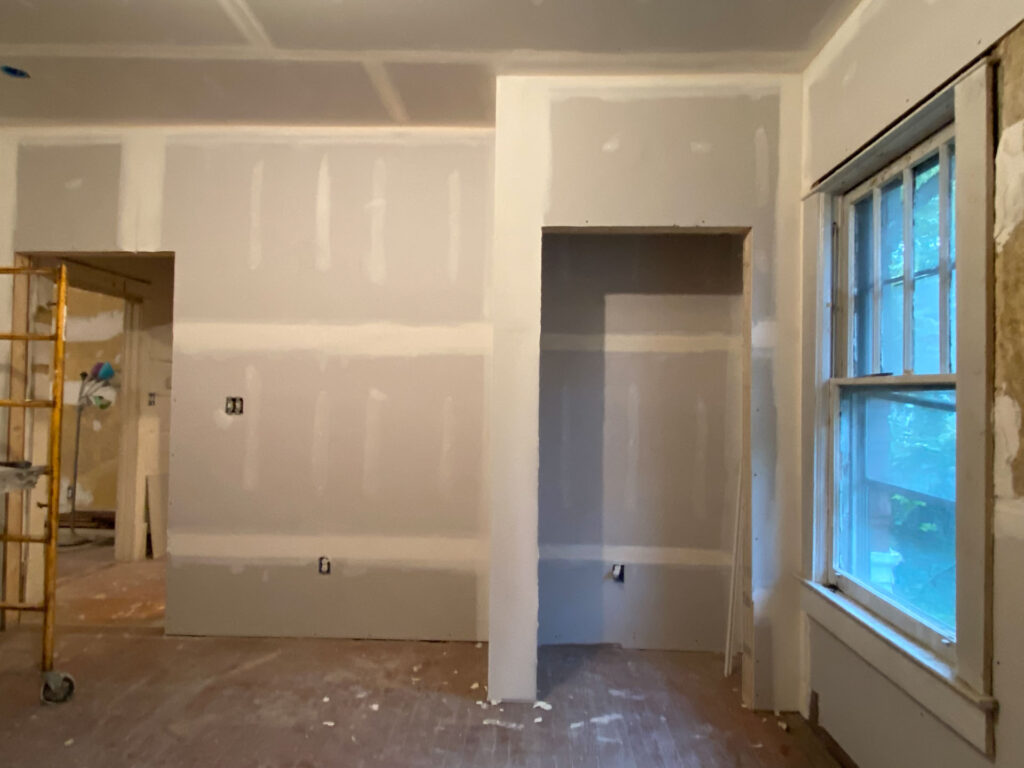
THE AFTER:
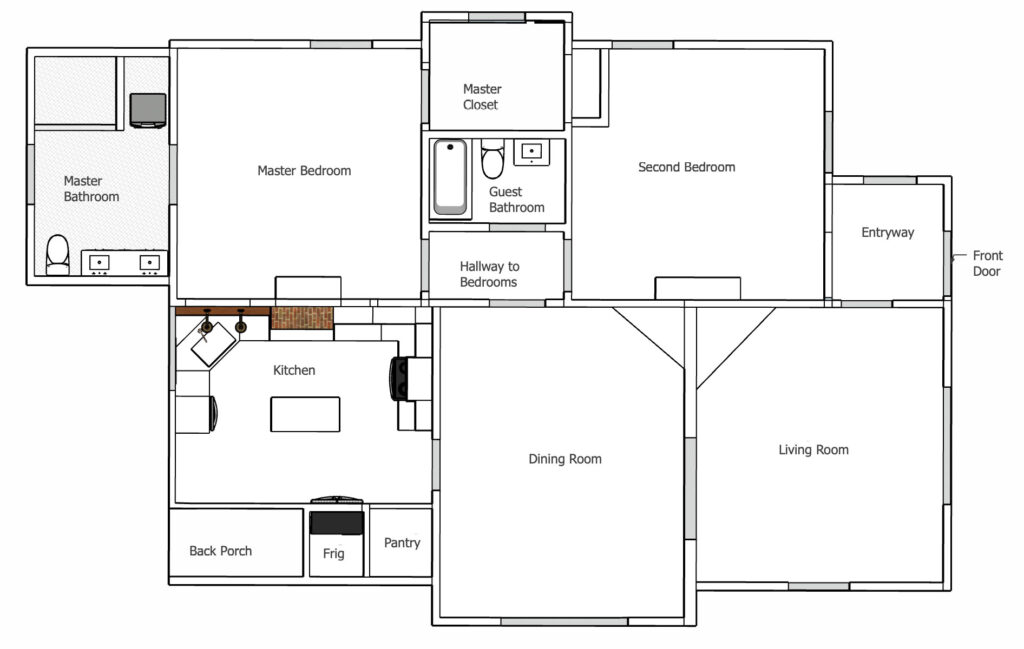
The Reworked Spaces
Here are the steps we took to rework the central spaces:
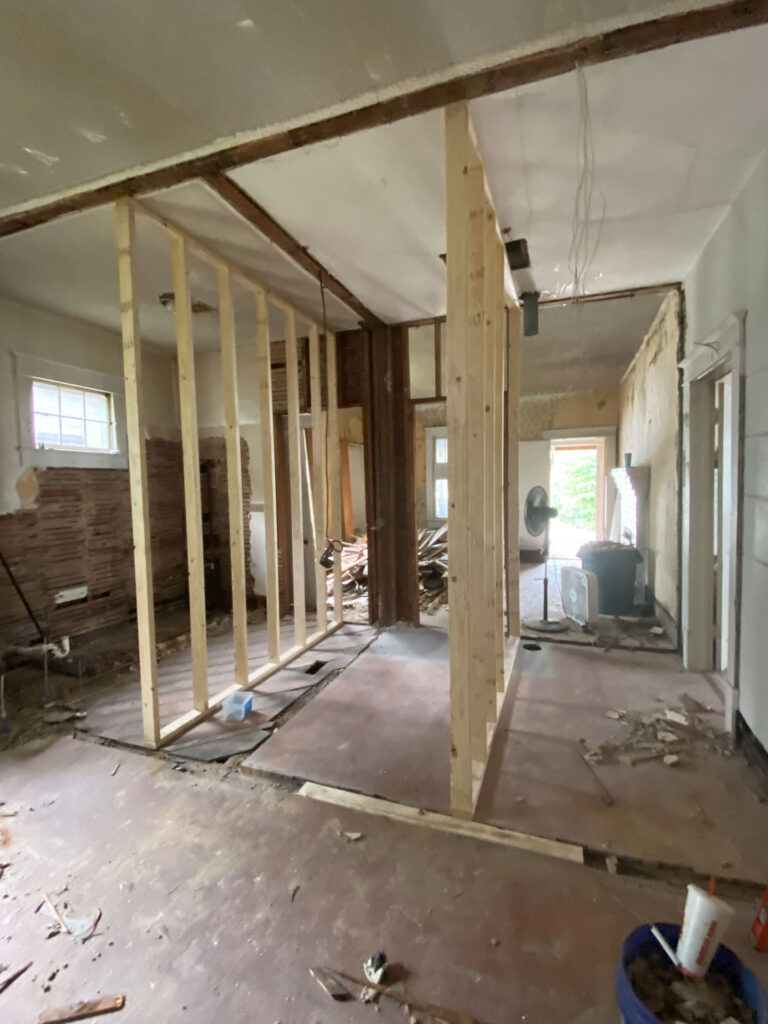
1. We started by completely demolishing the walls of the old bathroom, middle hallway/closet, and the walls adjacent to those spaces from both bedrooms.
2. Framed for the new guest bathroom, master closet, and the new hallway to the bathrooms.
3. I knew I needed a minimum of 60″ depth for the new guest bathroom. The master closet and bedrooms hallway were adjusted to fit.
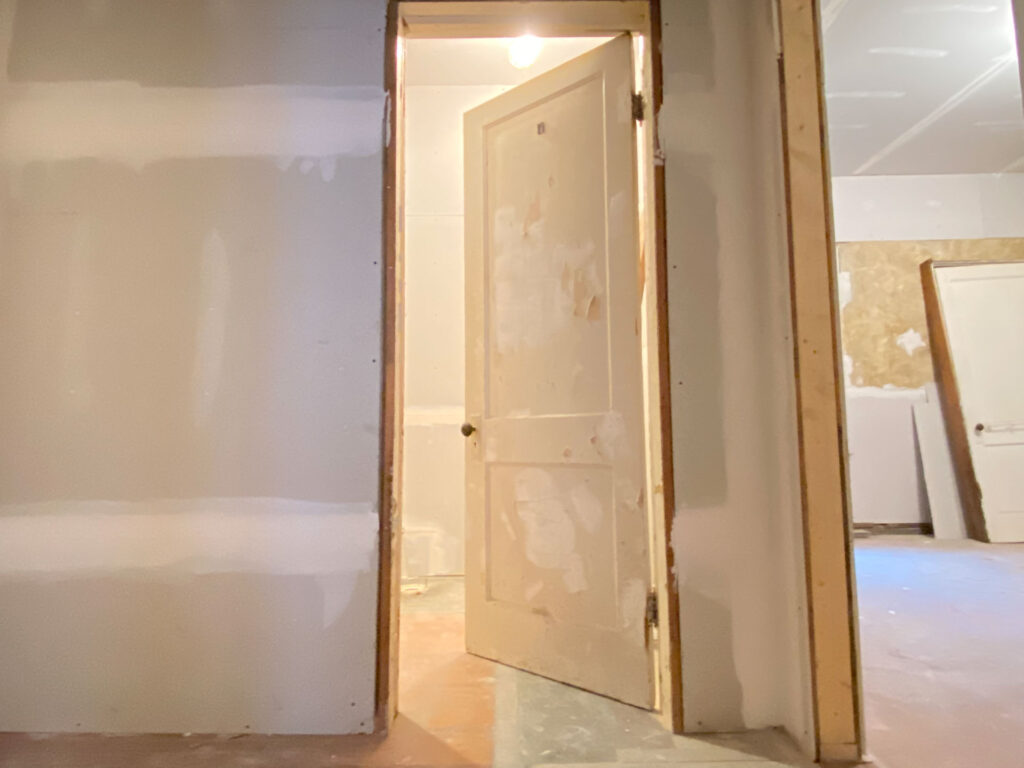
4. Once electrical and plumbing were roughed in we hung drywall.
5. We were able to restore the original oak floors for the bedrooms hallway and guest bathroom.
6. We used salvage wood in the master closet for the floors.
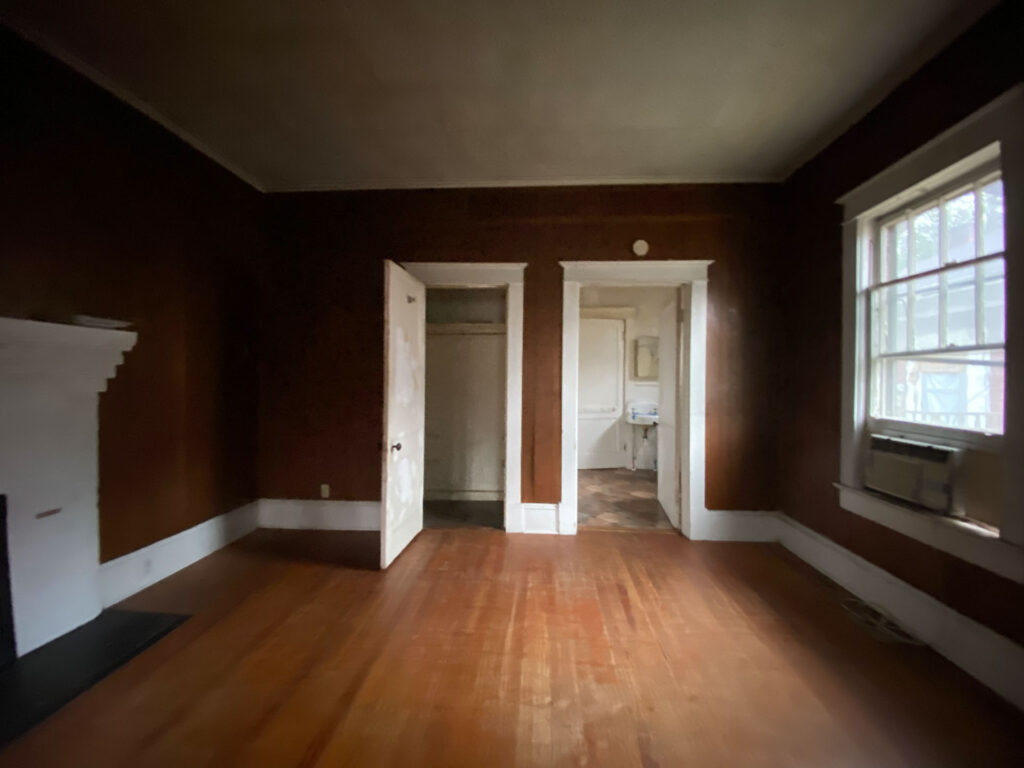
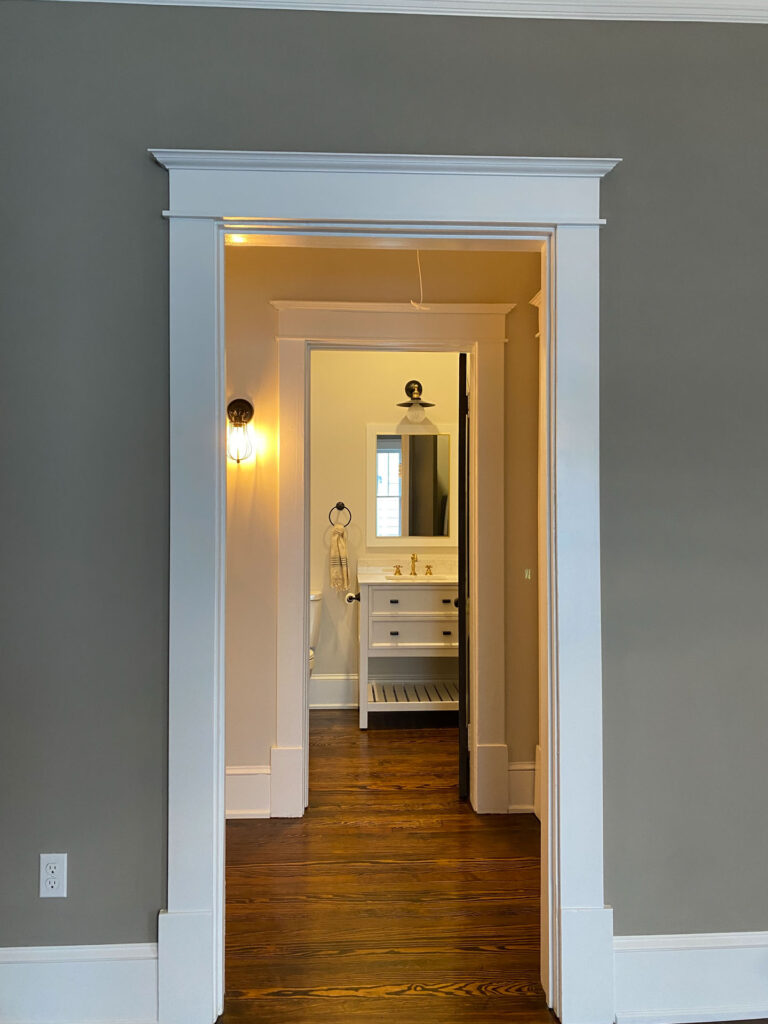
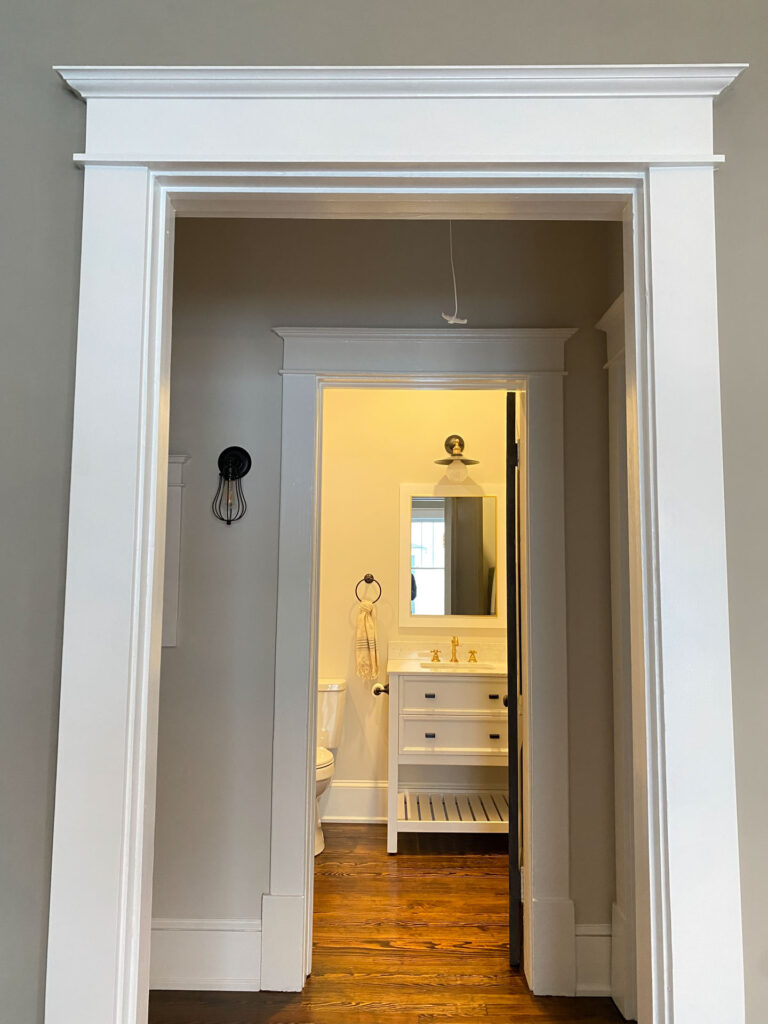
As you can see below, now the new guest bathroom is accessed off of the hallway from the dining room. This created a central space for when guests are over but is right beside the second bedroom door too.

The view below shows the changes to the second bedroom wall that is adjacent to the new bathroom and hallway. We reframed this wall to include a new entrance (left doorway) and built out a closet for this room. Now both bedrooms have one entrance and plenty of space for furniture. We’ll take a closer look at the master suite in another post.
The Interior Renovations
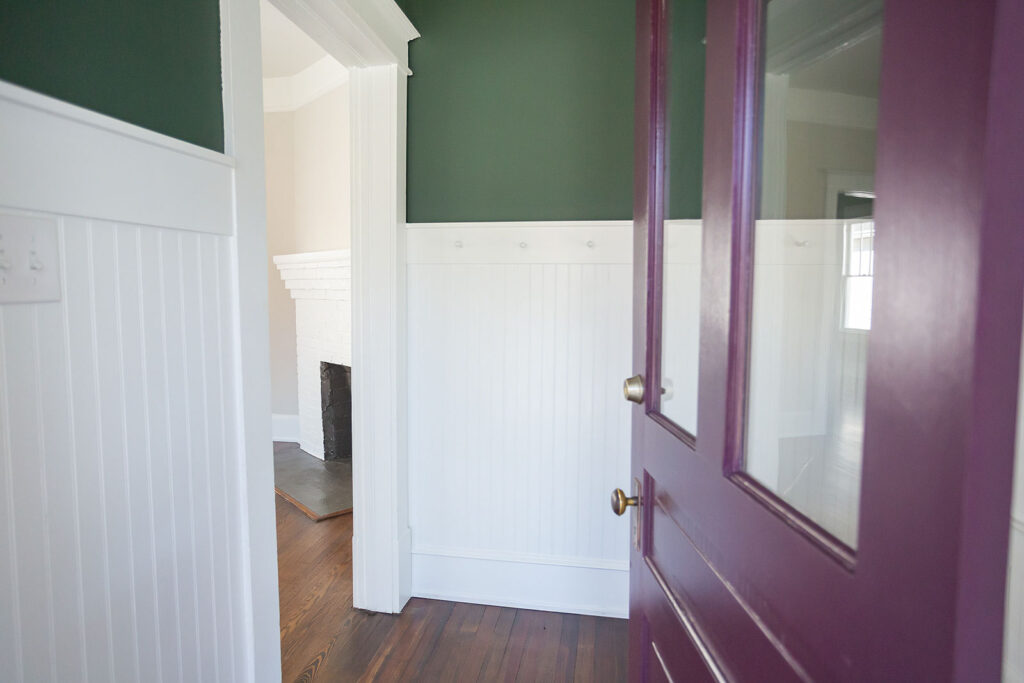
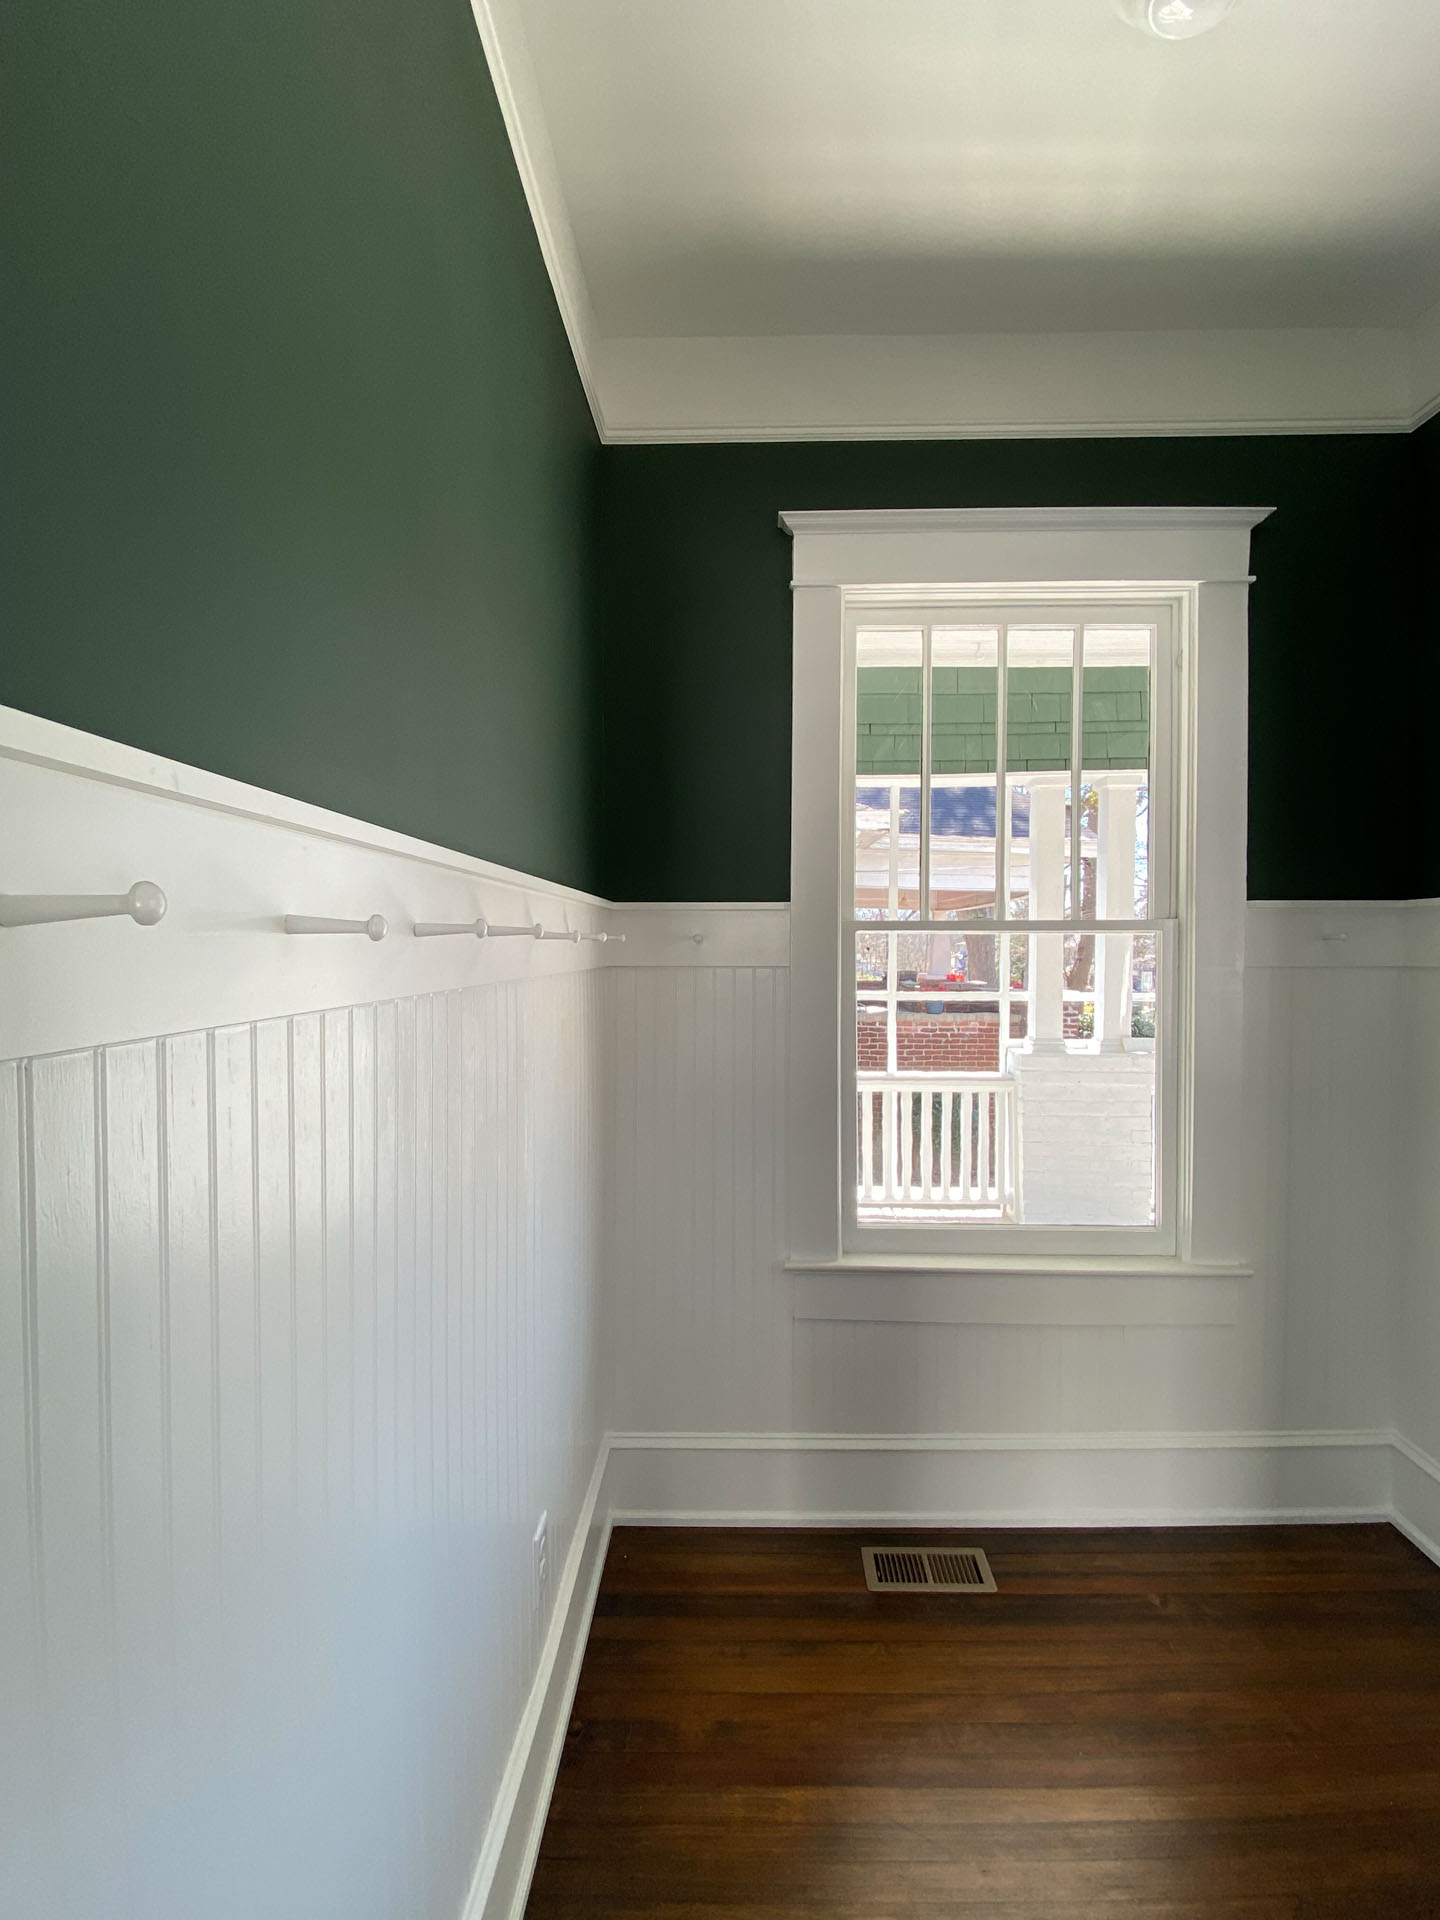
Entry Way
Right off of the front door was a small space where a door to the front bedroom had been located. Since we closed that off we had plenty of room to turn this into a proper entryway. After removing the dark paneling, we restored the door casing and trim then added beadboard and pegs to the walls. This added some old house charm and made the space functional too.
Living Room
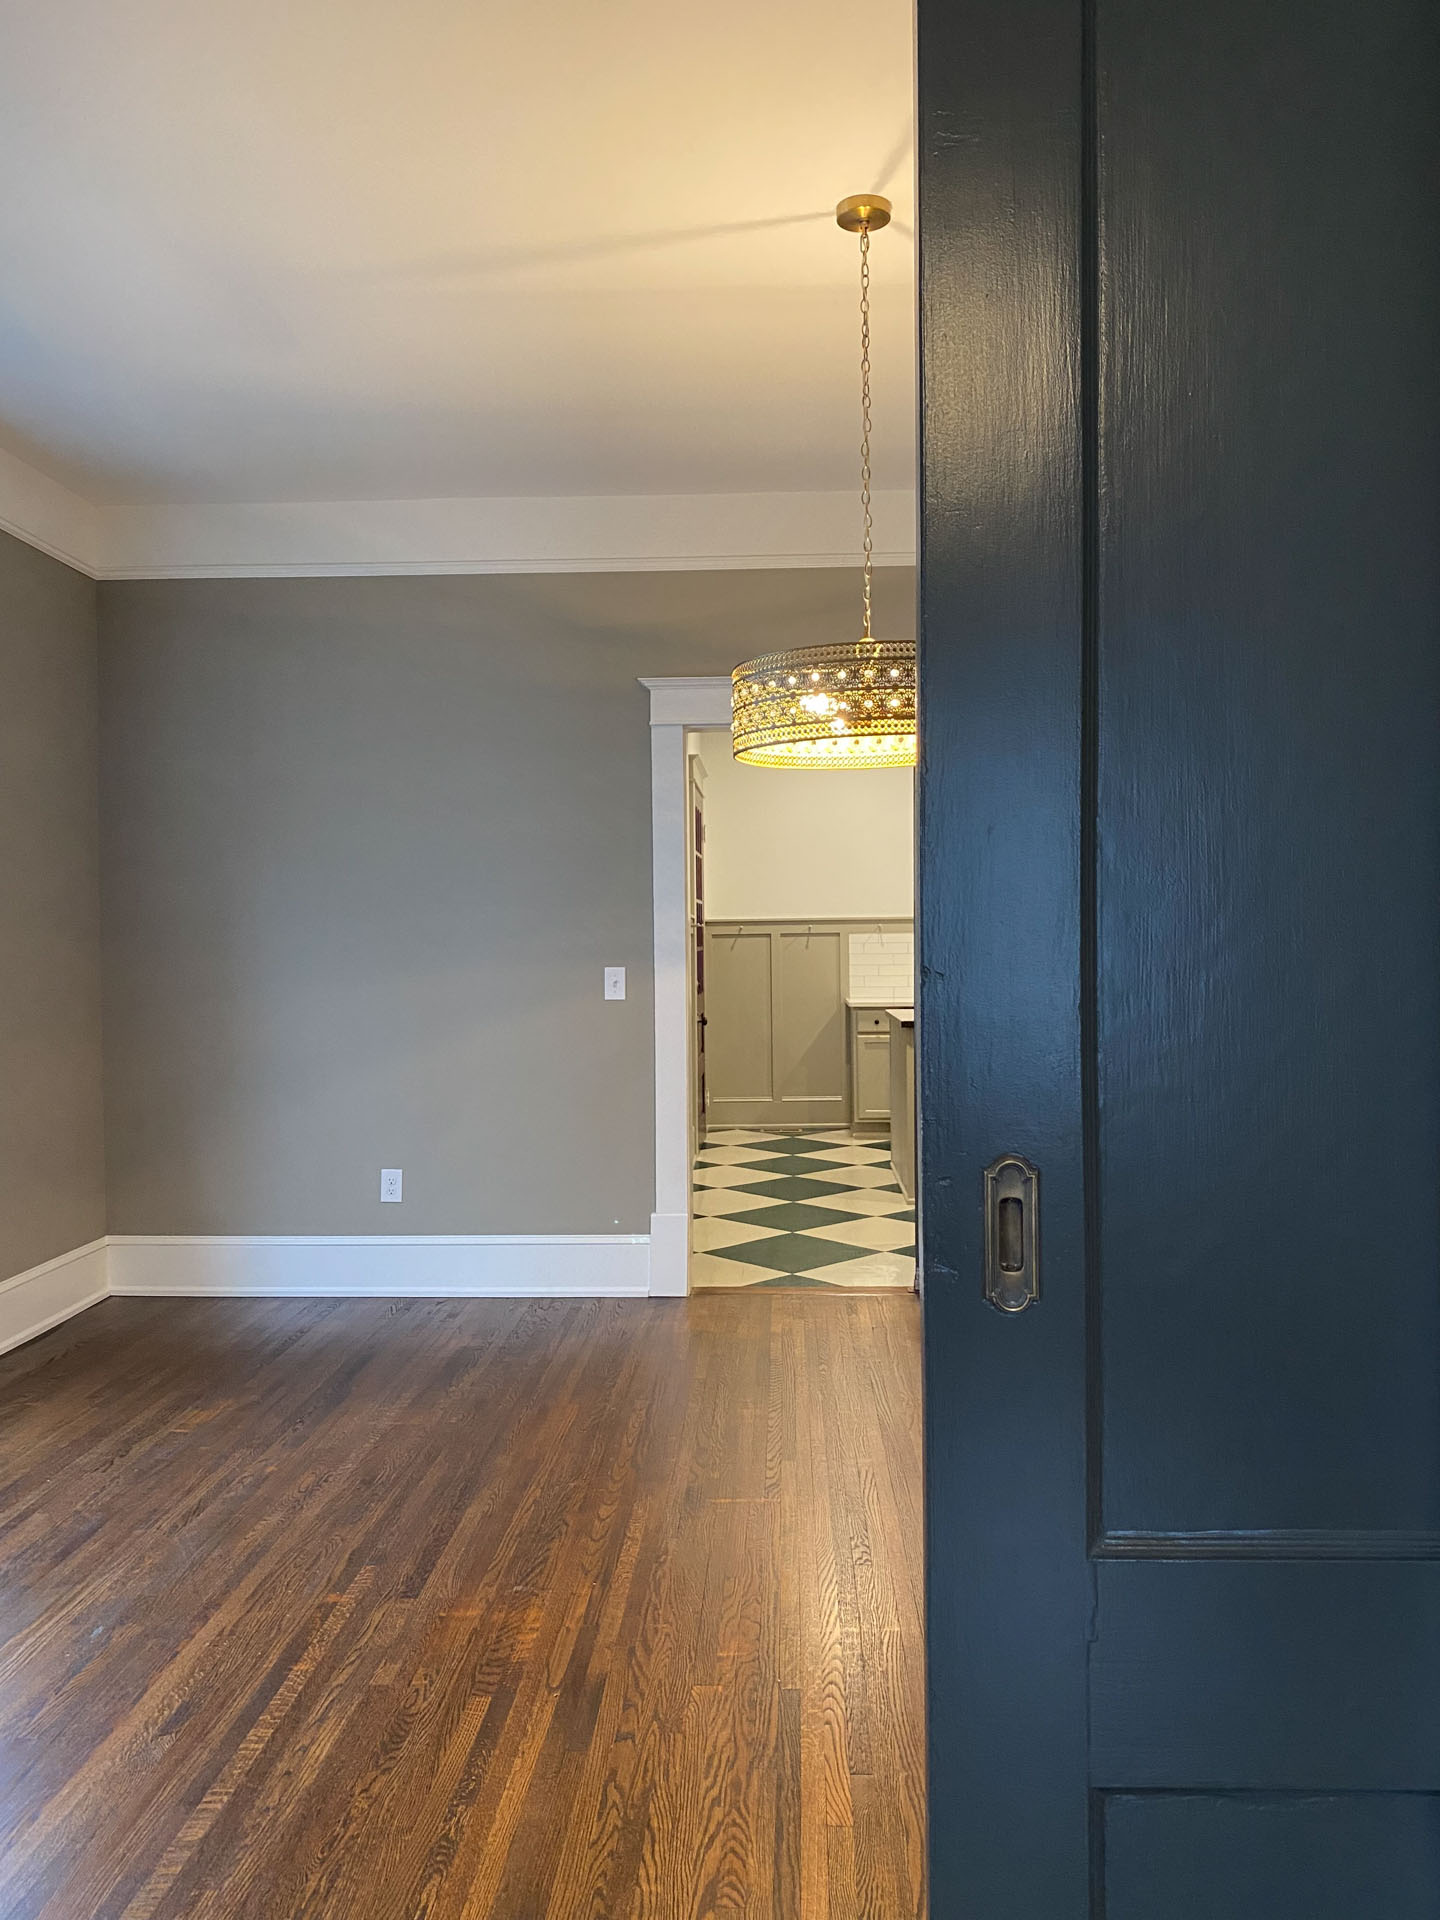
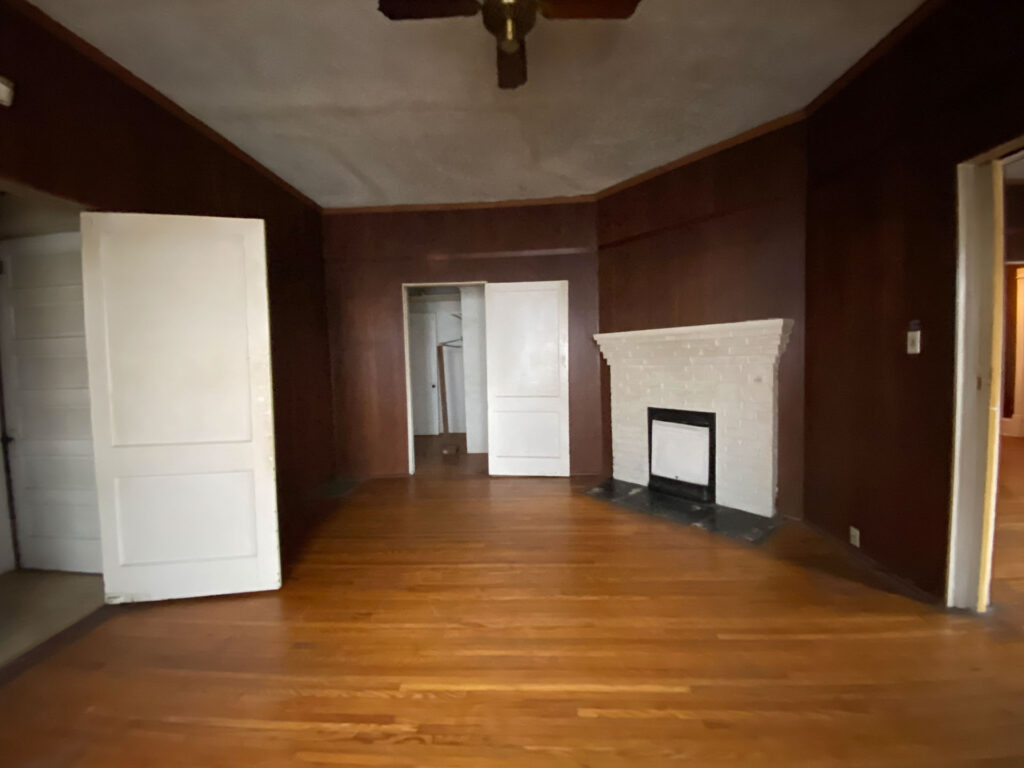
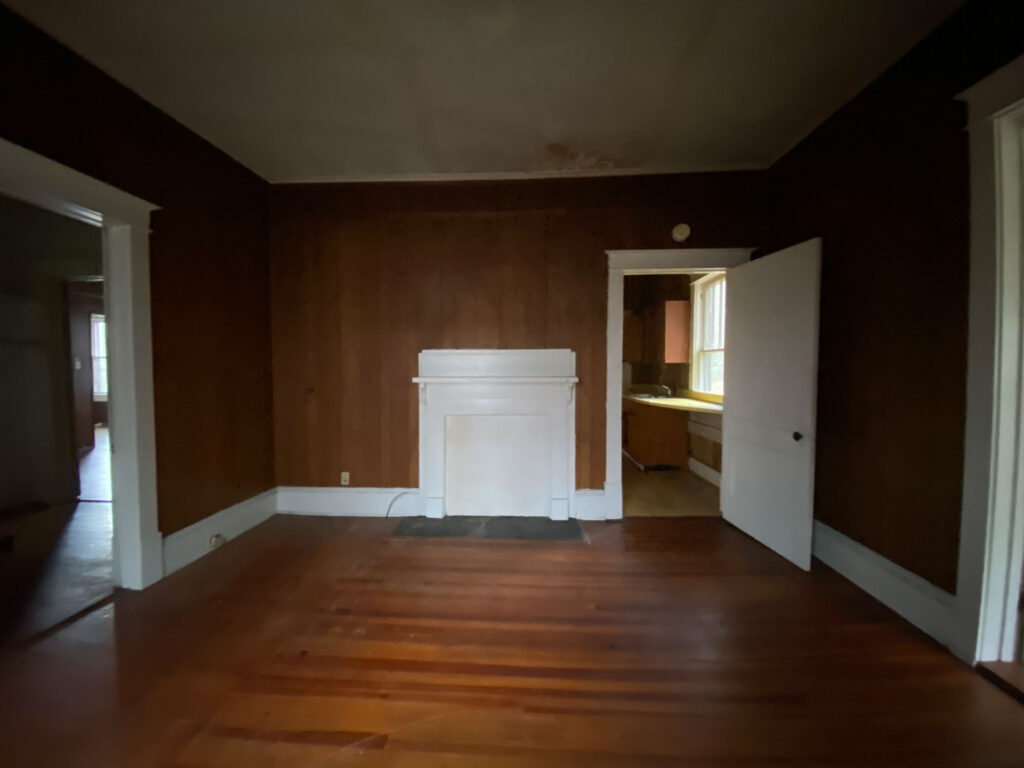
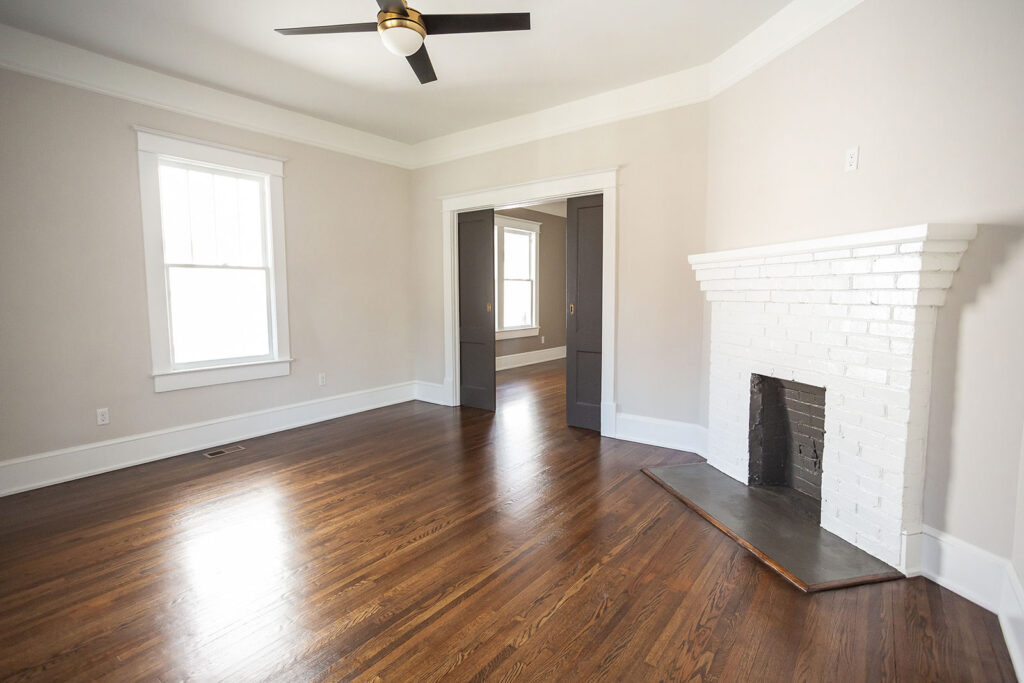
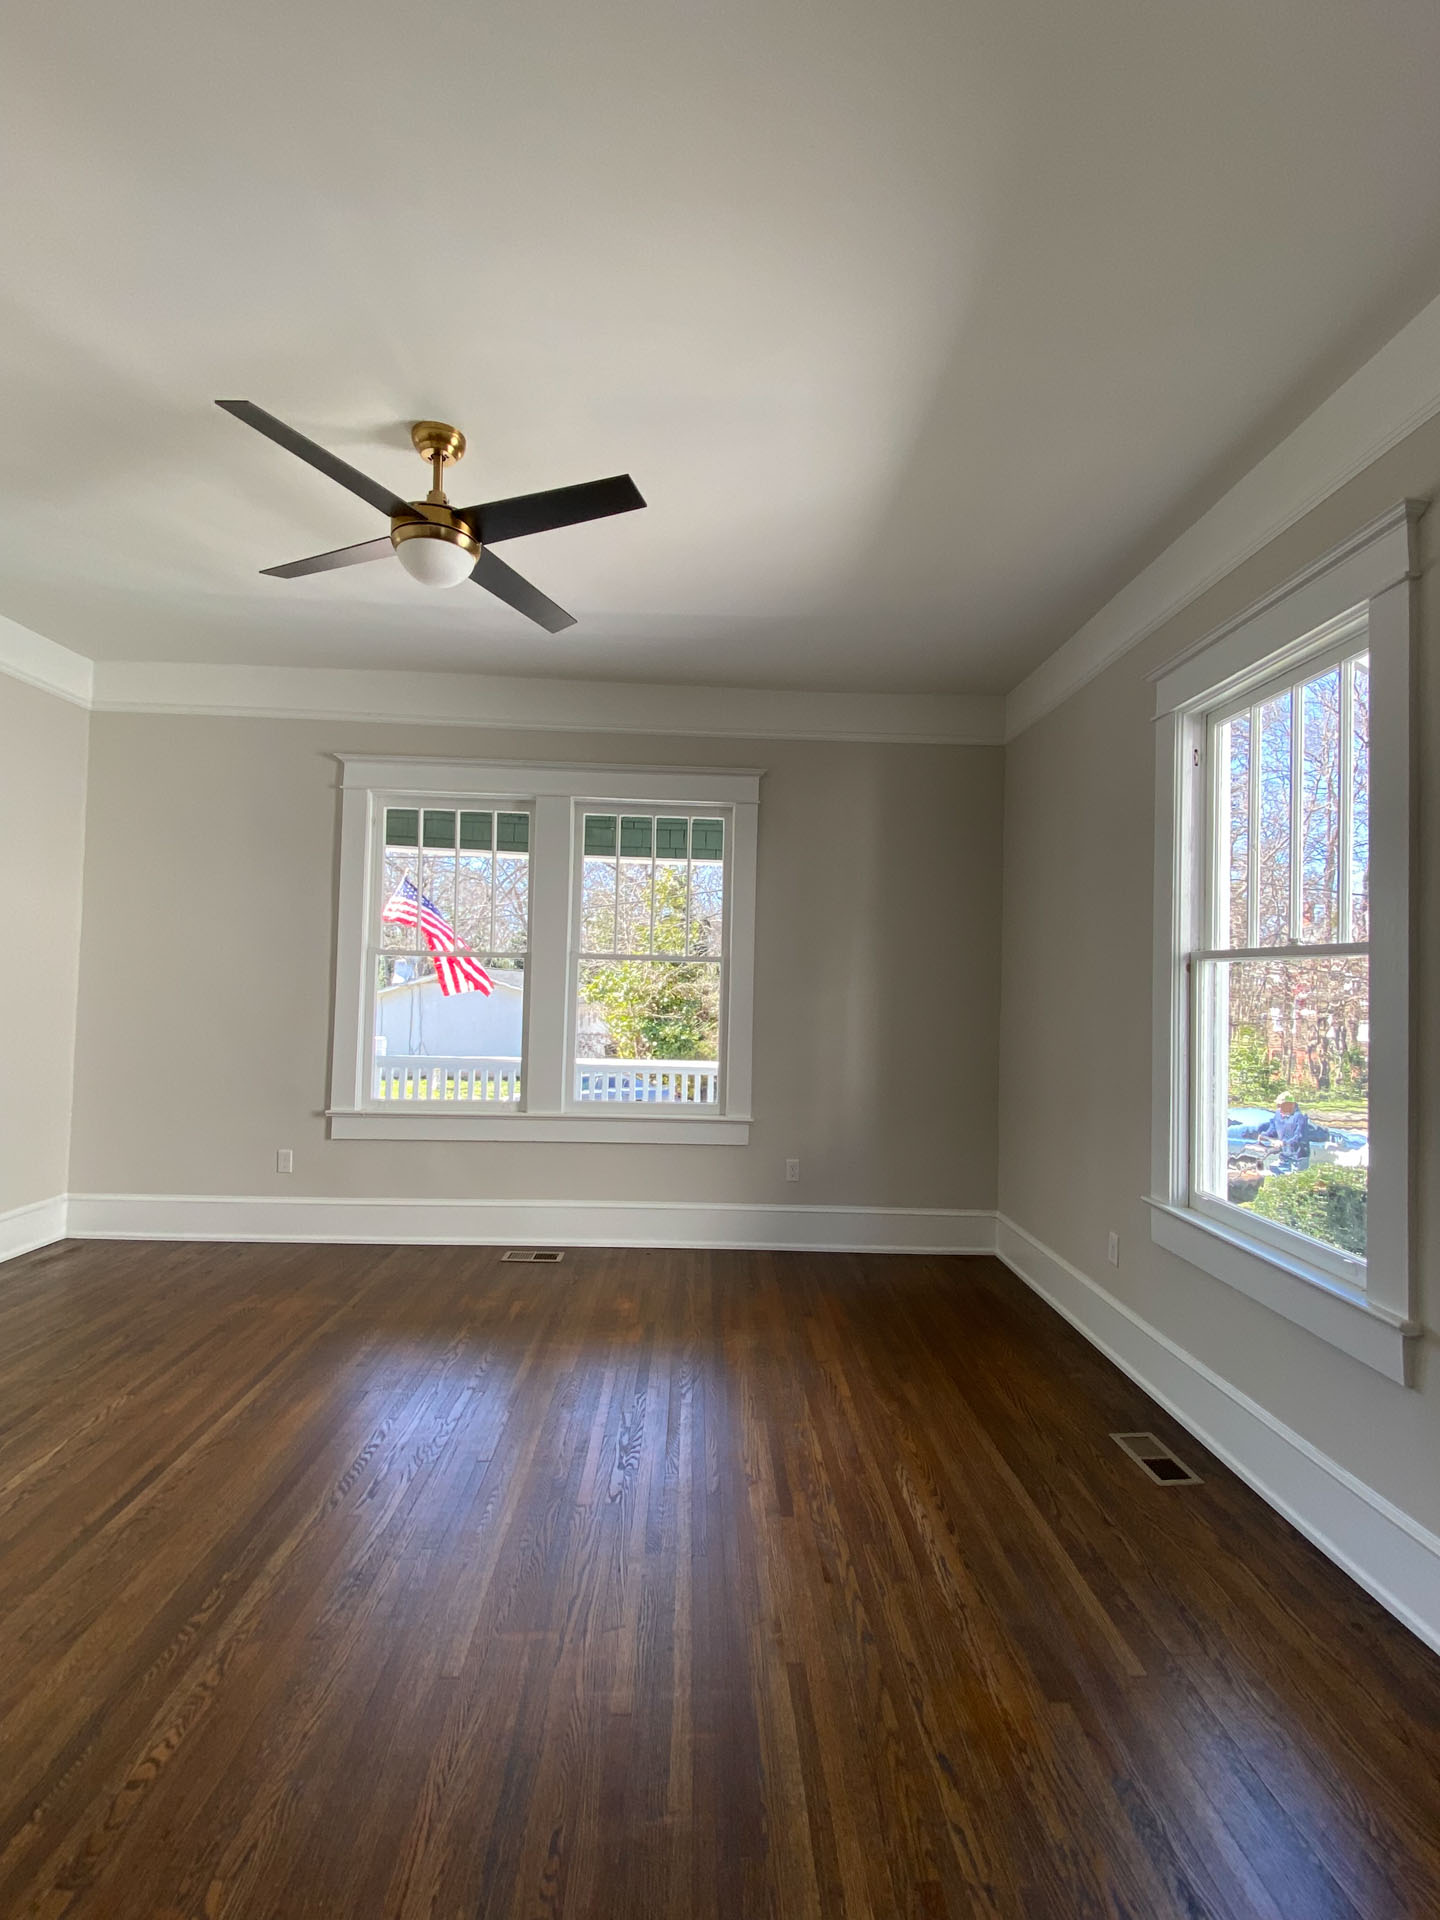
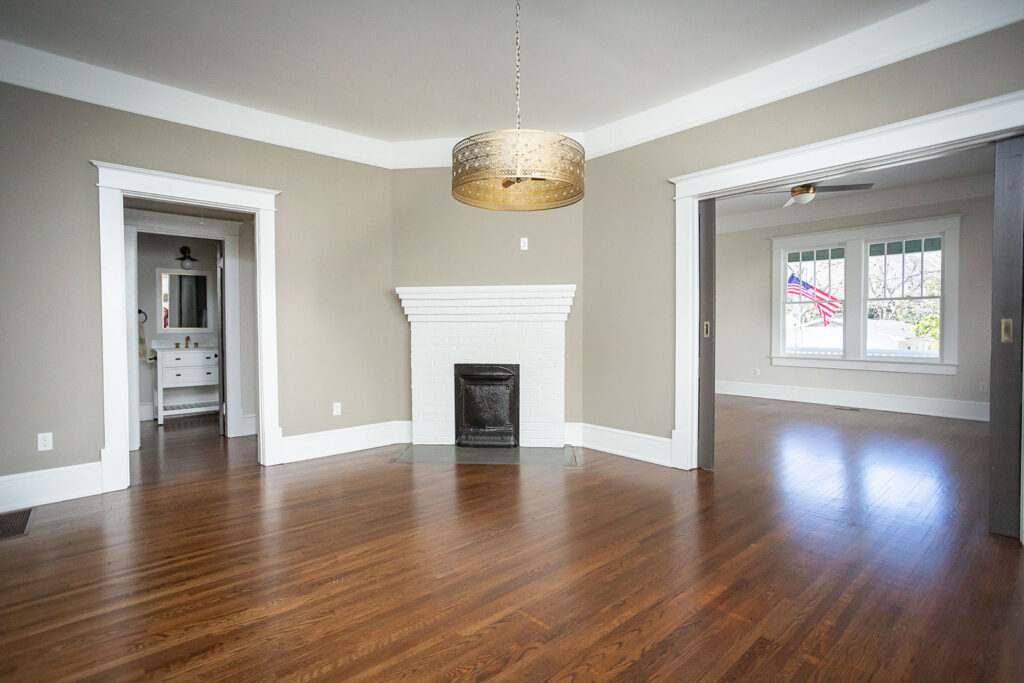
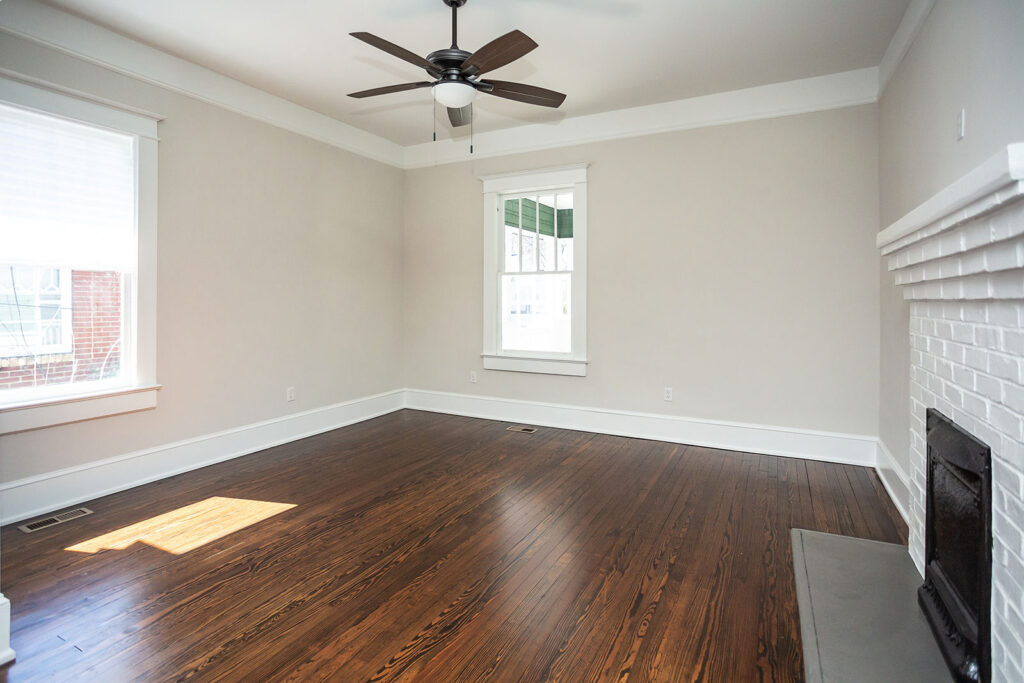
The living room primarily just received cosmetic updates. Once the paneling was removed and the plaster walls were repaired, we then worked on installing picture railing where it would have been originally. The walls were painted one of my favorites, Basalt Powder HGSW 2457, and I chose this modern ceiling fan/light with brass details. The original skinny oak floors throughout the house were refinished and look beautiful in this now bright living room.
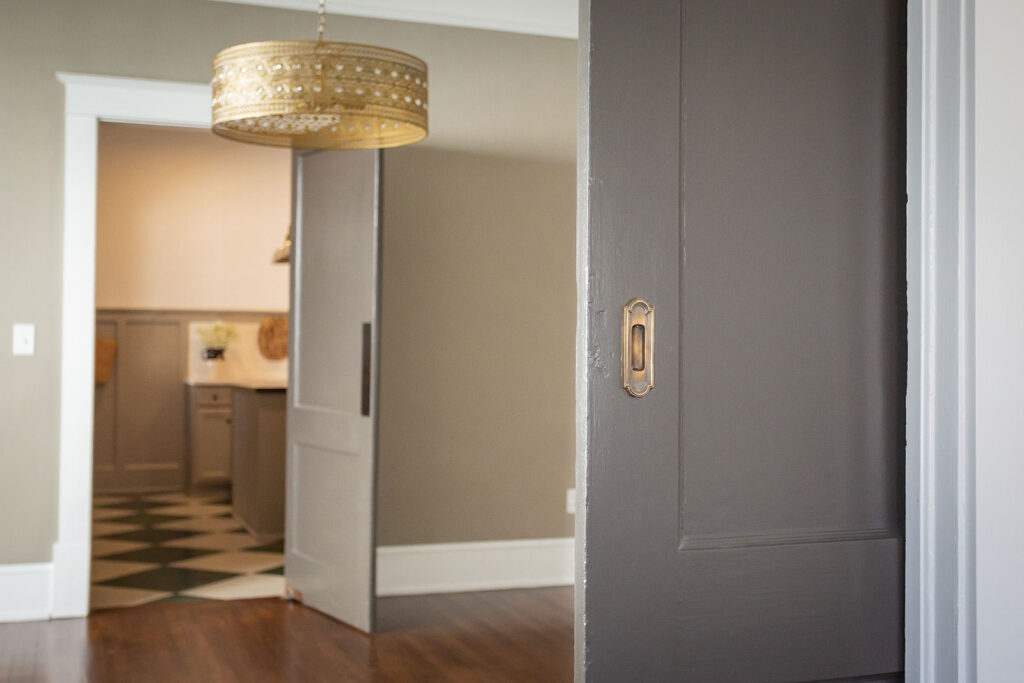
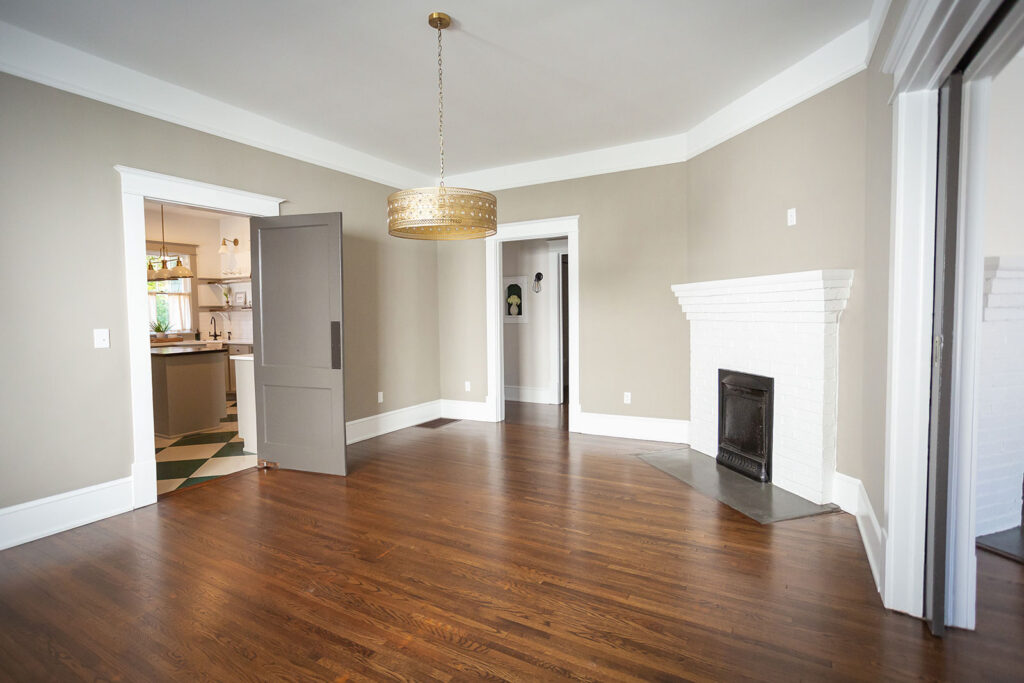
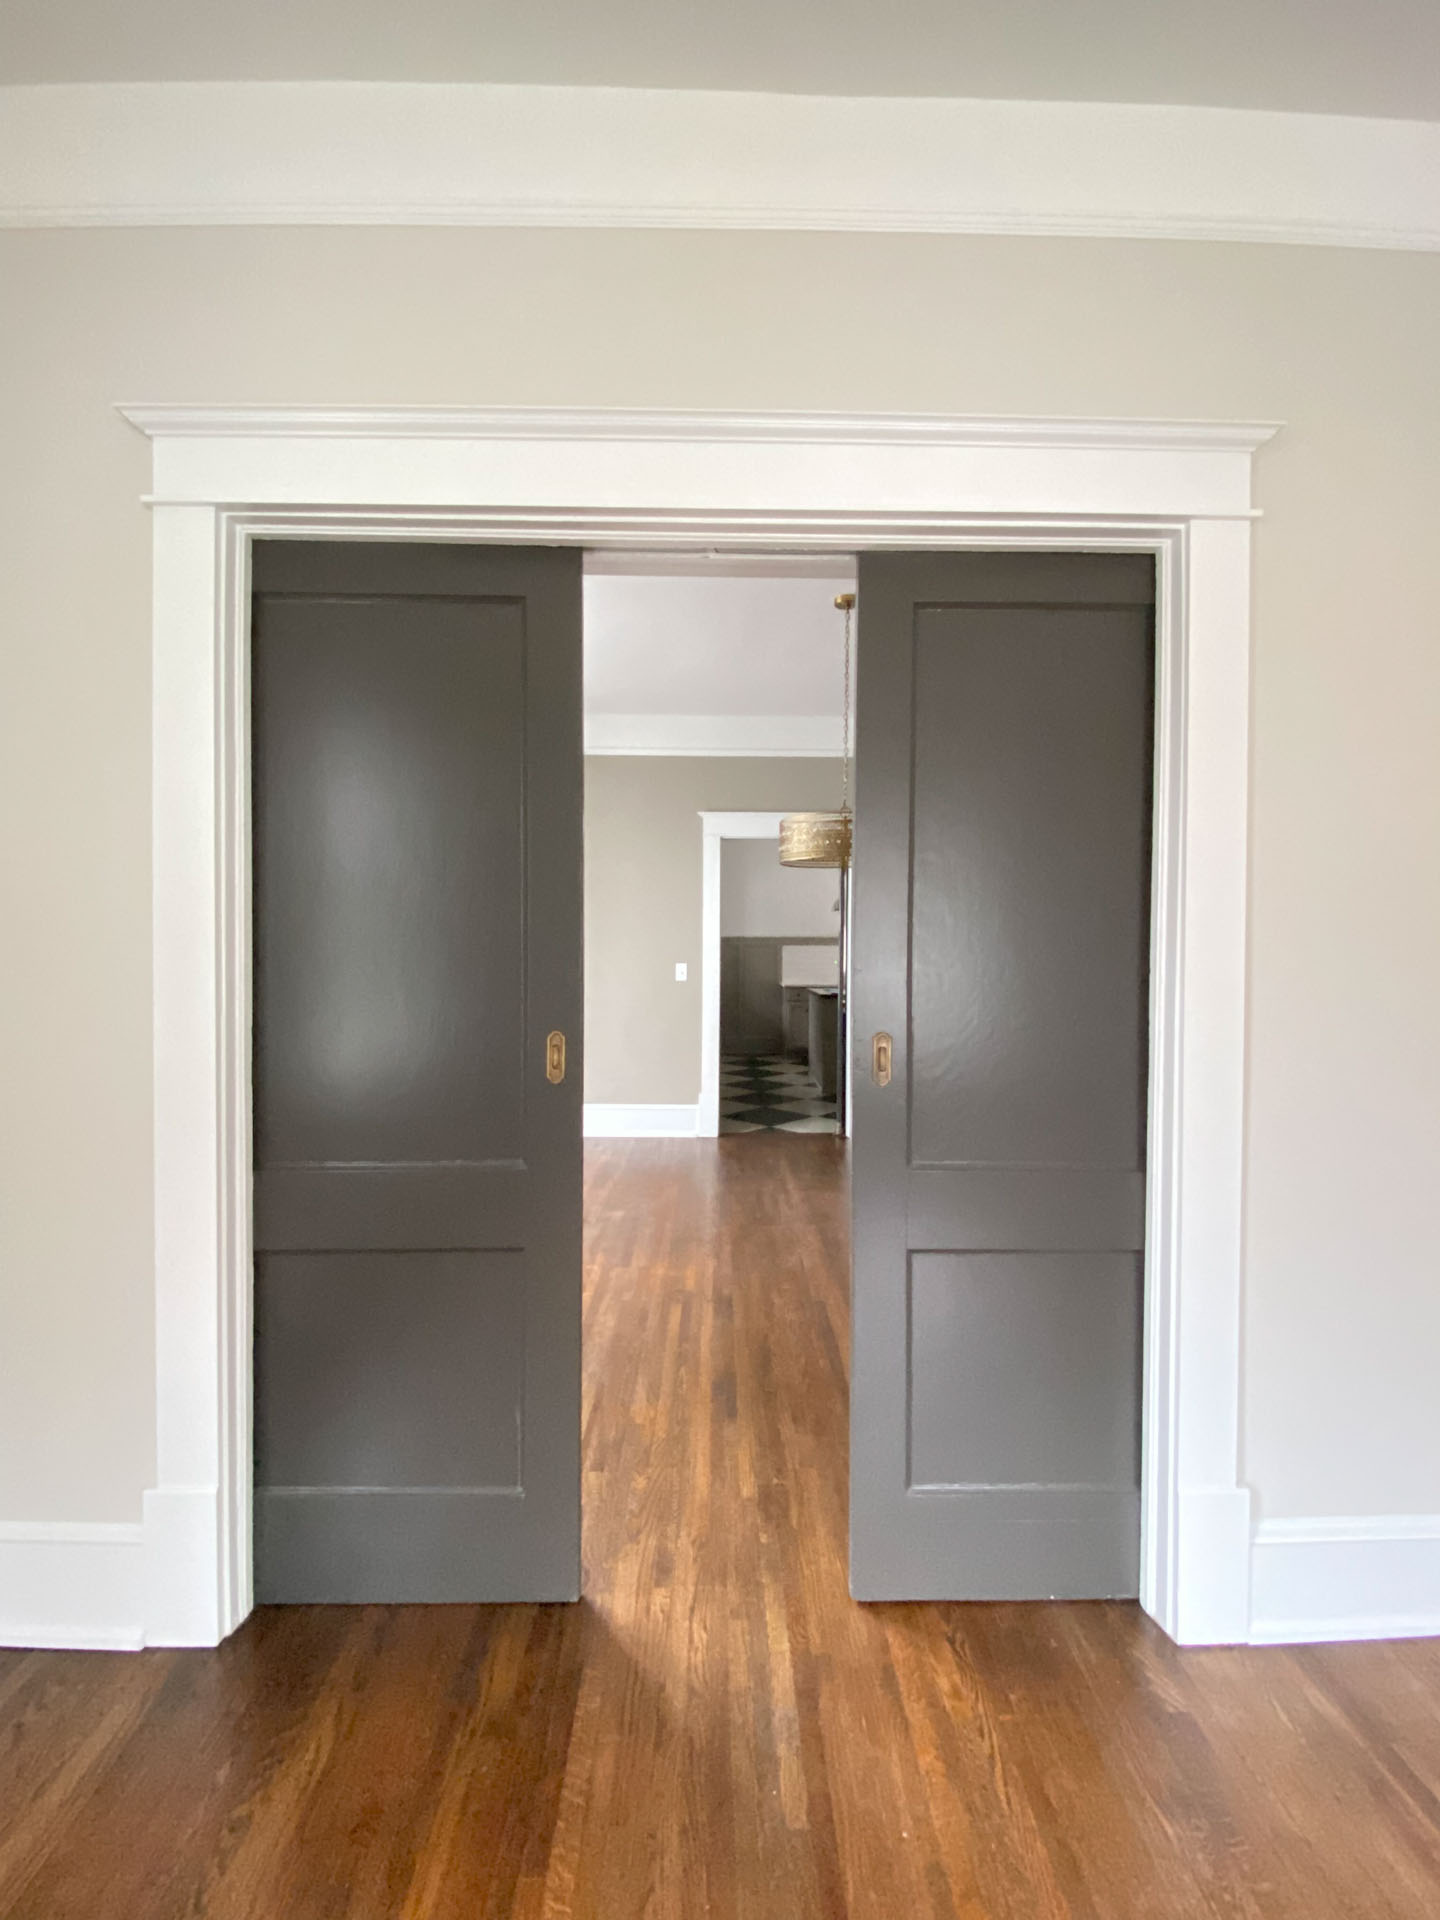
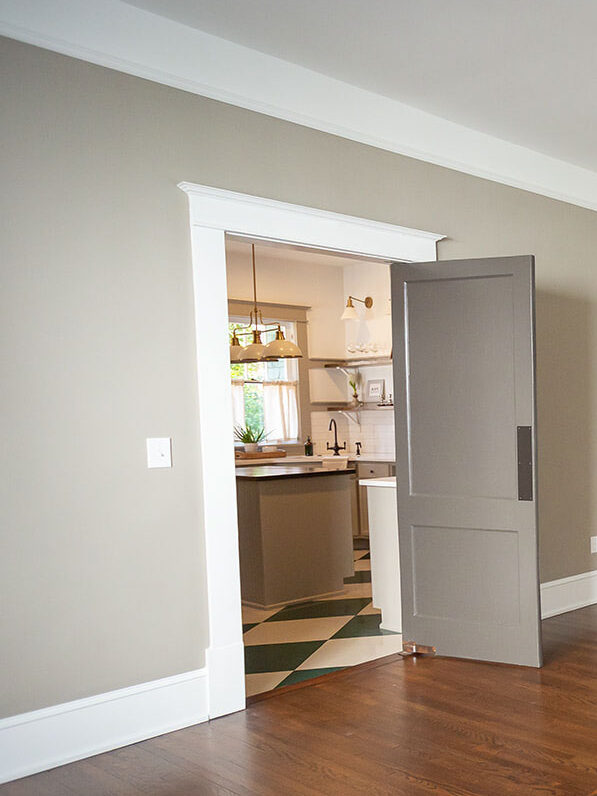
The best part about this space is being able to restore the pocket doors that had been covered up with trim. They now are operational and beautiful in this space.

Dining Room
Much like the living room, this space mostly received cosmetic updates. Here we also removed the paneling covering the plaster walls and then repaired any trim that was missing. With the pocket doors now restored, we also worked on two other doors in this space. The swing door that leads to the kitchen now works and the door leading to the new bedrooms hallway was removed since it was no longer needed. To finish off the space we painted the walls in SW7045 Intellectual Gray and I chose a brass chandelier for something different.
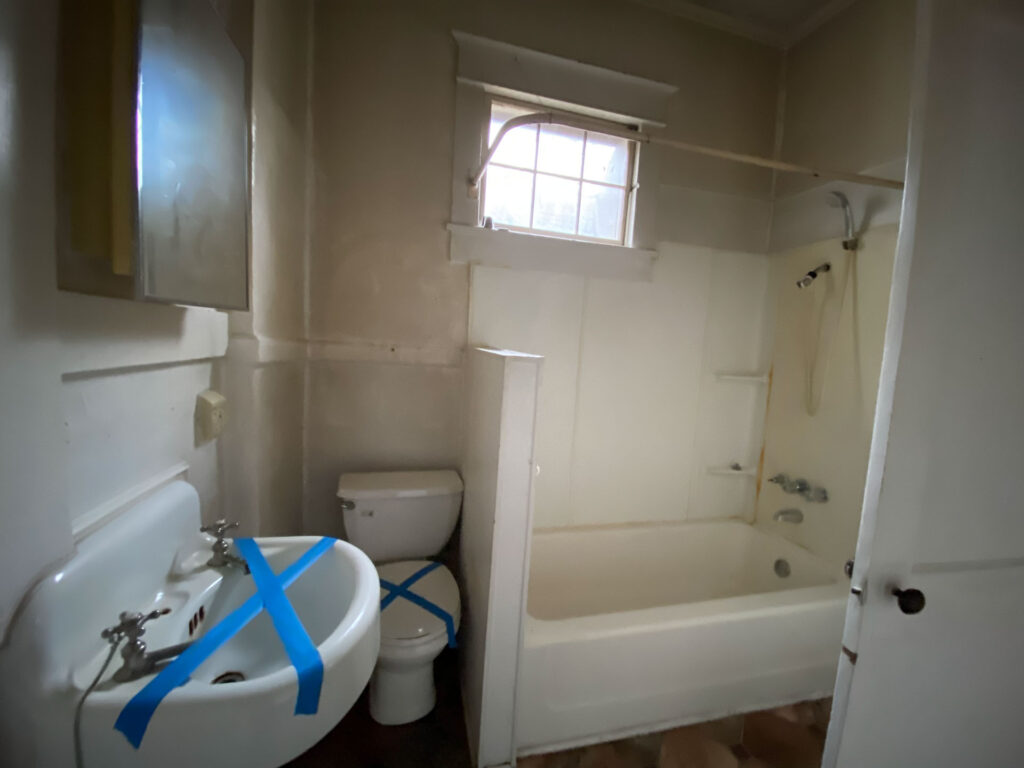
Guest Bathroom
Once the bathroom was framed it was time for drywall and paint, and of course the fun design details. I continued with a neutral shade of paint in Basalt Powder HGSW 2457 and installed white subway tiles for the bath/shower surround. Rather than installing a classic brick pattern I decided to try something different with a double basket weave pattern. I continued the use of brass for the fixtures in this bathroom and love how it pairs with the light tones.
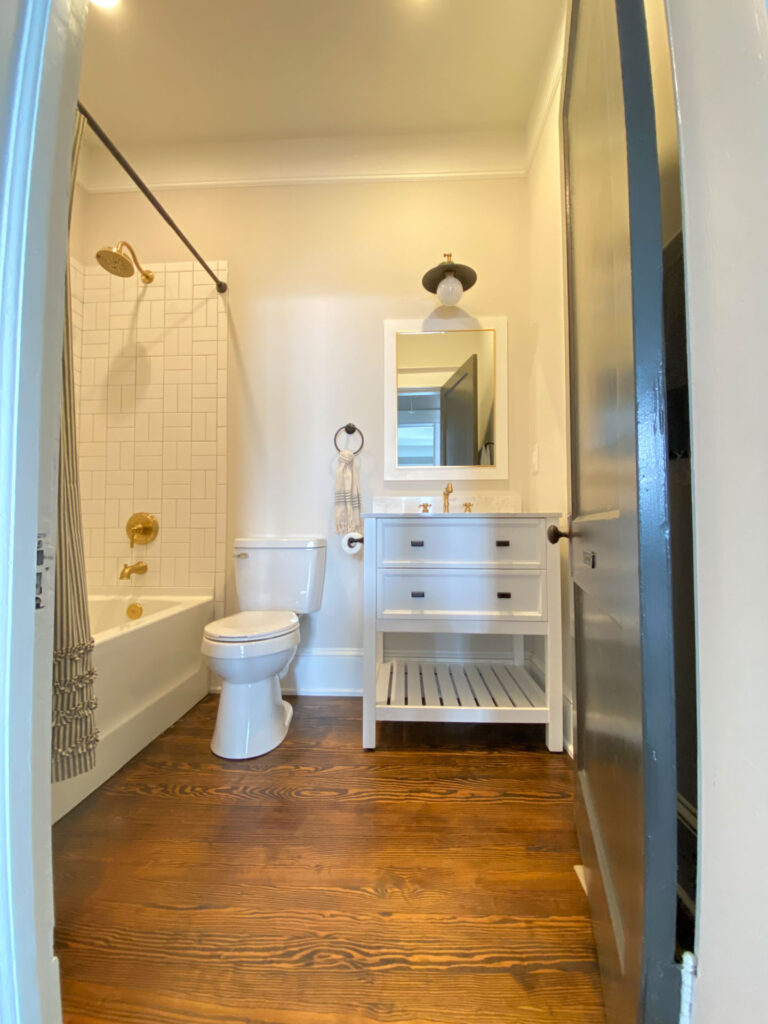

GUEST BATHROOM SOURCES:
30″ White Vanity
Vintage Brass Faucet
Gold Framed Mirror
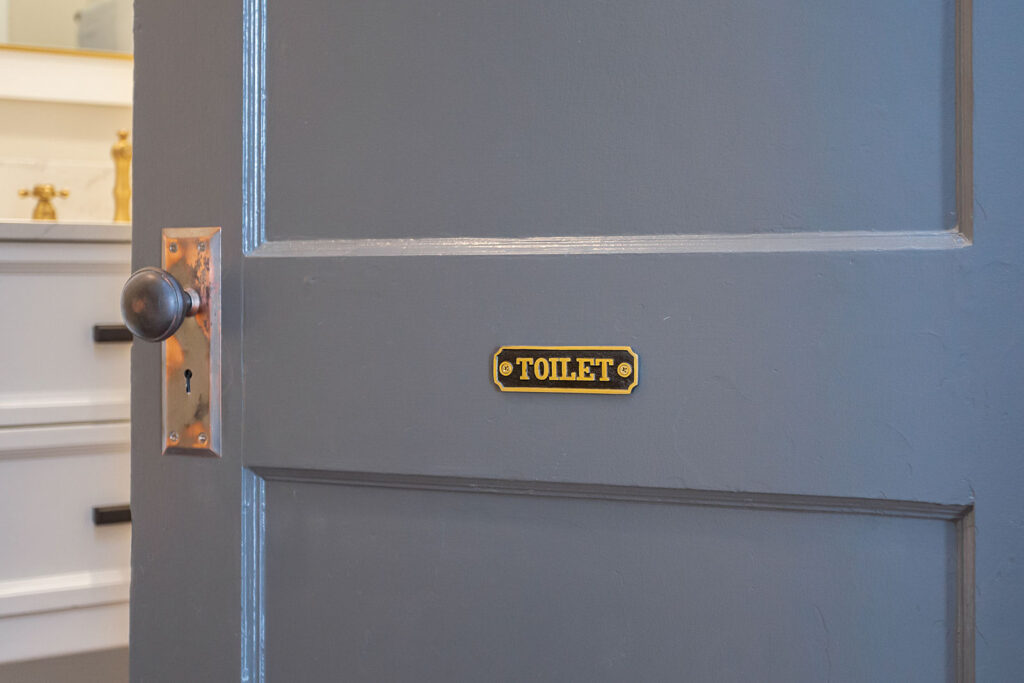
Vintage Toilet Sign
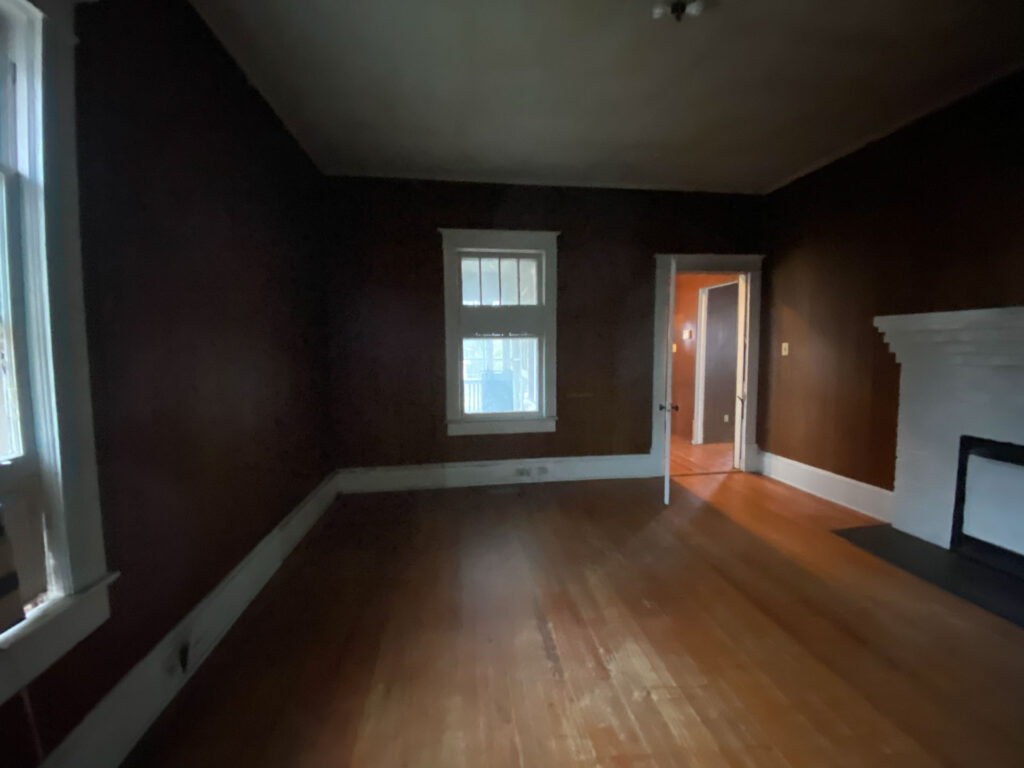
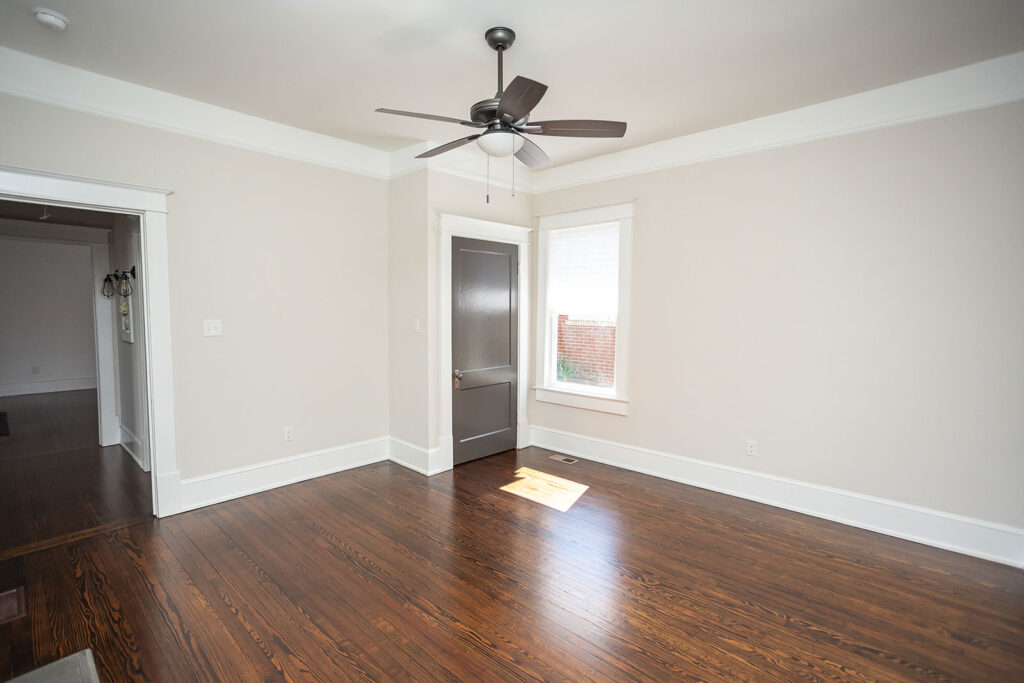
Second Bedroom
The last room is the second bedroom which now is spacious and accessed through the new hallway just outside of the guest bathroom. The walls are Basalt Powder HGSW 2457 and with the new closet, there’s lots of storage space too.

Original Details Preserved
It’s always important to me to preserve or restore as many original details as possible. As I mentioned earlier, we were able to restore the pocket doors between the living and dining rooms. We also restored or replicated trim throughout the house to match the original. The original floors were refinished and turned out beautiful.

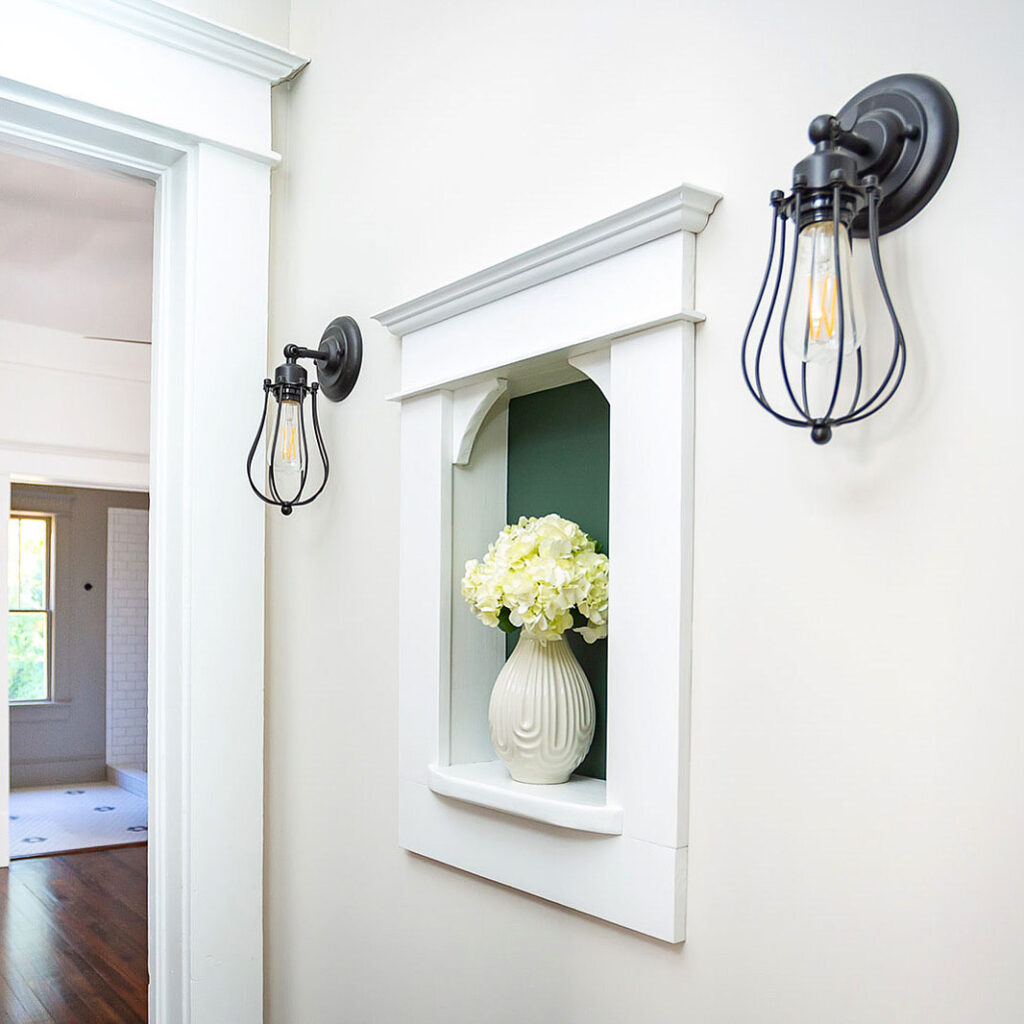
While not original to the house, I did create a vintage phone nook for the new hallway. This little nod to the past is a fun detail and perfect for the small space.
Remaining Spaces
In my next few posts we’ll take a close look at the Kitchen Transformation, the Master Suite with Bathroom Addition, and all of the updates we made to the exterior. Stay tuned for those renovations and in the meantime, view the entire portfolio and find sources here.


+ Show / Hide Comments
Share to: