Our Client’s Stunning Screened Porch Reveal
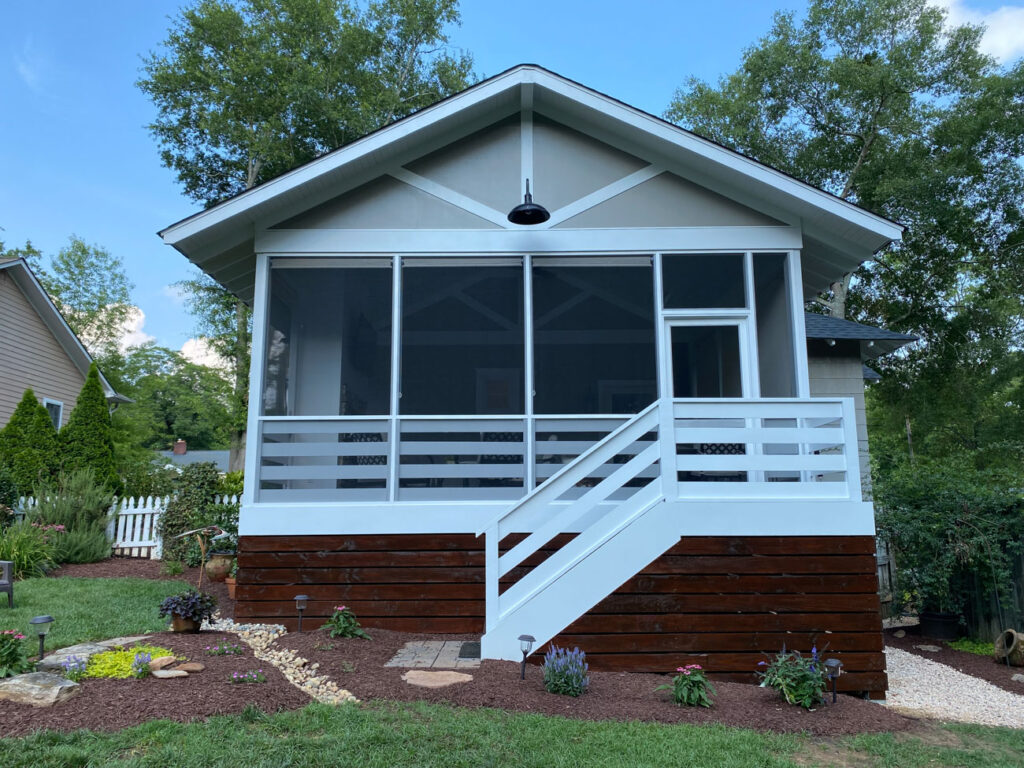
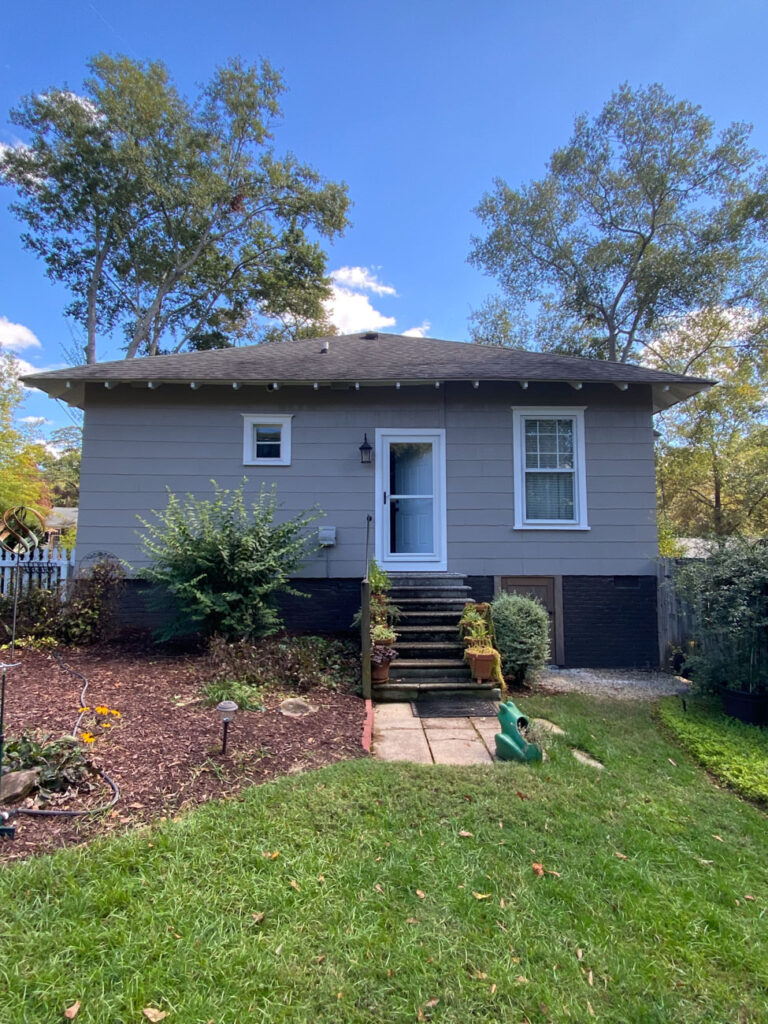
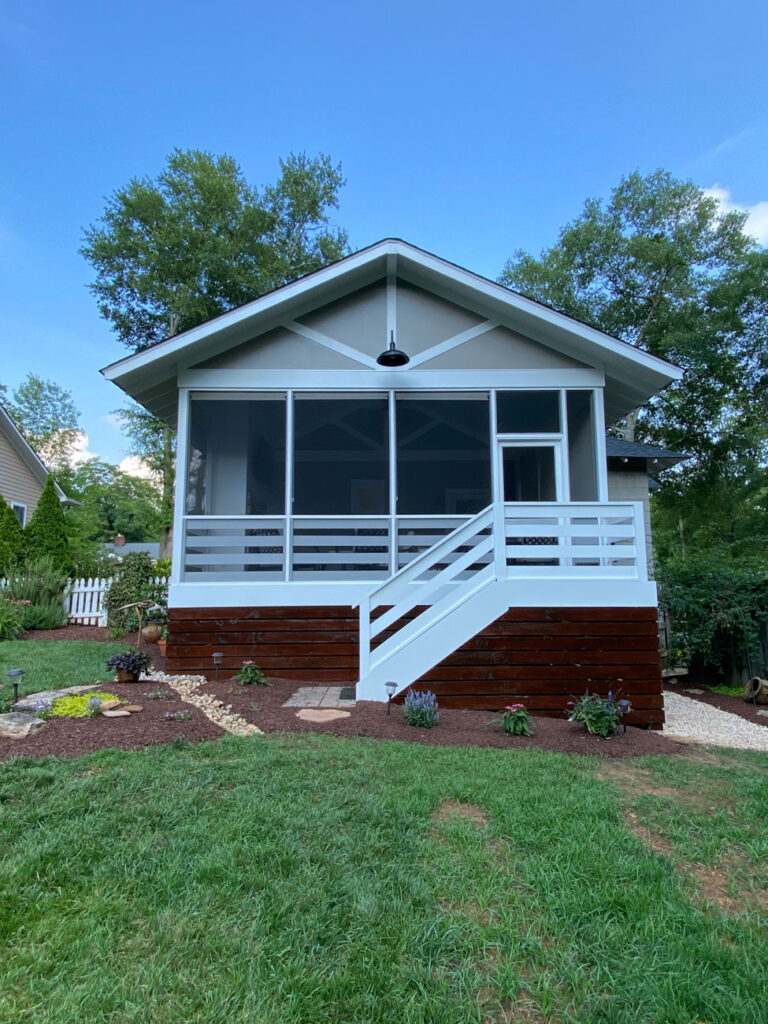
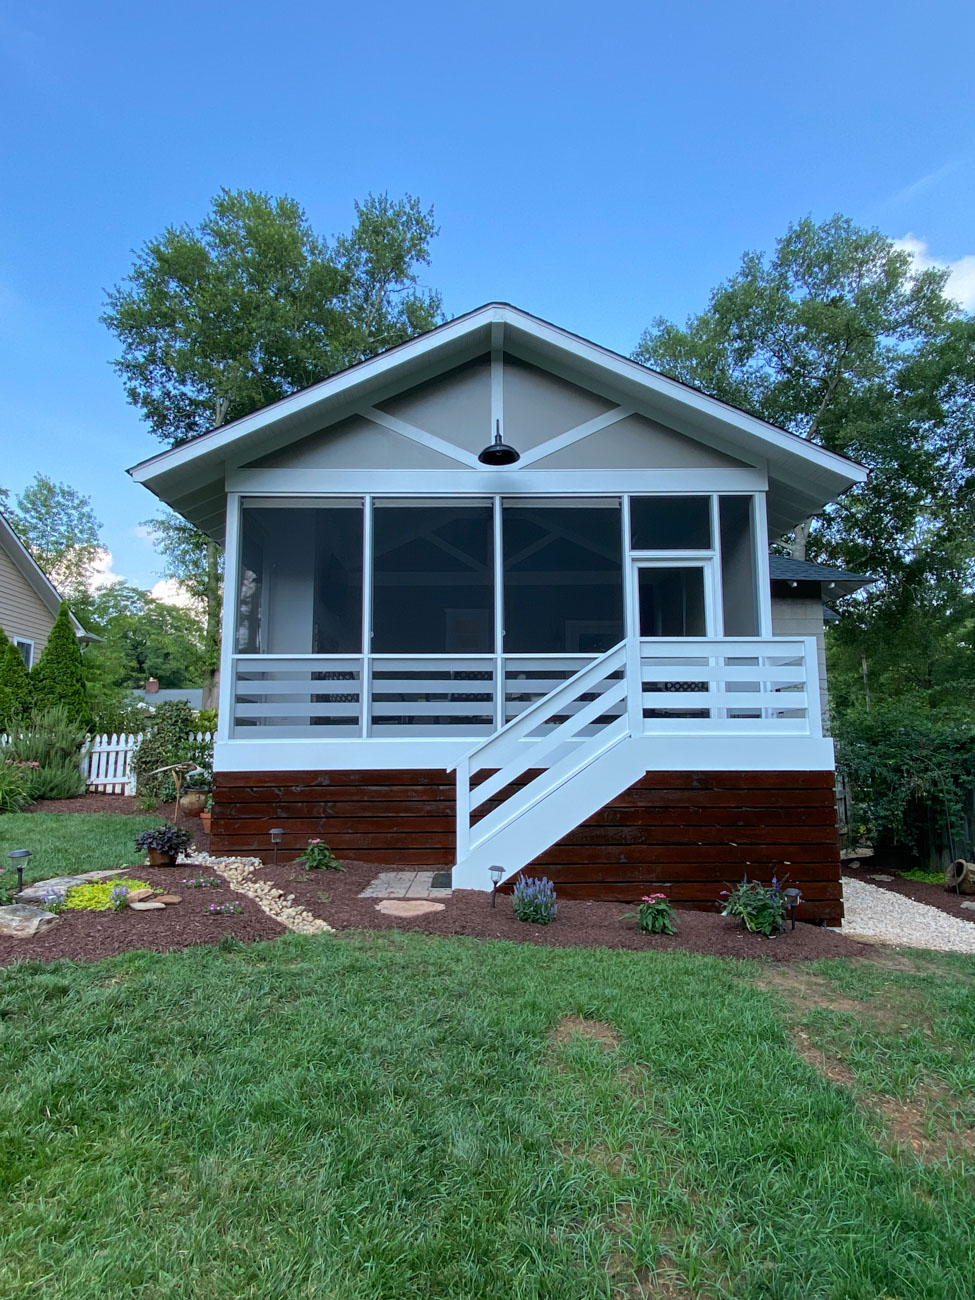
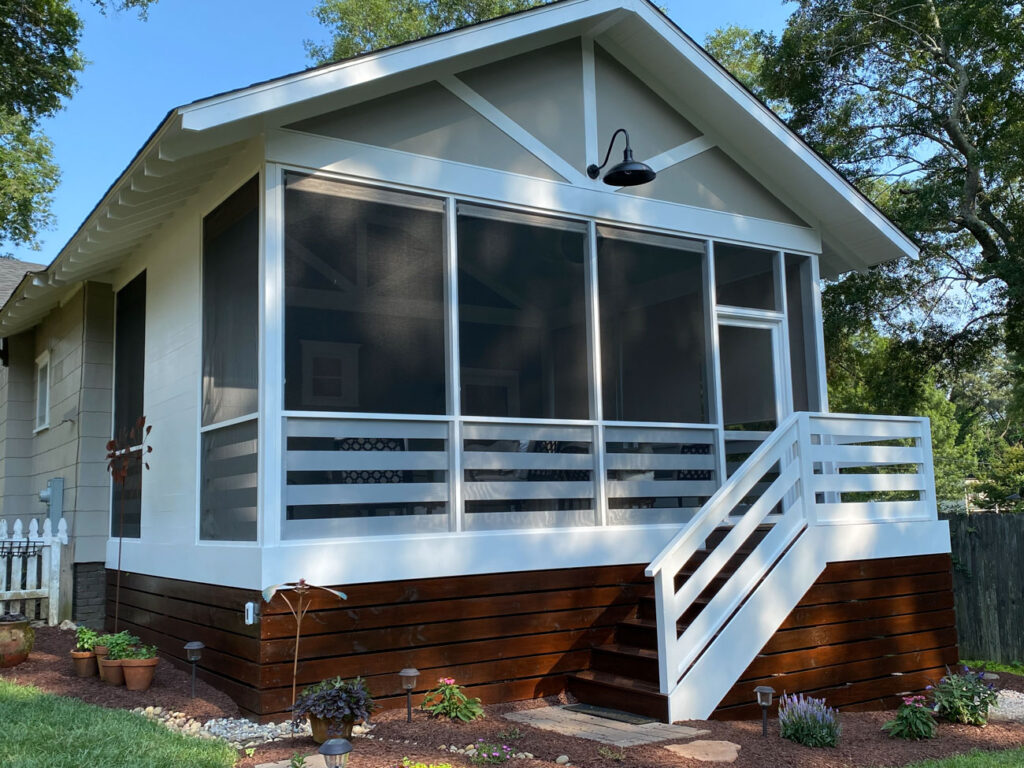
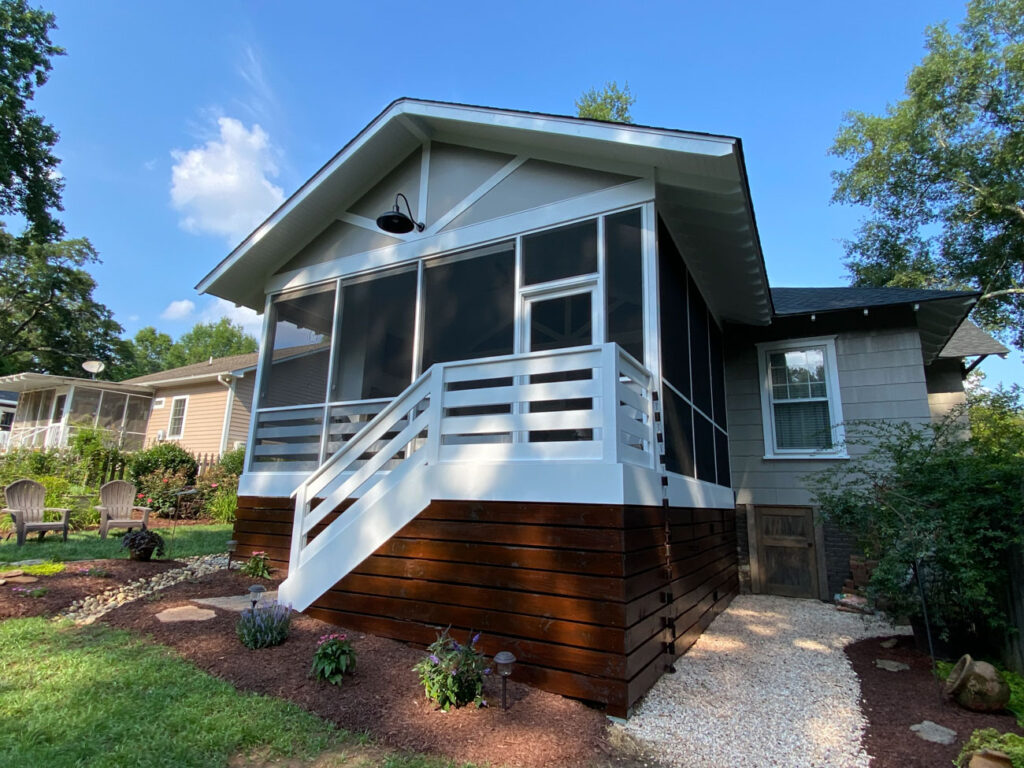
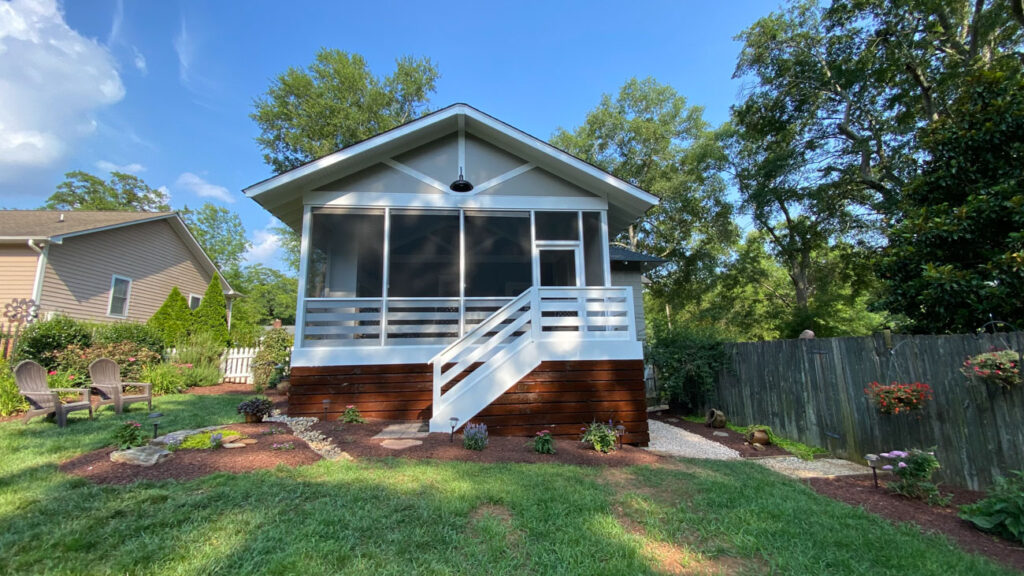
For the past two months, we have been working to transform the back of my client’s historic home into the screened porch of their dreams. And dare I say, we succeeded.
The Design & Vision
When two of my favorite clients reached out and asked me to design a screen porch addition for them, I of course said yes. I created a Design Plan and after a couple of tweaks, we had the blueprint for their new outdoor living space.
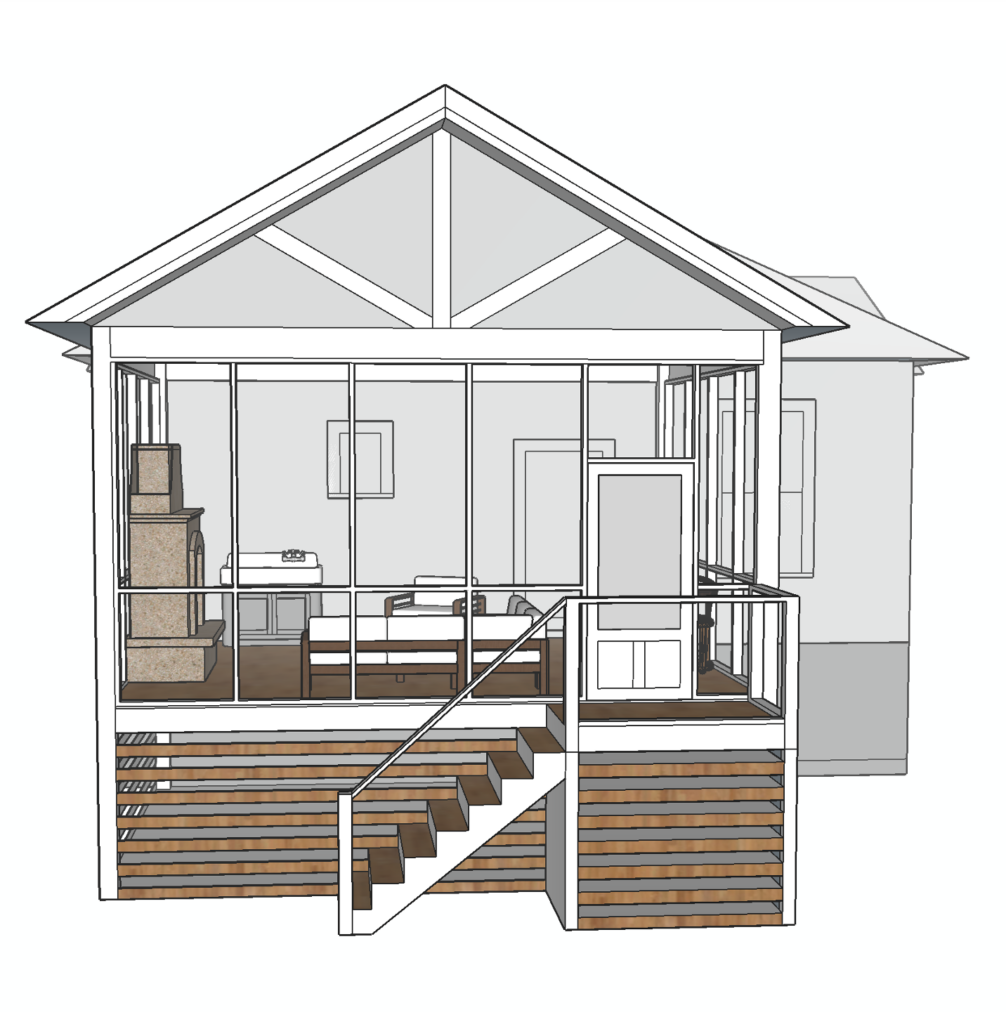
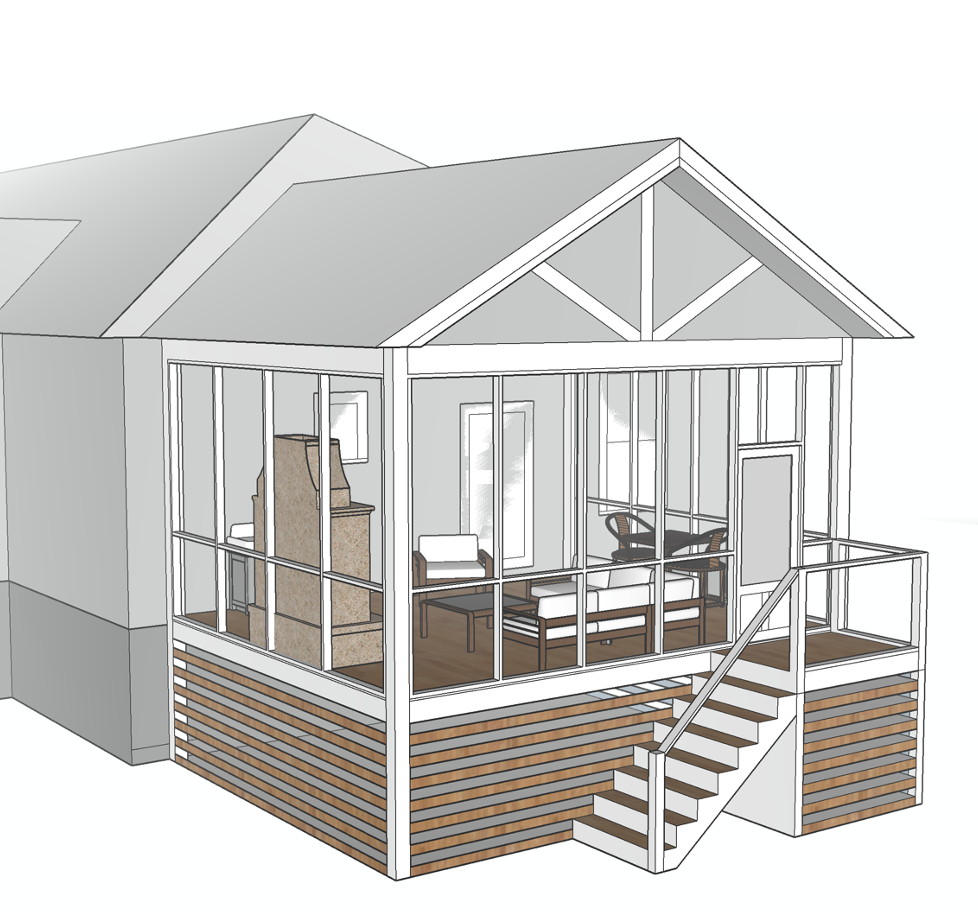
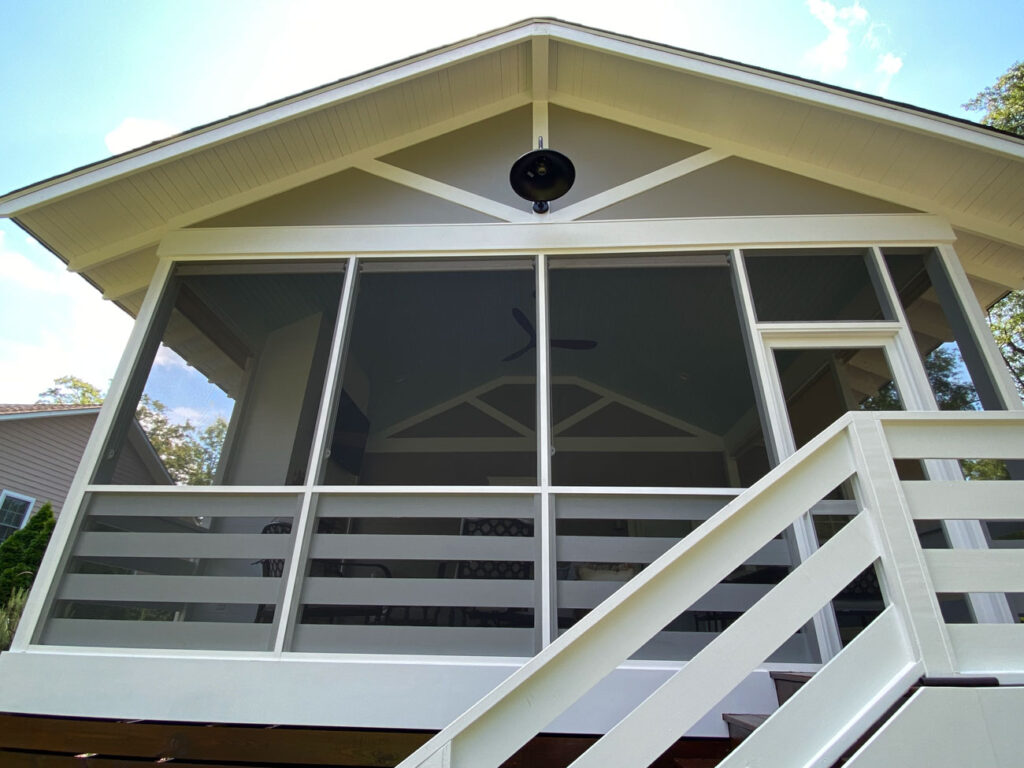
On the list were a gabled roof, high vaulted ceilings, a fireplace as the focal point, underpinning to conceal storage under the porch, and to make it complement their historic home.
We then reached out to a general contractor who had a team who could bring our vision to life and at the beginning of April, we broke ground on the project. It took a little longer than expected which is often times the case, and together we were able to create a beautiful screened porch outdoor living space my clients can use year round.
Before & After
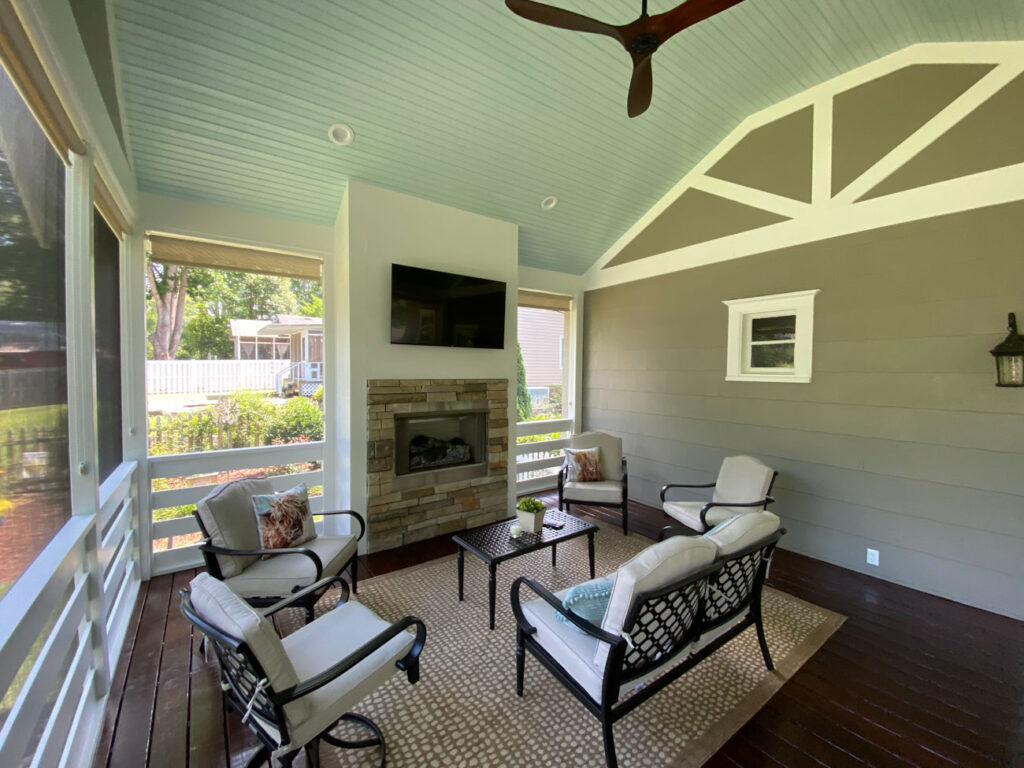
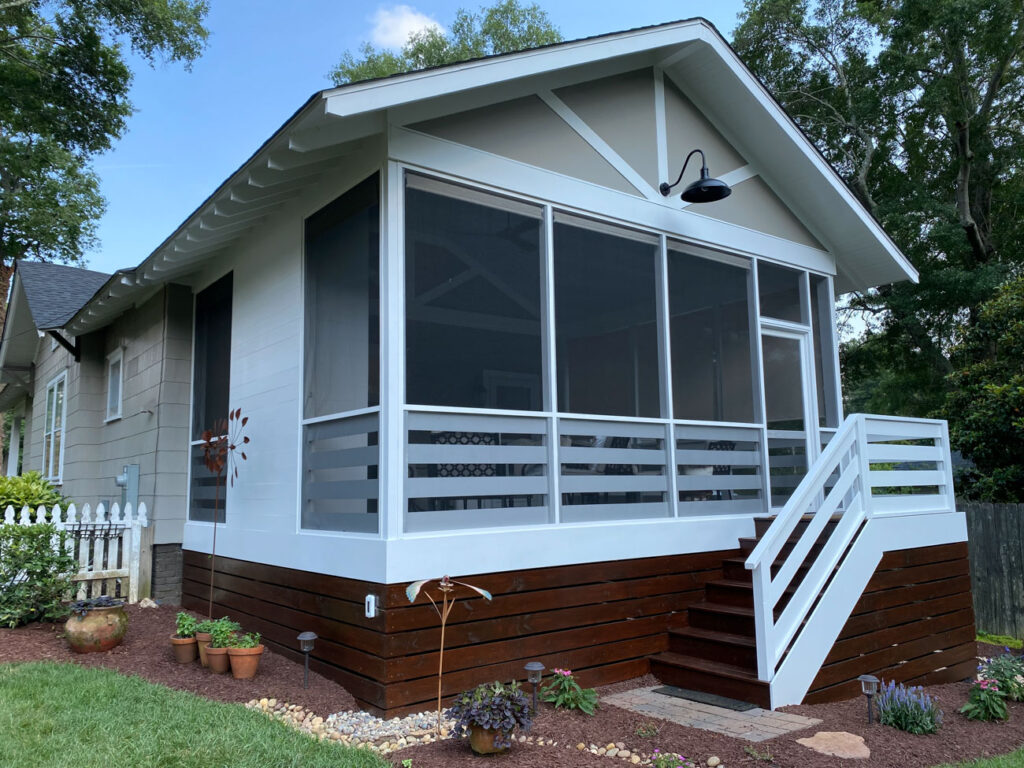
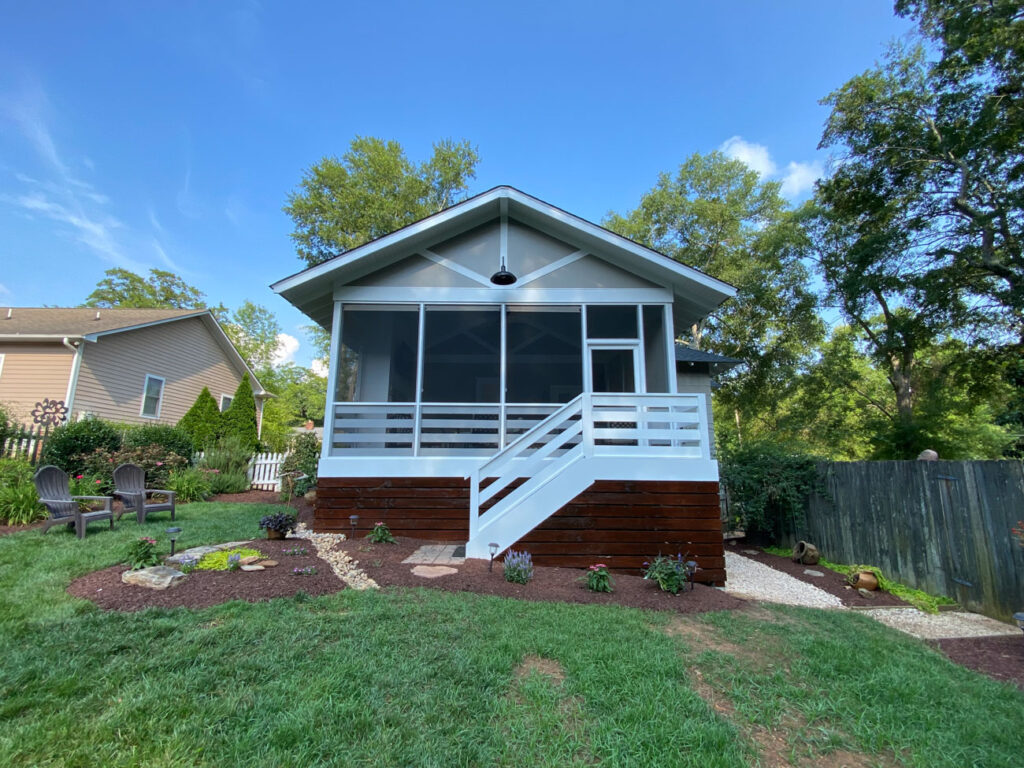
While the back of their house was nice before, it now feels like an oasis. Their screened porch perfectly compliments their tranquil back yard and is a great outdoor extension of their historic home. And, by building a gable roof rather than a shed roof, the new porch has a grand feel to it.
Historic Home Character + New Build Details
Old House Details
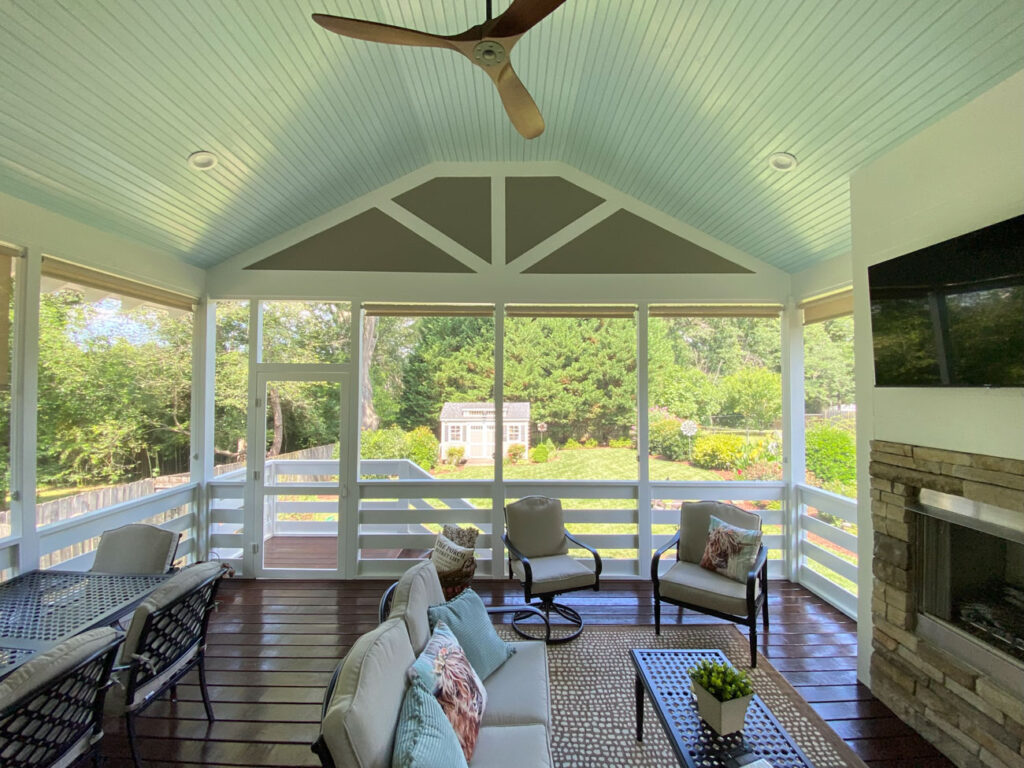
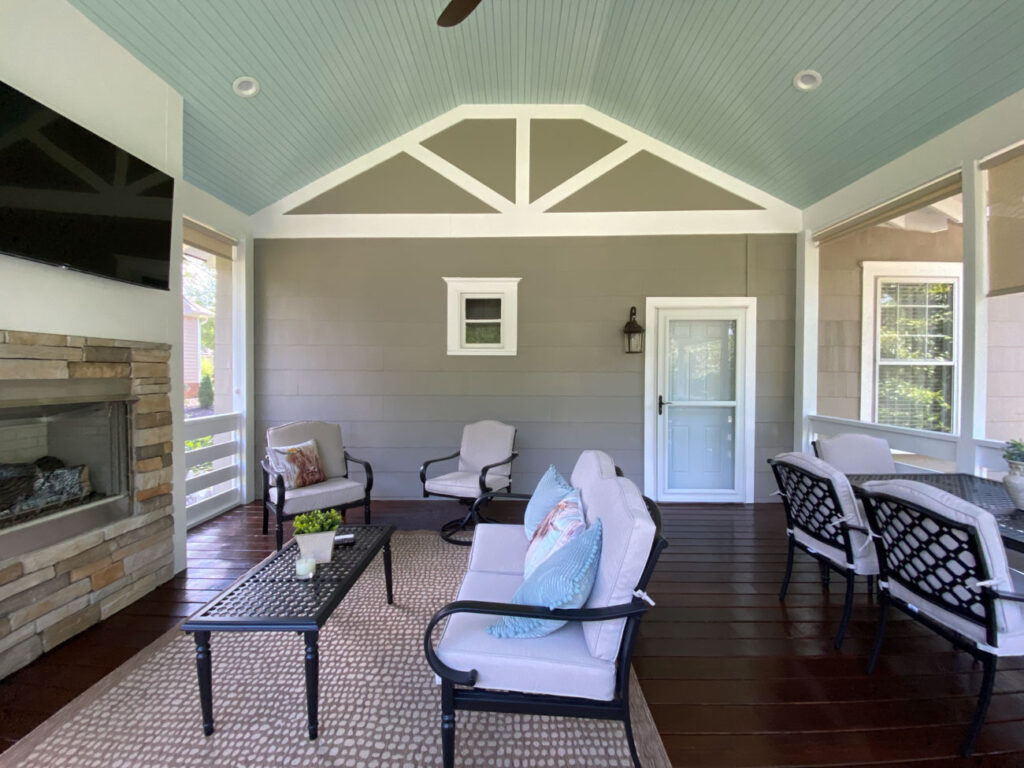
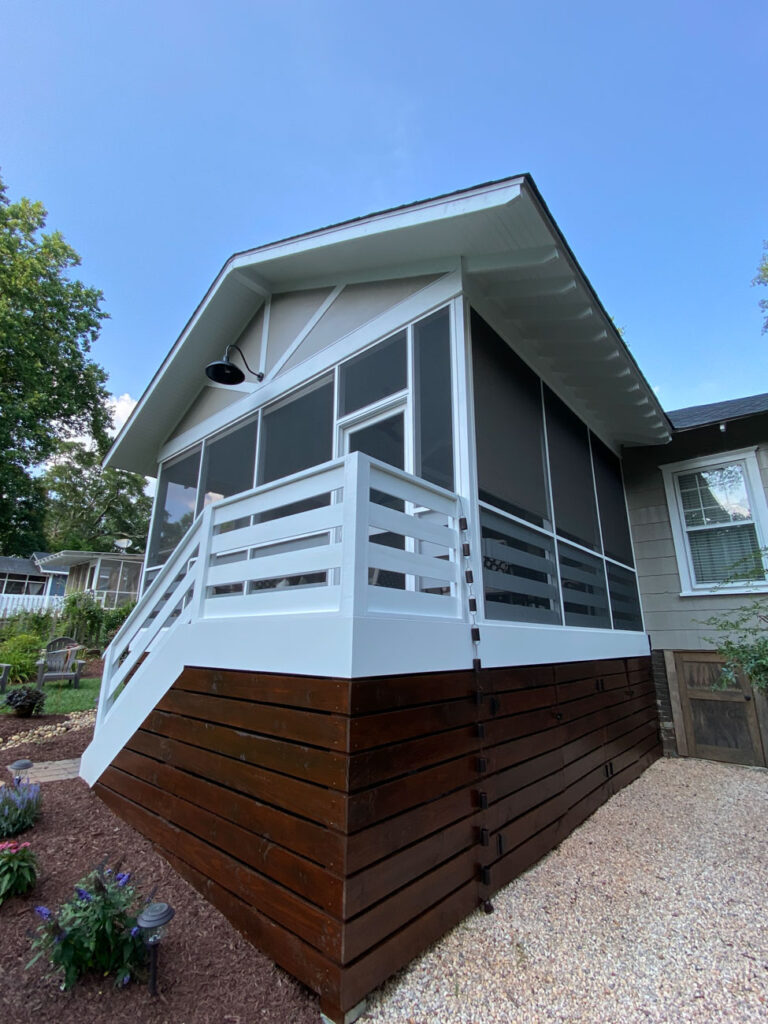
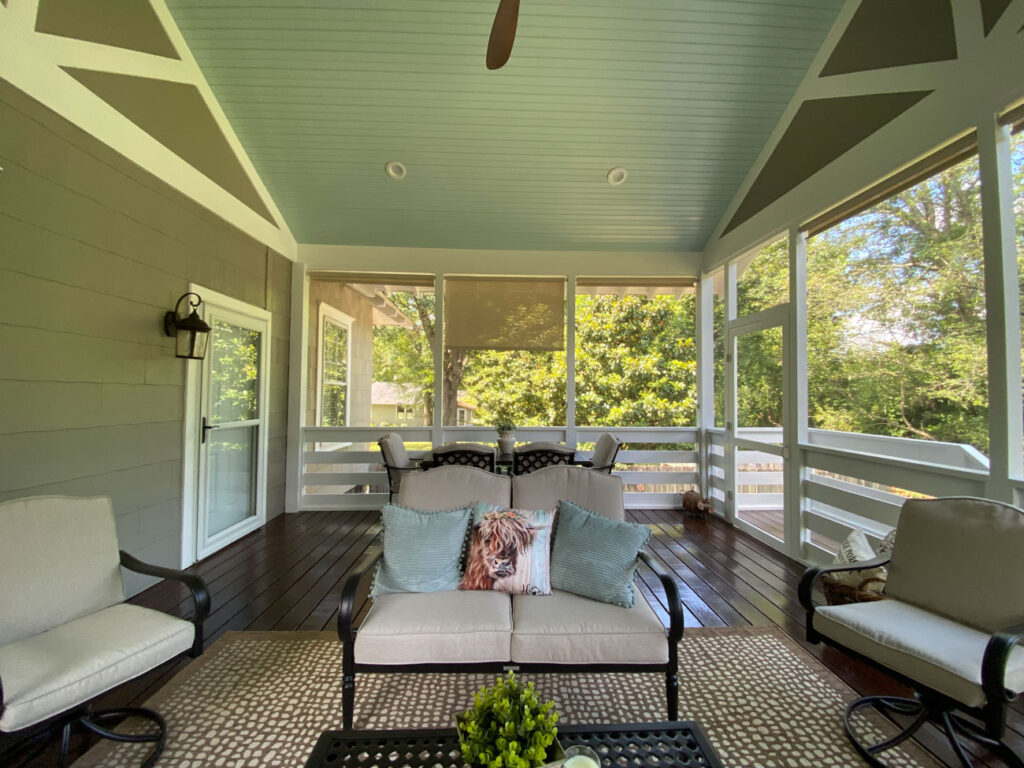
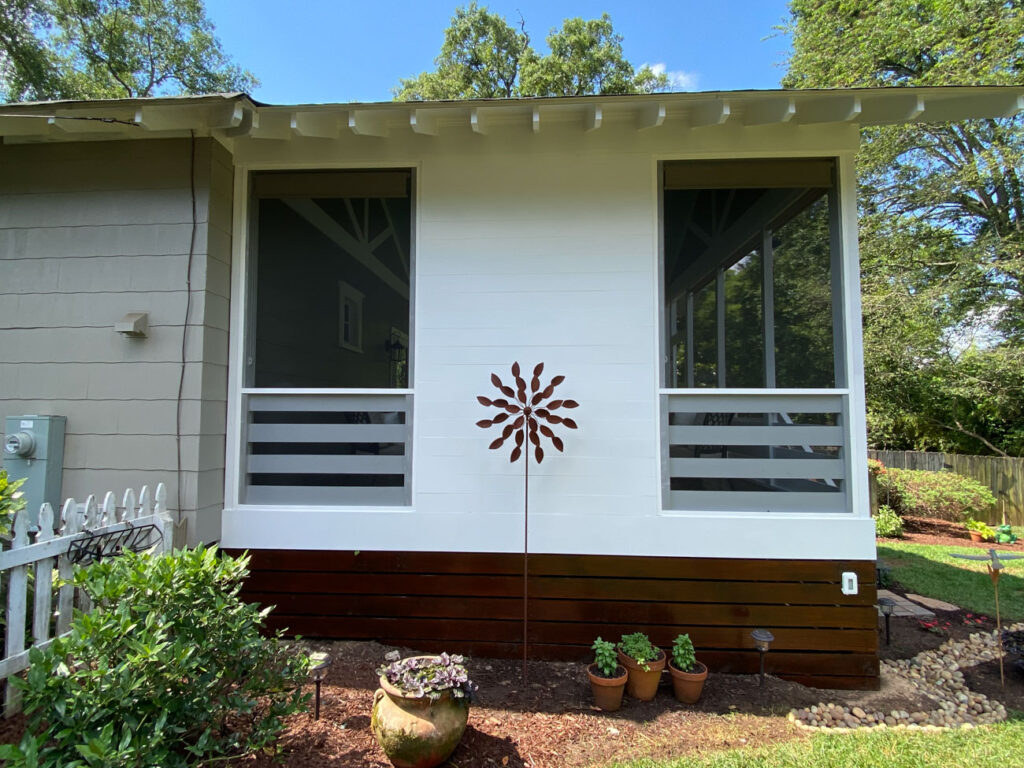
With any renovation or new build to a historic home, the goal is always to match as many original features as possible to make it feel authentic. While we did make a couple of more modern choices for details like the horizontal railings and the fireplace, those details are balanced out with old house ones. One of those old house details is the haint blue beadboard ceiling. We also used tongue and groove boards for the rafter overhang to reflect that detail from the original house. And last but not least, we matched the house’s exterior paint colors for continuity. I went into some of those old house screened porch details in a little more depth here.
Horizontal Railings
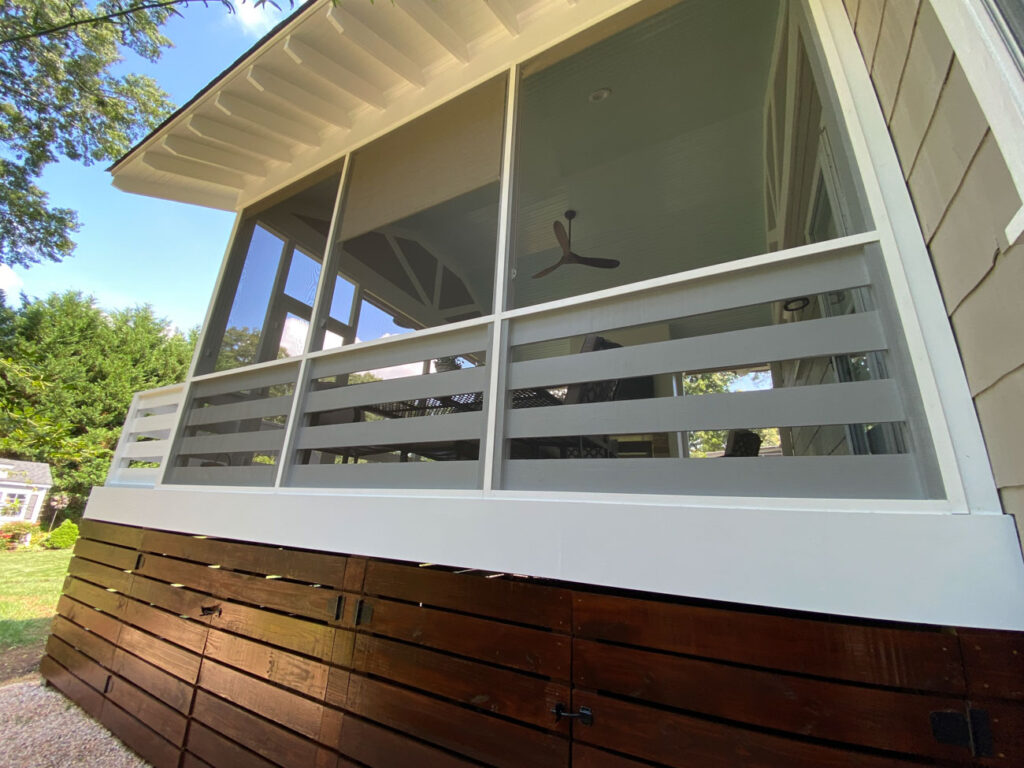
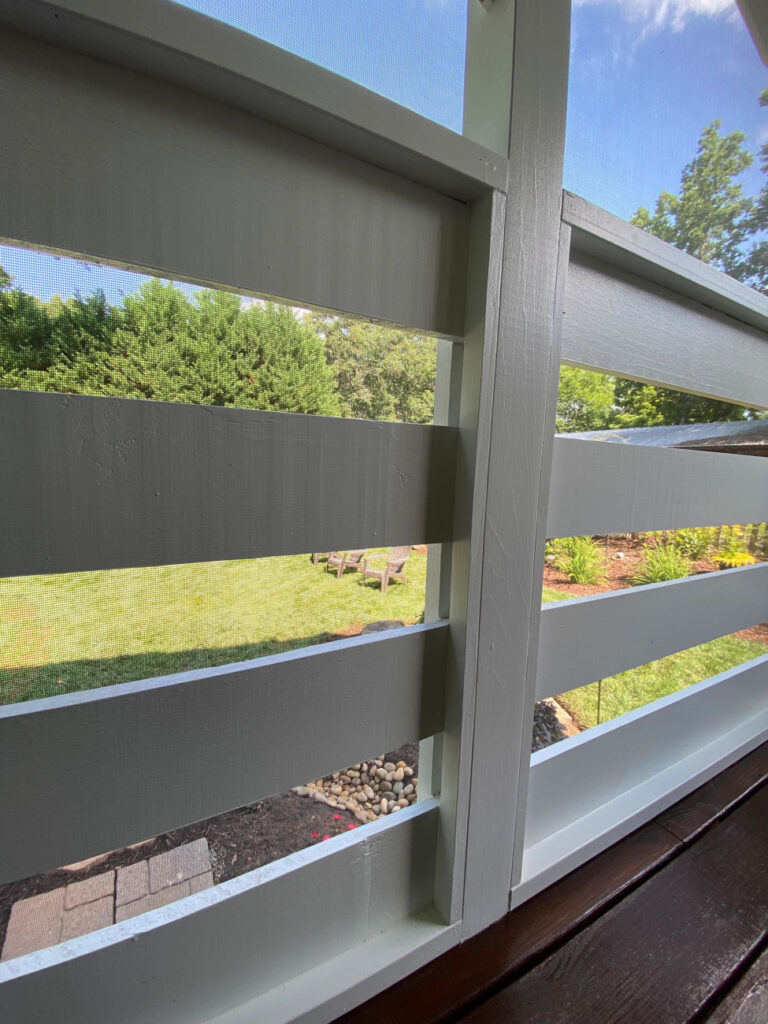
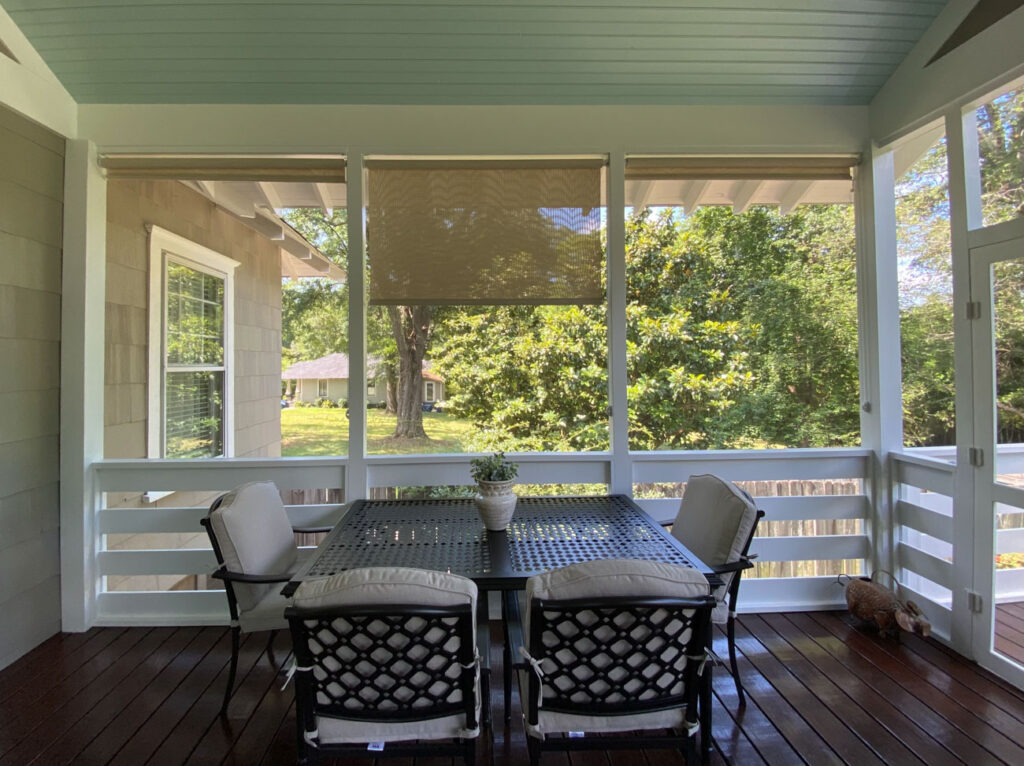
We decided to try something new for this project and installed horizontal railings. We used 1×6 pressure treated boards installed horizontally with 2×4 top and bottom railings. To secure the 1×6’s we added trim pieces vertically along both the interior and exterior sides of the railings which should also prevent the boards from twisting over time. We continued the use of the 1×6 boards for the crow’s feet details under the gable, the underpinning, and for the fireplace. Once the railings and posts were painted a bright white, they look great and I love how they turned out!
The Fireplace Focal Point
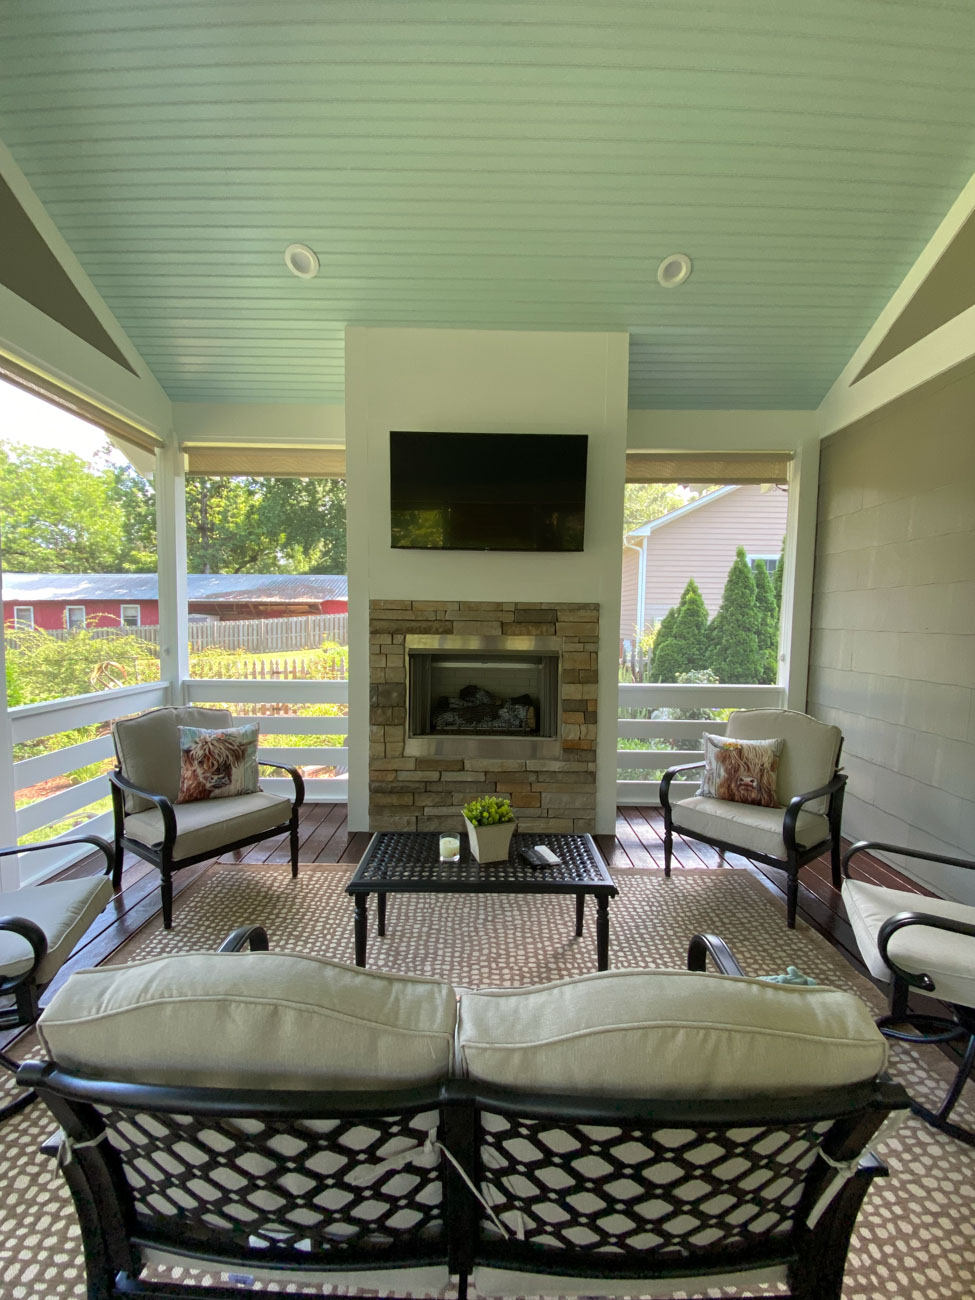
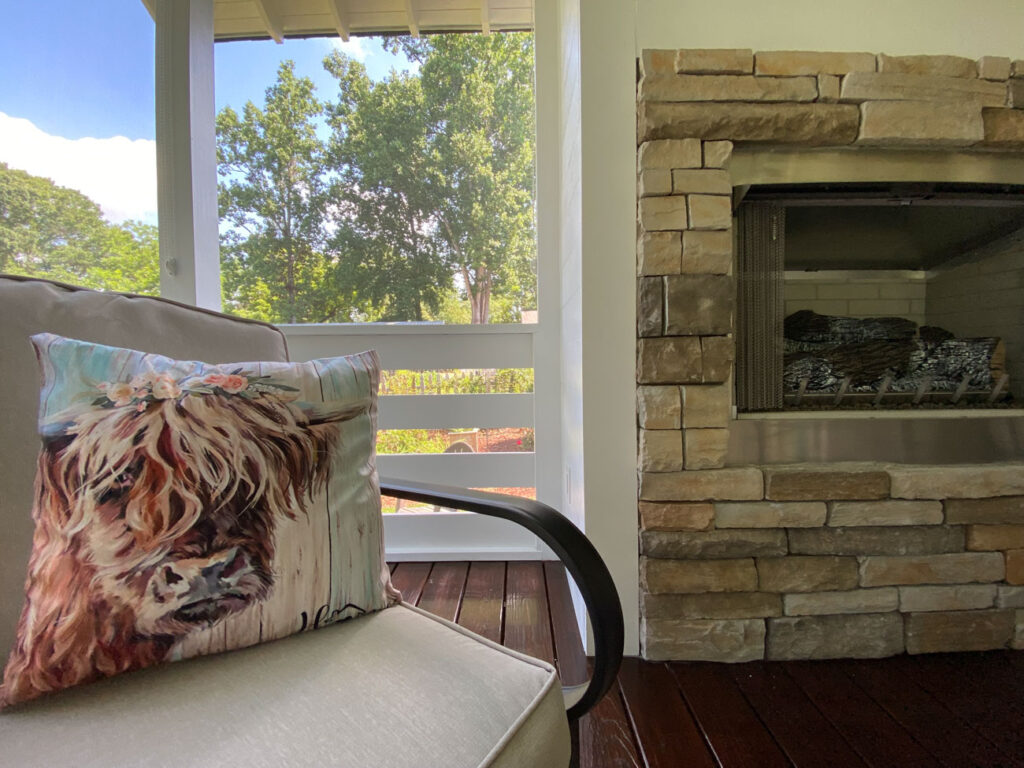
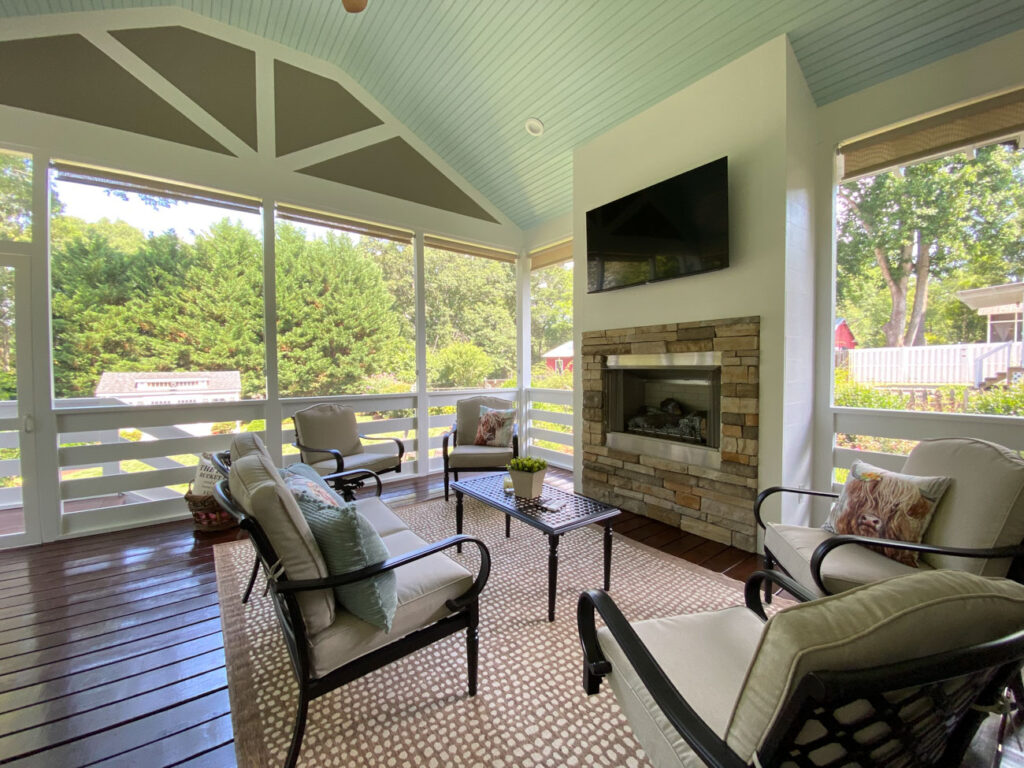
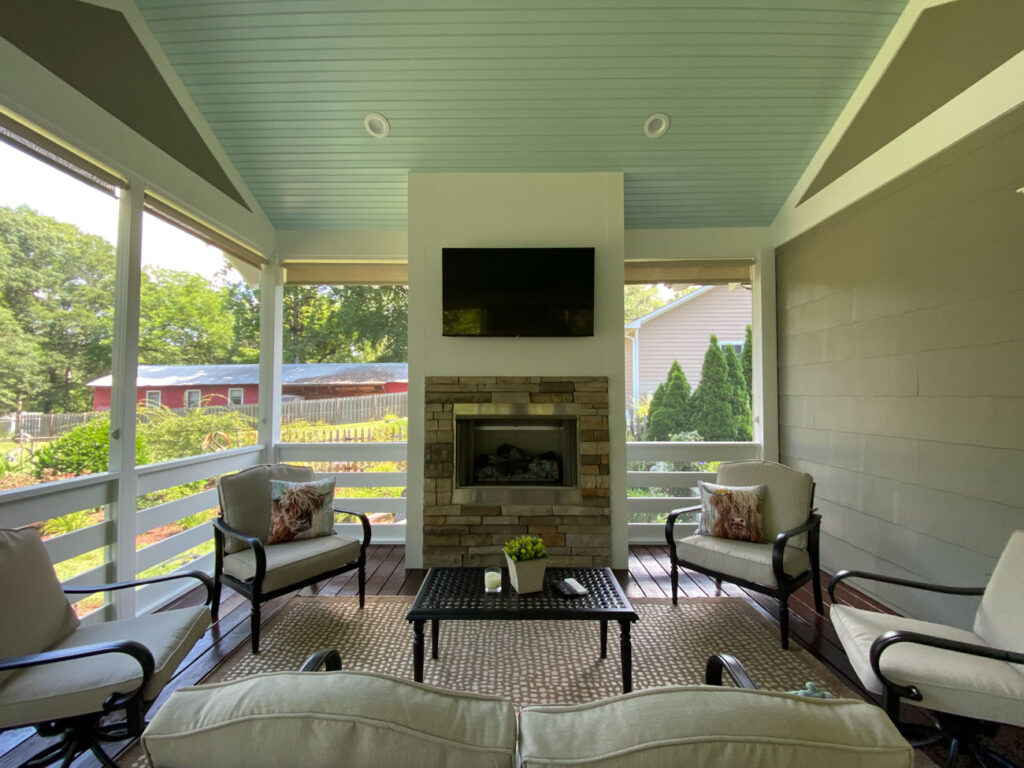
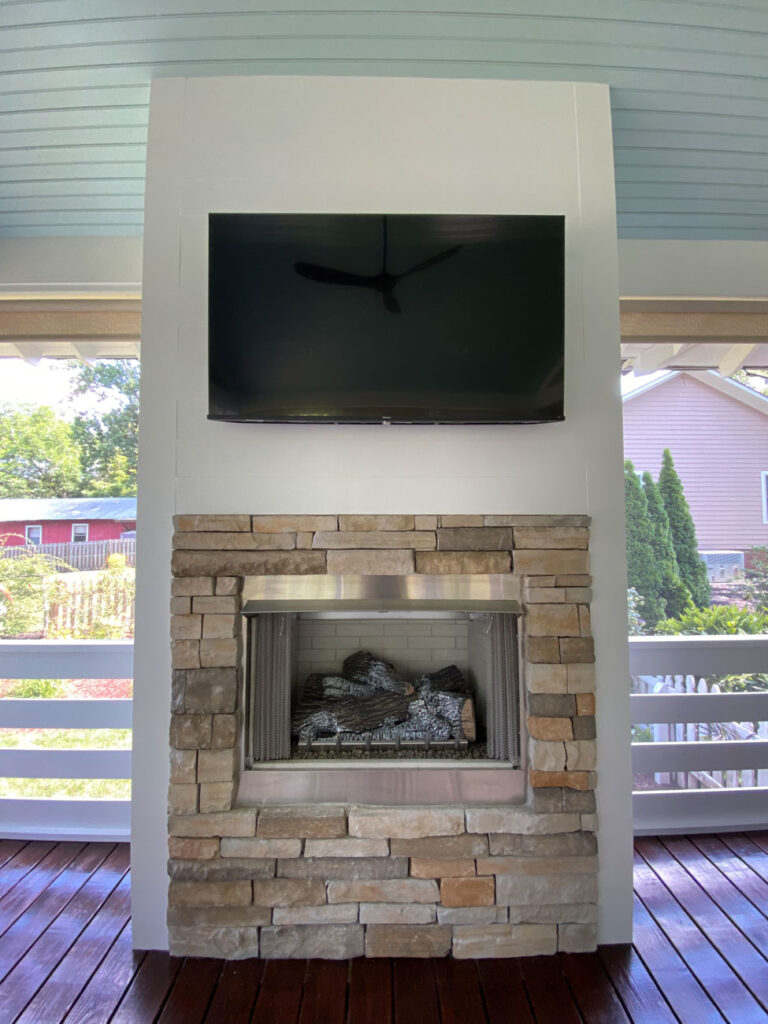
From day one, a fireplace as the focal point was high on the list. This was my first time installing an outdoor fireplace so there was a bit of a learning curve for me. And so this resulted in changing up the plans for the surround. Originally we intended to continue the 1×6 boards along the entire wall. Once we were told the boards wouldn’t work because they are combustible, we changed plans. My clients picked out this beautiful stone that compliments the stainless steel of the insert. After the mason installed the stones and the TV was hung, I envision many fall afternoons for watching football.
Ready for Guests
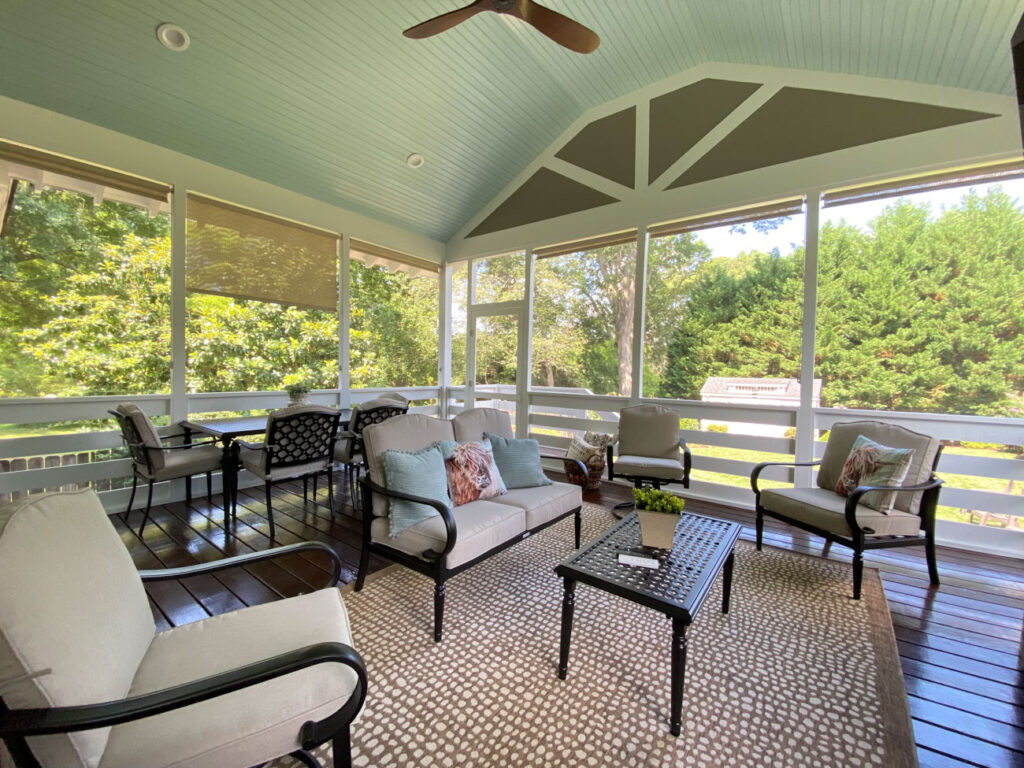
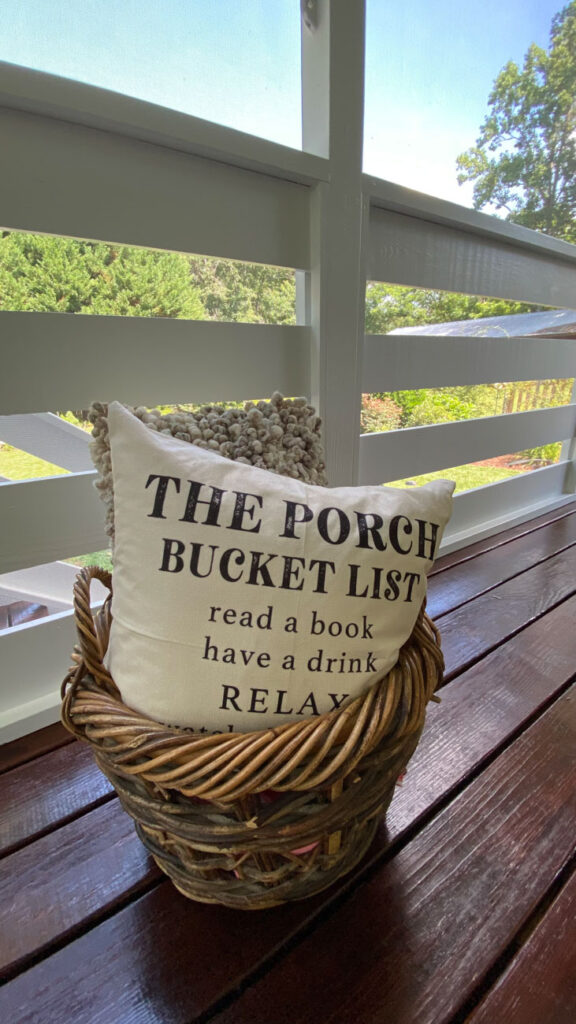
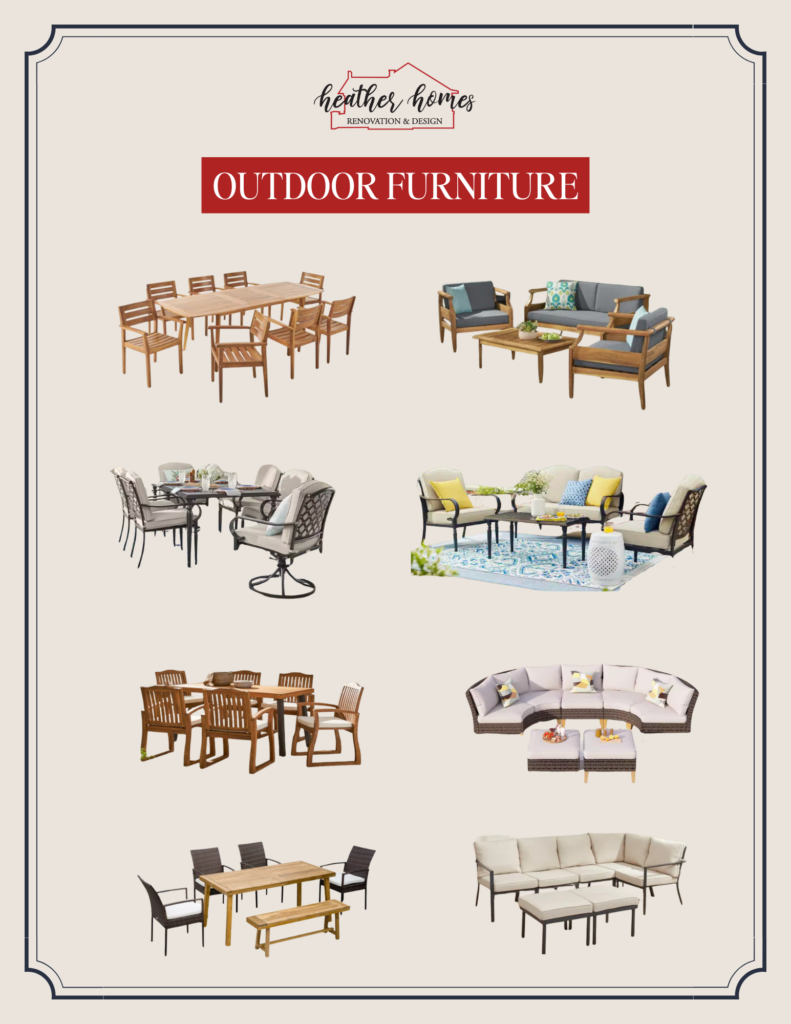
My clients have already furnished the space beautifully! They have both an outdoor dining area and a seating area along with fun decorative touches like the pillows. Their screened porch is now ready for company any time of the year and I hope they love this beautiful outdoor space for years to come!

+ Show / Hide Comments
Share to: