Laundry Room Renovation – Maximizing Every Square Inch
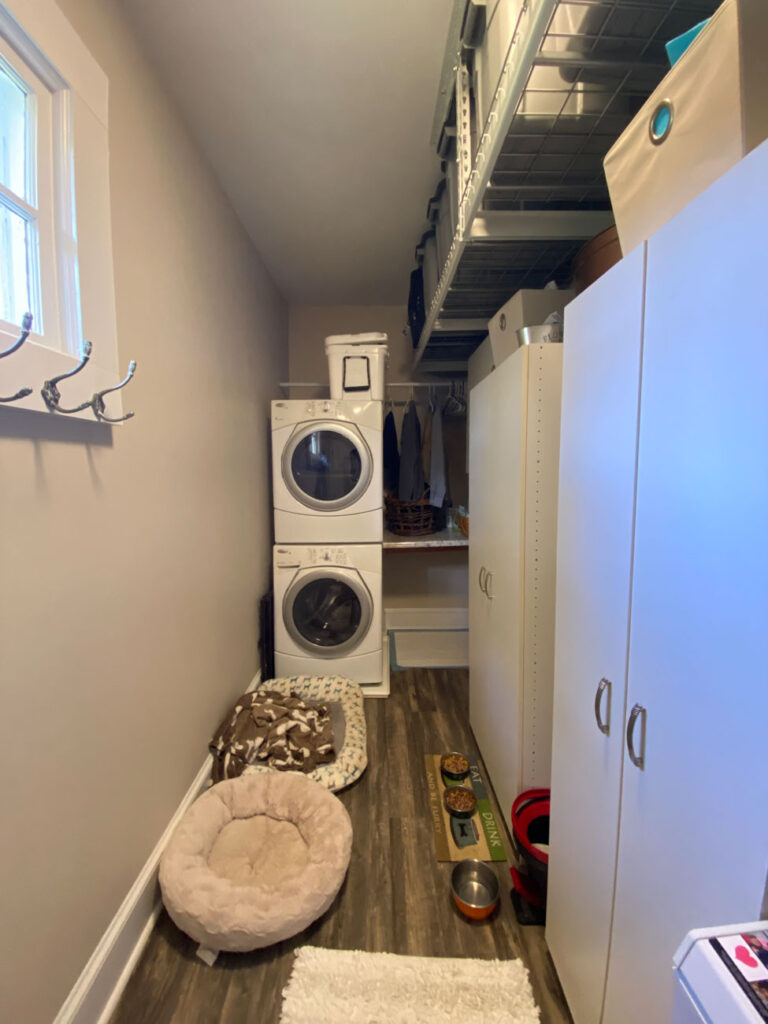
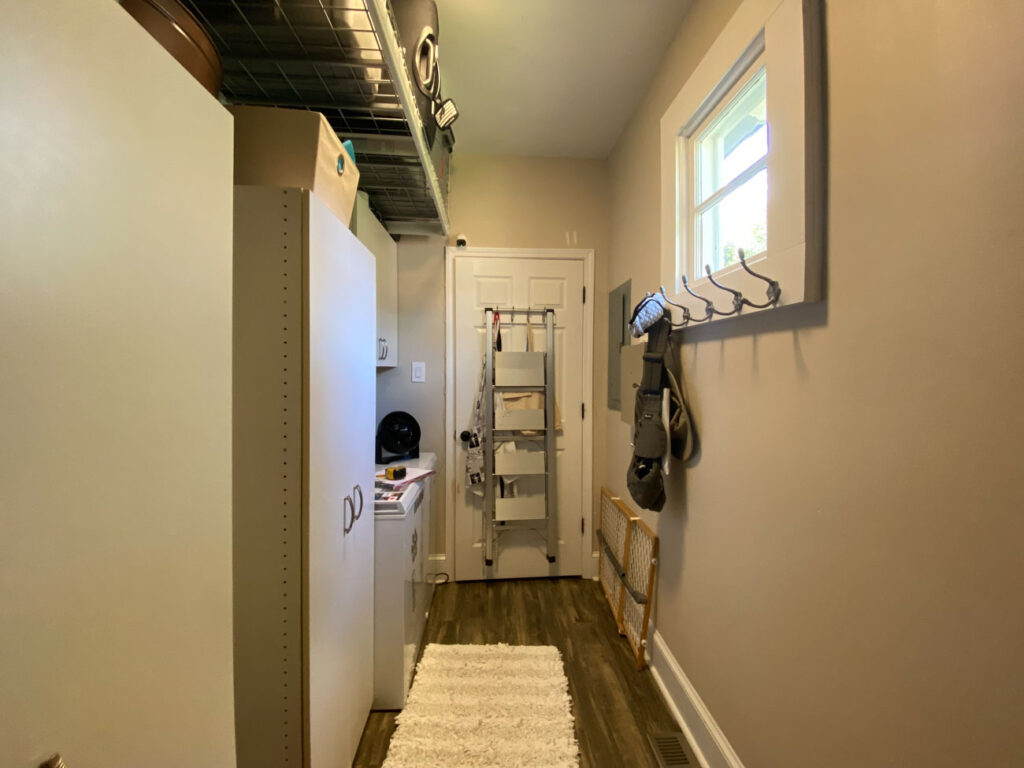
When I first met with my clients to discuss their laundry room renovation, they made it clear their overall goal was to maximize every square inch. The plan was to keep the stackable washer dryer in the same location so the floor print wouldn’t necessarily change. However, the look, feel, and the efficiency of the room certainly would.
The Before
Years ago this was a little screened porch that my clients enclosed to use as their laundry room. Without ample and accessible storage, it felt more like a utility space. They also wanted to make sure that as they get older, they can reach the upper storage more easily. So after taking a few measurements, I got to work on the design plan.
The Design Plan
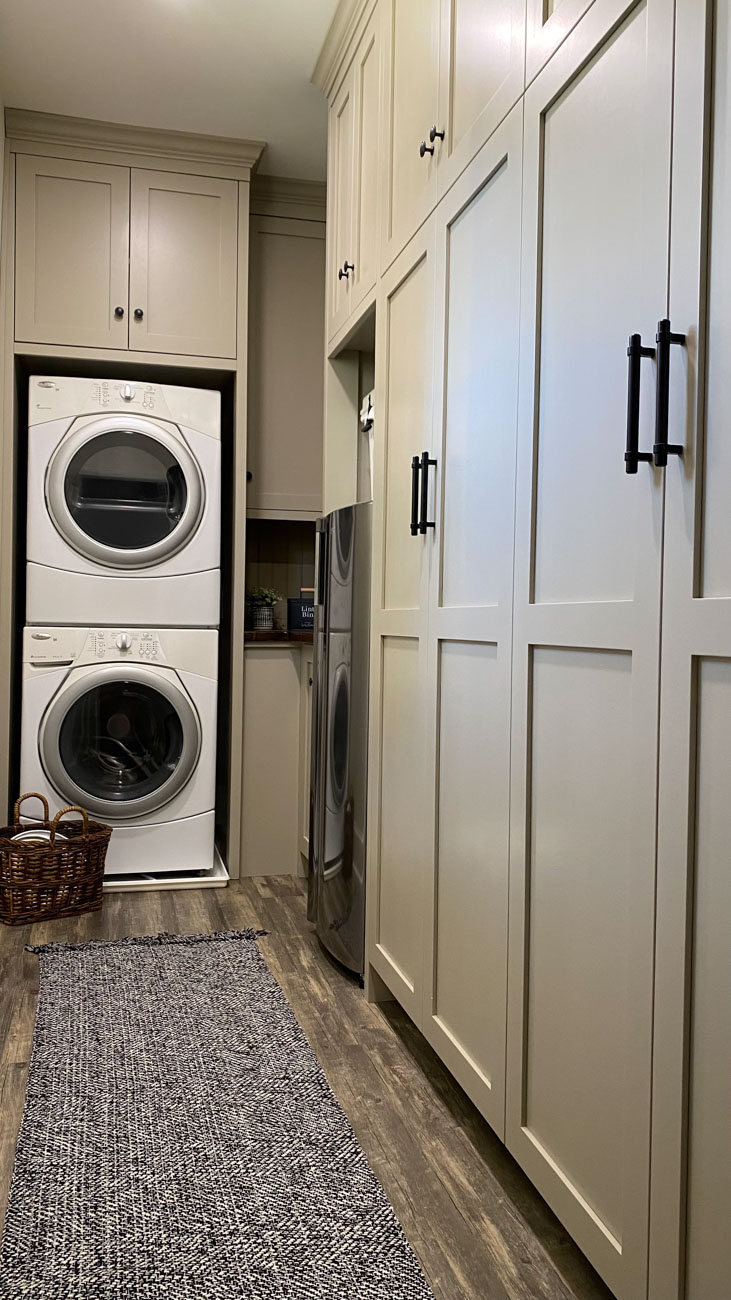
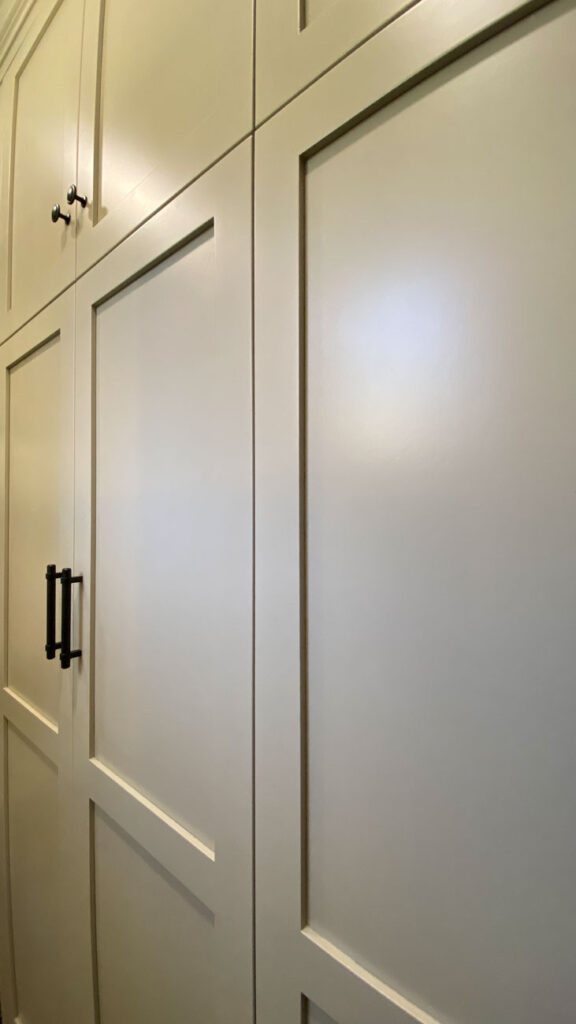
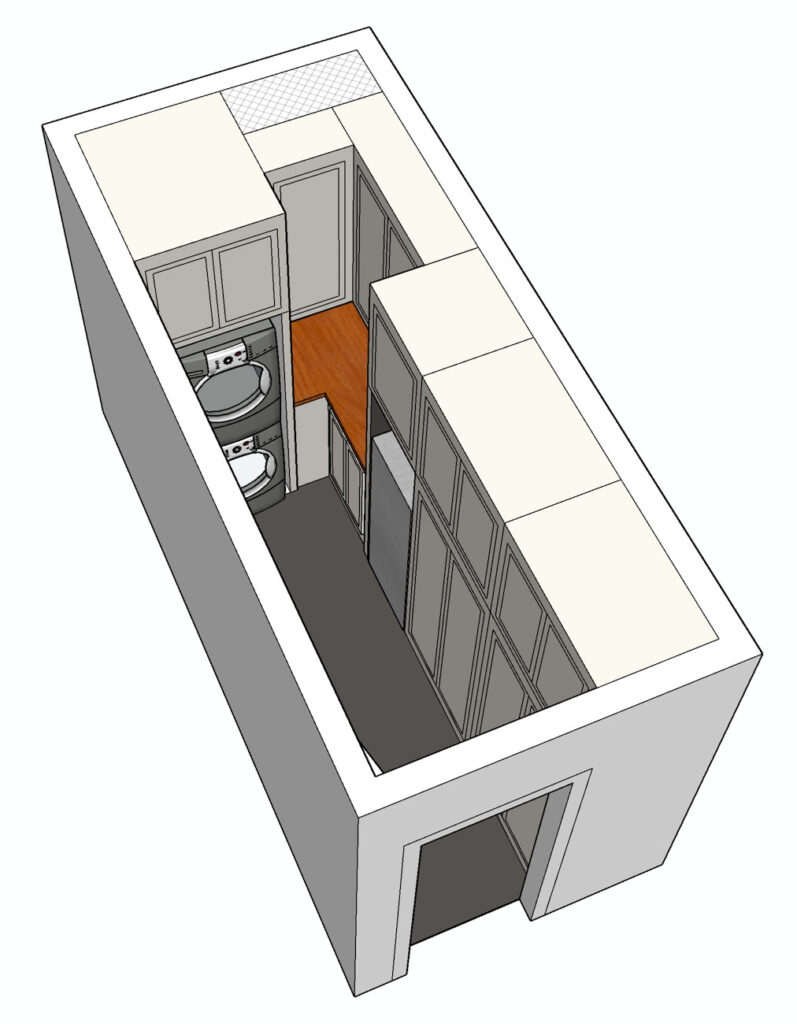
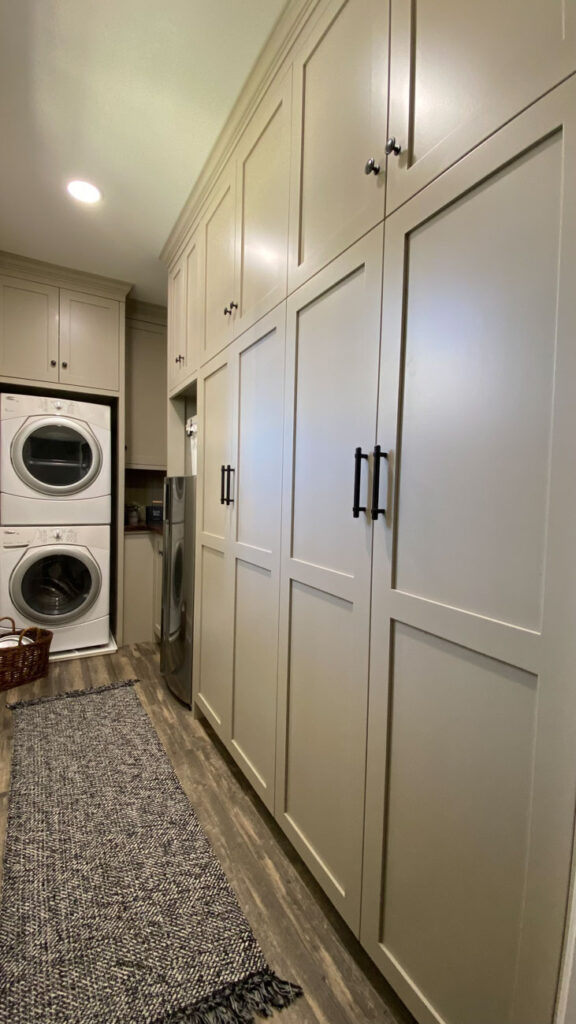
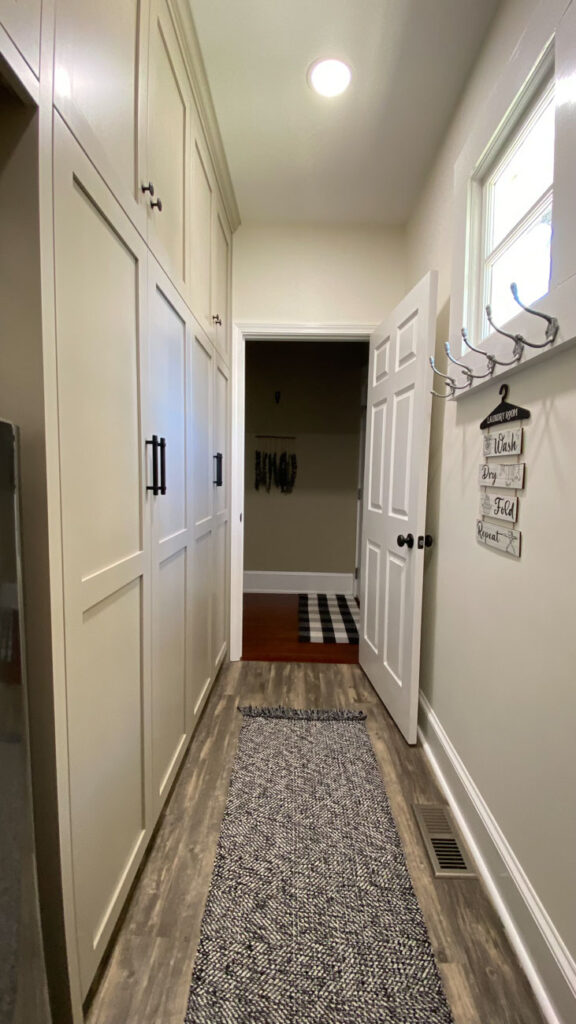
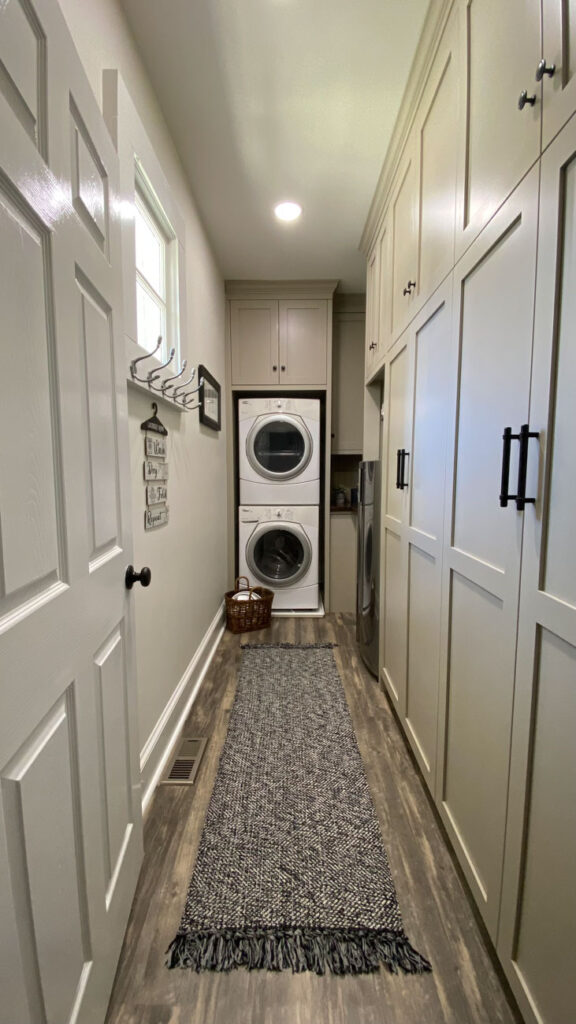
One of the great features of most historic homes are the high ceilings. We took advantage of this height with floor to ceiling cabinets divided into accessible lowers and easier to get to upper cabinets.
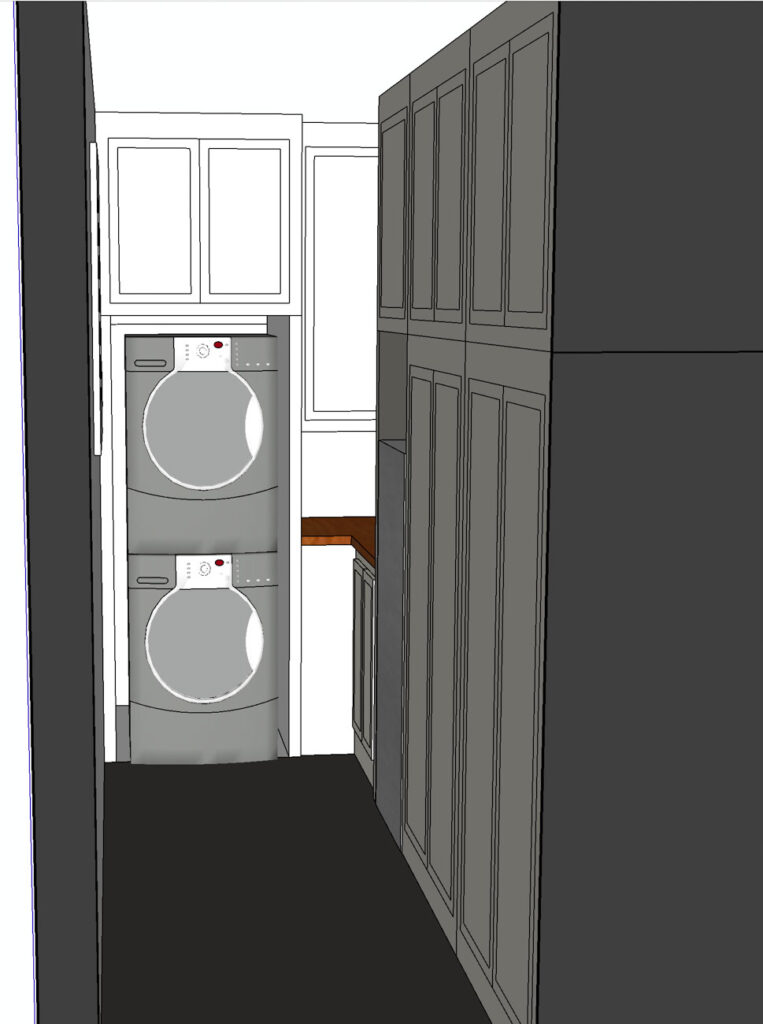
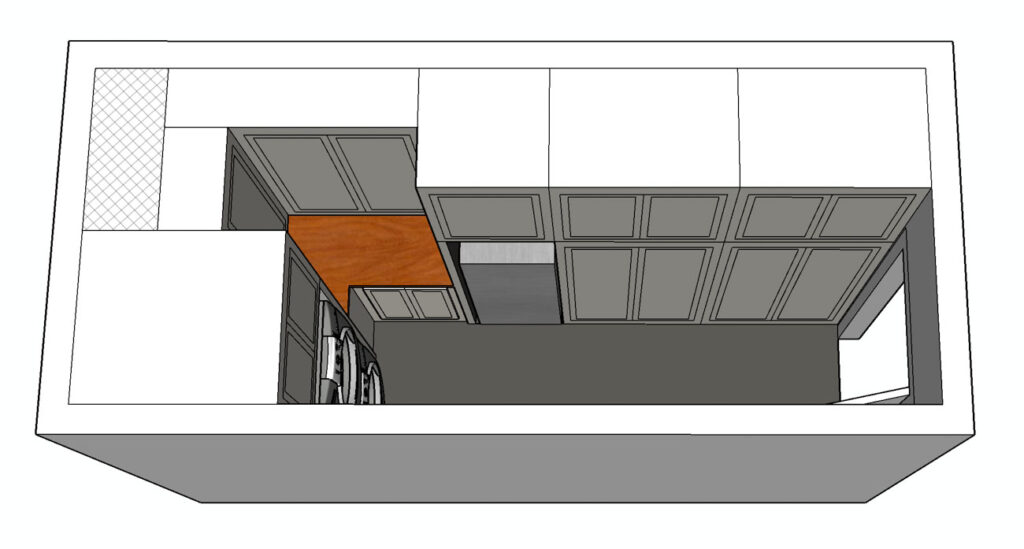
Keeping in mind that the washer and dryer were staying in place, I designed the cabinets around them and added extra storage above.
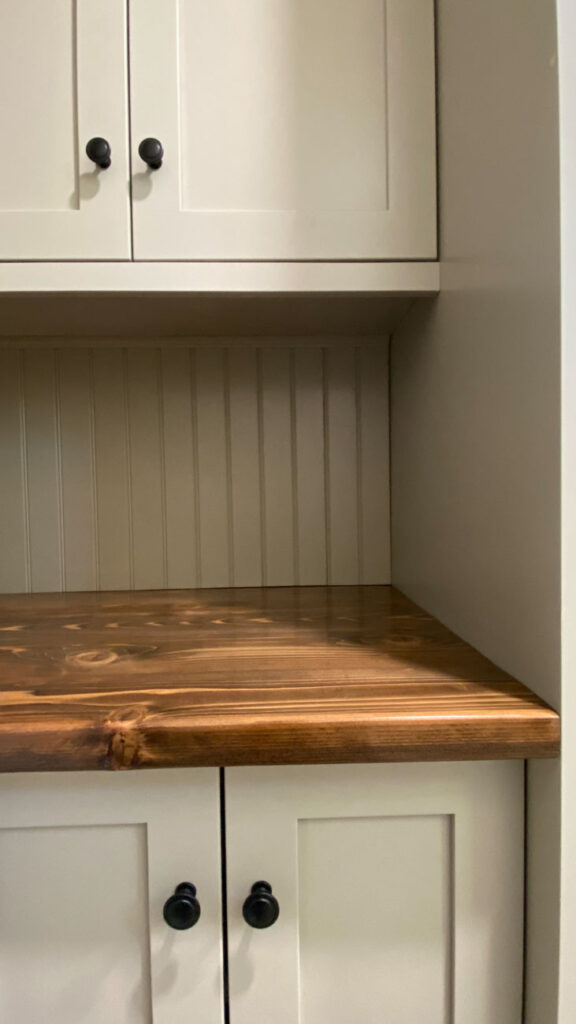
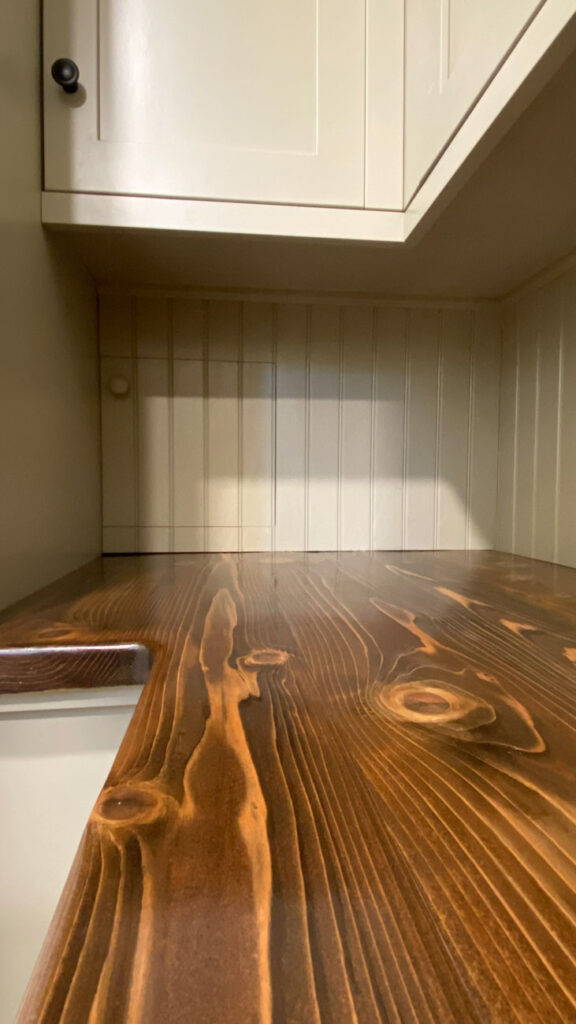
In the corner we were able to add both upper and lower cabinets with a wood countertop I built for my clients out of cedar.
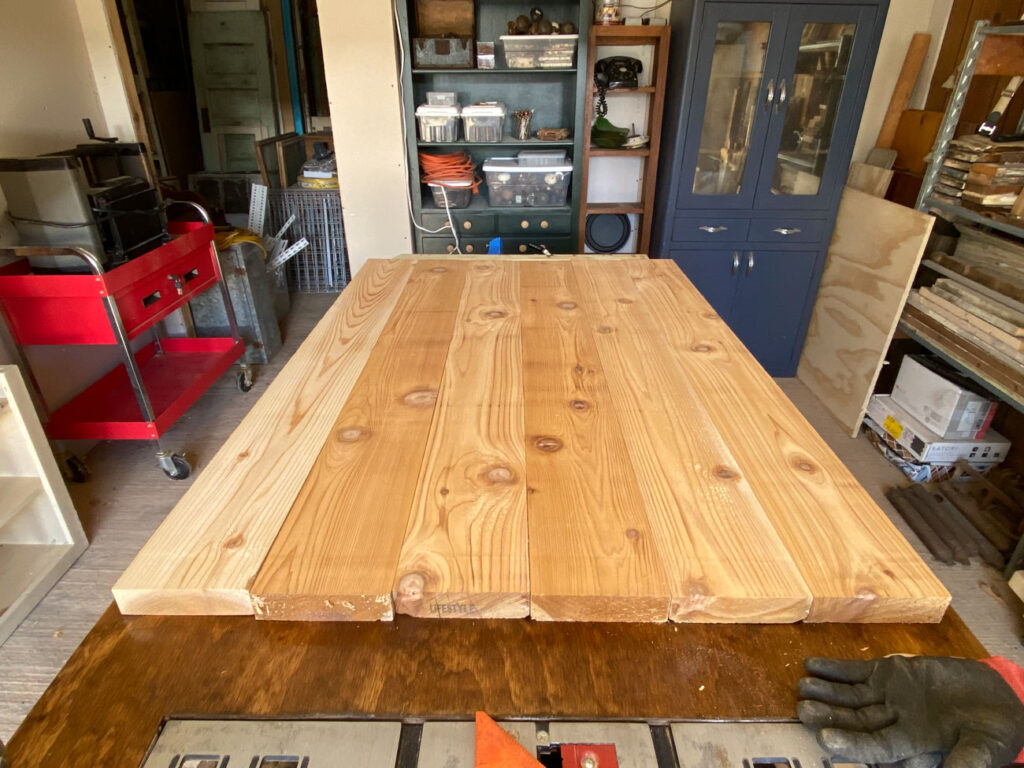
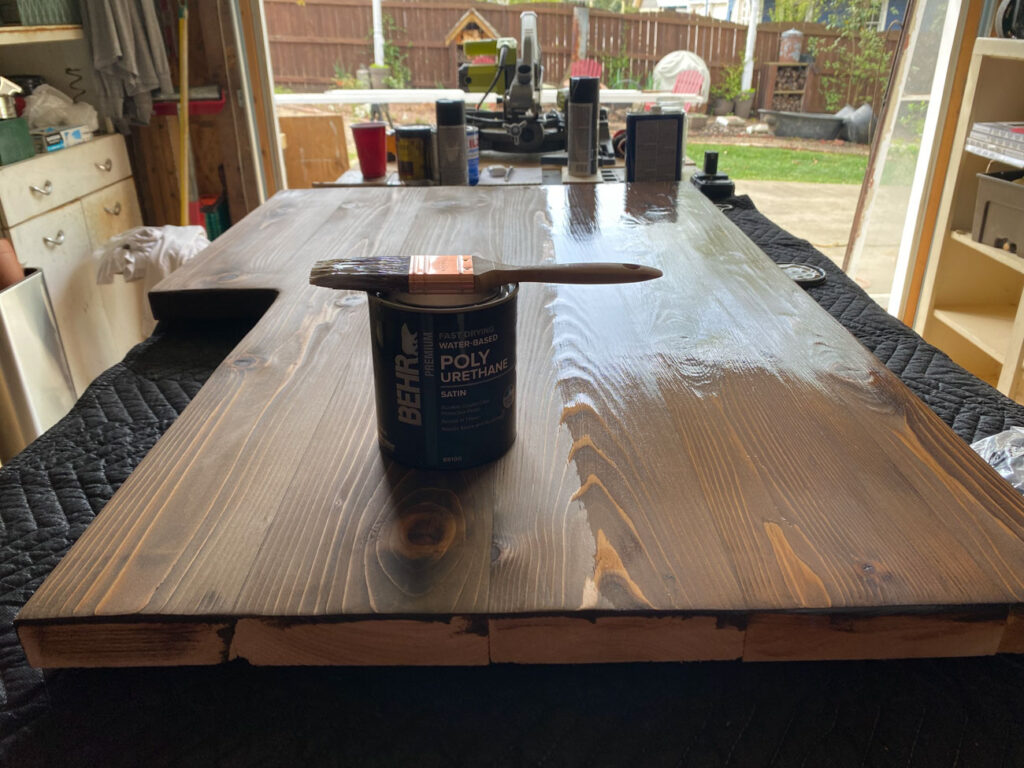
Once stained in Provential and a few coats of matte polyurethane, the countertops were ready to be installed and really warmed up the room. If you’re looking to use polyurethane for an upcoming project, I highly recommend this product by Behr. It goes on a milky white so you can see the coverage, dries extremely fast, and it’s water based so it’s easy to clean up.
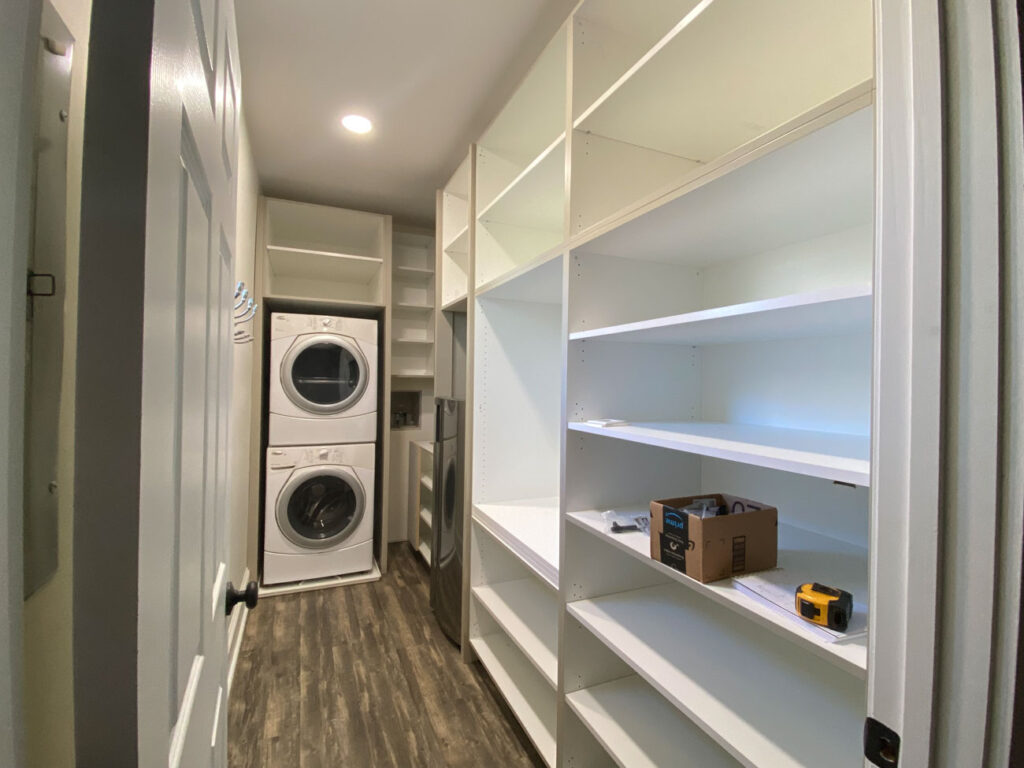
We also included two wardrobes for seasonal clothing, an upright freezer and extra storage above. One of the wardrobes is set up with room for hanging clothes and both have adjustable shelving so my clients can customize to their needs.
The Cabinetry
All of the cabinets were custom made in the Shaker style and painted SW Intellectual Gray. This paint color is a favorite of mine that we also used it on the kitchen cabinets at Peronneau Place. It’s more on the beige side than gray but with a little bit of a green undertone. And to finish off the look we added contrasting black knobs and pulls.
The Little Hidden Door
If you look closely at the design plan, you’ll see a blank spot in the back right corner. This is a false wall so that the corner cabinets, which are 24″ deep, would sit flush up against the washer/dryer surround. Washer and dryers typically sit off the wall approximately 36″ so this bump out gives the cabinets the correct depth to sit flush with them.
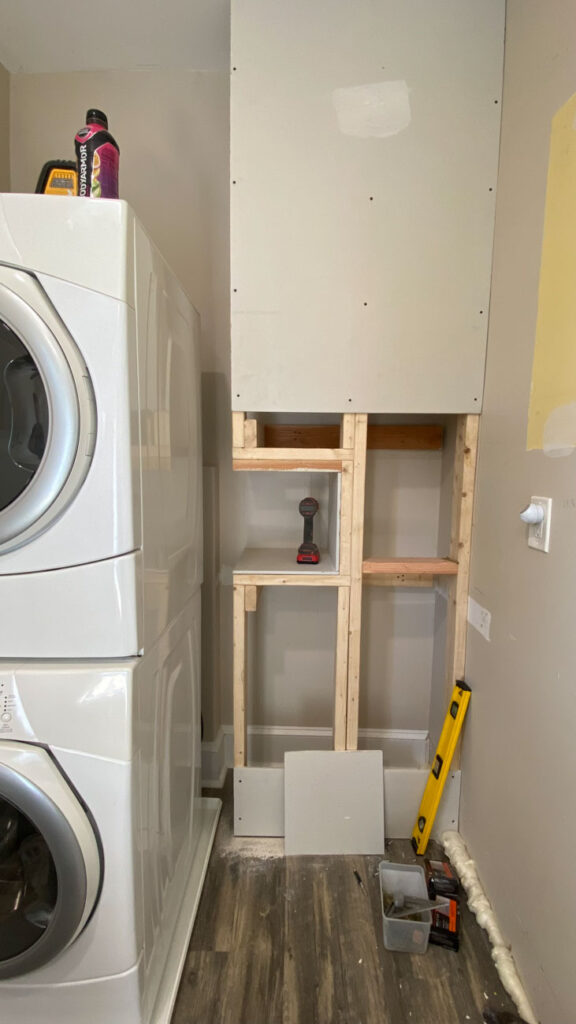
When my client expressed a concern about accessibility to to water cut-off vales, I came up with the little hidden door idea. I had my contractor build a small little alcove that will be behind the backsplash. Next I asked the cabinet guys to make a little cut-out in the panel.
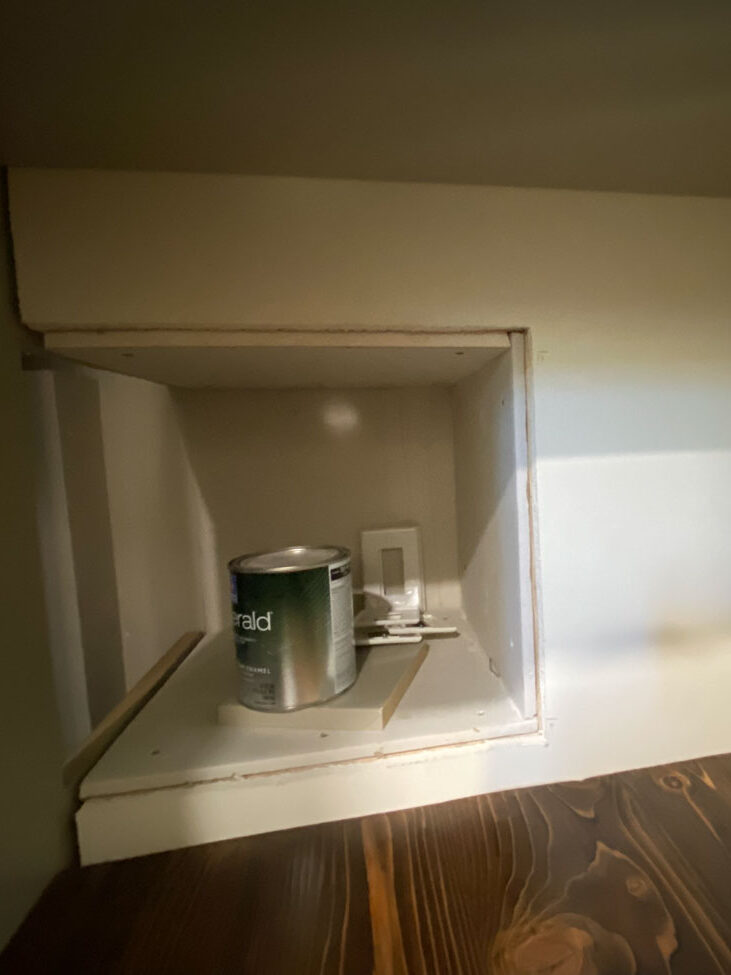
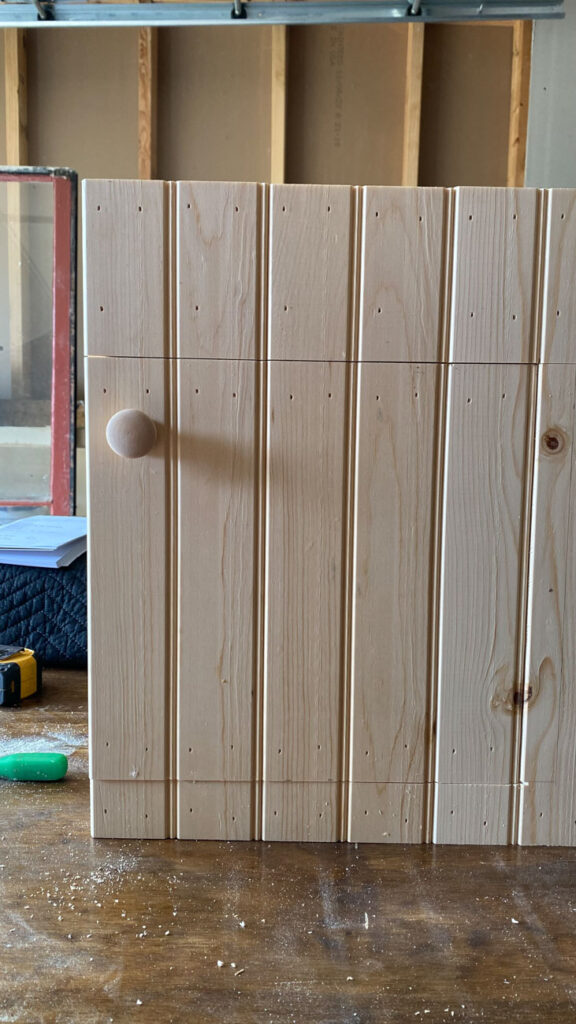
I then constructed a beadboard backsplash with a little hidden door. This way, on the rarest of occasions, the water valves can be accessed. The best part is that once painted you can hardly tell it’s there.
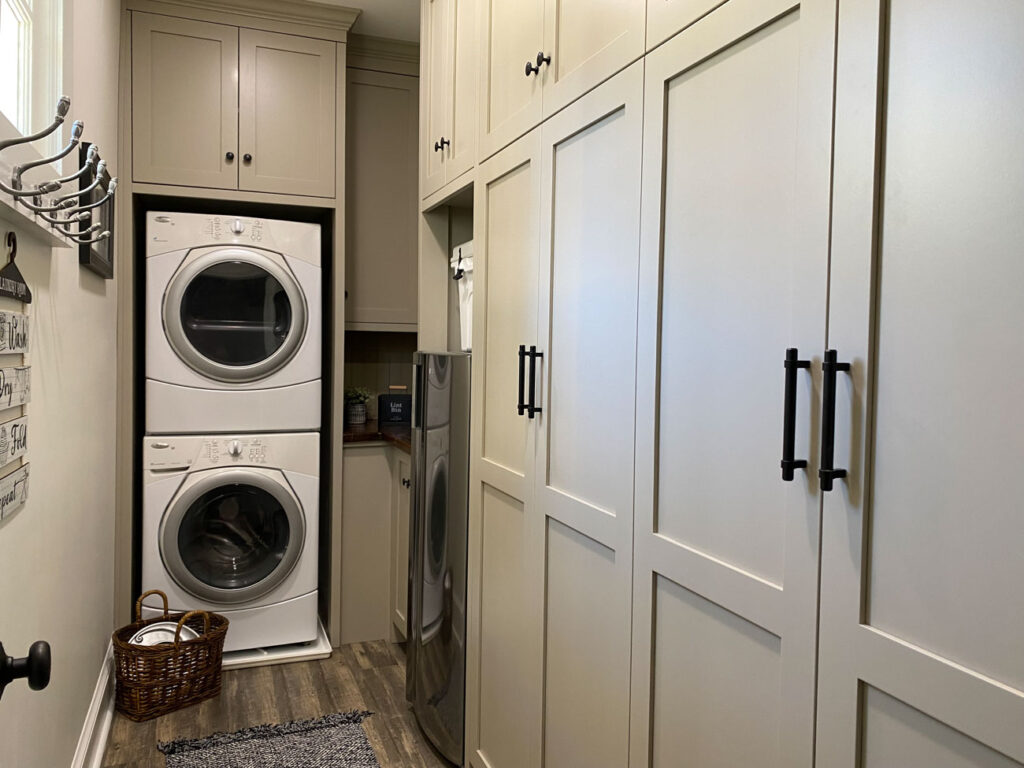
And that’s a wrap on our client’s Laundry Room Renovation that I hope they’ll love for years to come. If you need help redesigning a space in your home, take a look at my Design Services and reach out. I’d love to help!
READ LATEST
the




+ Show / Hide Comments
Share to: