Stairwell and Hallway Reveal at the Hammond Home
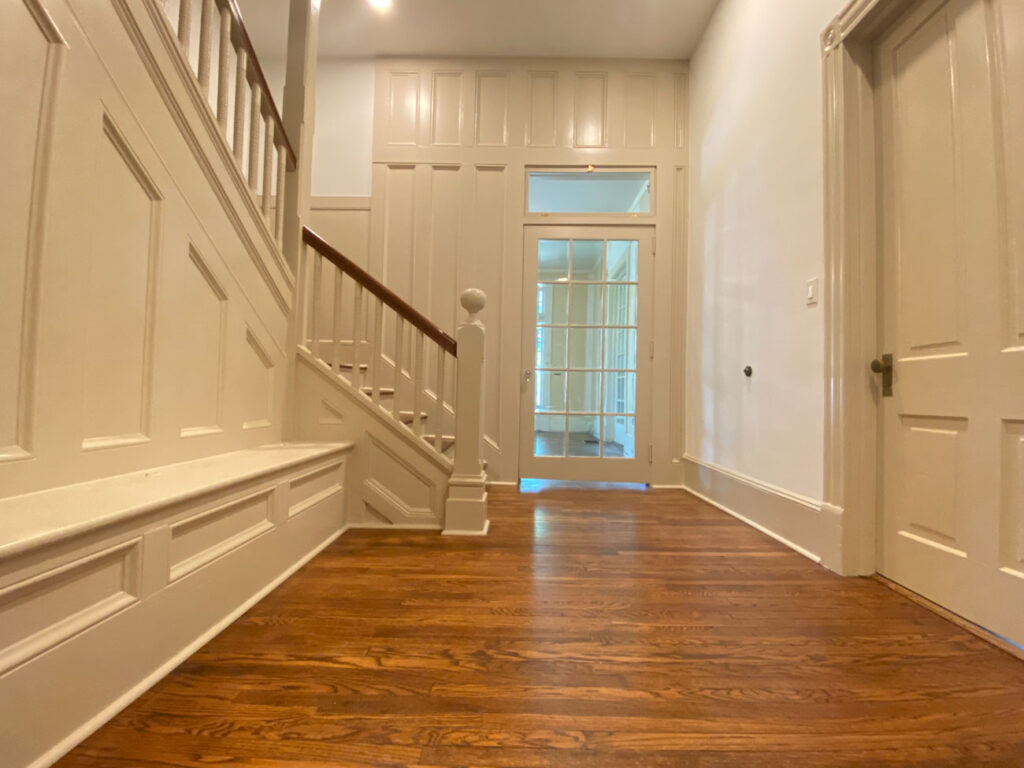
The stairwell and hallway of the Hammond Home serve as central station in the house so when it was time to renovate these spaces, the power of paint came to the rescue.
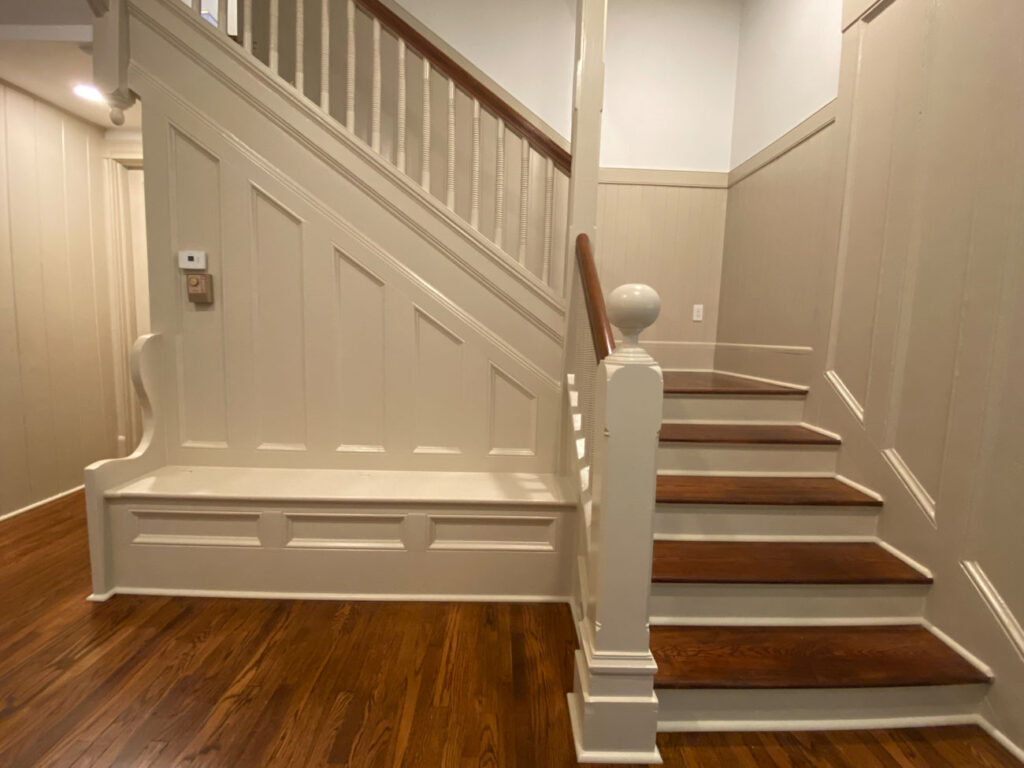
Taking A Look Back
We have worked on an off at the Hammond Home over the course of four years. For phase one, we started in 2020 with the exterior renovation which consisted primarily of deferred maintenance and repairs followed by paint and landscaping. At the same time, we transformed the back half of the downstairs by fully renovating the kitchen, breakfast room, powder room, laundry, and screened porch. In case you missed this massive client project, go take a look at the beautiful photos.
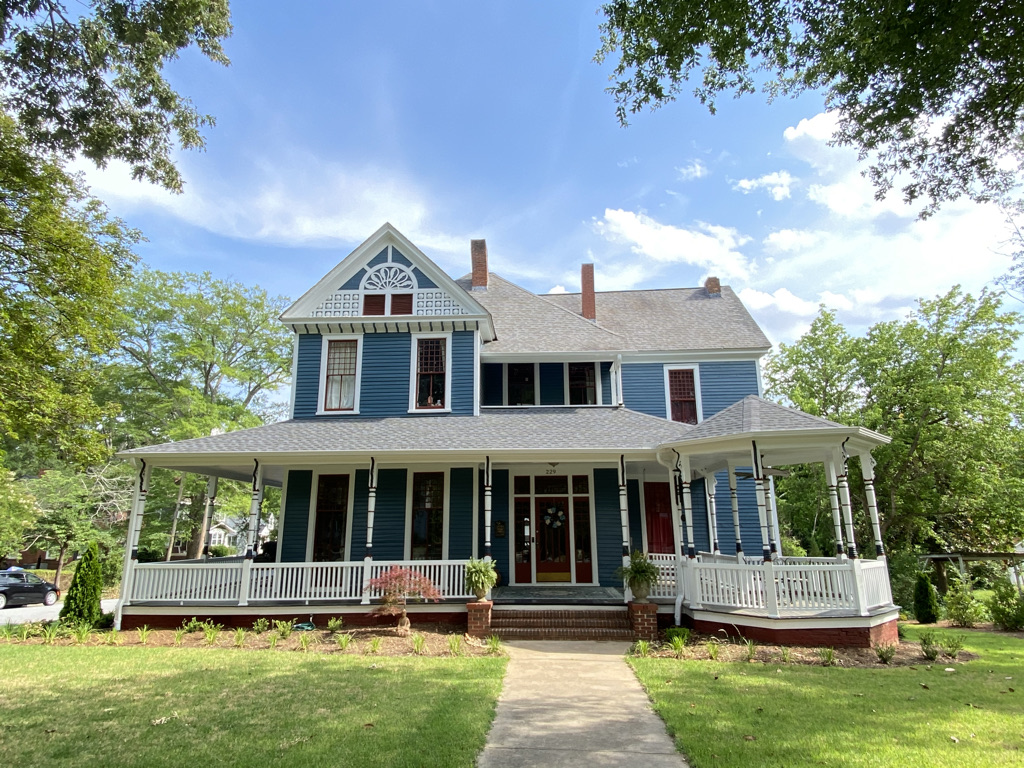
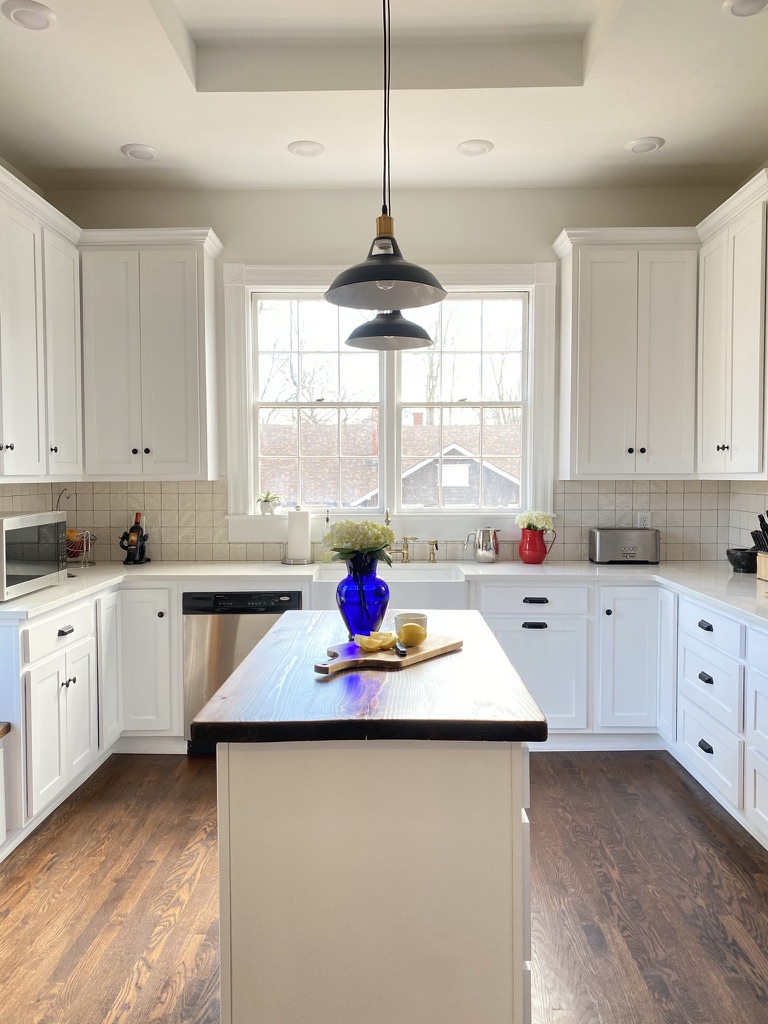

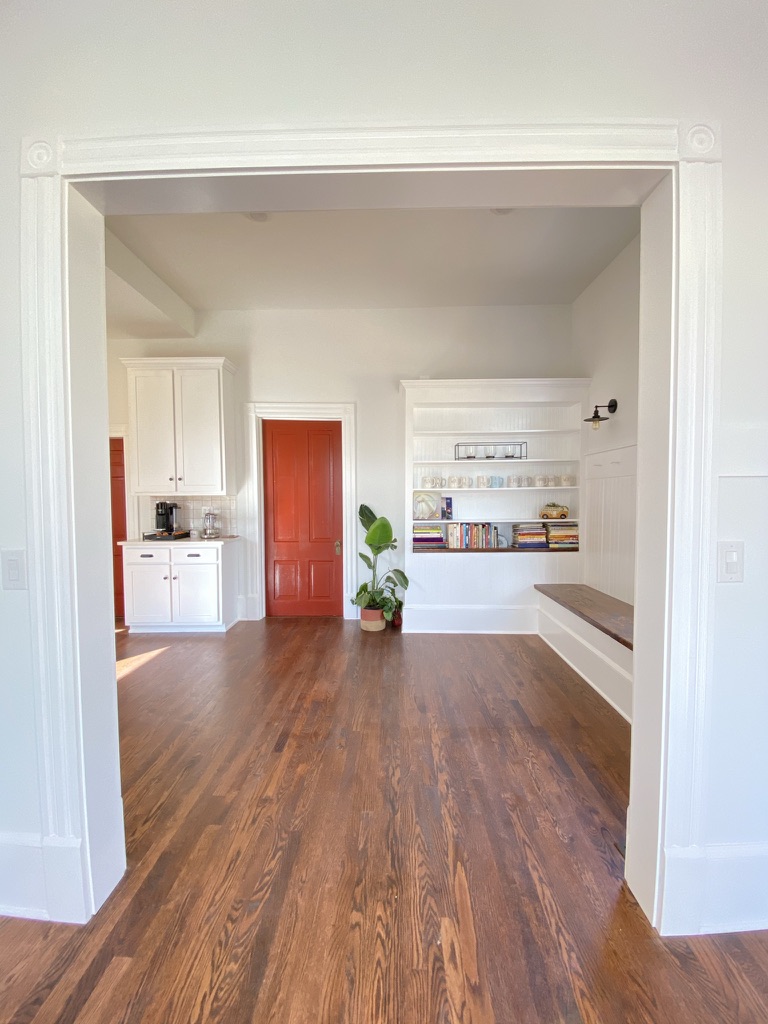
In late 2024, we started on phase two of the renovation which transformed the floor plan of the downstairs bedroom and bathroom into a private master suite. It’s now spacious and customized for my clients’ wants and needs so with that project completed, we moved onto the adjoining hallway and stairwell.
The Stairwell and Hallway Before
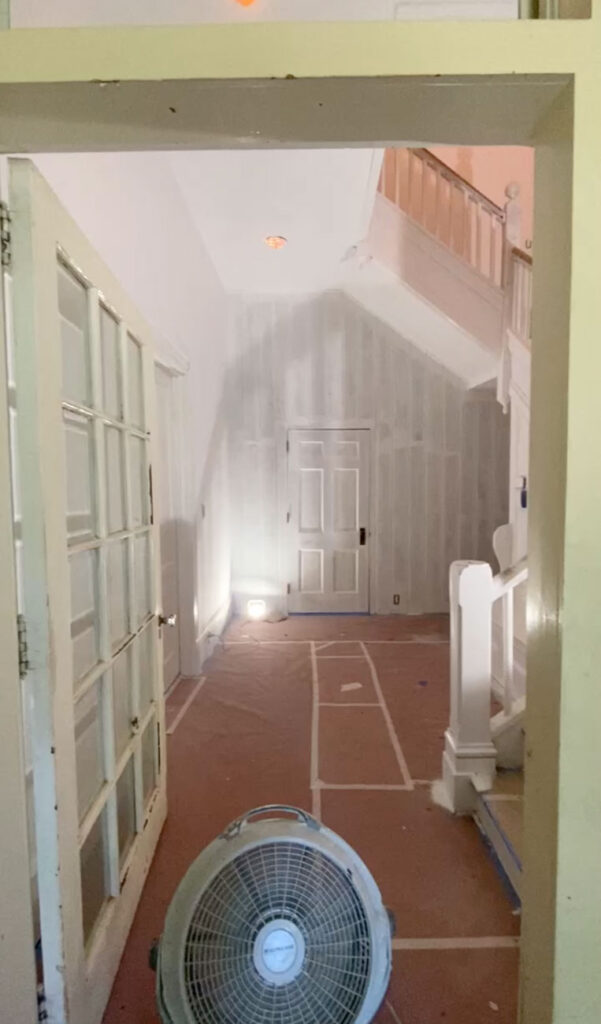
As I mentioned before, this space serves as central station in the house connecting to all of the downstairs rooms and the gateway for the upstairs. When we started, it was a combination of colors without real unity. There was green and blue on the trim and paneling, a pale yellow on the walls, a turquoise ceiling, brown railings and columns, and red stairs. There was a lot going on.


The Changes
The changes we made were relatively simple in terms of a renovation. We stared by repairing all of the cracks in the walls and repaired or replaced the ceilings as needed. In order to add more lighting that would compliment the custom chandelier my client had already purchased and had installed, we added simple recessed lights in the lower ceilings.
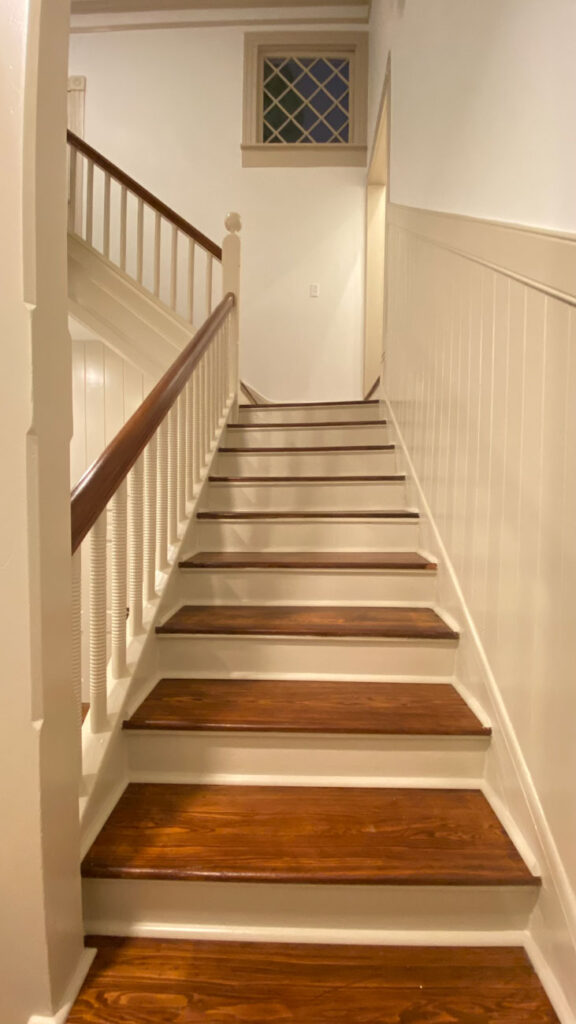
Next we added a simple wainscoting along the wall going up the stairs with a chair rail on top. My client was tired of seeing a trail of dirt from hands touching the wall on the way up and down. To solve this problem, we added some slim wood pieces. We were very careful to make sure the chair rail lined up perfectly with the handrail on the steps symmetrically which was no easy task considering the age of the home. With the walls, ceilings, and trim completed, we moved onto the floors.


The Floors and Steps Refinished
Red. Yes, the steps were painted red. While I have painted wood floors before and understand it can be either an artistic choice or a maintenance solution, it was time for a change here. You never know how old wood will look once they are sanded. So we were delighted to find both the stairs and the floors in pretty good shape. Keep in mind that this house was built in 1899 and we believe the stairs are original.
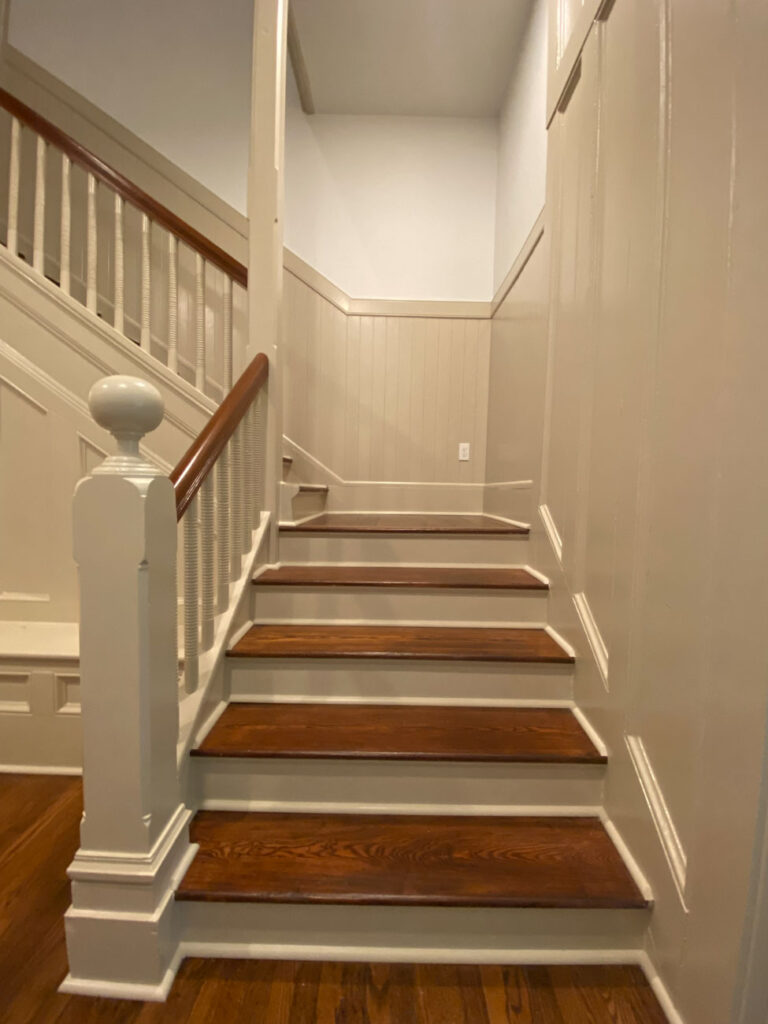
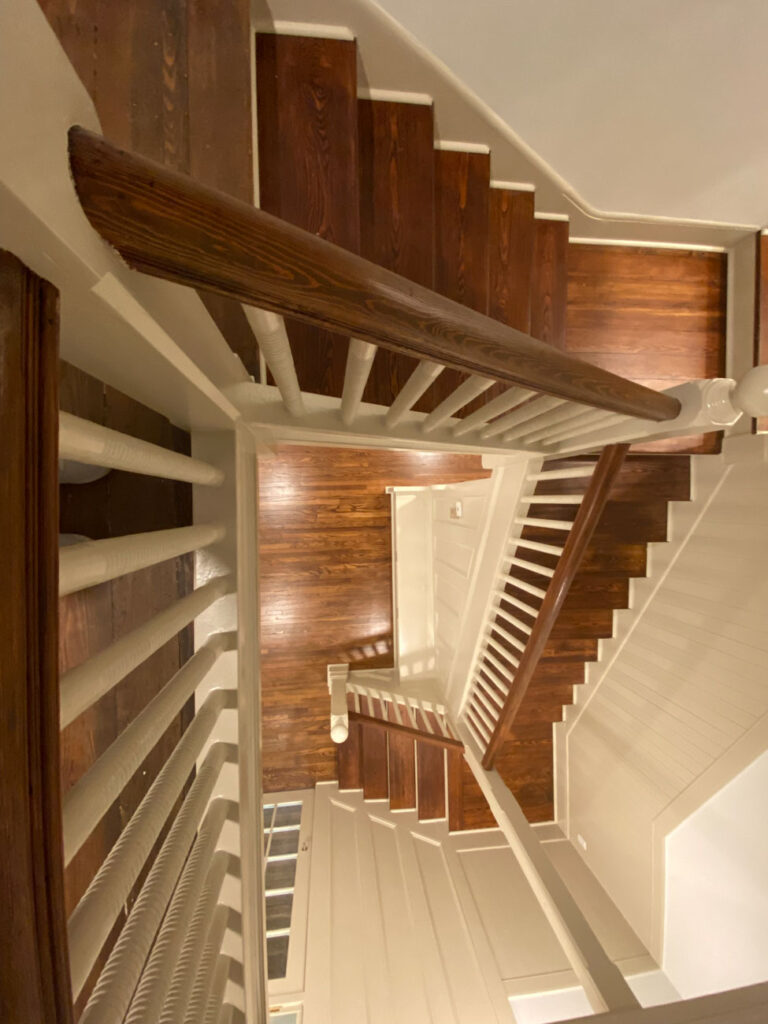
Once sanded, stained, and three coats of polyurethane, they look stunning. To finish up, we added shoe molding along the back against the risers and along the sides. Typically shoe molding, if installed at all, would stop against the sides of the stairs. However, since there were several significant cracks, we elected to continue along the sides. Once painted the same color as the trim and risers, it blends in well.

The Power of Paint
As always, the real star of the show is the paint.

The Prep Work
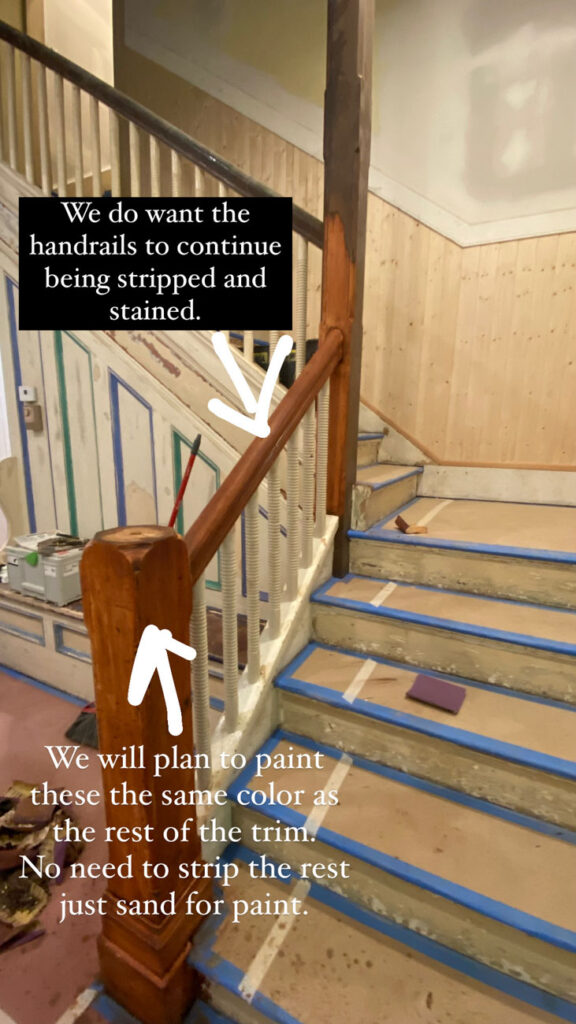
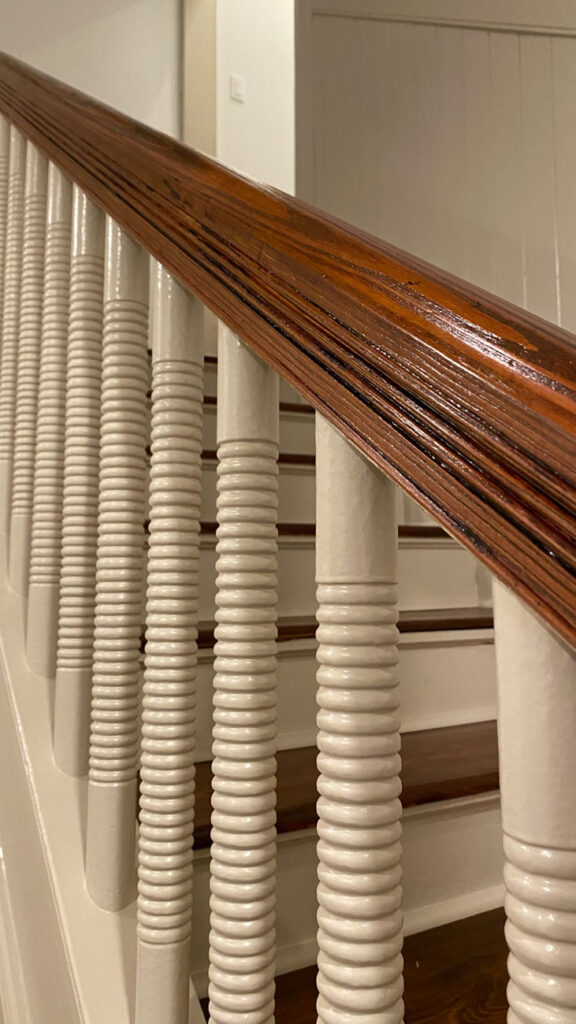
Before paint could begin, the paint team sanded all of the woodwork. In old houses it is imperative to take the extra time to do the prep work. Otherwise the paint won’t last. We also had hoped to strip and stain the handrails and columns, but after some paint was removed, we changed plans. Since a lot of work goes into stripping wood and since the first column was pretty beat up, we chose just to stain the handrails.
The Color Selection
My clients trusted me with the color selection so I opted for all of the trim, paneling, and doors to be a neutral shade of tan in semi-gloss. By painting it all the same color, the many different shapes and trims feels more unified. The color is Valspar Oatbran and we did a similar project in this color at the Corner Cottage last year.
For the one smooth hallway wall, ceilings, and upper stairwell walls we went simple and used SW Extra White. My clients have a lot of items to display so I wanted a neautral backdrop for them. As I mentioend before, this area is also centrally located to the rest of the house. Knowing both of those factors, I felt like a neutral backdrop would work best.
Now the stairwell and hallway look stunning and worthy of being the central hub of this beautiful Queen Anne style home.

shop
favorites
All of our favorite shoppable links and sources in one place! We love to share our projects with you and hope these resources help you as you design your own home.

+ Show / Hide Comments
Share to: