One Room Challenge: Week Four


So I’m a little late in posting this week’s One Room Challenge update but all for good reasons. First, things have been really busy the last few days including a quick trip out of town to. So, I wasn’t able to wrap things up by Thursday. Second, I made a couple of discoveries that added more work to the project. But I think it will totally be worth it. Before we get started with this week’s update, make sure you’re caught up through Week Three.
One Room Challenge Progress Report
First, I can finally report that all of the trim has been installed. The walls have also been patched and primed, and one wall has been painted. That may not sound like a lot, but I had a much harder time matching the original trim than I anticipated. Because over half of the picture molding was original, I had to find new pieces for the remaining areas. Today’s picture molding that you find at a home improvement store isn’t quite as wide so I had to dig through my salvage pile and snag a couple of pieces from other projects to make it work. Luckily I found enough to finish the job.
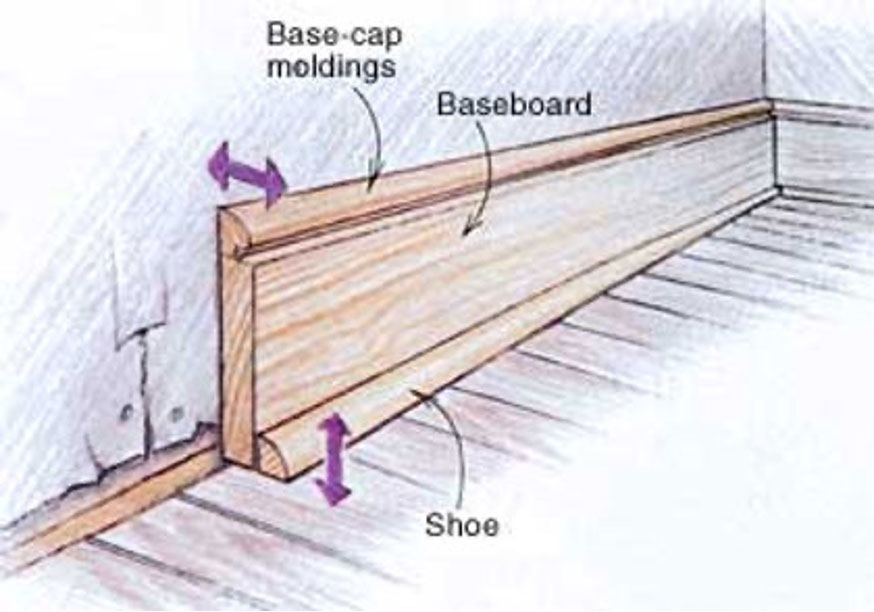
The basecap trim piece (the top decorative piece of trim on wide baseboards) presented the same problem. As it turns out, I had saved enough during demo to finish off the stair treads and landing. With all of the trim in place, I got to work caulking, priming, and painting the back wall. This is where the couch will go and I’m ready for it to be out of the middle of the room. So, I started there and will work around the room next week to finish painting everything. I’m going with an all white room again because I have some great pieces, including a bright blue couch. I want the couch to be the focal point hence the white wall.
The Gallery Wall
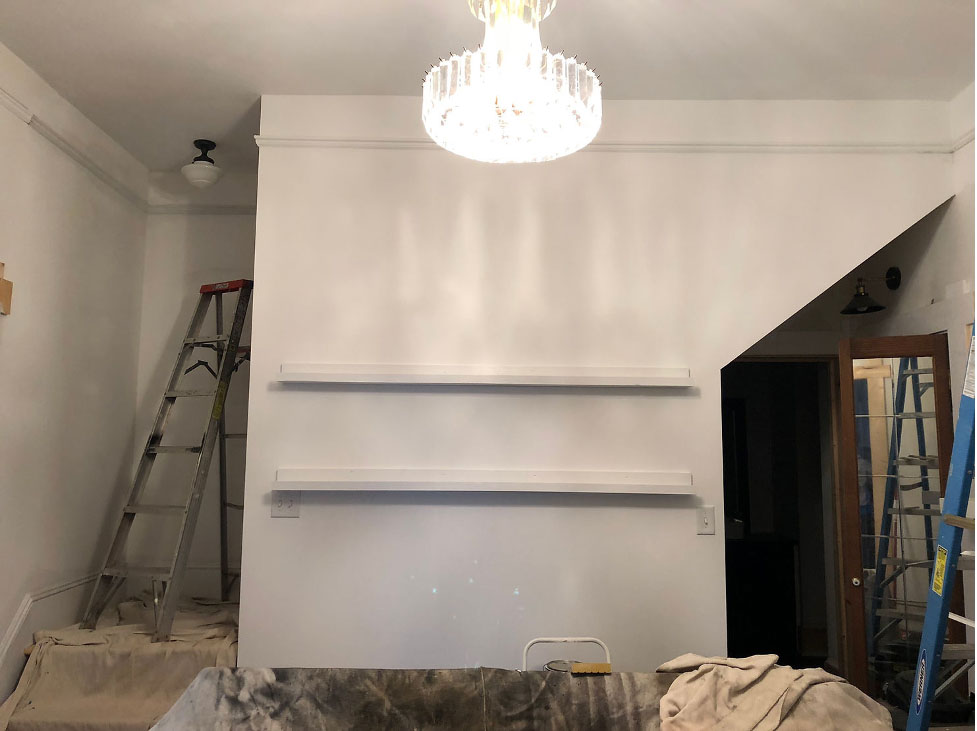
Also, after going back and forth between a gallery wall and picture ledges, ultimately I went with the ledges so that I can easily switch out the pictures as I please. I’m pretty excited about the way they turned out – simple yet efficient – and will decide whether or not to add a third ledge after I get some of the pictures in place.
Vintage Doors for the Cubby
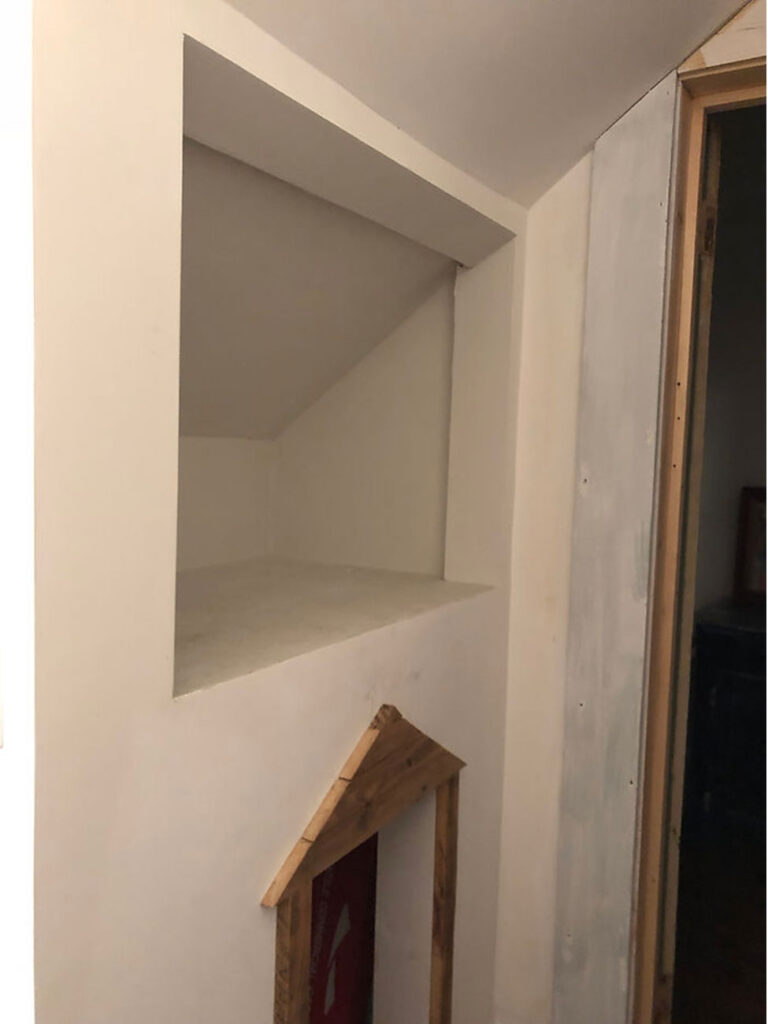
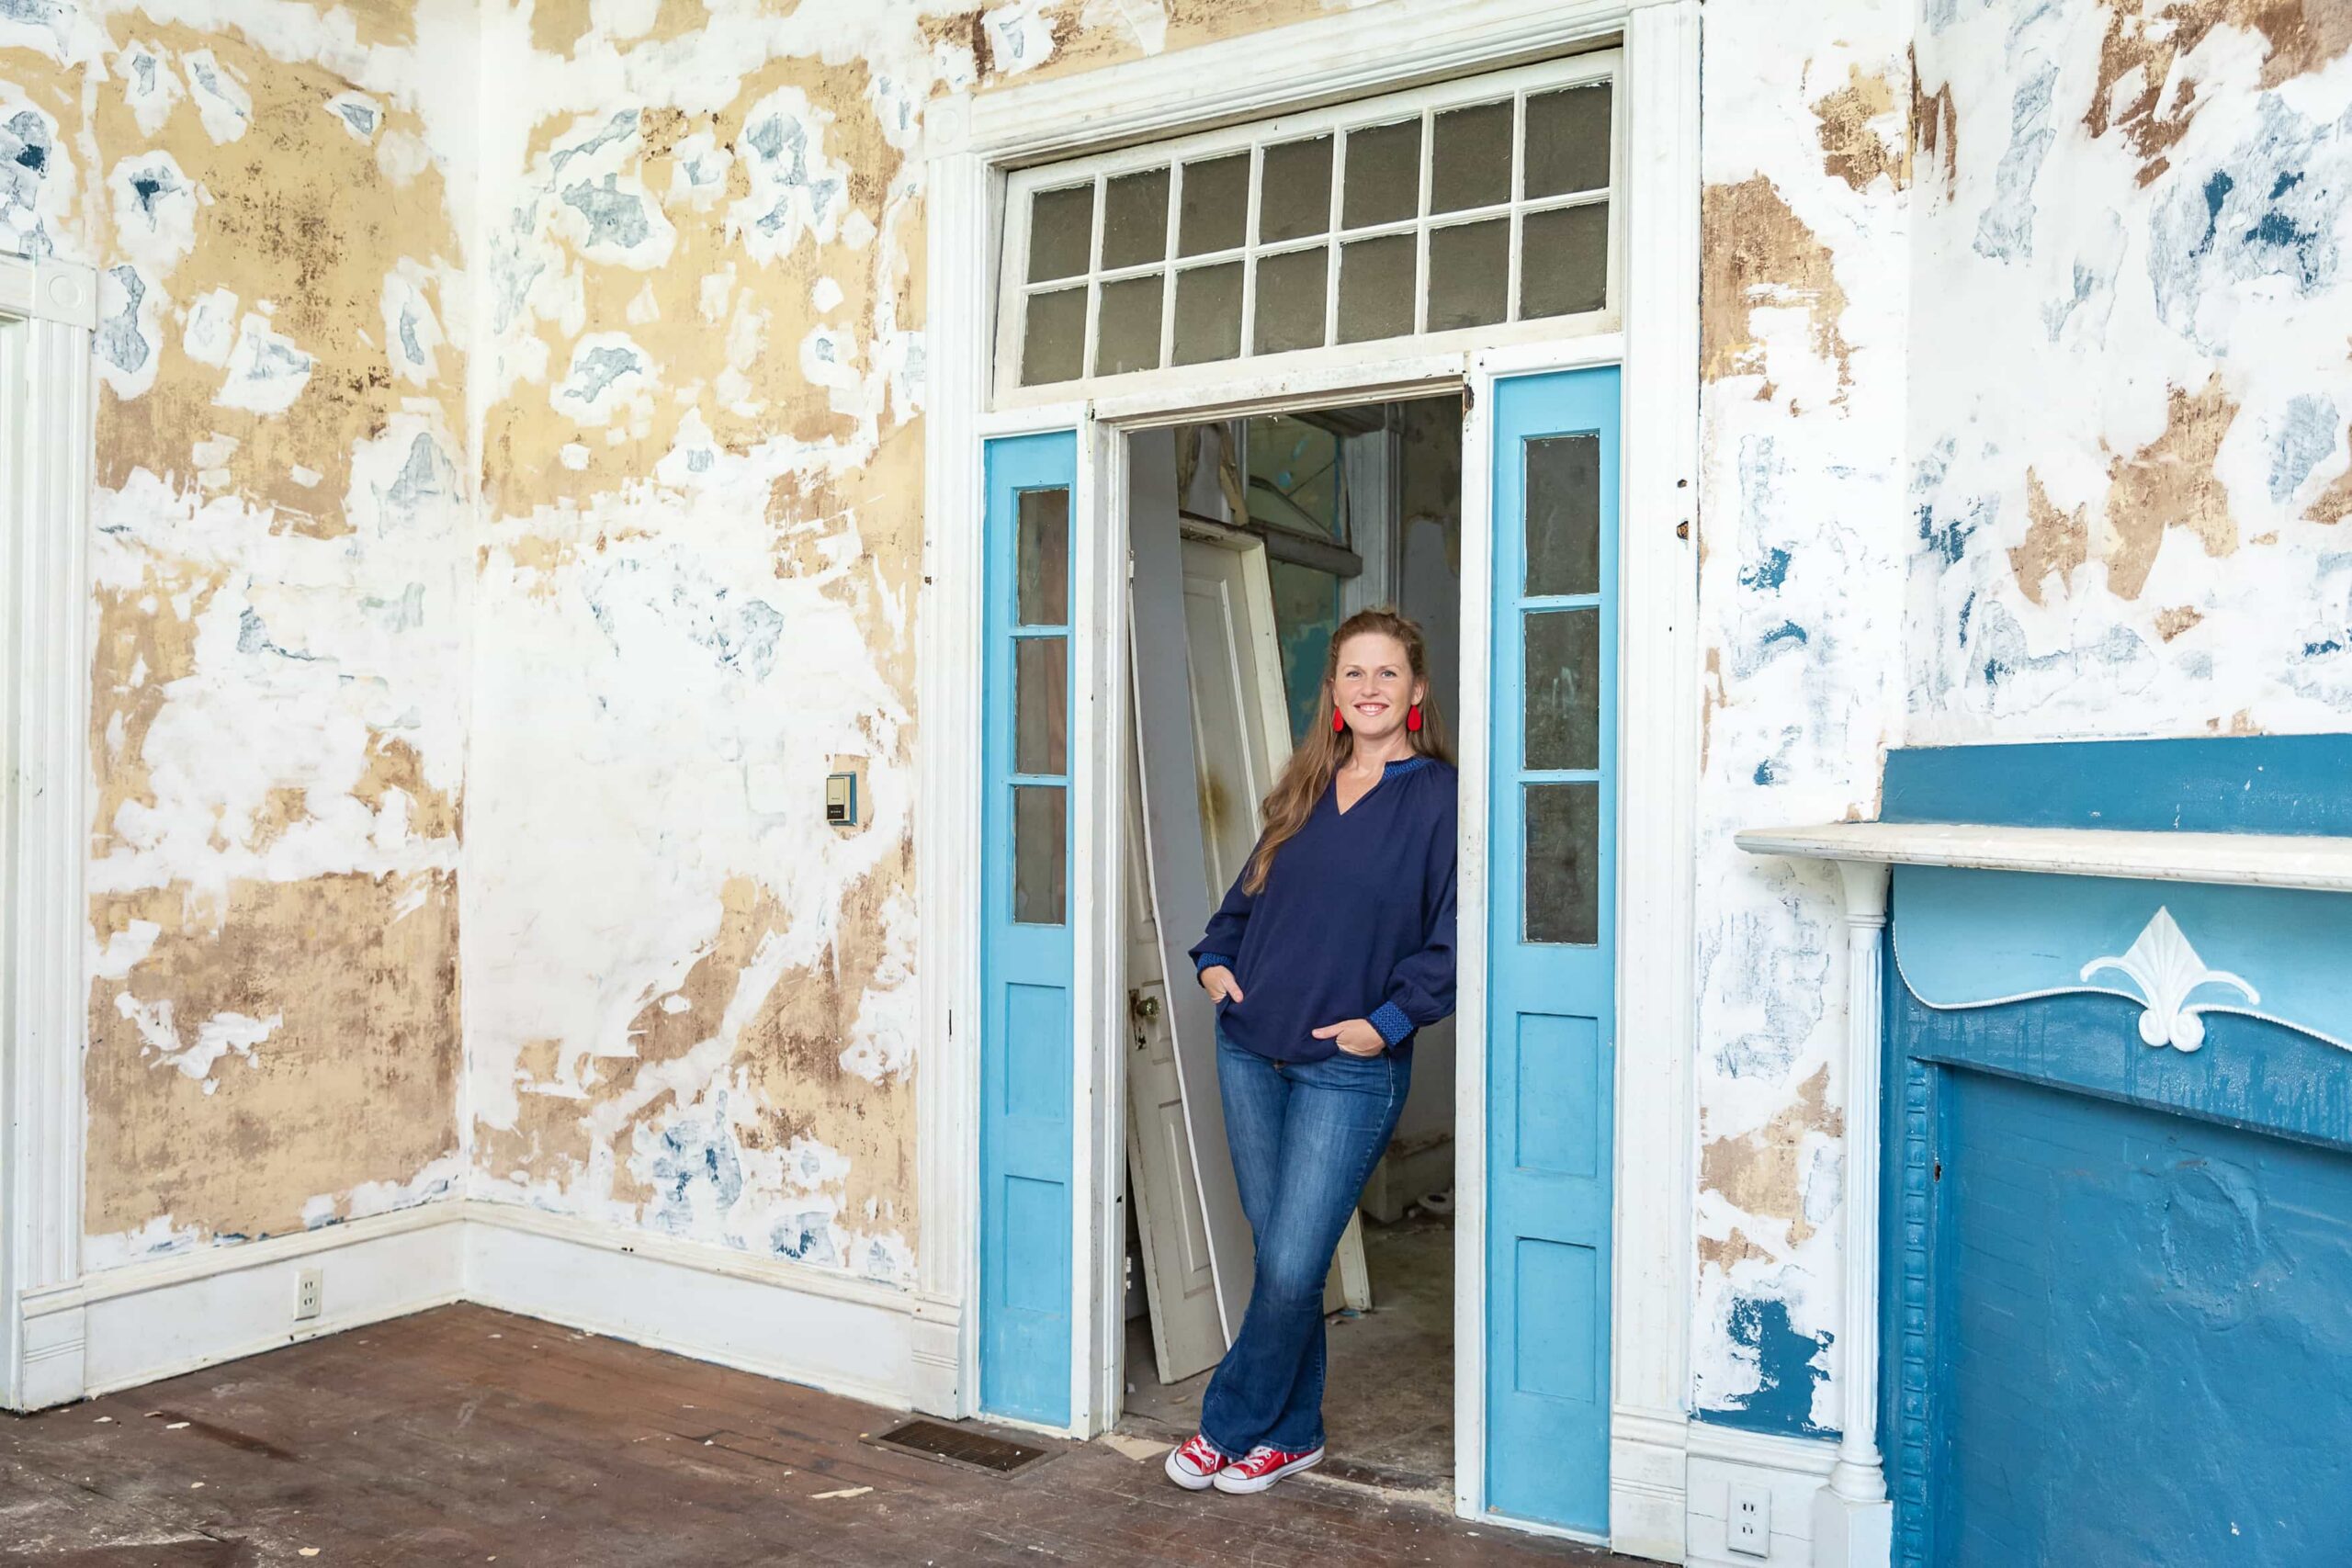
The next great step forward was a surprise discovery in the basement of another renovation project I’m working on. As I was walking through the basement with a contractor showing him what could stay and go, I looked a little more closely at an old storage cabinet that was literally about to fall apart due to water damage over several years. However, the two top glass doors were in great shape and seemed to be about the right size so we took them off and I headed back to my house to see if they might fit. As it turns out they are almost exactly the size I need! With just a few modifications with trim to hold them in place, they will fit perfectly in the small cubby under the stairs and across from the new linen closet.
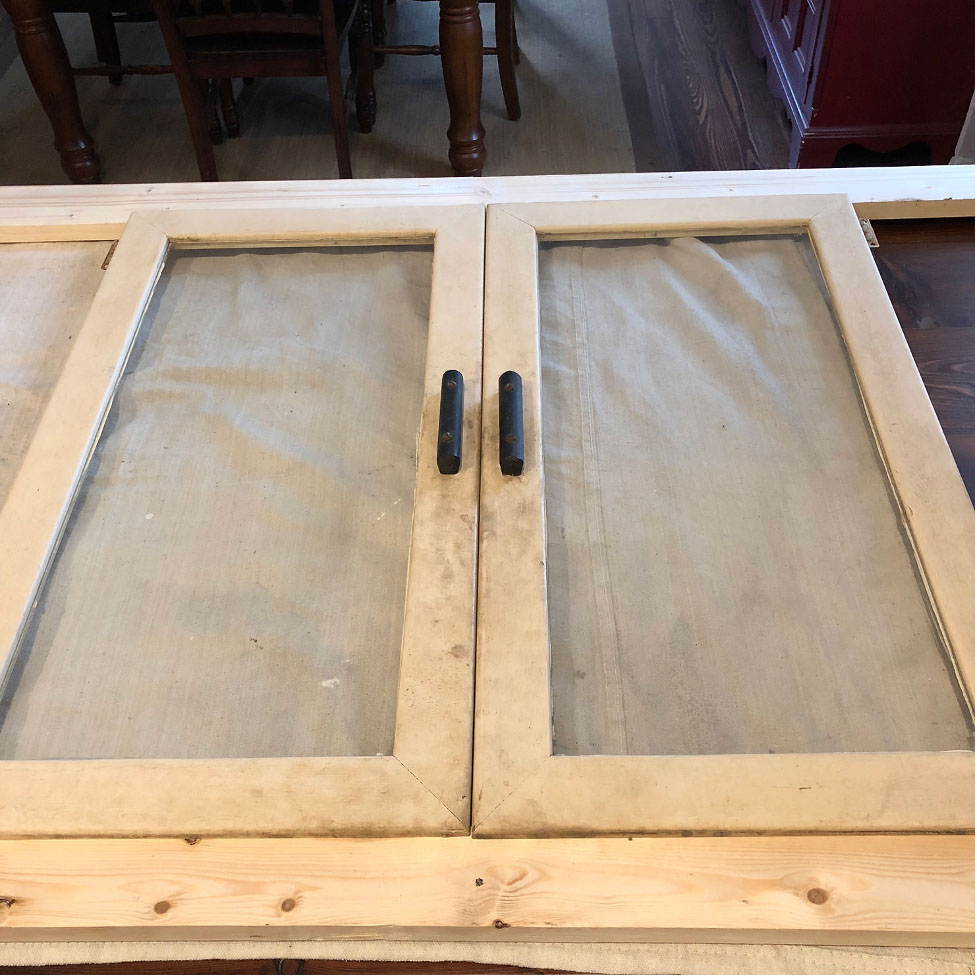
They obviously need a good paint job and new hardware but I’m also planning to add a mirrored effect on the back side of the glass to hide all of the junk I store in this space.
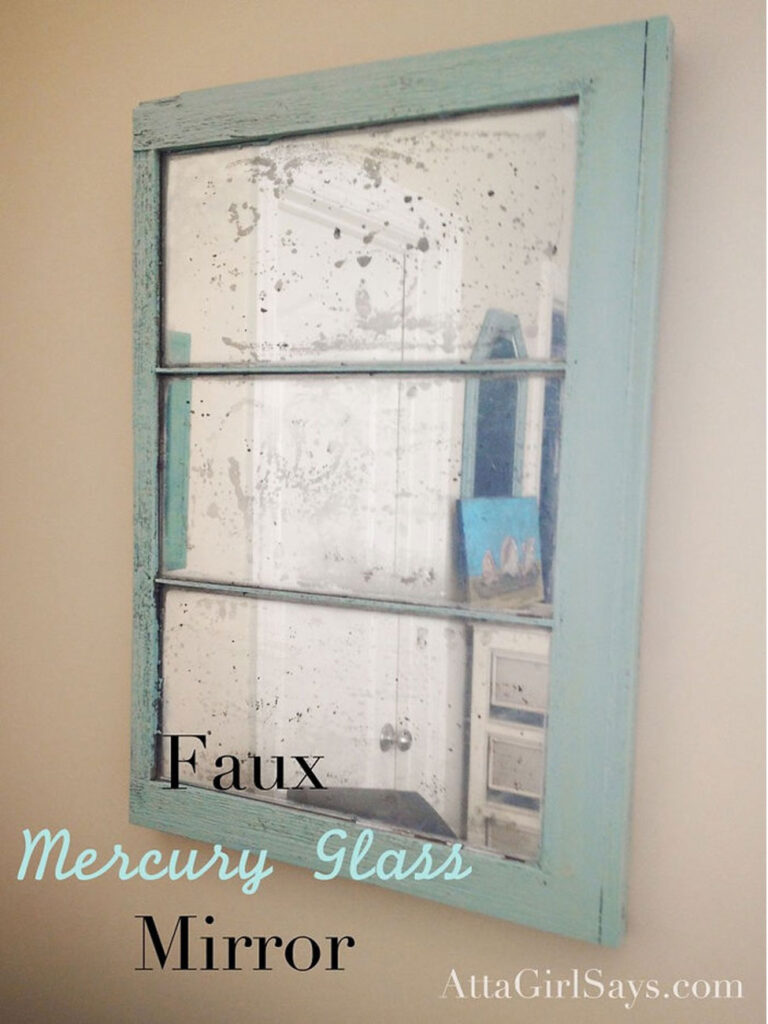
Mirrored Paint Spray
After a little research, I found a simple tutorial on ATTA Girl Says using mirrored paint spray, water and vinegar. I also found a while back that after you blot the paint to make it look antique that you can spray paint the entire back black so that it also serves as privacy. While I have relocated most of the tools that were previously stored in this space, I’m sure it will end up being a catch-all of some sort so I’m excited to try out this method to see how it looks. And just as a reminder, this little nook is under the stairs just above the little dog nook that I somehow feel will my dogs will never step foot in. We shall see.
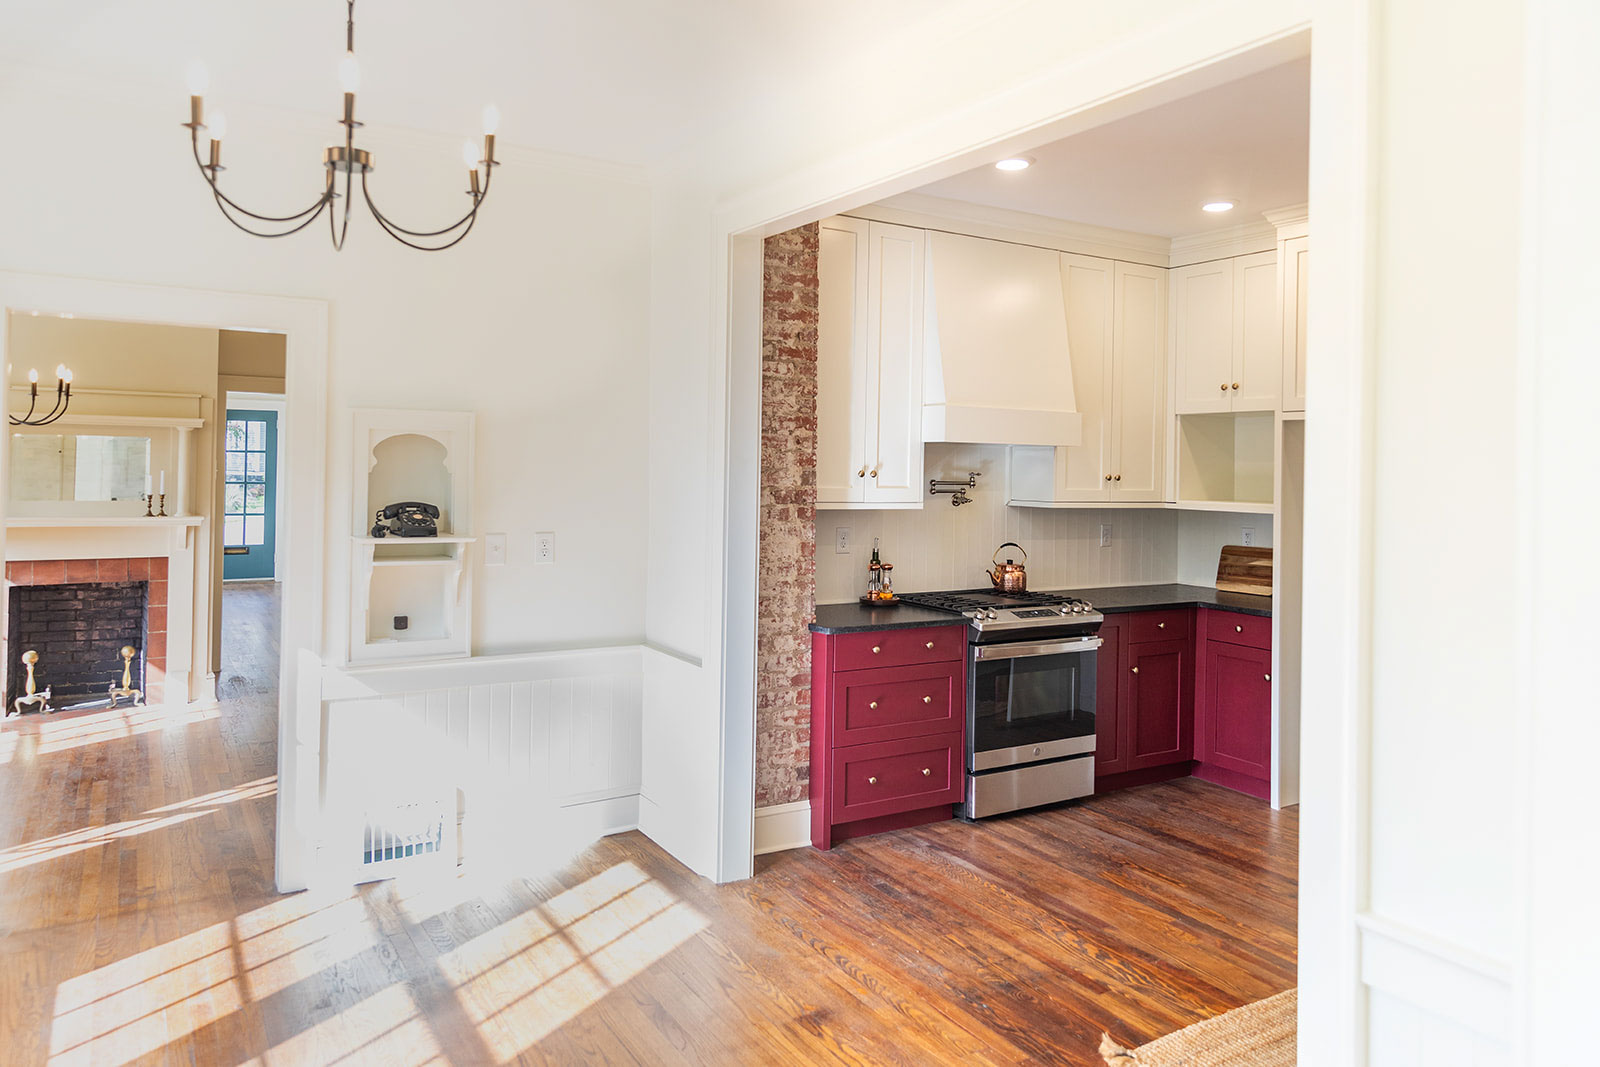
Fireplace Revealed
And last but not least is the best find of the project so far. During demo last year, the carpet was pulled up and the hearth to an original fireplace was revealed. Unsure as to whether or not I could even fit a fireplace in this room, I have stalled on what to do. We did have to remove a fireplace in the new dining room so I held onto the metal surround and stored it in my salvage pile. And then earlier this year during a client’s renovation, we removed a fireplace but saved the mantel and surround. They had no use for it so into my salvage pile it went. I really try to strike a balance of salvaging antique pieces and not becoming an actual hoarder. And I will say that I have pulled out many pieces from my stash to incorporate into projects.
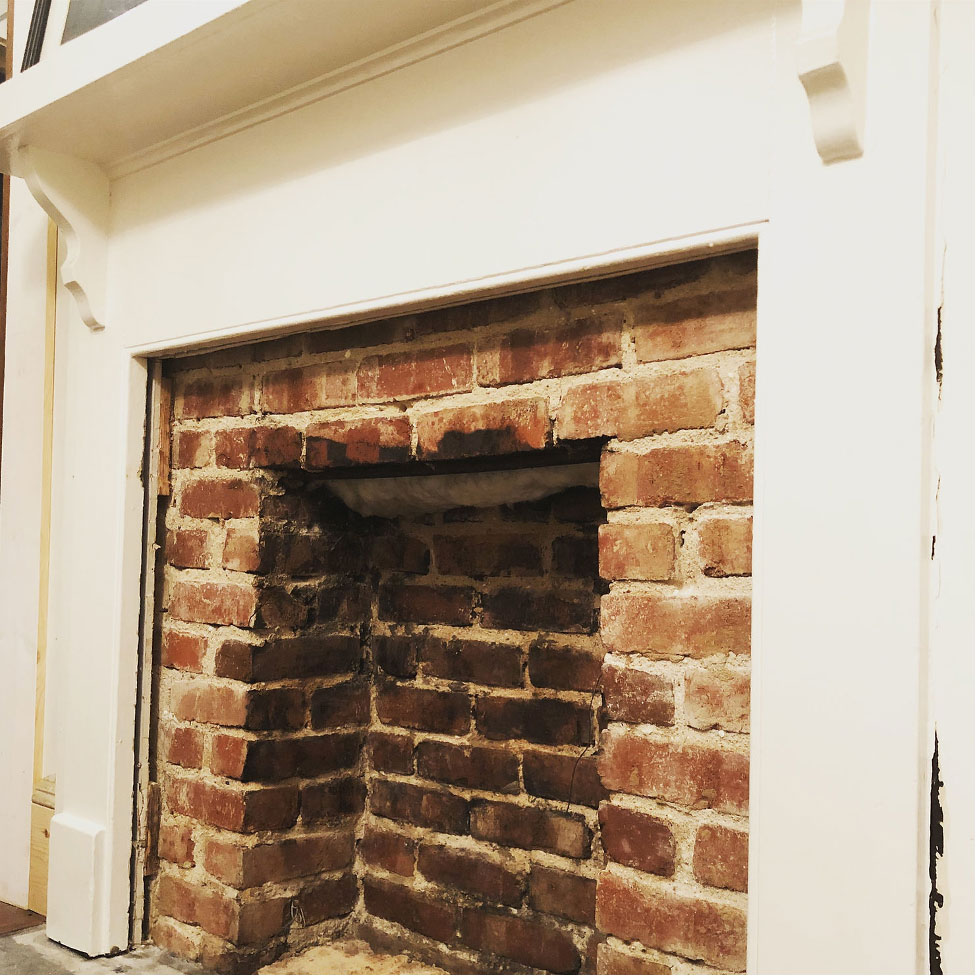
Here’s what the wall looked like originally and just to help visualize where the fireplace is located, I’ve marked it up below….

Before the One Room Challenge began, I had already decided to keep the fireplace and just go with it. The plan was to create a faux fireplace using a mantel and surround from storage. Long story short, I got curious last week and cut a small hole in the drywall. I was trying to look inside so I could figure out how to attach the metal surround. One thing led to another and I had cut out all of the drywall to reveal the original brick underneath. I instantly loved it! After cleaning a whole lot of soot, I was able to clean up including the brick, in its original form. While many people choose to tile over brick, I love the authenticity of it. I plan to leave it as-as since it adds so much character.
And that’s a wrap
So that’s a wrap for week four of the One Room Challenge. ‘m happy to say that I finally made some decent progress. I’m planning to finish painting this week, install the cubby glass doors, and then move onto the fun part….decorating! The new rug came in but the rest of the items will be pulled out of storage. I truly love decorating with the pieces I already have. Stay tuned and we’ll catch up next week!


+ Show / Hide Comments
Share to: