DIY Irrigation System


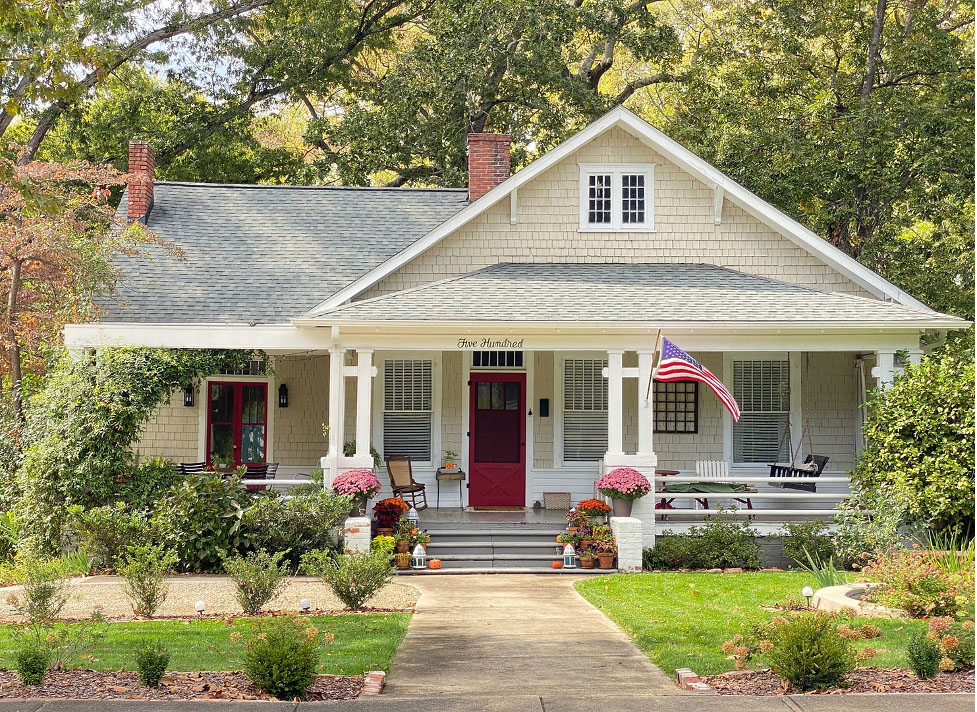
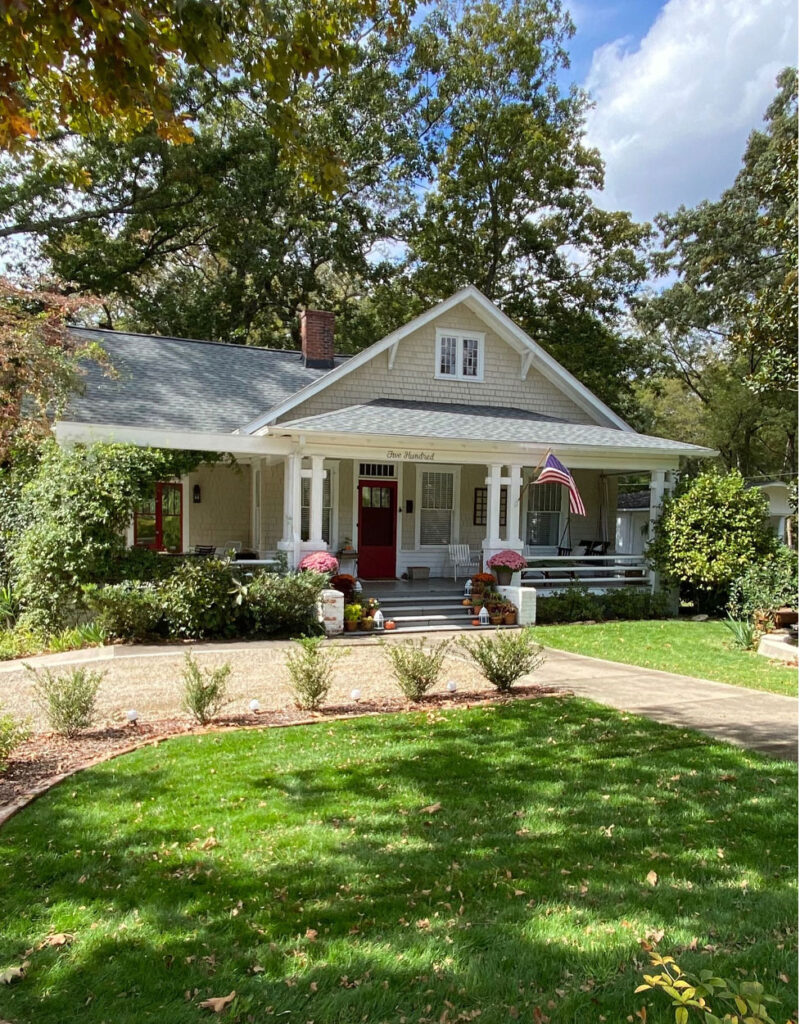
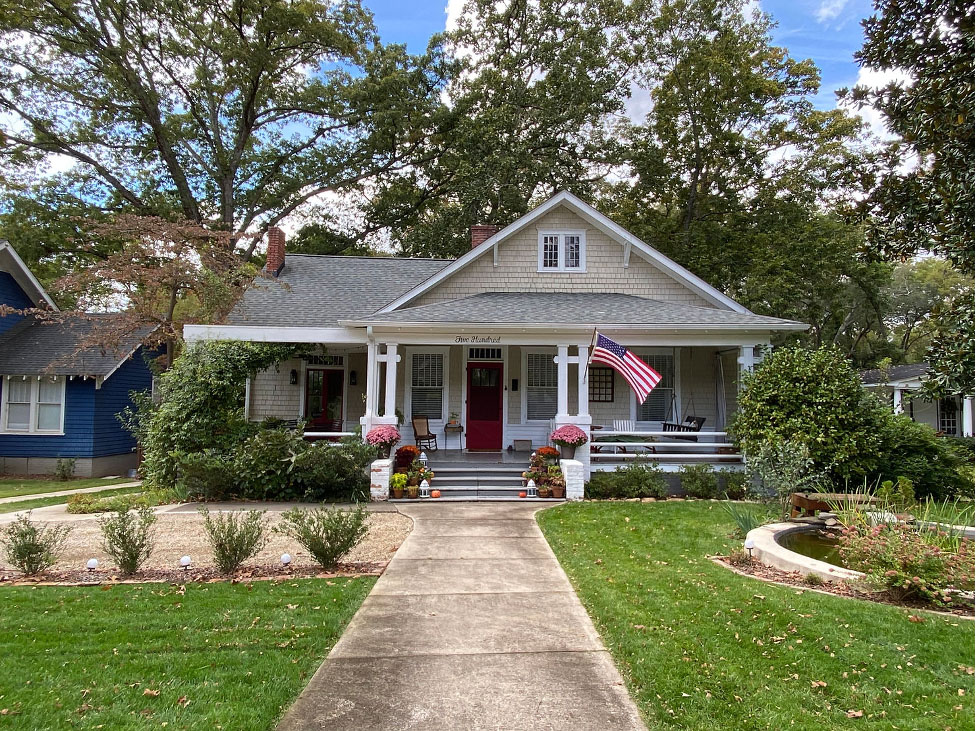
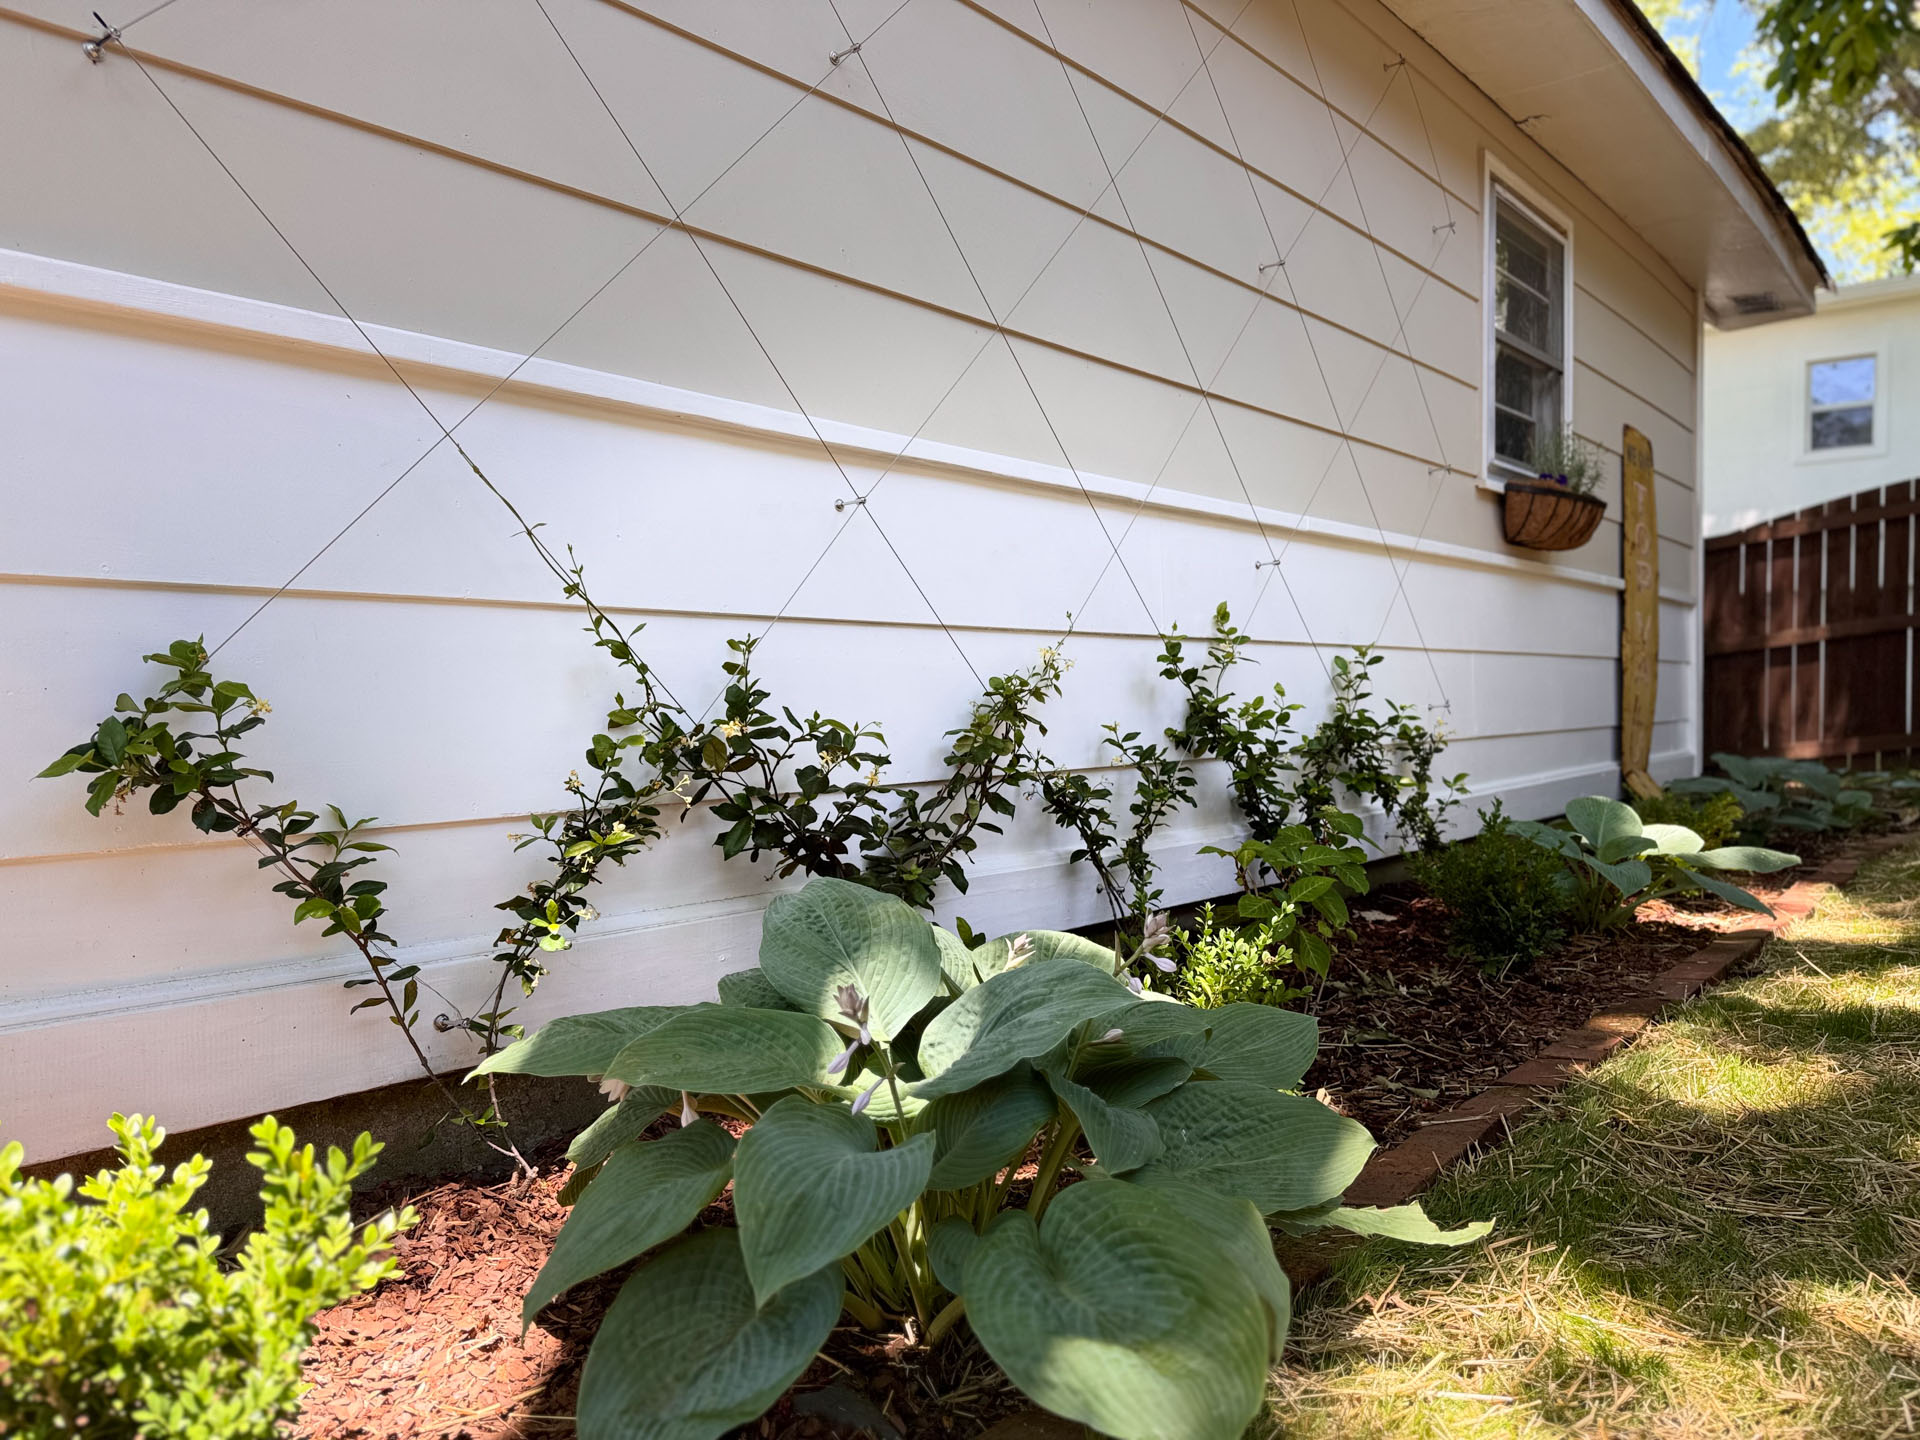
Over the past two years, I have worked to transform the front yard of My 1914 Bungalow . I wanted a quaint garden with a beautiful green lawn to compliment my historic home. I also wanted to make sure it would be be easy to maintain. It was a lot of hard work since I did all of the work myself, and I made plenty of mistakes along the way. But it’s also been extremely gratifying to watch the yard take shape, growing into my vision of a cottage garden to welcome family and friends to my home.
I researched and planned for weeks so that when it was time to install, I was ready. In full disclosure, I hired someone to service my lawn after years of trying myself unsuccessfully. They aerate, seed, and fertilize during the year and my responsibility is to water the lawn as directed. So, I needed an irrigation system.
DIY Irrigation Plan
If there’s one thing I knew for sure it was that I would not remember to water the lawn daily. And much less twice a day for the first couple of weeks after new seed. Since hiring someone to install an irrigation system for me was out of my budget, I got to work developing a plan myself. I researched more than I care to admit but in doing so I was able to piece together what I needed from several different sources, and then tweaked some things based on trial and error. It took me a full year to develop this plan and make sure I got it right. If you want a budget-friendly irrigation system and are willing to put in the work, you’re in the right place. Today I’m sharing my game plan, the products I used, and some tips I learned along the way.
THE GAME PLAN
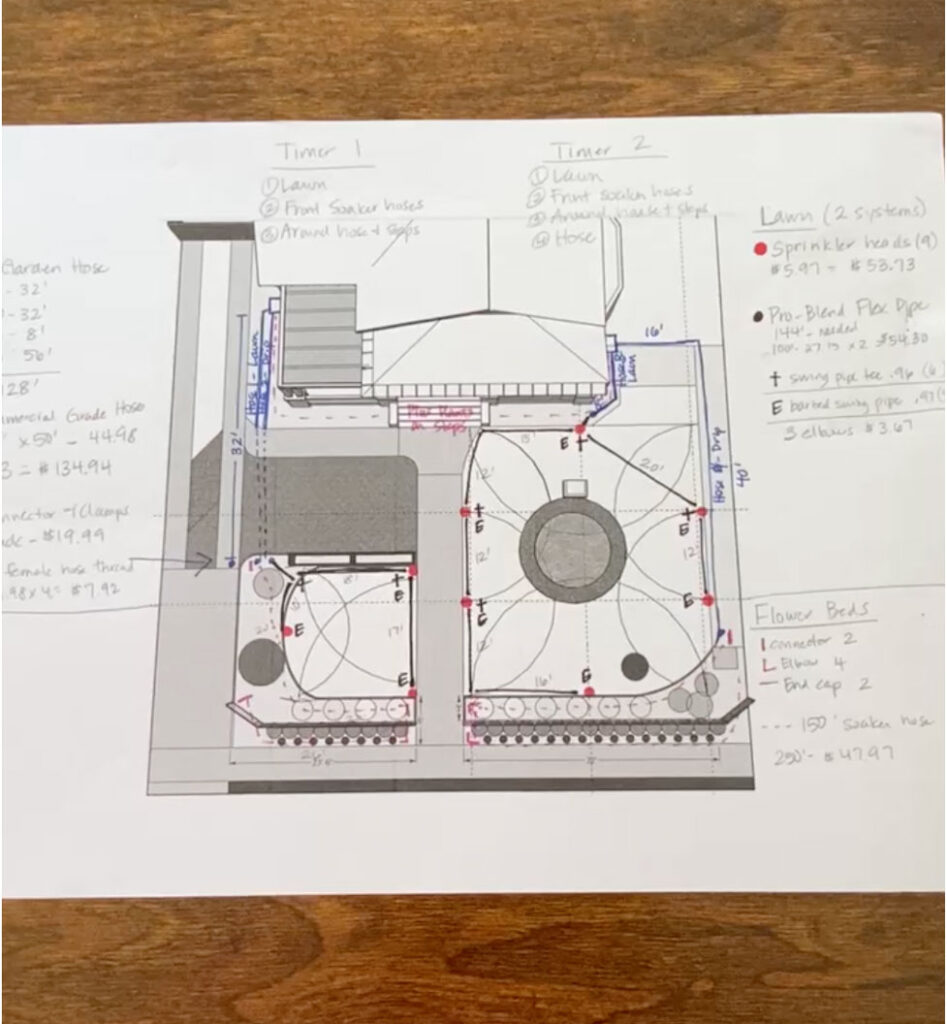
As you can see, my plan is nothing elaborate. I was able to use a computer program I draw my house plans in, but simple graph paper will work just as well. Be sure to draw everything to scale.
The most important things to note on your plan are:
- Water Sources: I used existing water spigots (no tapping into the water lines underground) and had my plumber add one more spigot for me.
- Lawn Areas: Each sprinkler (marked with the dark pink spot on my plan) has a specific range and research indicated the coverage needed to overlap which helped to determine how many sprinklers I needed. In my case I needed three on the left side and six on the right since they cover roughly 10′ each. I also ended up adding a couple of separate sprinklers for the side lawns.
- Drip Irrigation: Since I had already added landscaping the year before, I wanted to incorporate drip irrigation as well so determined where that would go and how I would get the water source to it.
THE SHOPPING LIST
If there’s one thing I know to be true, budgets vary greatly in terms of what people consider to be expensive or not. I didn’t have thousands of dollars to spend on hiring someone to install an irrigation system so I was happy to spend around $500 for mine. I lost count along the way if I’m being honest but that’s probably a fair estimate. Of course that doesn’t factor in my time but I was willing to give that up to save financially. The most expensive items were the timers which I highly recommend, even with above ground sprinklers. All in all, and after using my system for a full year now, it has definitely been worth the investment. Below I will break down the shopping list into sections with brief explanations.
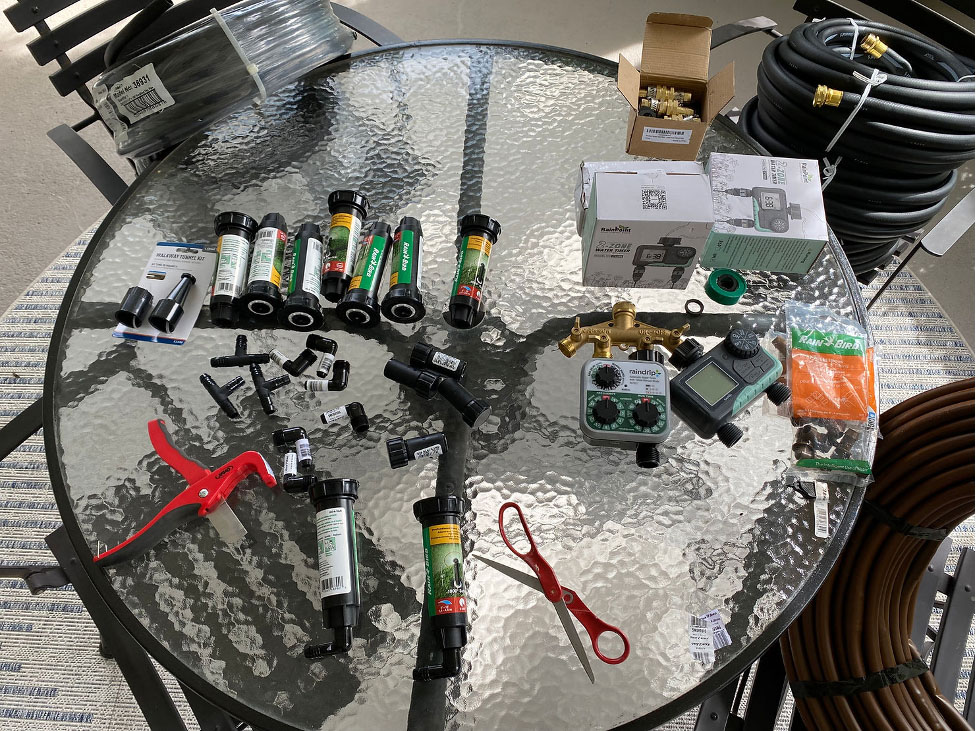
Timers:
B-Hyve Faucet Timer: After ordering and returning another brand, I have found this one to be my favorite for a few reasons. First, it’s easy to find locally at a Home Depot, especially if you discover you need more than you thought you would need, like I did. Second, it was easy enough to set up and program. And third, it syncs to an app on your phone. They also have one and two port timers as well if you don’t need four at one location.
B-Hyve WiFi Hub: Speaking of syncing to your phone, you will need this WiFi Hub to make everything work especially when you’re using several timers. A word of caution: If you live in an old house like I do where the walls are thick due to the plaster, sometimes the signal will not go through and you’ll have to step outside to access the remotely. However, that’s still much easier than having to program it from the timer itself. Or maybe it’s just more convenient.
Brass Splitter: Since the timer is relatively large in size, I found it best to use a splitter to connect the timer to the spigot. This also leaves you with an extra port for a garden hose.
Hose & Attachments:
Commercial Grade Rubber Black Water Hose: I used this commercial grade hose to connect from the timer to the tubing (for the sprinklers or drip hose) using a Hose Repair Connector with Clamps and a Female Hose Thread Compression Swivel Adapter. I cut the water hose to length based on the distance between the spigot/timer and the start of either the irrigation tubing or drip emitter tubing and then placed a connector or adapter based on the need.
For Example: The Commercial Grade Hose was cut to size using a Hose Cutter. I added a Hose Repair Male Connector with Clamp on the end that attaches to the timer (shown on the first port below). I then added a Hose Repair Female Connector with Clamp on the other end that attaches to the Female Hose Thread Compression Swivel Adapter. That adapter is attached to the tubing (as shown on the second picture below). This provides water from the timer to the sprinkler using the black flex pipe that and can be above ground or buried.
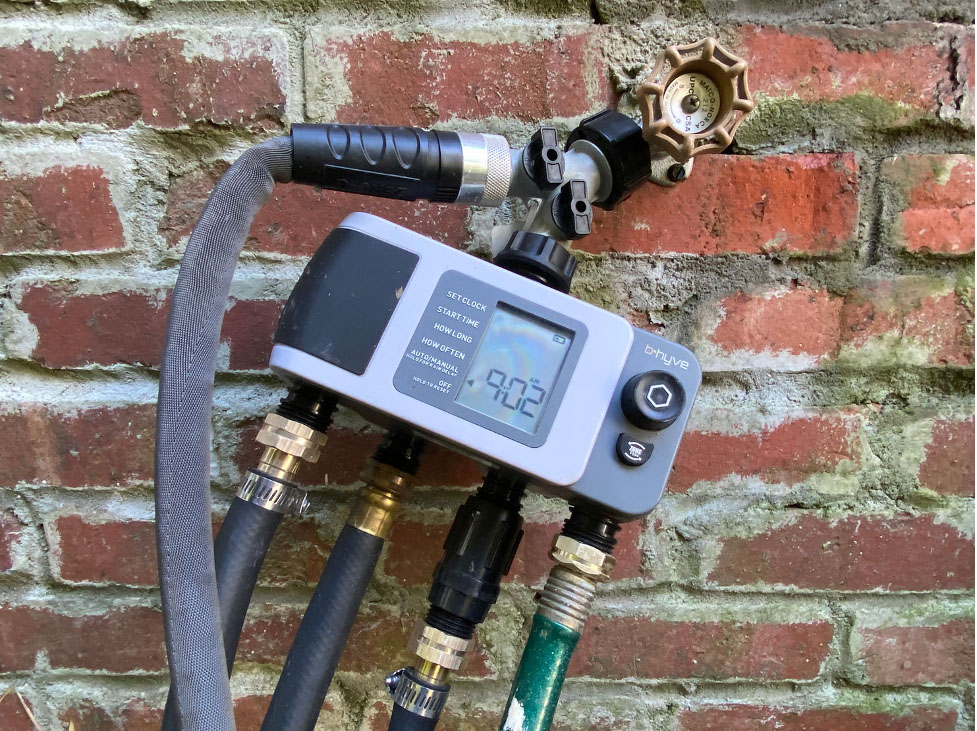
So looking at the set-up above we have:
- The spigot with splitter attached.
- Garden hose attached to the extra port on the left of the splitter (can be used independently of the timer).
- The timer is attached on the right port of the splitter.
- Left to right attachments on the B-Hyve Timer:
- 1st port – Cut commercial grade hose with a male connector with clamp (used for sprinklers in Zone One).
- 2nd port – End of commercial grade hose with male thread already attached (used for sprinklers in Zone Two).
- 3rd port – End of commercial grade hose with a male connector with clamp attached to a Pressure Regulator and a Backflow Preventer (used for the drip hose emitter and prevents it from whistling once you turn on).
- 4th port – Regular water hose connected to an above ground sprinkler on the side lawn.
And looking at the picture below we have the cut commercial grade hose with a Hose Repair Connector with Clamp attached to the Female Hose Thread Compression Adapter that attaches to the irrigation underground flex pipe of the sprinkler system. Are you cross-eyed yet? I would say figuring out these connections is the most confusing part.
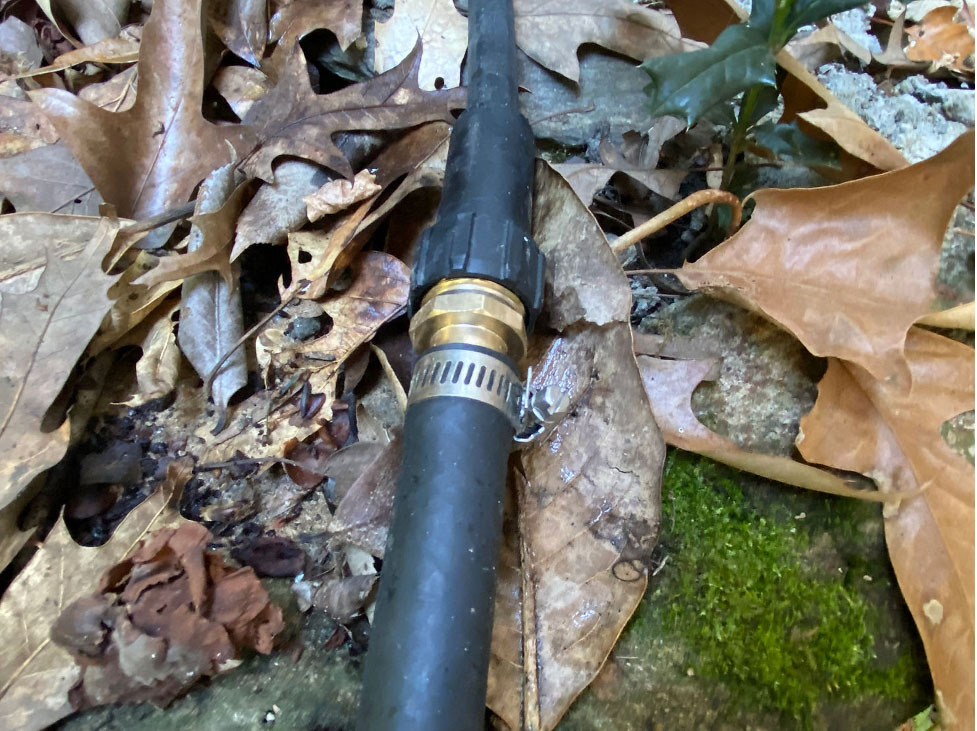
Let me stop for a minute and say if you’re feeling overwhelmed, take a break. This entire system is like a giant jigsaw puzzle. Without the picture to show you how it all fits together it can become confusing since each yard is different. But at some point everything begins to click and you’ll figure it out. So hang in there and don’t give up. Your wallet will thank you.
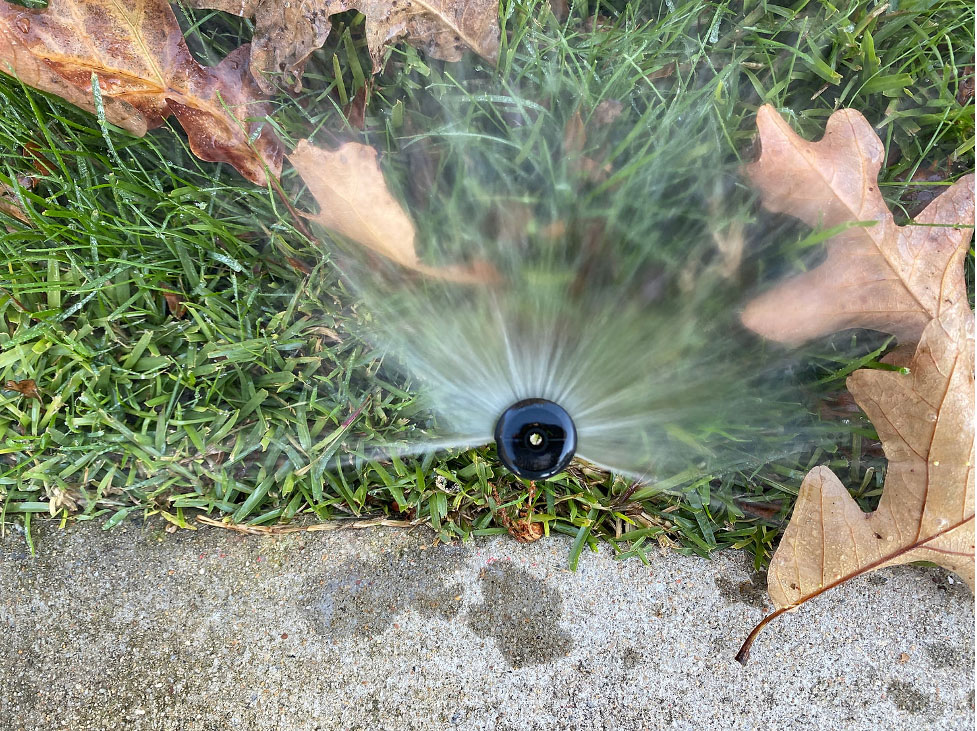
Sprinklers & Tubing:
Finally, the actual sprinklers. Because I was running my Underground Flex Pipe (black tubing that feeds the sprinklers) buried underground along the edge of my sidewalks and flower beds, I chose to use the Pop-Up Sprinklers because of their Adjustable 0 to 360 Degree Pattern option. In one area where the coverage could be a full circle, I used a Simple Adjust Pop-Up Gear Drive Rotor sprinkler.
To connect the sprinklers to the flex pipe I used an Irrigation Swing Pipe Elbow. The sprinkler screws onto the top of the elbow where it’s threaded. Then on the other end you will attach the flex pipe. In most cases I cut a small piece of flex pipe to connect the swing pipe elbow to a Swing Pipe Tee that has flex pipe on the other two ends to continue the water flow. Think of each sprinkler as a little pit stop along the water flow roadway.
One thing you’ll have to consider is the water pressure and how many sprinklers you can run at one time. Once I figured that out I designated zones. In my case, I could only have three sprinklers connected per zone due to the water pressure. Otherwise, they would barely work. So looking back at my sketch, on the left smaller lawn, three sprinklers are in one zone. On the right, the yard is split in half – three sprinklers on zone two, and three sprinklers on zone three. At the end of each zone you’ll need to add a Compression End Cap.
Drip Irrigation Supplies:
And last but not least, if you have a garden bed that you need a drip hose for, the concept is the same. You’ll just need a few different pieces to work with the emitter tubing. Substitute the items below and you can use the same attachments as the sprinkler system to connect to the commercial grade hose and timer and add an end cap at the end.
A FEW TIPS
If you’ve made it this far, congratulations. You’ve totally got this and I’m cheering you on. Honestly, the hardest part for me was trying to figure out what I needed and where to source those items. Hopefully the shopping list and explanations above have helped you and you’re just about ready to finally install the system. Most of it is pretty self-explanatory at this point but I did want to share a few tips.
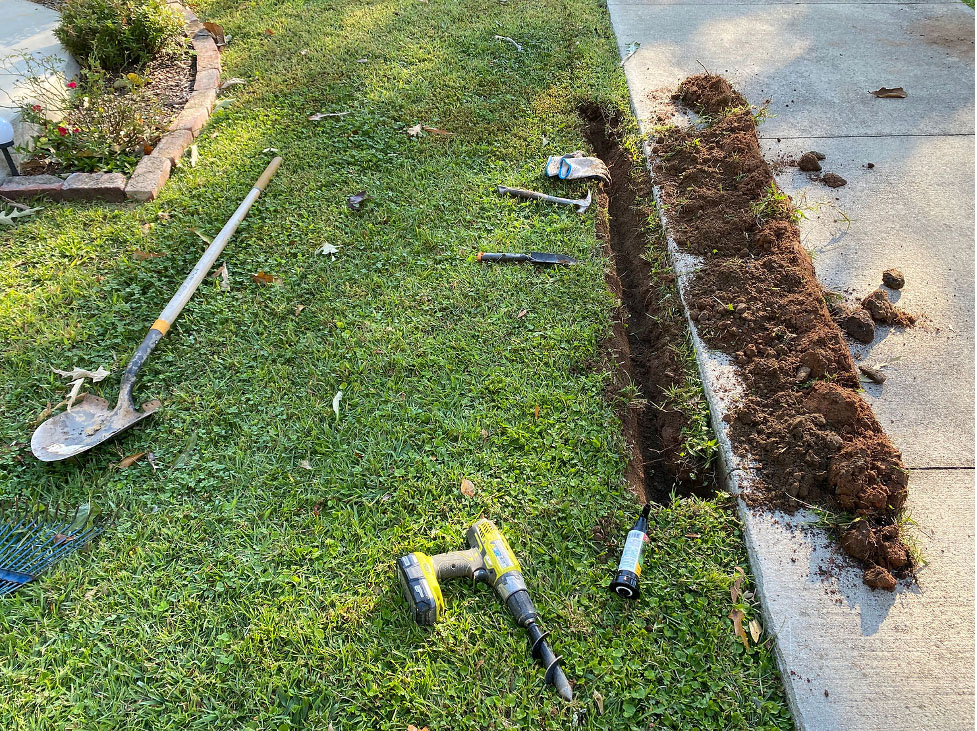
Tip #1: If you’re not worried about destroying your yard, I would consider renting a trencher. It will make things easier especially if you hard a large yard. Mine is pretty small. I needed to keep my yard in tact, so I went the old fashioned route and shoveled the grass out by hand. I set it aside, and then put back into place. It quite literally took forever but in the end you could barely tell where I had been working. I may have also used the claw part of the hammer to dig down a little deeper for the actual sprinklers.
Tip #2: You’ll most likely run back and forth to Home Depot or Lowe’s at least 15 times. Honestly, I thought it wasn’t possible to visit those stores so many times for one project. But there I was despite having ordered what I thought was everything ahead of time. Hopefully, my list helps cut down on the number of trips to the store. If it doesn’t help, don’t get frustrated. That’s what DIY is all about isn’t it?
Tip #3: Recruit some help. I did this project entirely by myself but wished I had an extra set of hands.
Tip #4: Don’t get frustrated like I did trying to figure out how to adjust the sprinklers. Before you start watch a couple of videos. Also, try adjusting one of the sprinklers before you install it just to make sure you’re familiar with it.
Tip #5: And last but not least, pace yourself. If I’m being honest, I didn’t allow myself enough time to do this project in a timely manner. I wish I had so I encourage you to plan ahead.
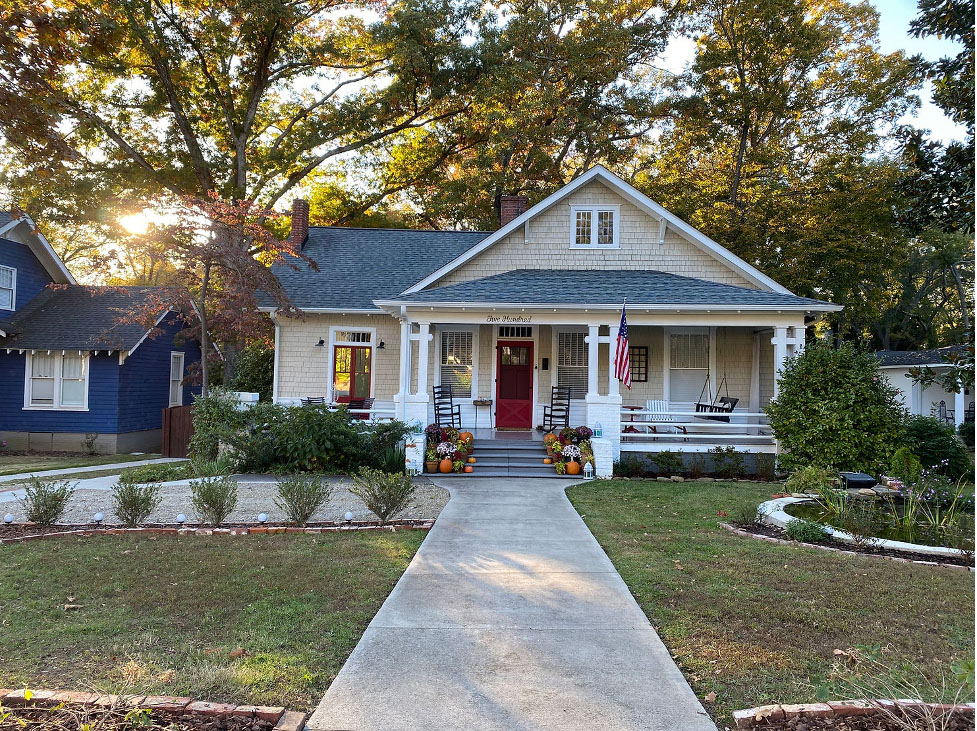
In the end I can say it was definitely worth it! Just take a look at the lawn before the irrigation system and the after. Of course keep in mind that this was also before hiring a professional to aerate, seed, and fertilize. My lawn looks better this fall compared to last, and I can’t wait to see how it fills in over the next couple of years.


+ Show / Hide Comments
Share to: