Board and Batten: The Four Questions I’m Asked Most Often


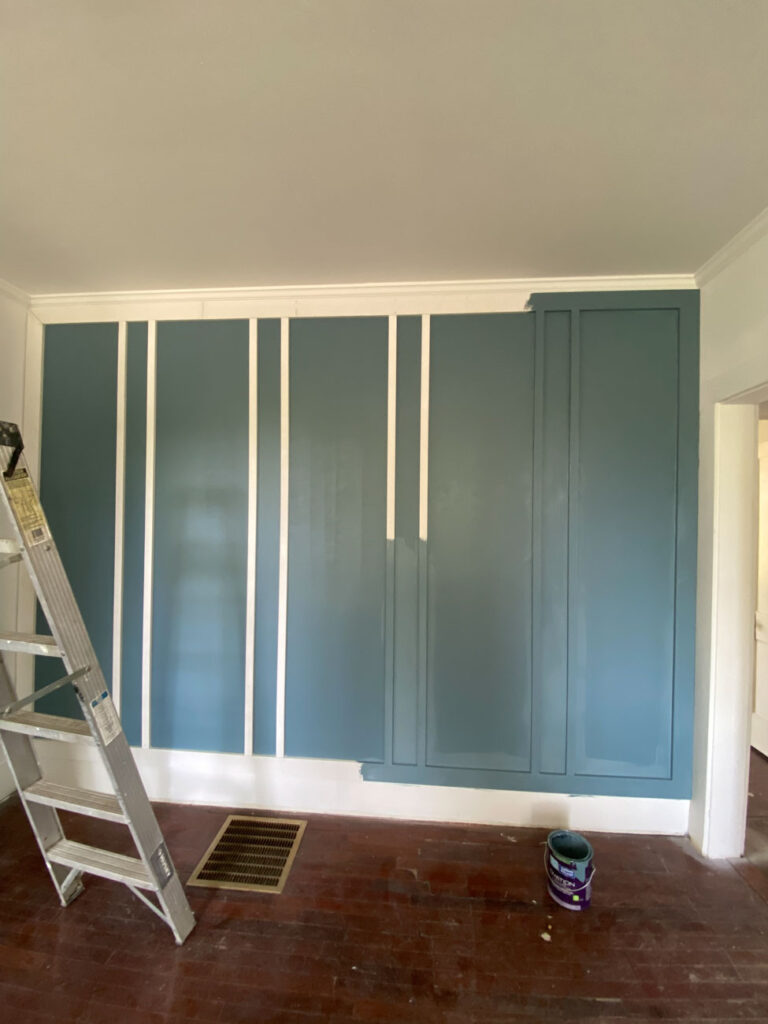
Over the past few months I’ve been working to refresh the master bedroom of My 1914 Bungalow. The biggest change includes adding board and batten.
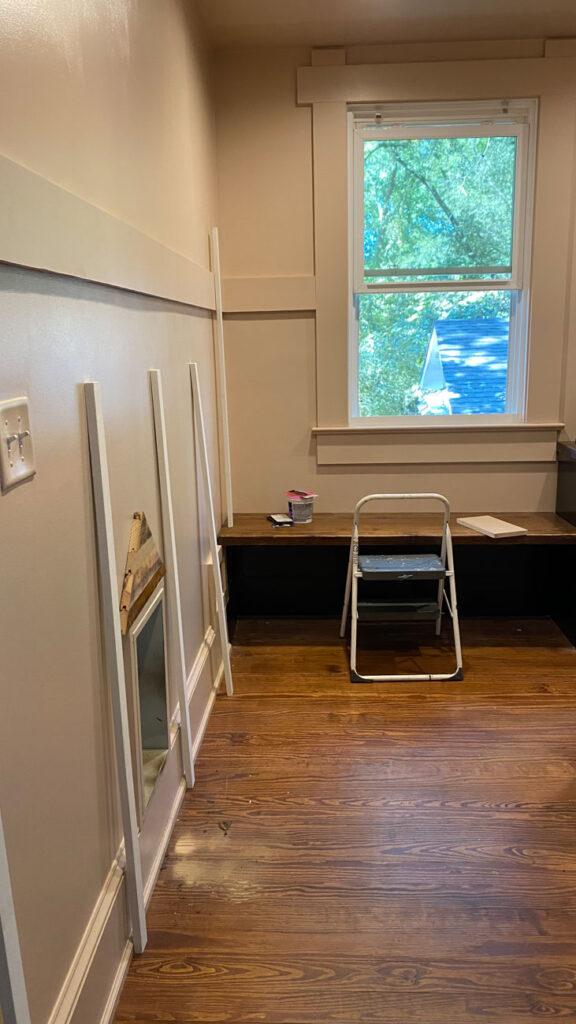
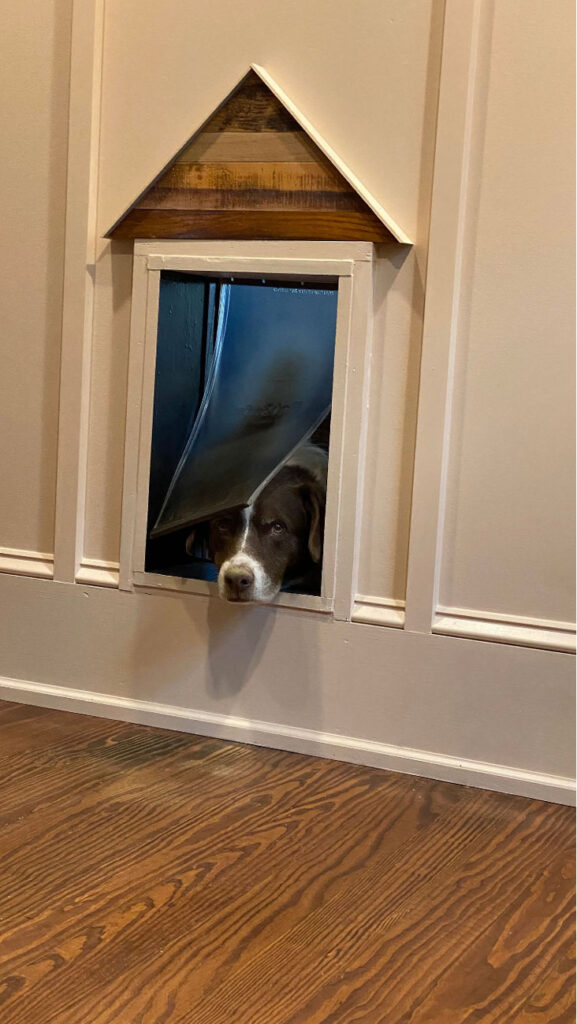
Just to refresh your memory, my very small master bedroom is an addition to the back of my house. We added it in 2017 as part of the overall renovation. While the bedroom is tiny, only recently did I realize the placement of my bed wasn’t helping. When Sampson got hurt last October, I rearranged the furniture placing the bed in the corner so that I could add a ramp for him. And voila, the space felt twice as big! So with that change, I decided it was time to update the entire room. Here’s a sneak peek.
Board and Batten
I’ve shared some of the behind-the-scenes of the master bedroom refresh on Instagram and had several questions specifically about the board and batten. So, I thought I’d address the top four questions specifically about the board and batten installation here. But before I answer those questions let’s discuss exactly what board and batten is.
What is Board and Batten?
So exactly what is it? Historically it dates back to the late 1800s where it has been used the most as exterior siding. Thin strips of wood molding—or “battens”—are placed over the seams of panel boards. However, it also has it’s place for the interior used as decorative paneling which we’ll be focusing on.
Typically for interior installations, wider boards are installed horizontally along the top and bottom with thin, narrow strips of wood installed vertically. This creates a geometric and layered look that if done well, has a timeless feel to it. It is often installed in historic houses along all of the walls in a room. For more modern uses, it might be a feature wall.
Here are a few examples where I have used it in some of our renovations.
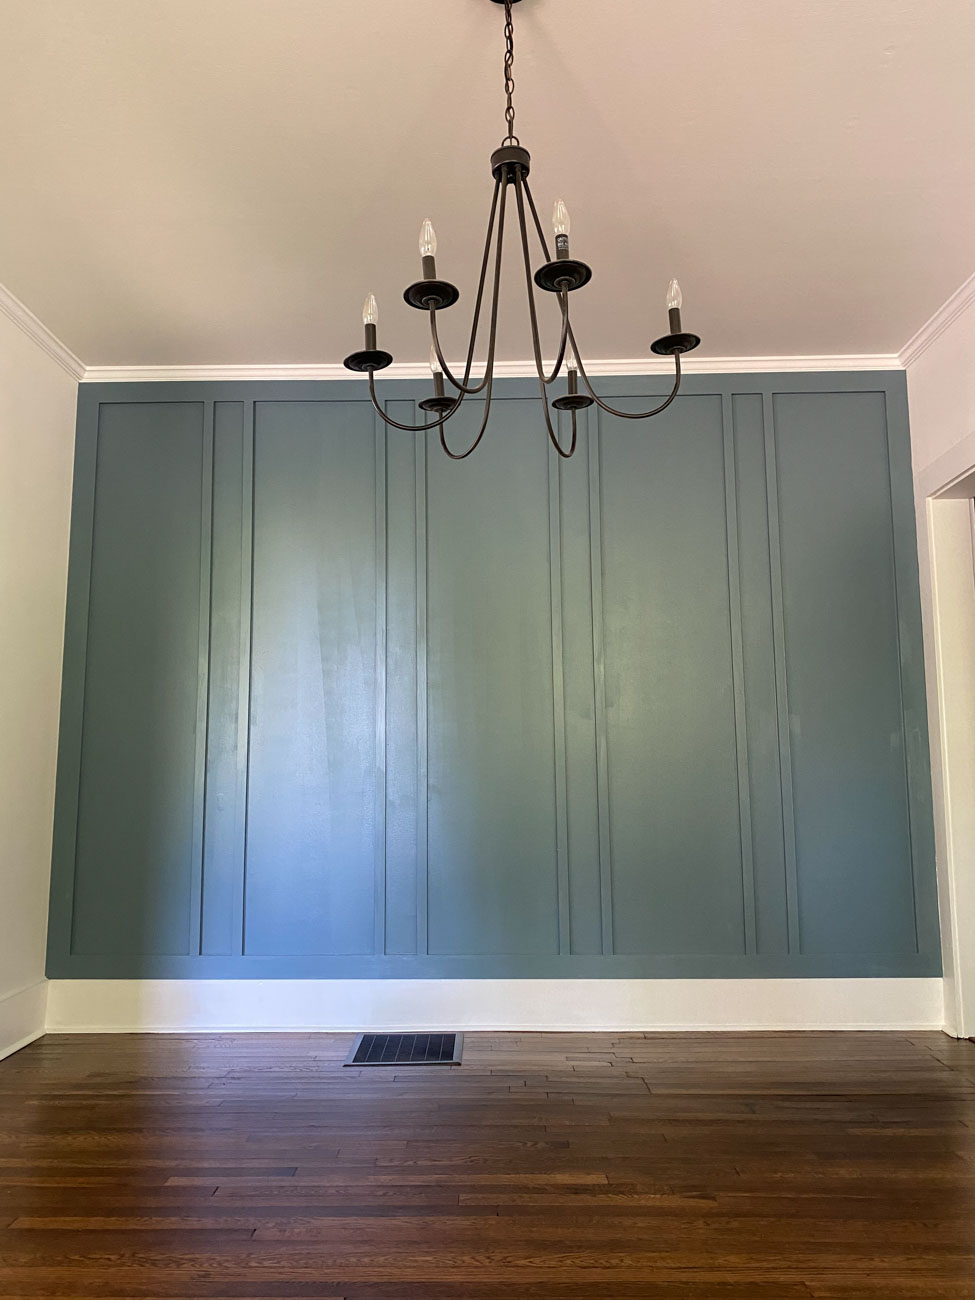
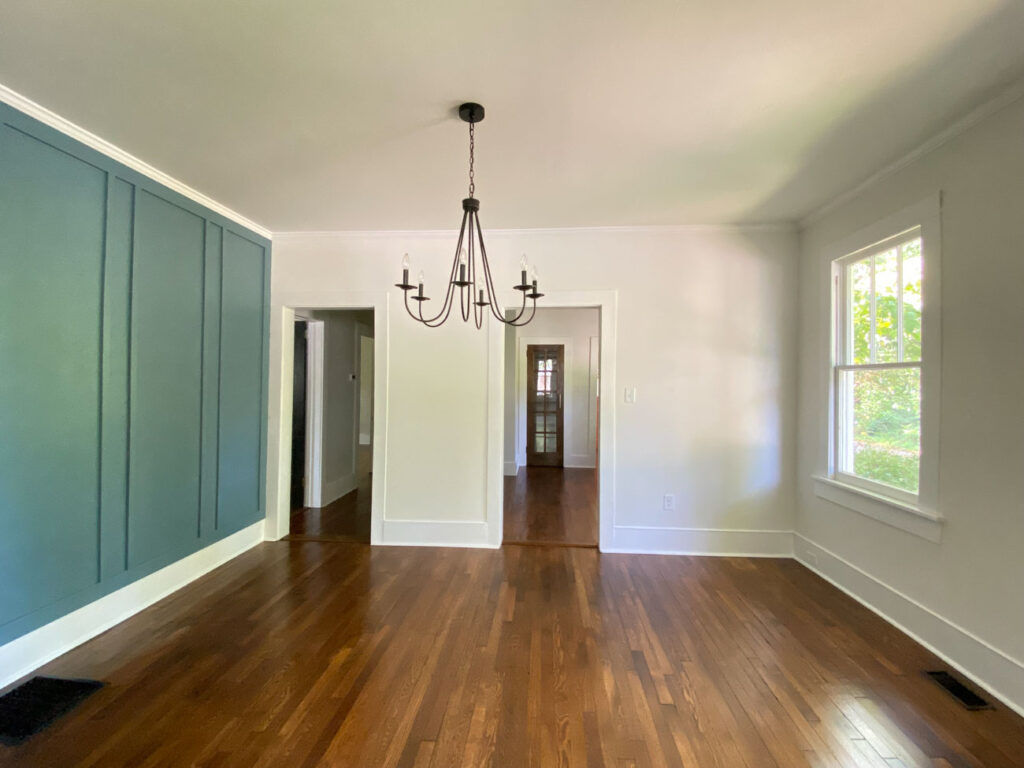
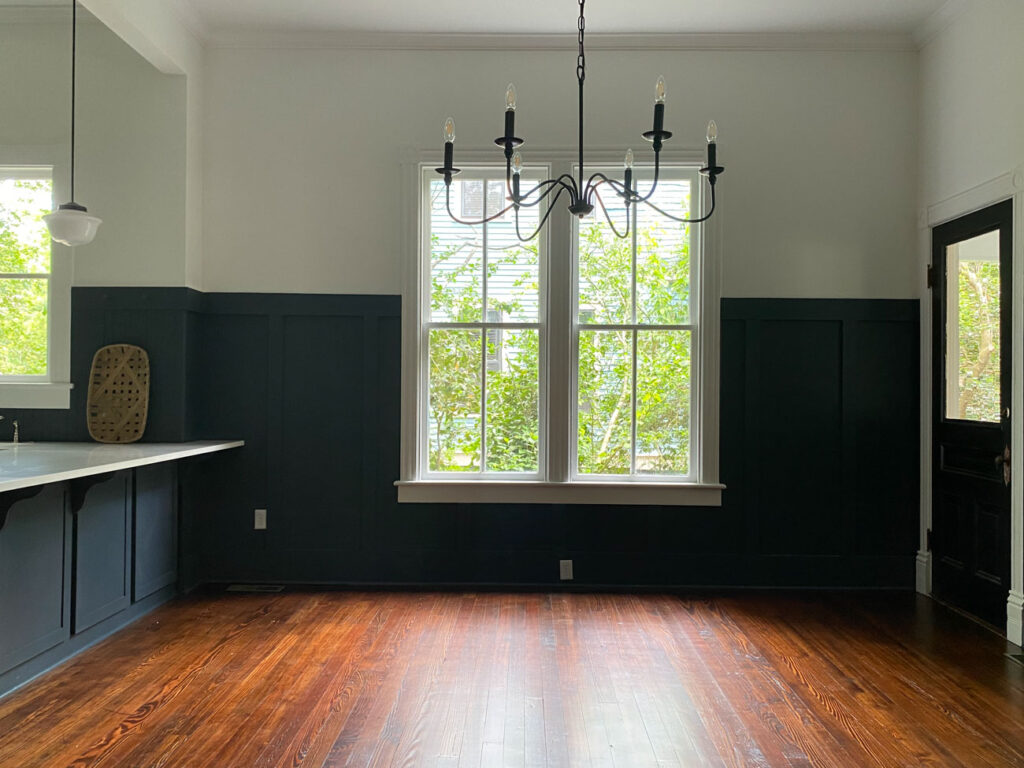
Feature Wall in the Dining Room of the West End
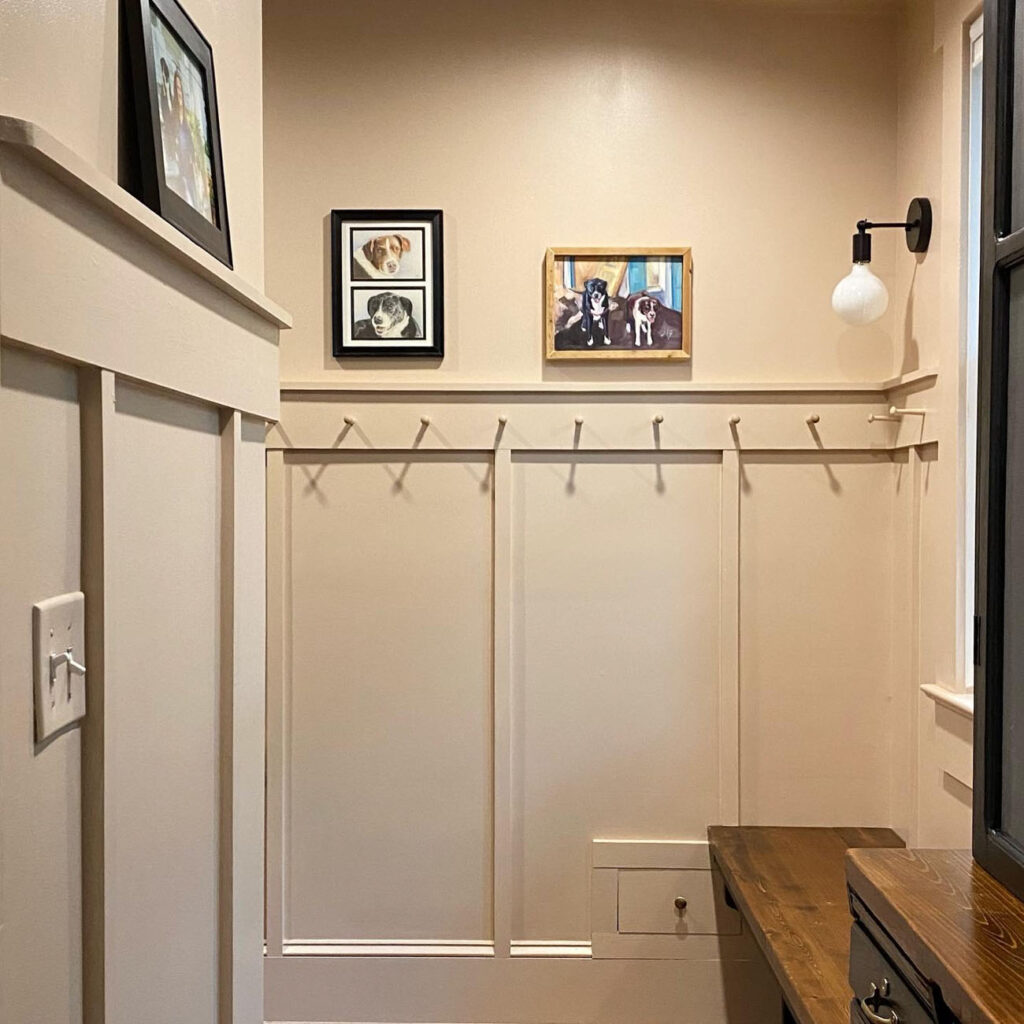
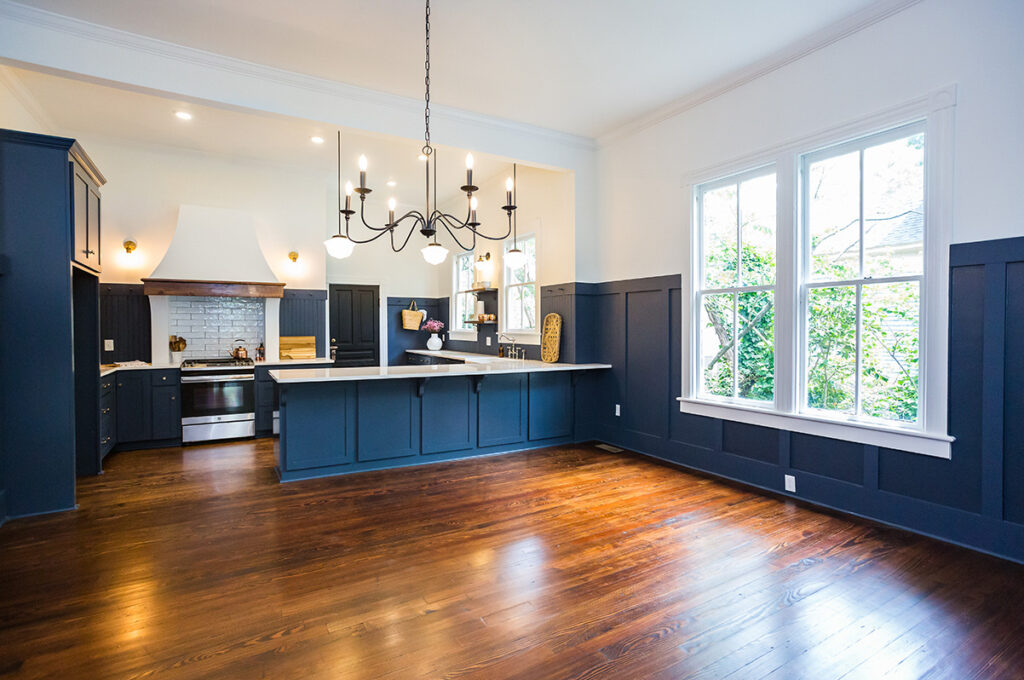
The Dining Room at the Queen Anne
4 Questions I Get Asked The Most
Question #1: What Materials Do You Use and How Do You Install It?
So technically that’s two questions but they always are asked together. I’m often asked if I use wood and nails or MDF and glue. While I’m sure either would work, I prefer primed wood and nails, especially for a historic home.
The wider, horizontal boards are nailed along the top (top rail) and bottom (bottom trim) first, followed by the vertical boards (battens) in between.
While you can add a piece of trim along the bottom above the baseboards, my preference is to treat the baseboard as the bottom trim piece.
If you go this route, go ahead and remove the base cap (the decorative trim piece along the top) leaving the wide baseboards along the bottom. Next add a slightly smaller width board along as the top rail. So for example, if your baseboards are 10″ tall I would consider 8″ or 6″ wide top rails.
Once the vertical slats are installed, reinstall the base cap you carefully removed. Cut the base cap to size and reinstall in between each slat.
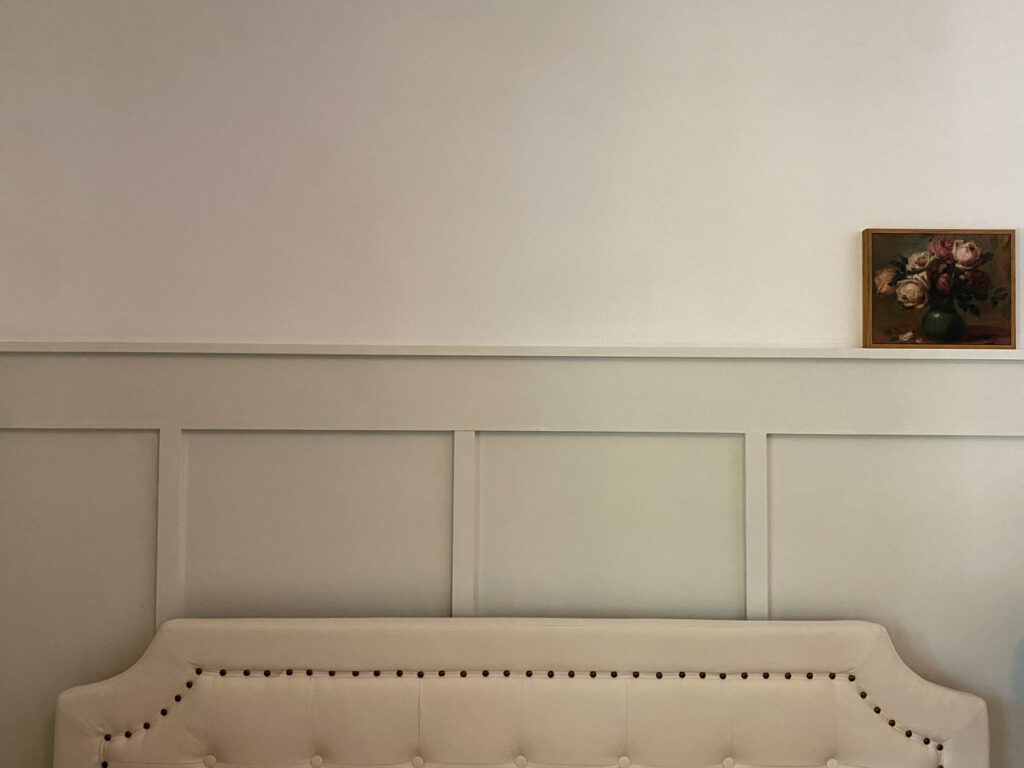
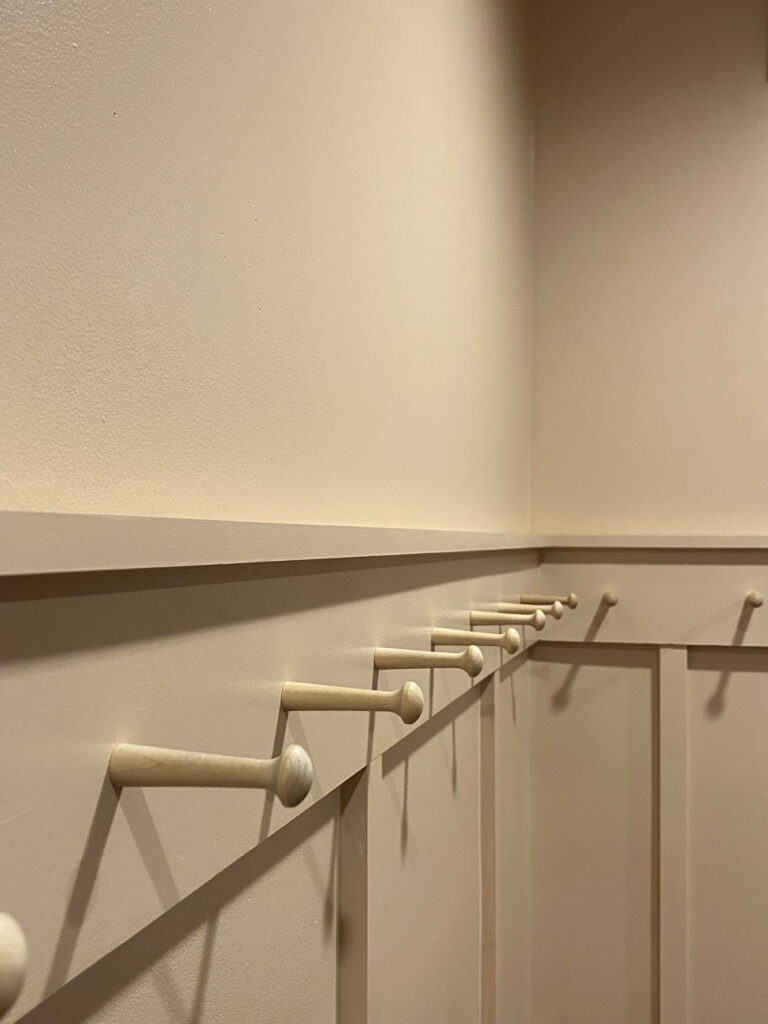
One last piece of trim that is optional is the top ledge that I like to include. It’s usually a 2″ wide board turned on it’s side, sitting flush along the top rail. I think this adds more character to the board and batten and am including it for my master bedroom.
The installation itself is pretty simple. Simply measure, cut, and nail into place followed by caulk, primer, and paint. Be sure to level each board as you go and don’t make the assumption that every vertical board will be the same length. They should be of course if you measured the distance correctly and leveled those boards. But alas, often times it’s not exactly the same length. Measure, cut, and install a small section at a time and then move onto the next one.
This is my favorite nail gun and I would recommend 1 1/2″ or 2″ brad nails.

Question #2: How Far Apart Do You Space the Vertical Strips of Wood?
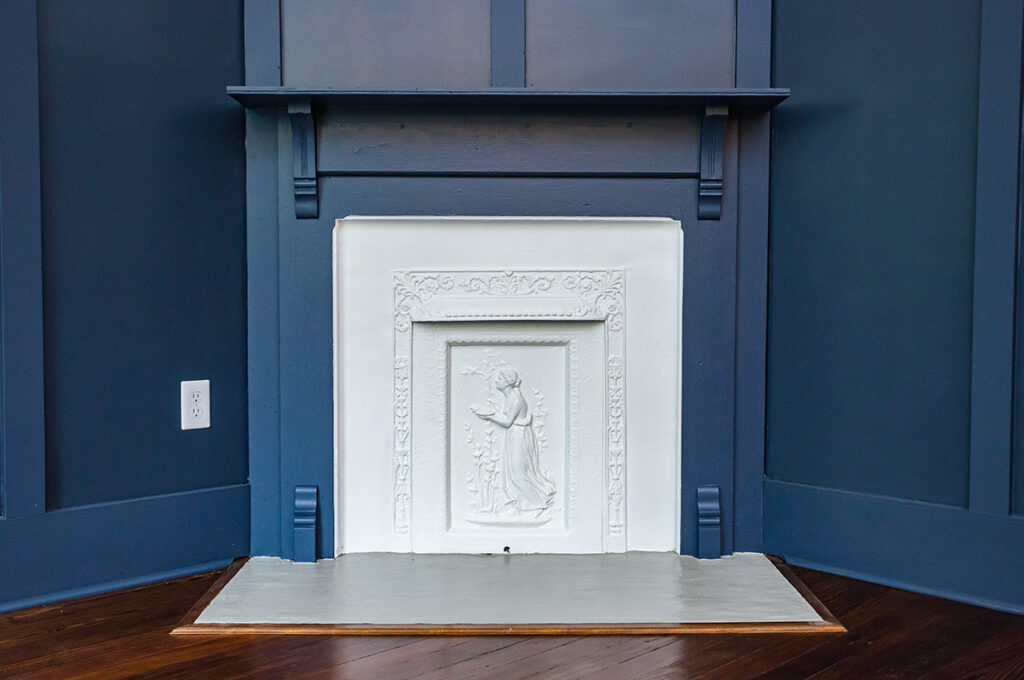
The spacing is completely up to you. I’m a big fan of symmetry so I typically find a starting point like the fireplace shown below. In this example, we kept the existing baseboards, added a 1×6 along the top, and used 1×4 boards for the battens. Since this room is large, wide boards felt more appropriate in terms of scale. Plus, it works well with the original door trim.
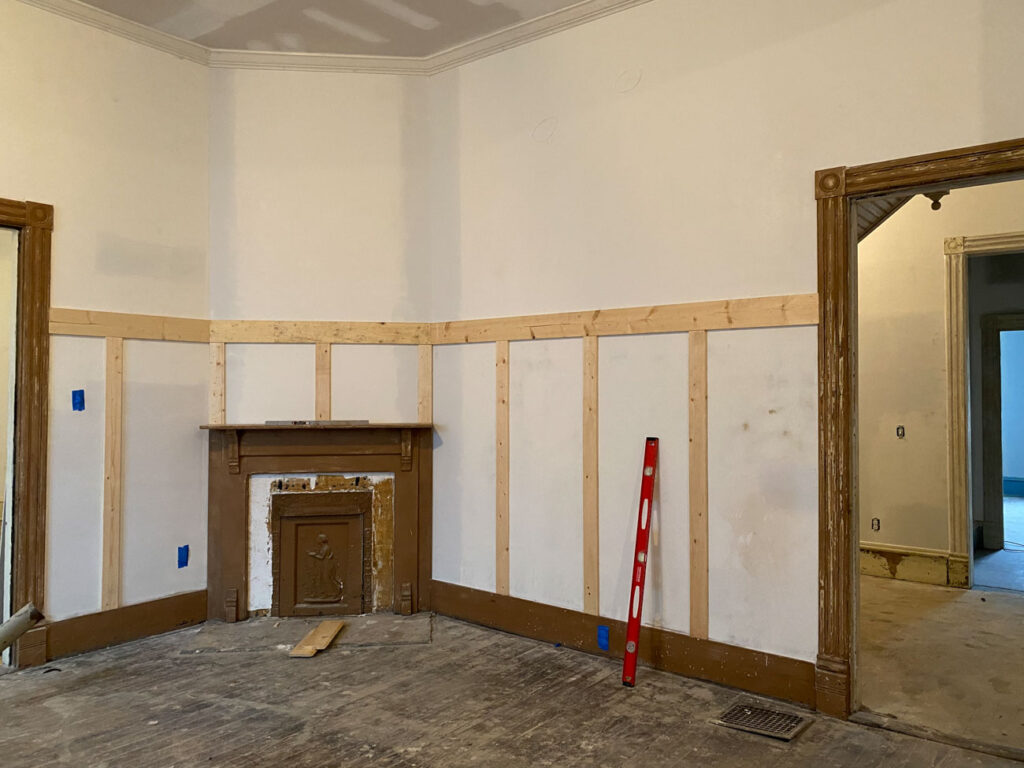
We measured the fireplace to determine the width of the space between the battens. Once we figured that out, we spaced the rest of the battens accordingly. Often times it just comes down to what looks right to you. I would suggest tacking a couple of boards up, and then make a decision.
Questions #3: Will This Damage Plaster Walls?
Yes, and no. While most typically discourage nailing into plaster, my experience is that it doesn’t hurt it as much as you think. Especially if you’re using a nail gun and brad nails. If you’re really concerned, nail one board as a test run. This way you can make a determination as to whether or not it’s damaging the plaster walls. It’s completely a judgement call.
Question #4: How Long Will It Take To Install?
This answer depends on several factors with the most important one being your skill level. As far as DIY projects goes, this is a pretty simple one. As long as you’re comfortable with a miter saw and a nail gun, you can totally take on this project.
So assuming you have some DIY skills, the next factor is the size of your room. If you’re doing a feature wall, you could likely knock this out completely in one day. If you have four walls of a dining room, maybe two days, likely three. I would suggest purchasing all of your materials ahead of time and having them ready. Then, set aside a full day for the actual installation of the boards. If it takes two days, don’t beat yourself up. After you install the boards, plan for another day to make it pretty. You’ll need to caulk all of the boards, fill nail holes, prime, and then paint. And then you can step aside and admire your work!


+ Show / Hide Comments
Share to: