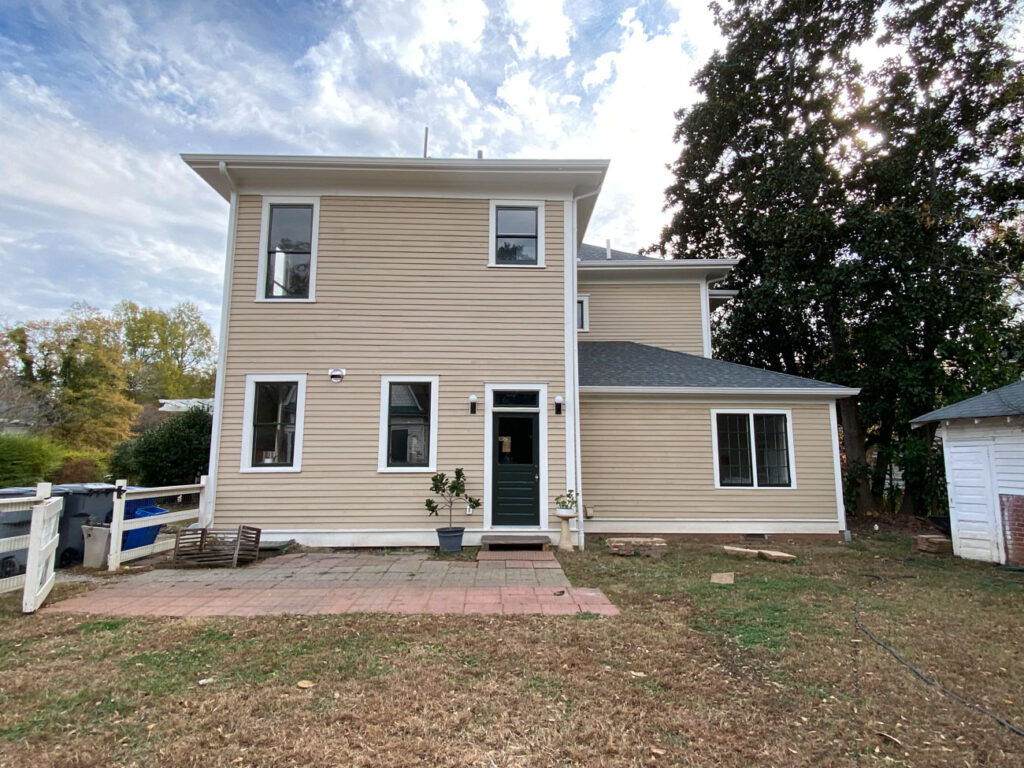
Back of House Transformation at Martha’s Manor


Today we’re going to take a closer look at the back of house transformation at Martha’s Manor. In case you missed it, we looked at the renovations made to the front of the house which were primarily deferred maintenance and repairs which you can read about here. However, when it came to the back of the house, we made some impactful changes to unify the flow of the home.

The Before
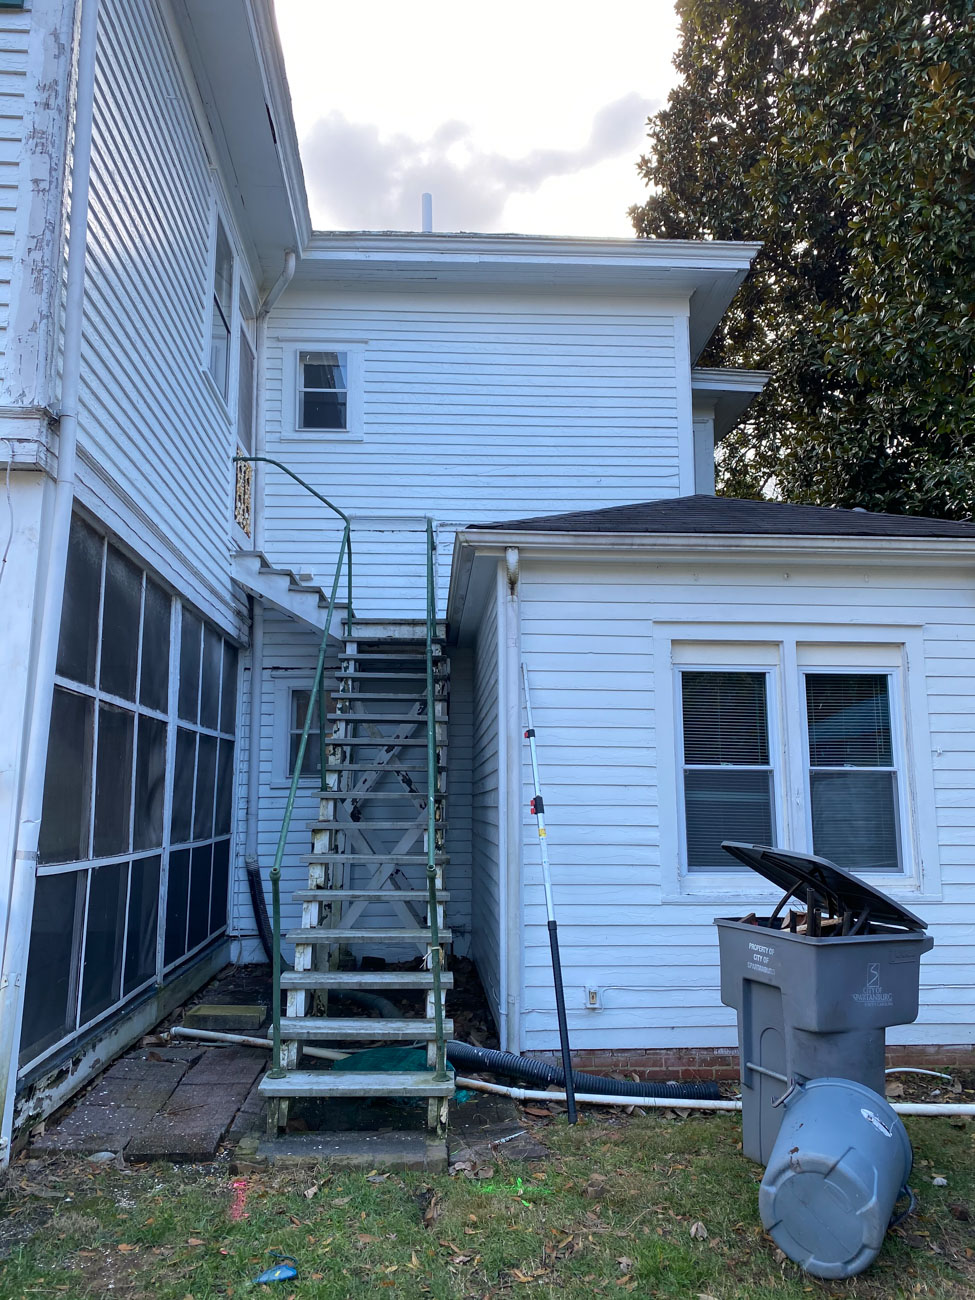
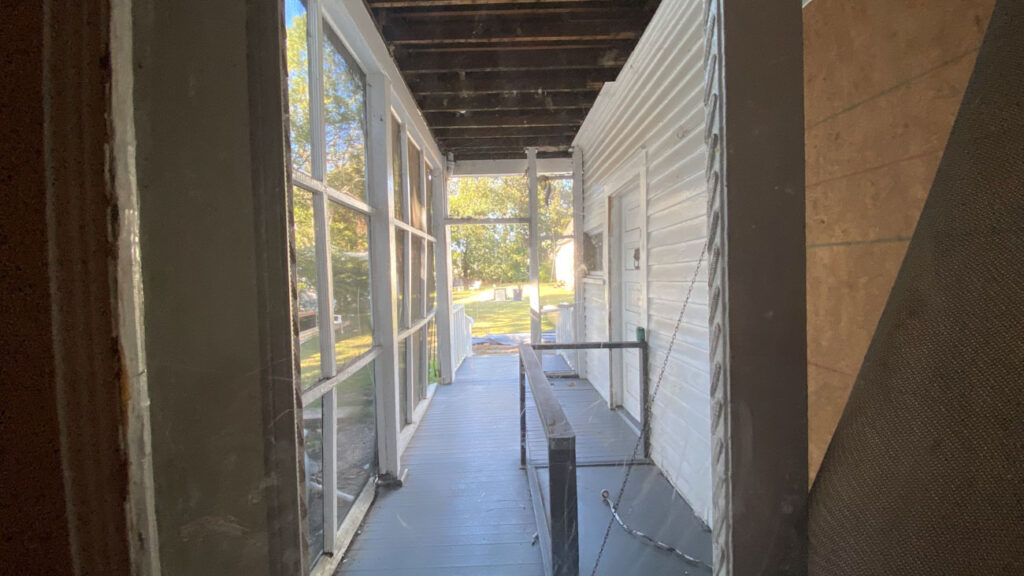
As you can see, the back of the house had a screened porch with exterior stairs to the right, leading to the second story. While I’m a big fan of screened porches in general, this one was small and had some significant issues.
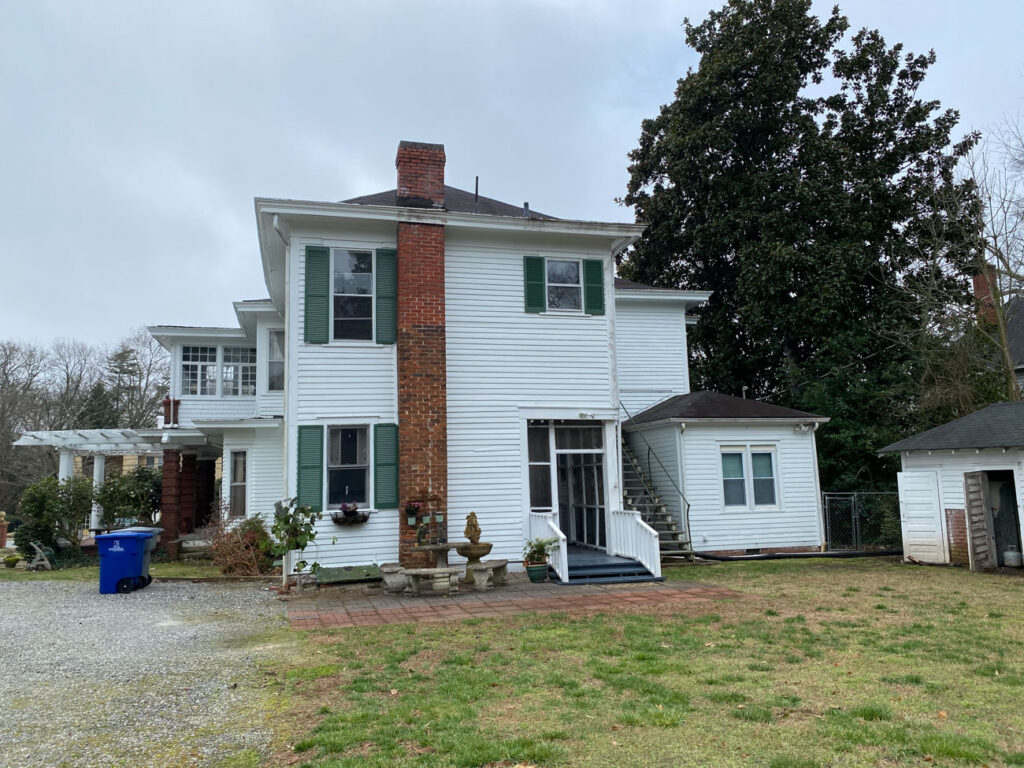
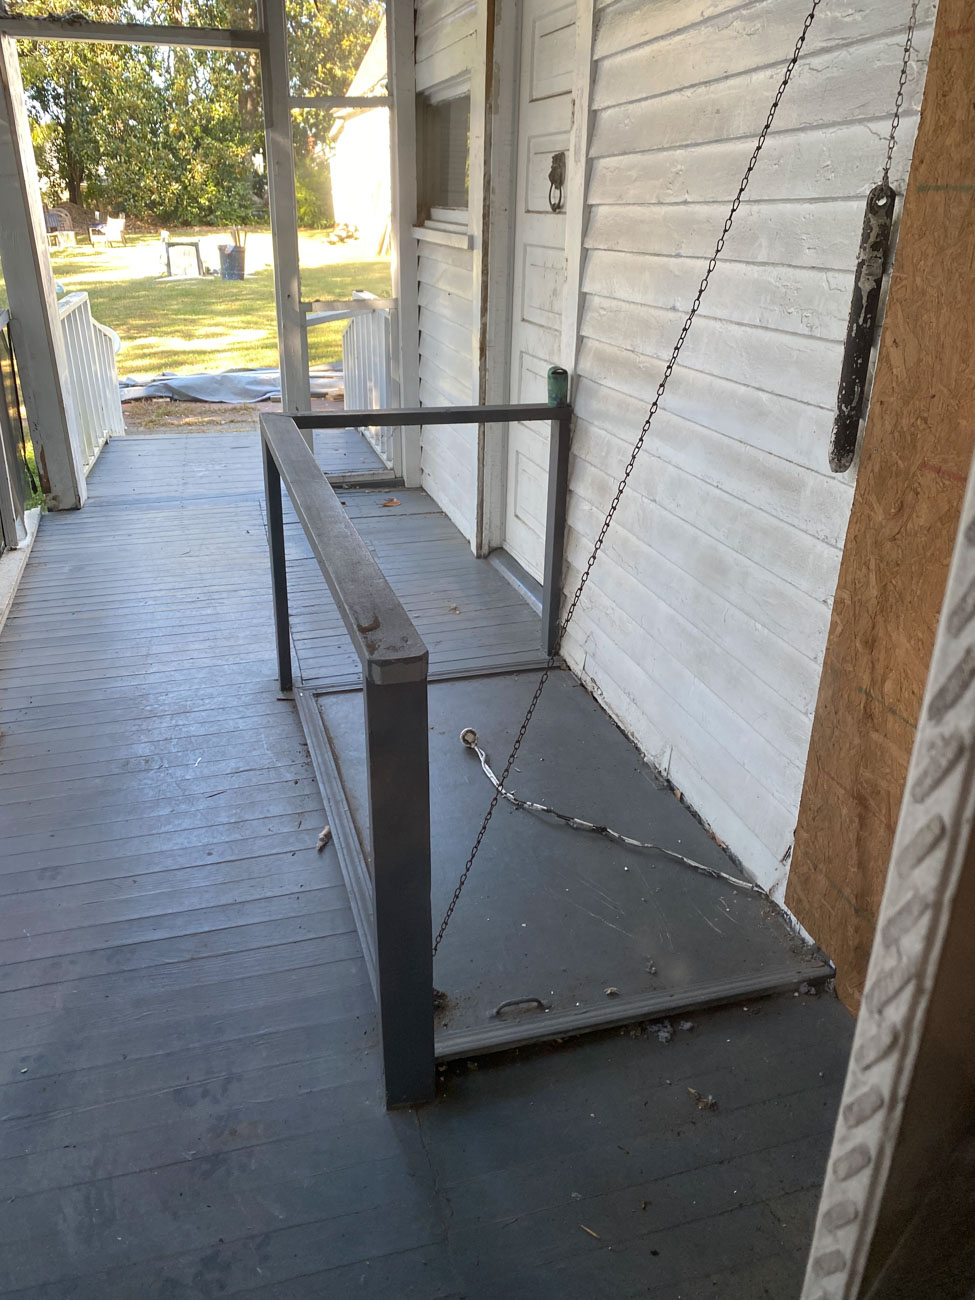
It also had a pulley floor hatch with steps leading to the basement which is kind of cool if you’re into creepy spaces.
But more importantly, it was right in the center of two past additions – the kitchen to the left and a bedroom to the right.
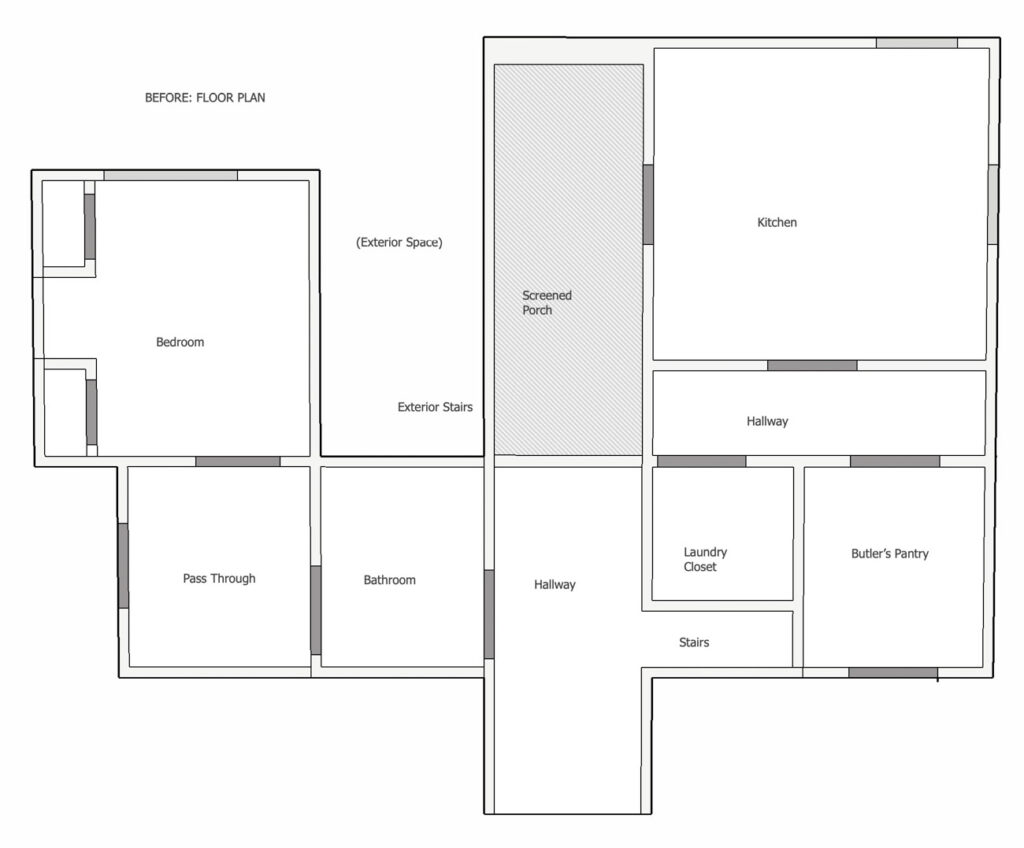
This location of the screened porch made the interior flow of the house awkward. You essentially had to walk a ‘U’ to get from the kitchen to the hallway and guest suite.
Since my clients had previously requested my Design Services to both rework the floor plan and to redesign a few of the spaces like the kitchen and bathrooms, we already had a new floor plan to guide us.
The Transformation
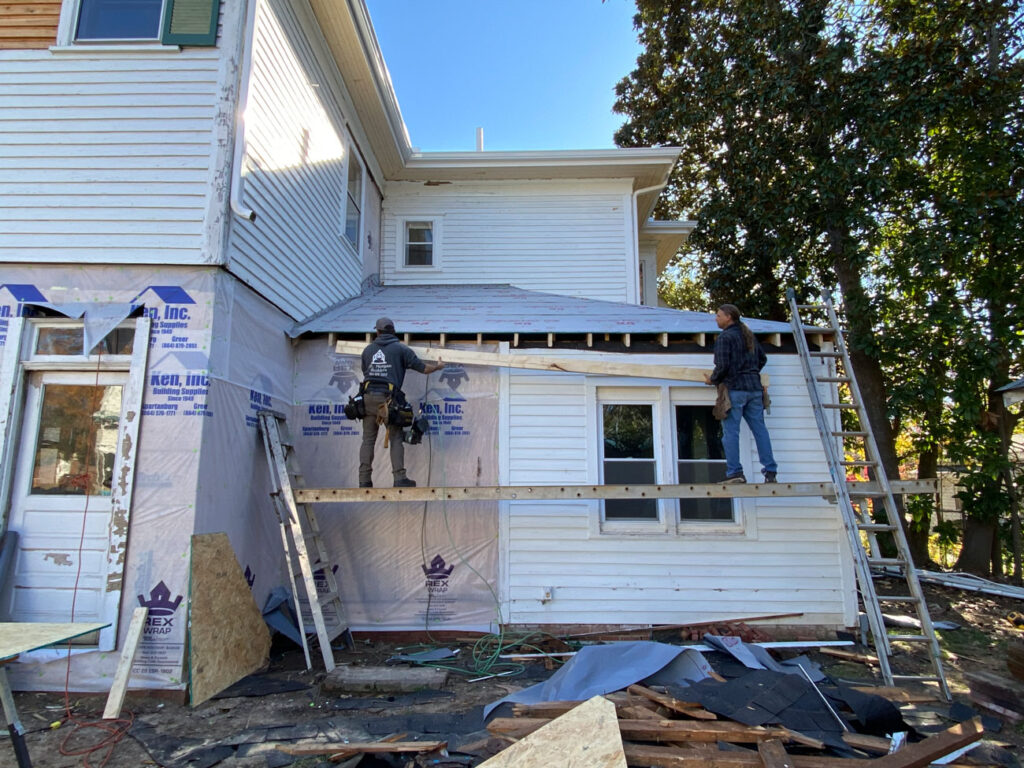
Step One – Remove the Exterior Stairs
The only simple part of this transformation was removing the exterior stairs that led to the second story. They were dilapidated but also my clients had no plans to use them so down they came.
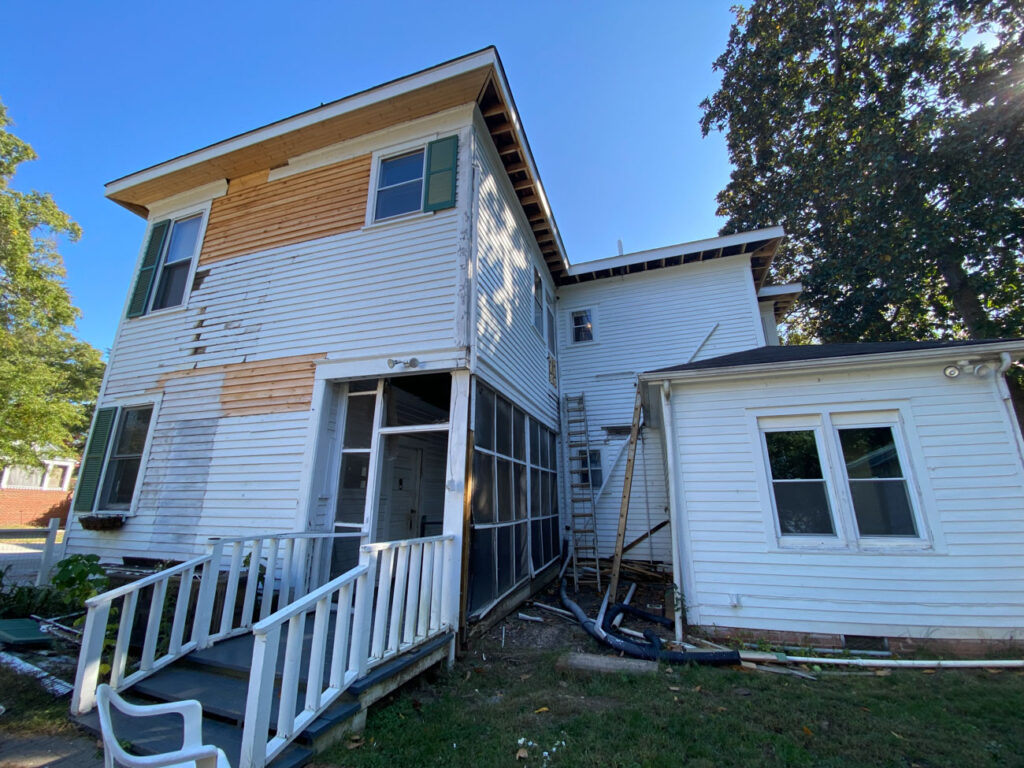
Step Two – Enclose the Screened Porch
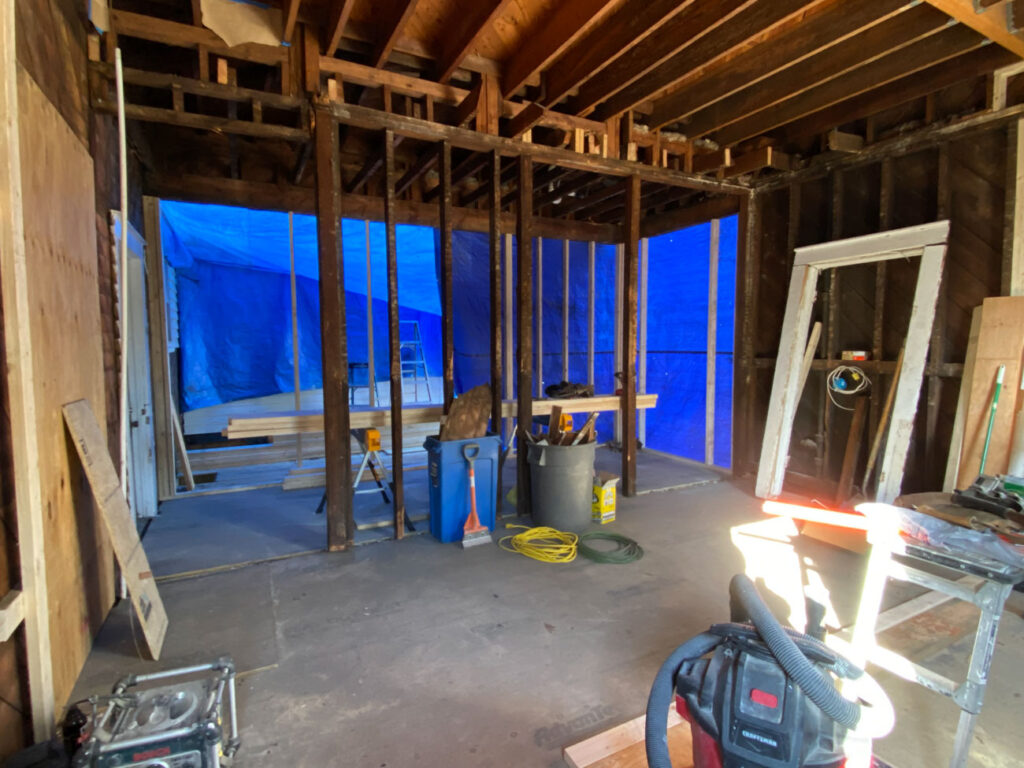
The second step was to enclose the screened porch. While this seems like a simple enough task, we ran into some significant structural issues so much of the framing including floor system below and the rafters above were essentially replaced. The good news is that while these spaces were open, we were able to go ahead and run new plumbing to the second story for when they renovate the upstairs bathroom down the road.
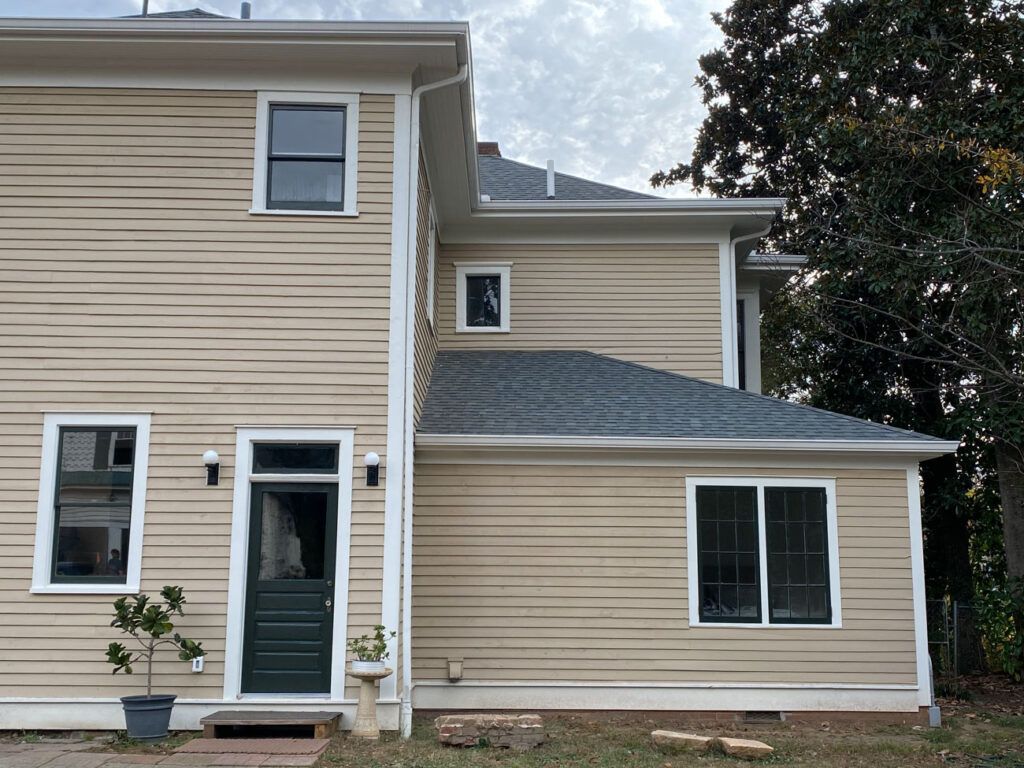
Step Three – Connect the Bedroom to the Enclosed Porch
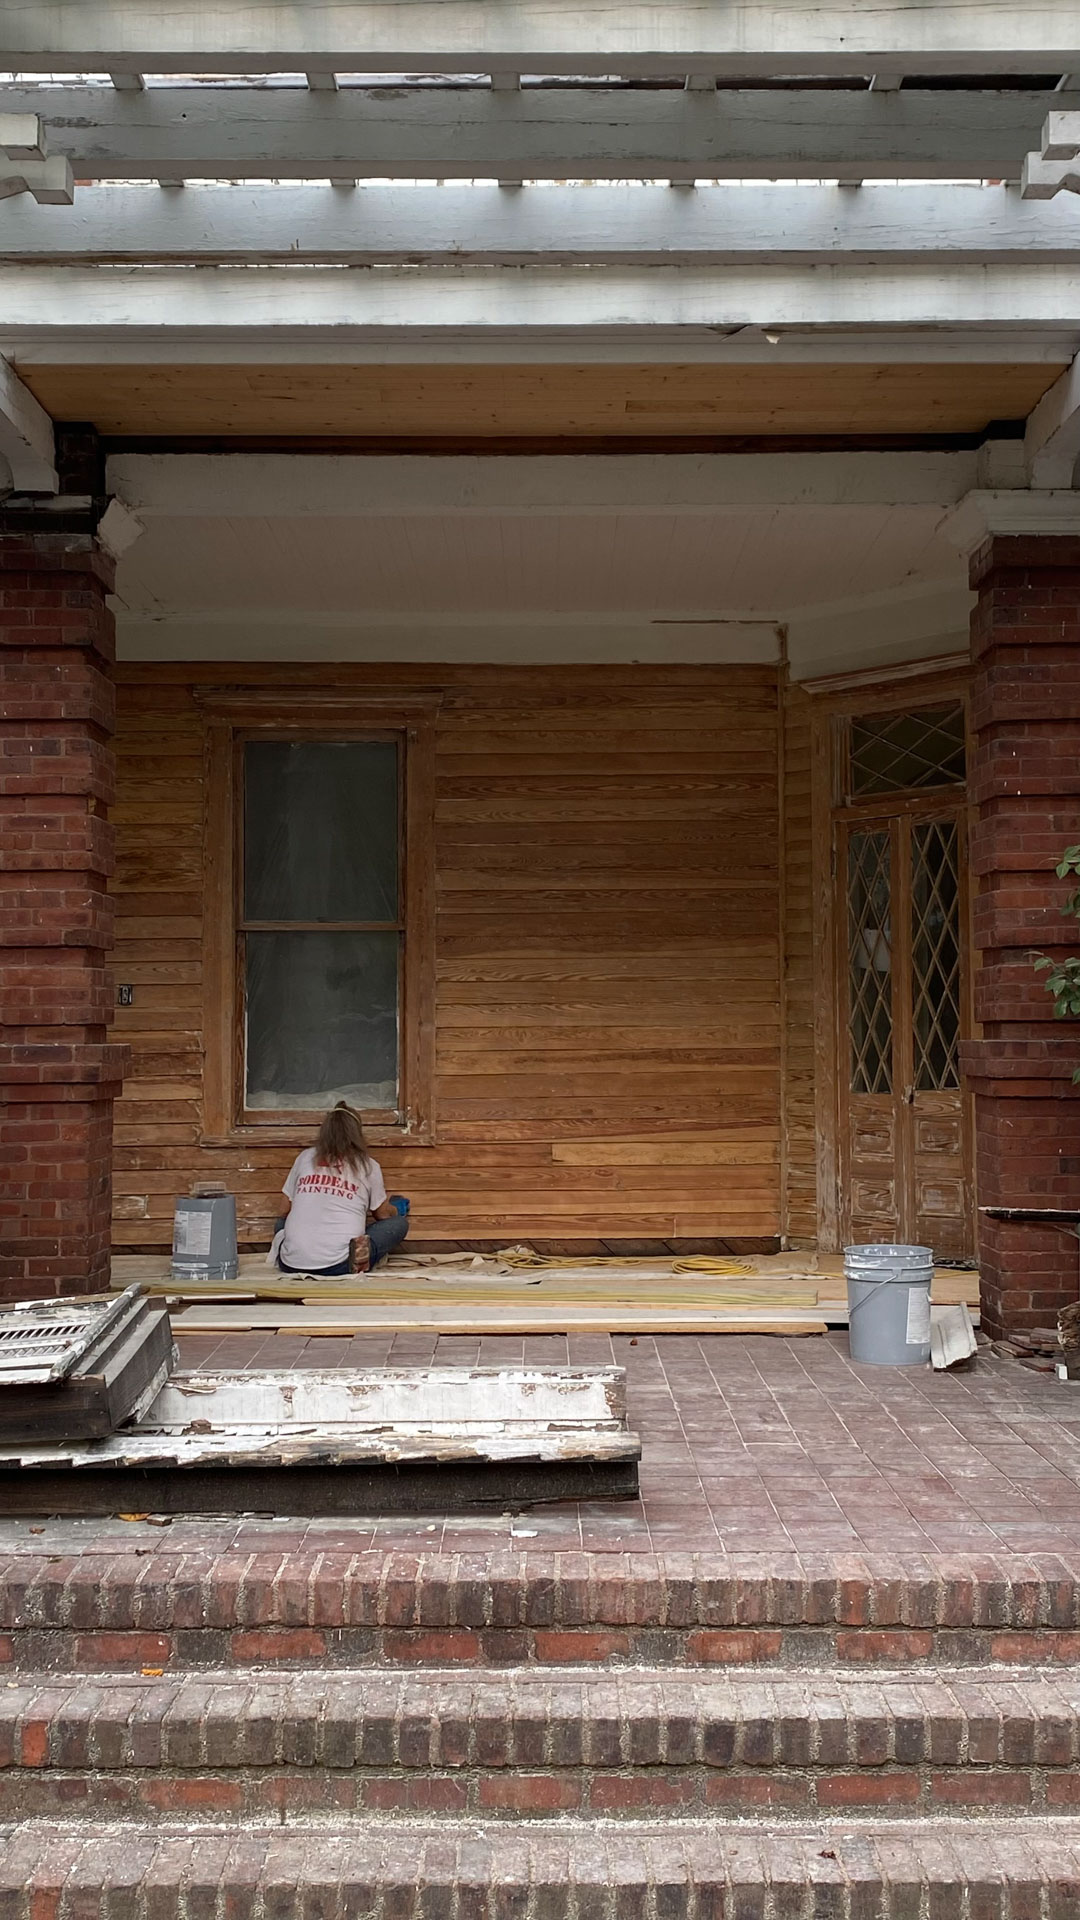
With the screened porch enclosed, we connected the very small downstairs bedroom to the new hallway (enclosed porch). By doing so, we were able to create an entrance for our new guest suite inside and seamlessly integrate the back to make the addition look like it’s always been there. The carpenter did a great job with this task especially with the shape of the roof and with the wood siding placement.

My goal is always to make sure any changes to a historic home look like they could have been there originally. And I think this change does just that.
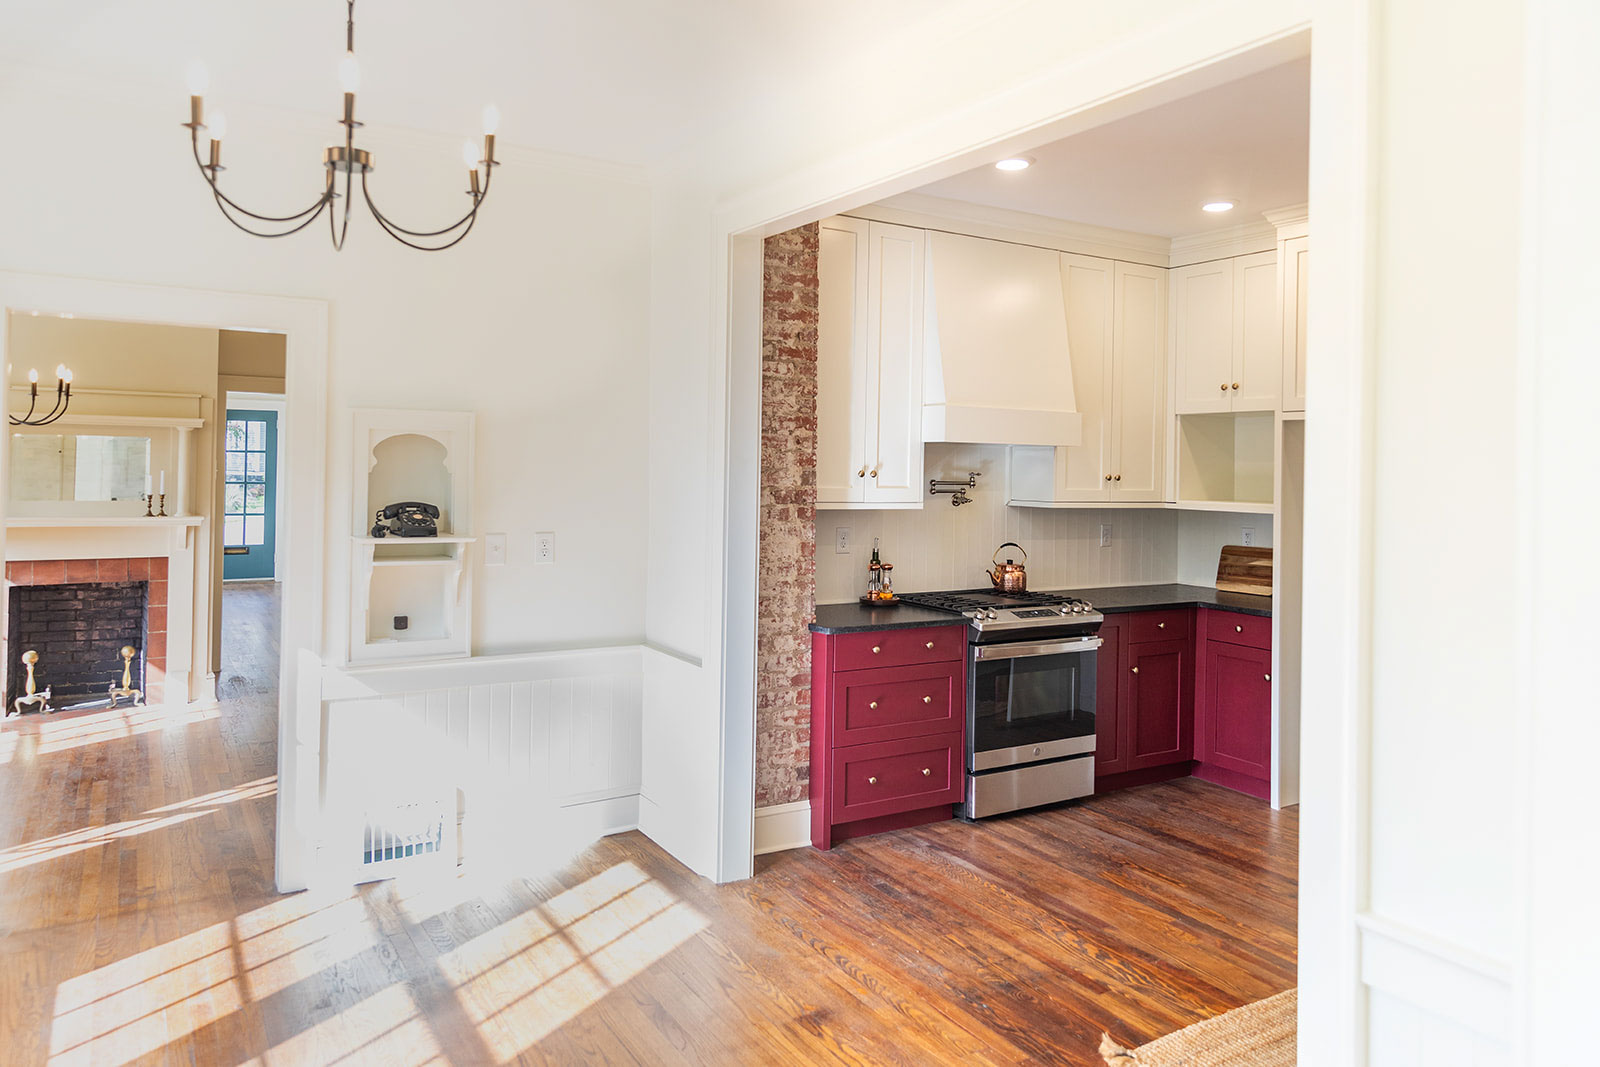
Step Four – Add a Second Window to the Kitchen
Part of the design for the kitchen included a second window along the north side of the house. This lets in tons of sunlight and balances the house on the outside as well.
I reached out to my specialty contractors who custom made the wood sashes to match the original windows in the kitchen. I then personally added the glass and glazing and painted them. Once the sashes were ready, they installed the new window. Once trimmed out to match, it looks like it’s been there all along.

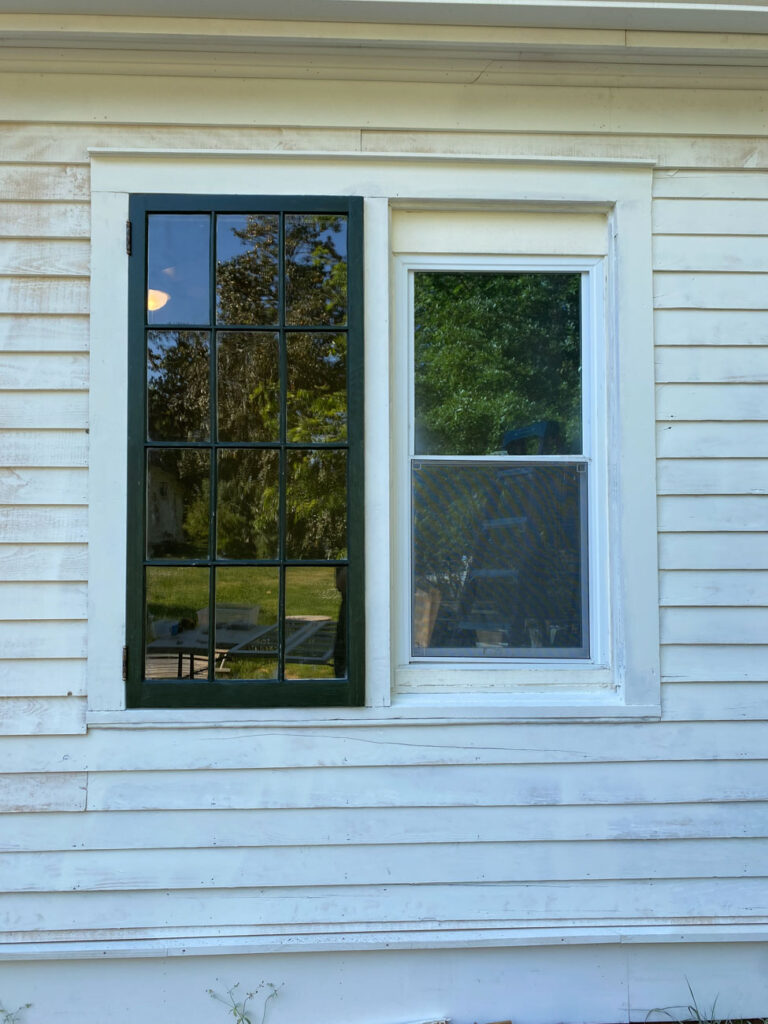
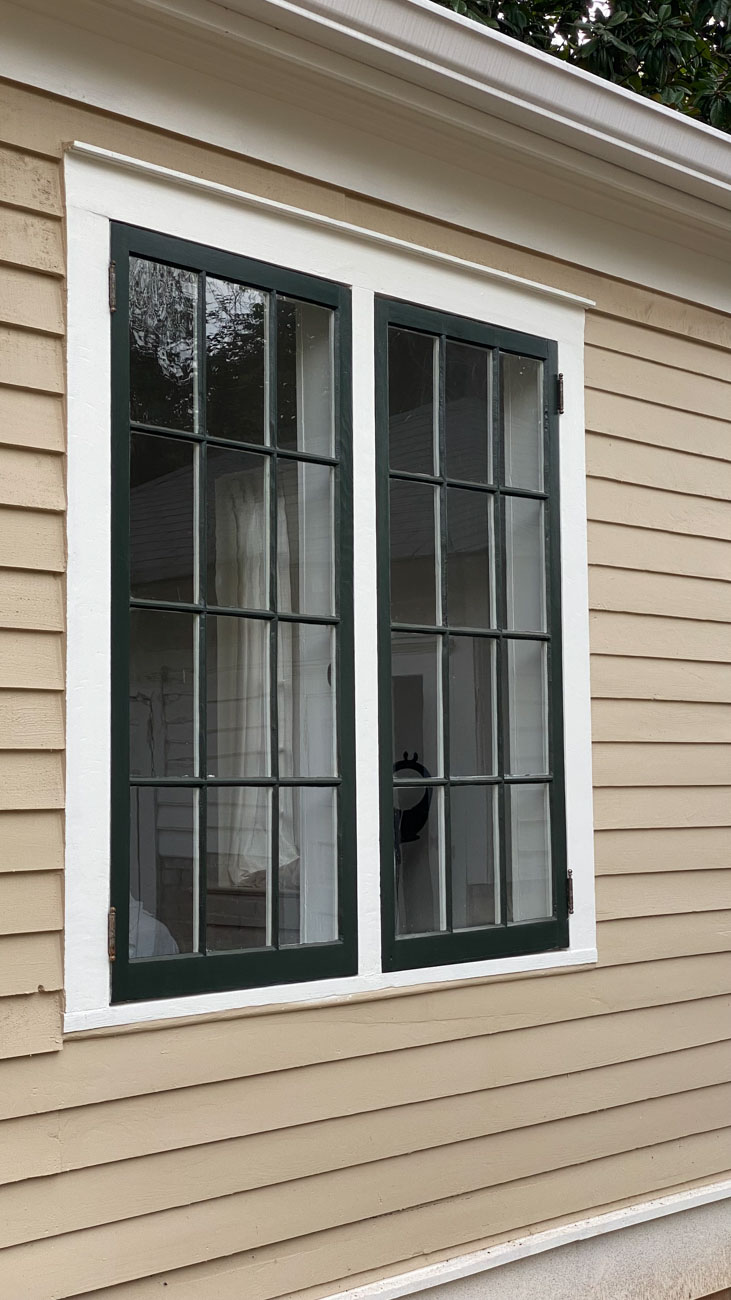
Step Five – Reinstall Original Windows in the Bedroom
While this step was not originally part of the plan, it was indeed a game changer for the bedroom. At some point in time vinyl windows that were too small for the window cavities were installed and trimmed out. They looked, well, out of place.
When I mentioned pricing wood windows to match the rest of the house, my client showed me windows they had in storage. They believed the windows used to be in that space. And well, you know what happened next.
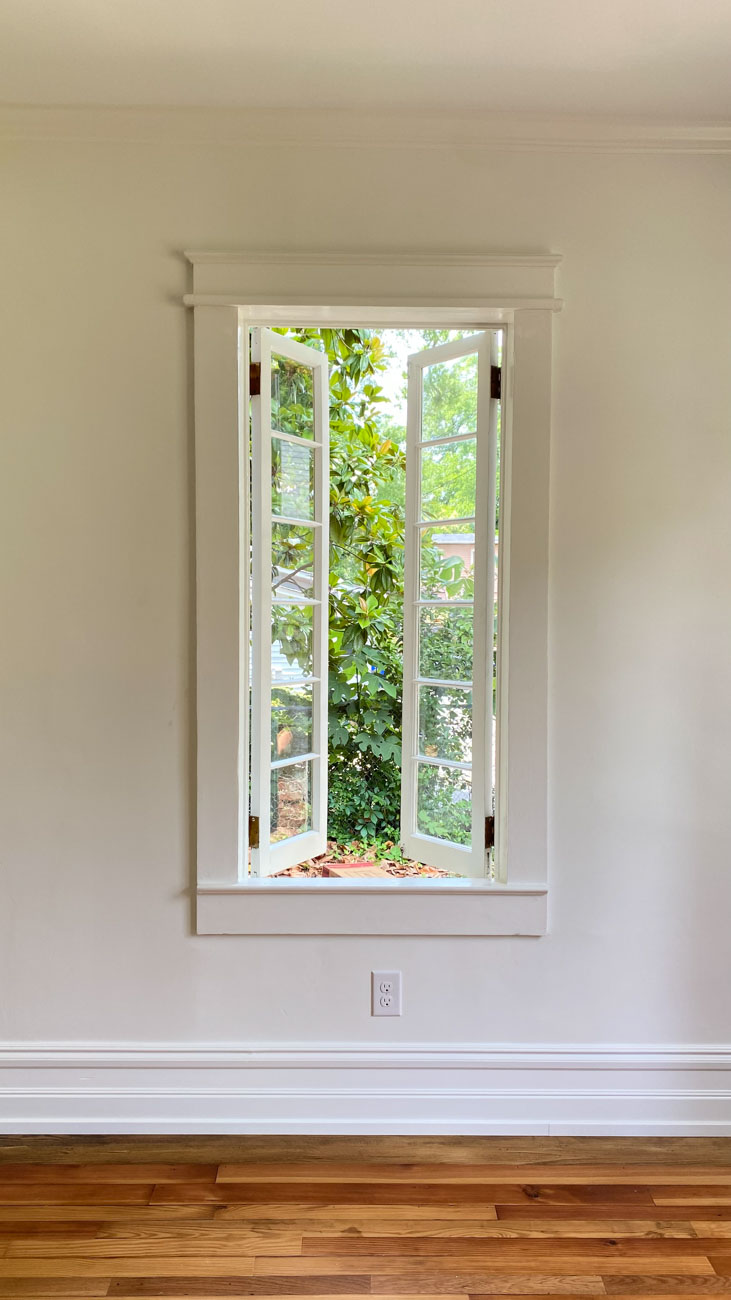
We measured and they were a perfect fit! So, I worked my magic by refurbishing them and oh my goodness, what a difference they make.
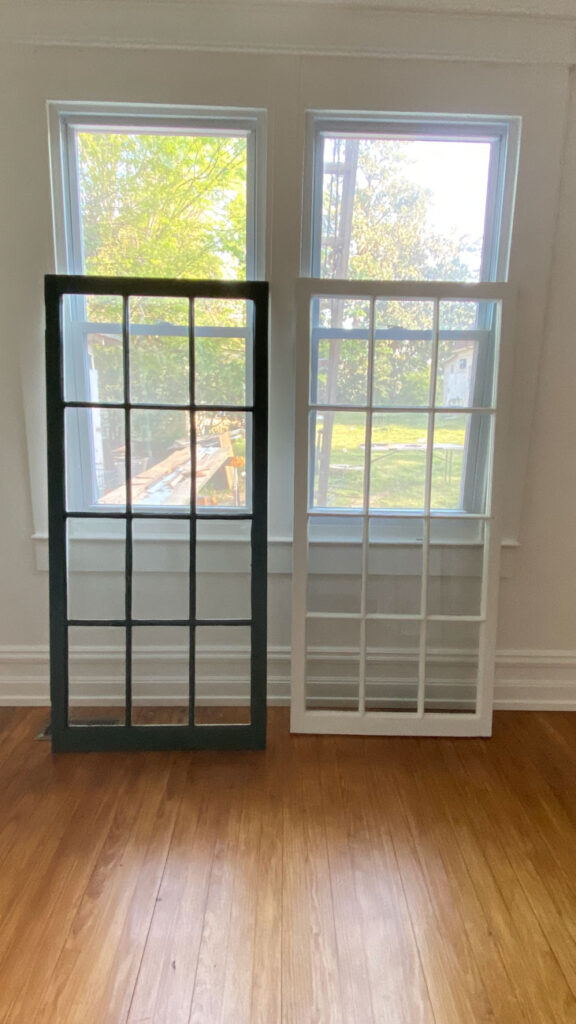
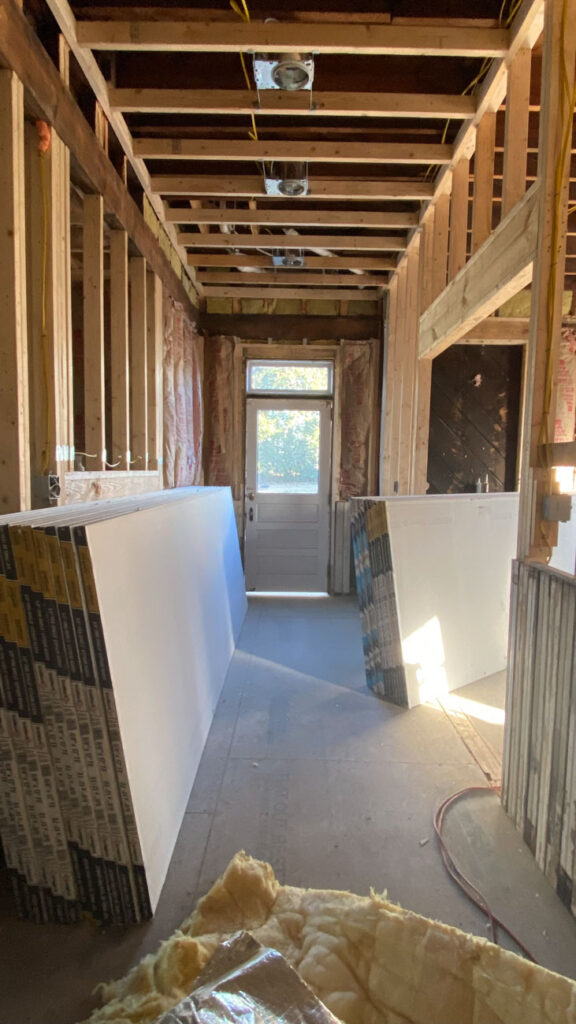
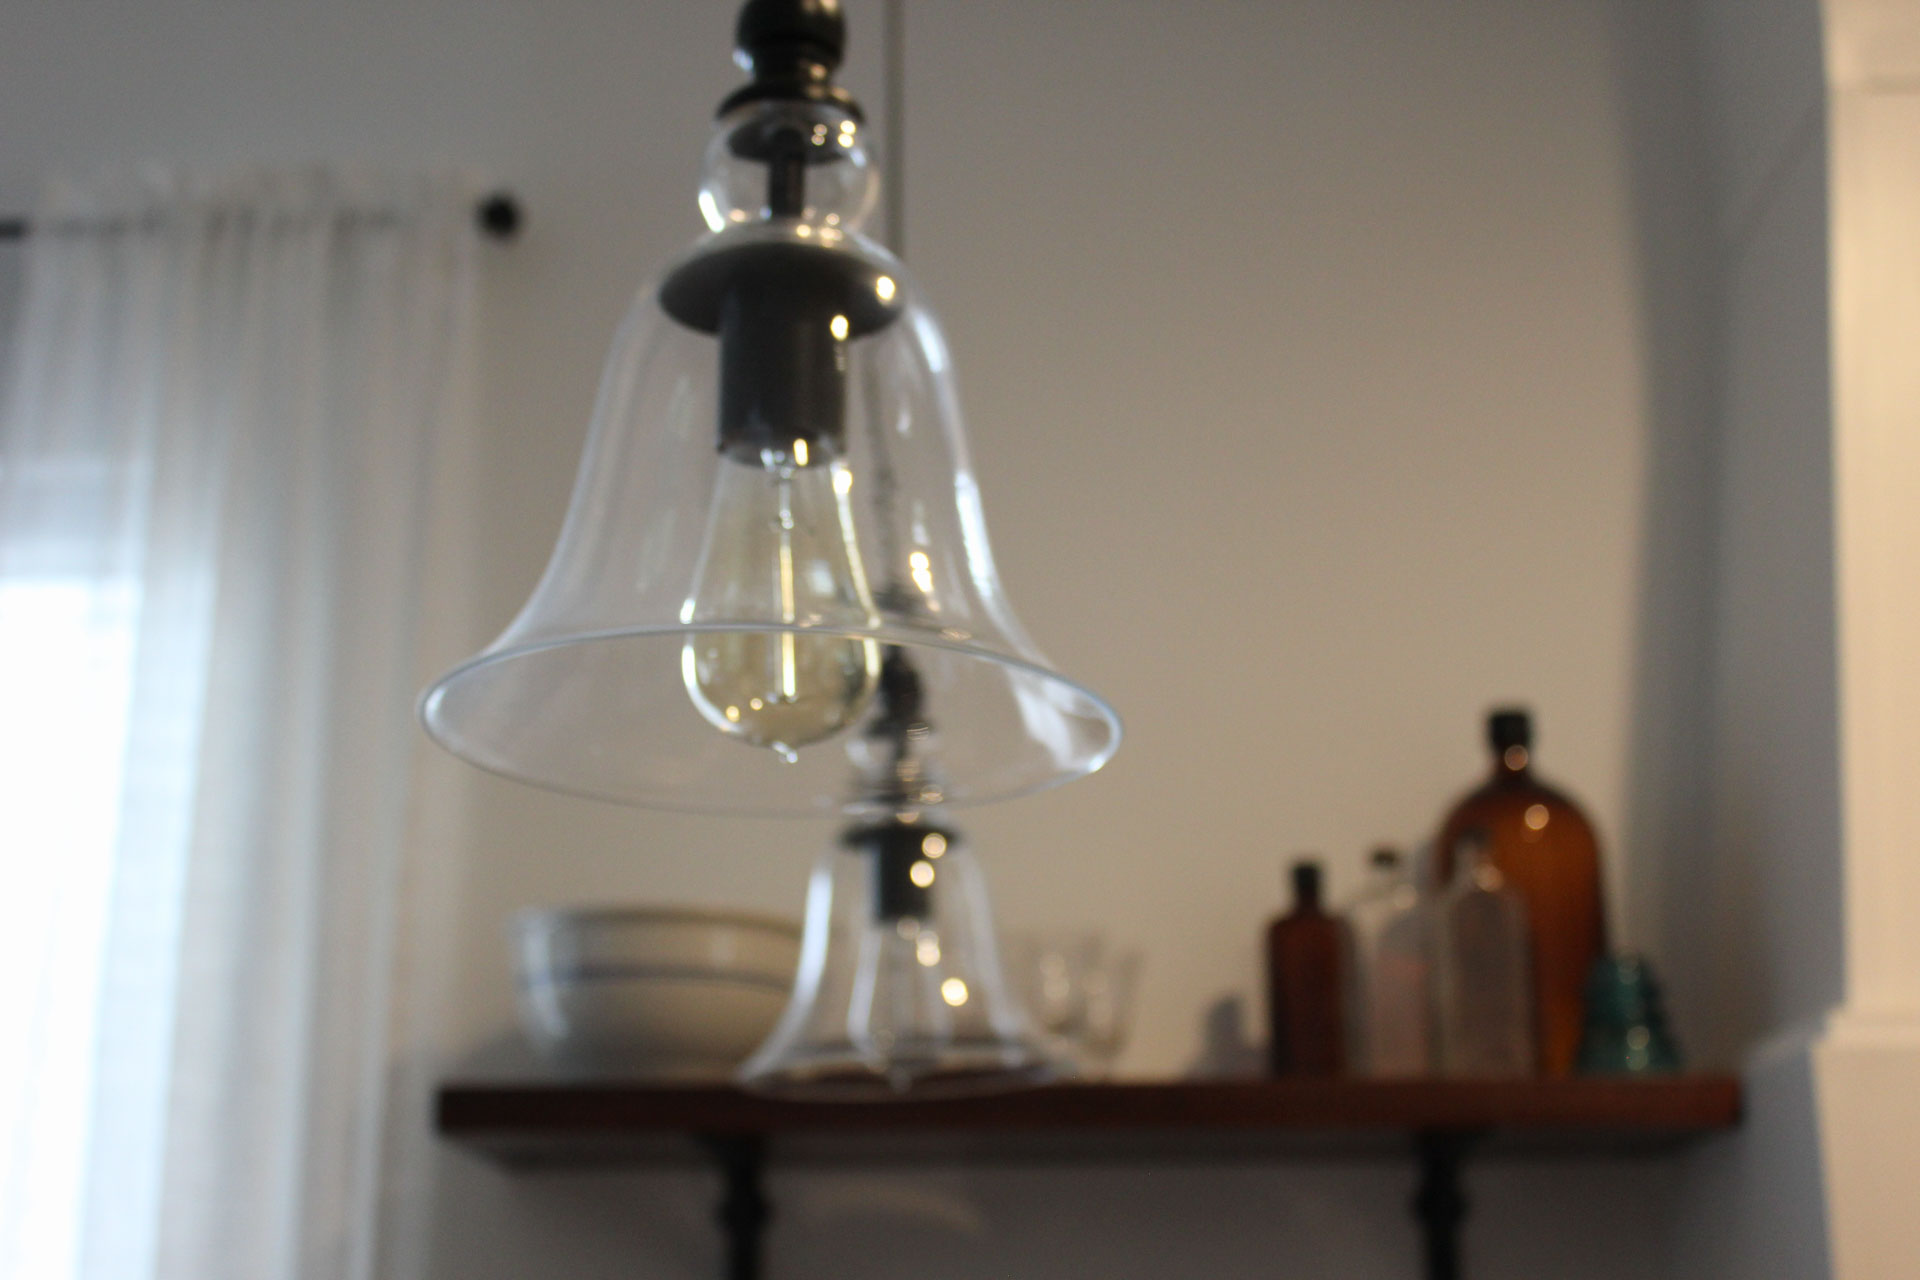
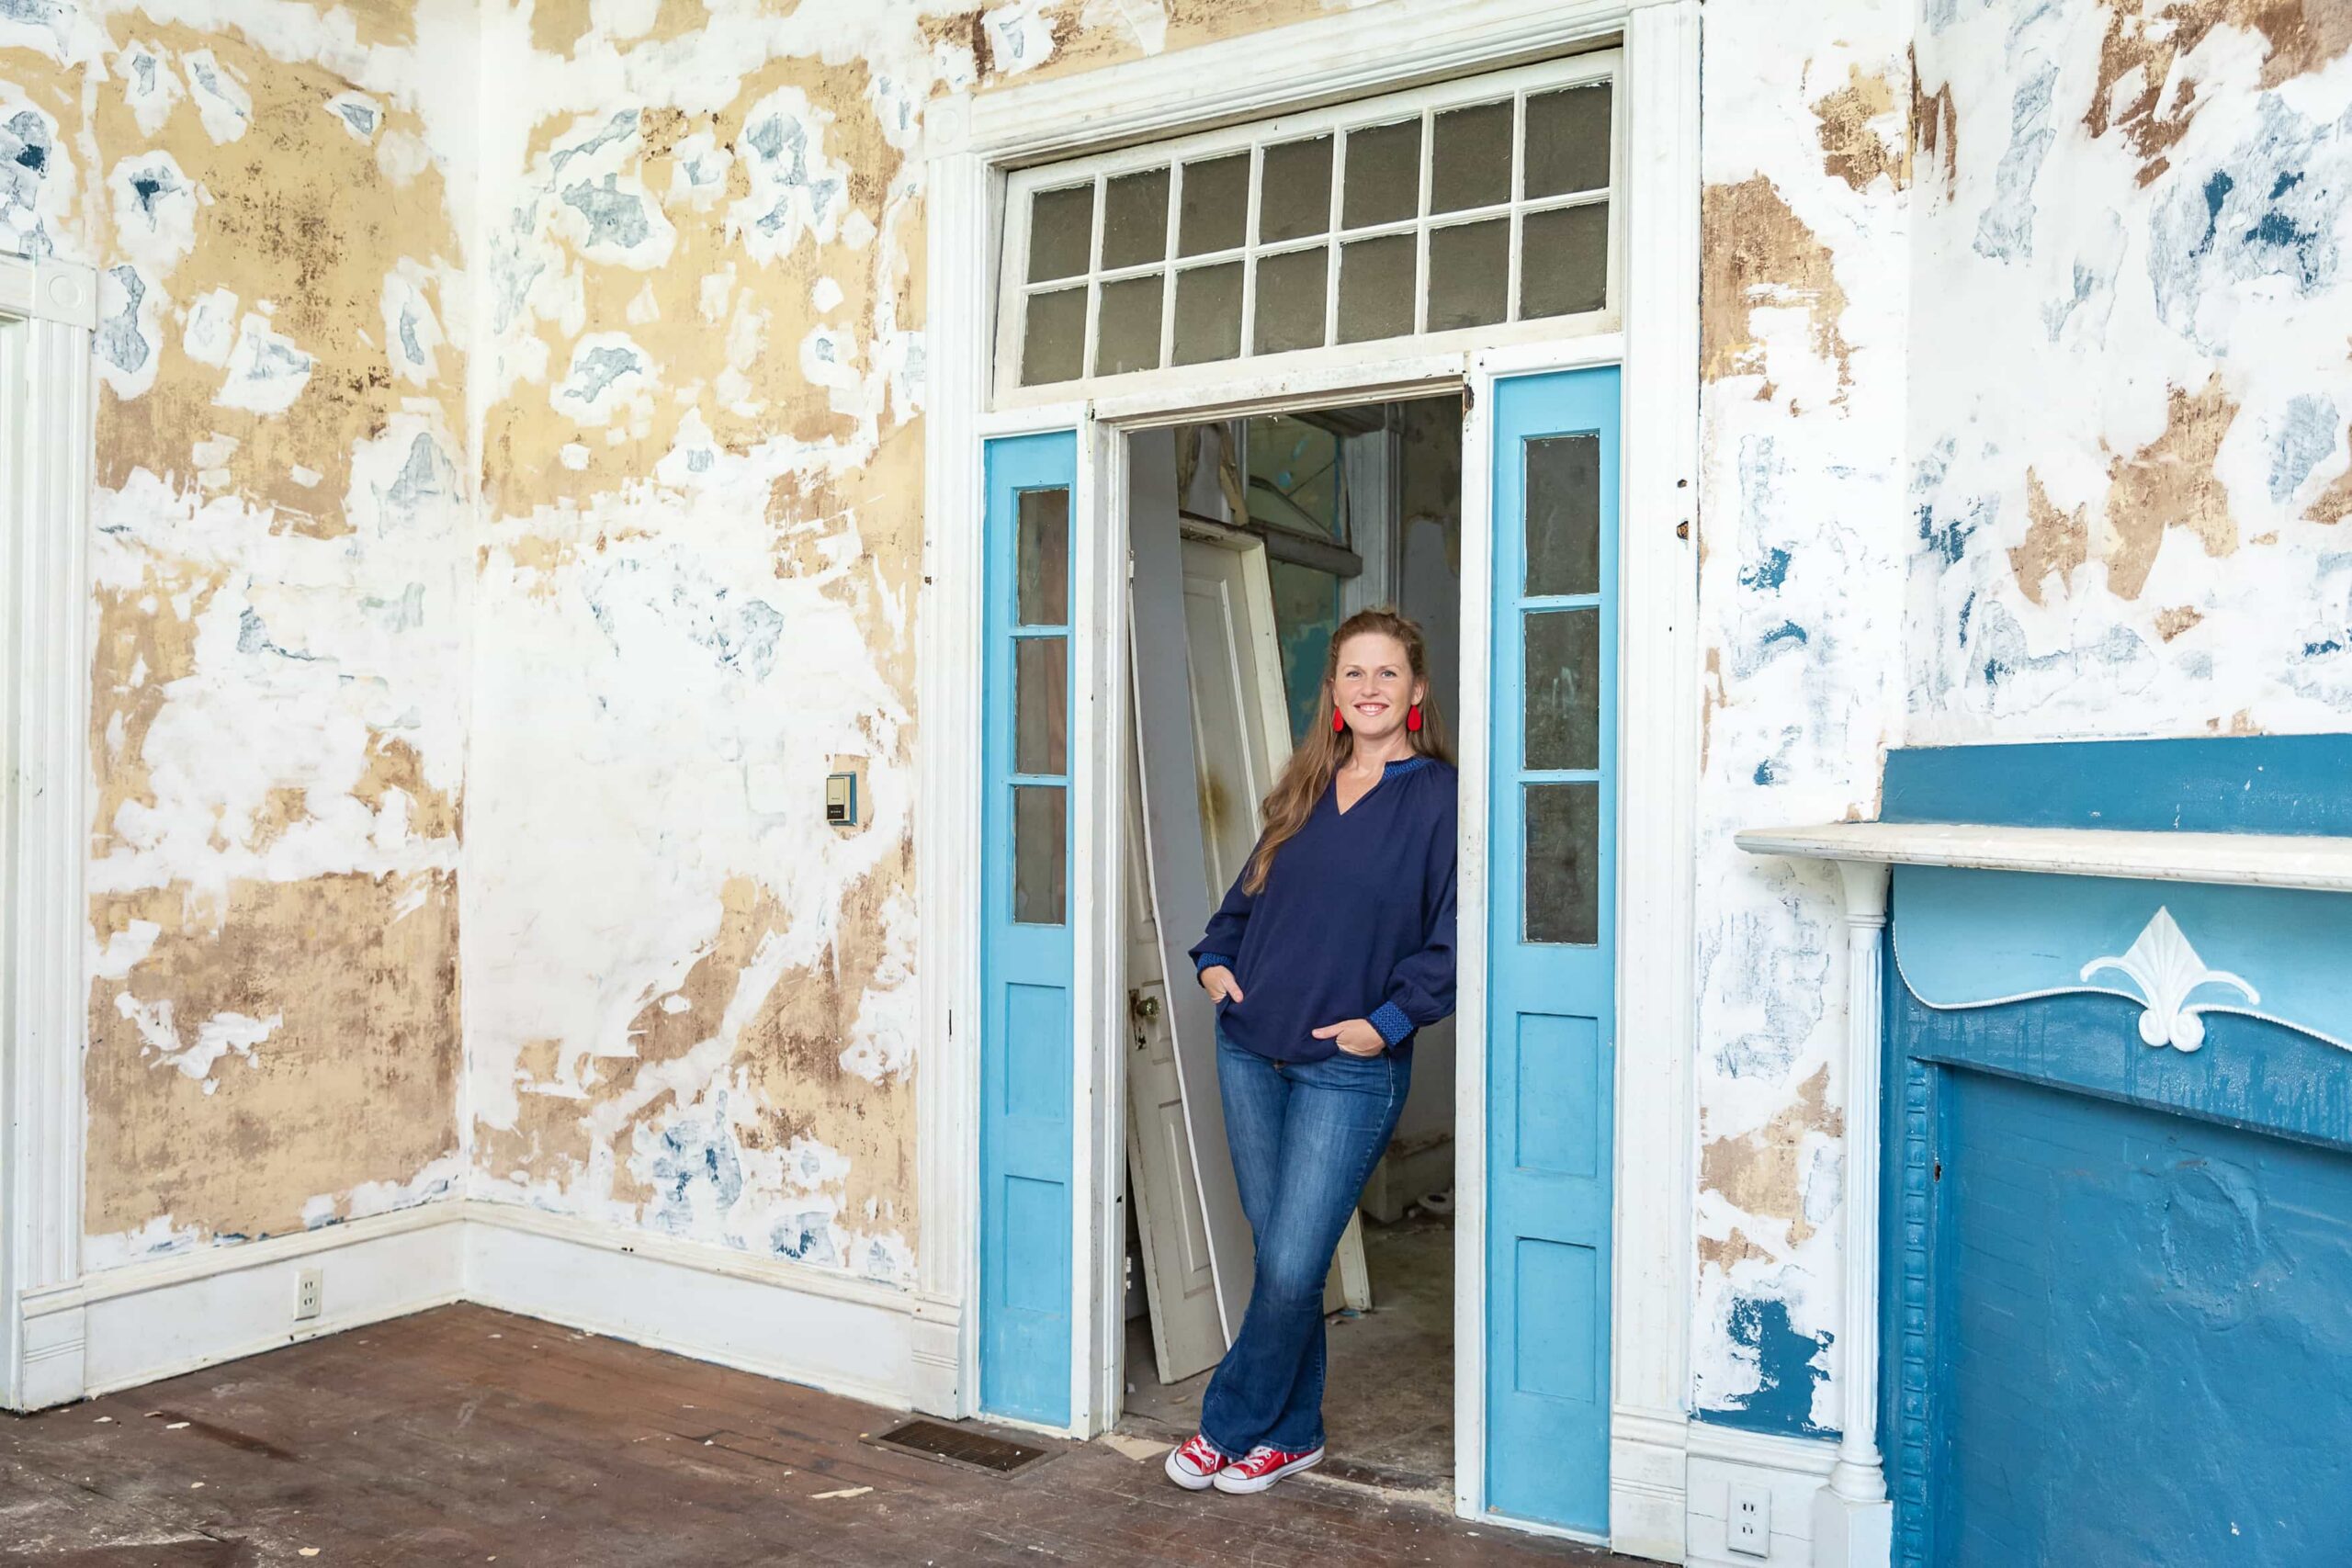
Here’s a little sneak peek at the inside too.
The Final Details
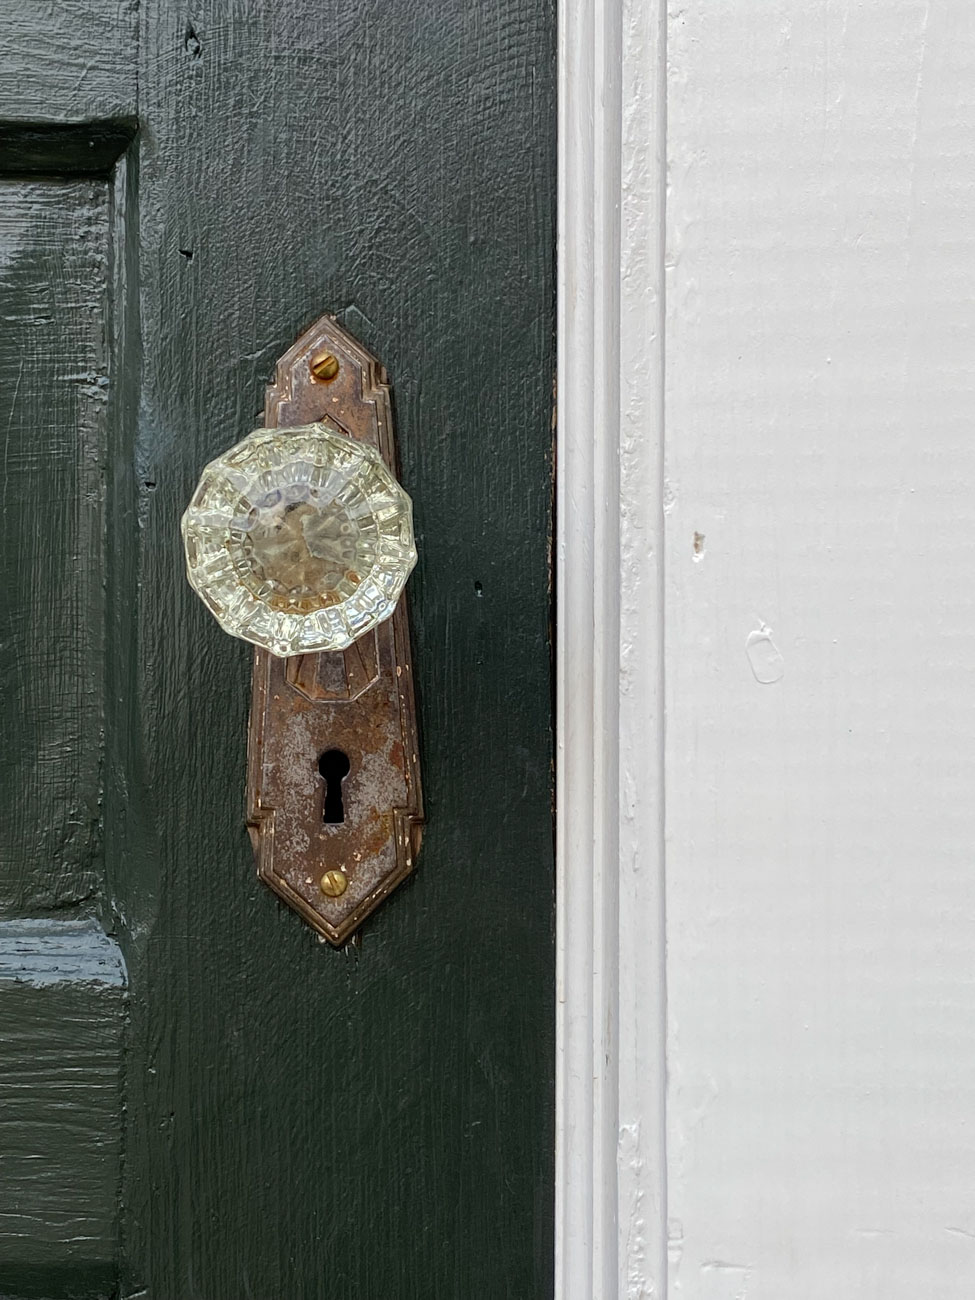
With the construction changes completed, the painters worked their magic using the exterior paint colors my clients selected. We also added a new roof to the entire house and gutters to control the water. Now that the back of the house transformation is completed it looks like it’s always been there. And most importantly, the floor plan now works well for my clients.
We’ll take a look at the inside next week so stay tuned.


+ Show / Hide Comments
Share to: