10 Recent Updates I Made to My She Shed Office
Recently I made 10 updates to my She Shed Office that has made working in this space a delight to work in. In case you’re new, back in 2020 I transformed my then storage shed into my office. You can read how we renovated the interior here and then check out a few changes we made to the exterior. While the office was nice, the truth is that I didn’t use it half as much as I intended. I was simply out in the field the majority of the time. However, that changed last fall.
After I finished the Corner Cottage, I made a strategic shift in my business of trading in my time swinging a hammer to being ‘in the office’ more. This has allowed me to focus more on consultations, design services, and to start building a resource library for historic homes and renovations. Since I’m in the office almost daily now, I wanted to make some updates so I’ll love spending time there more.
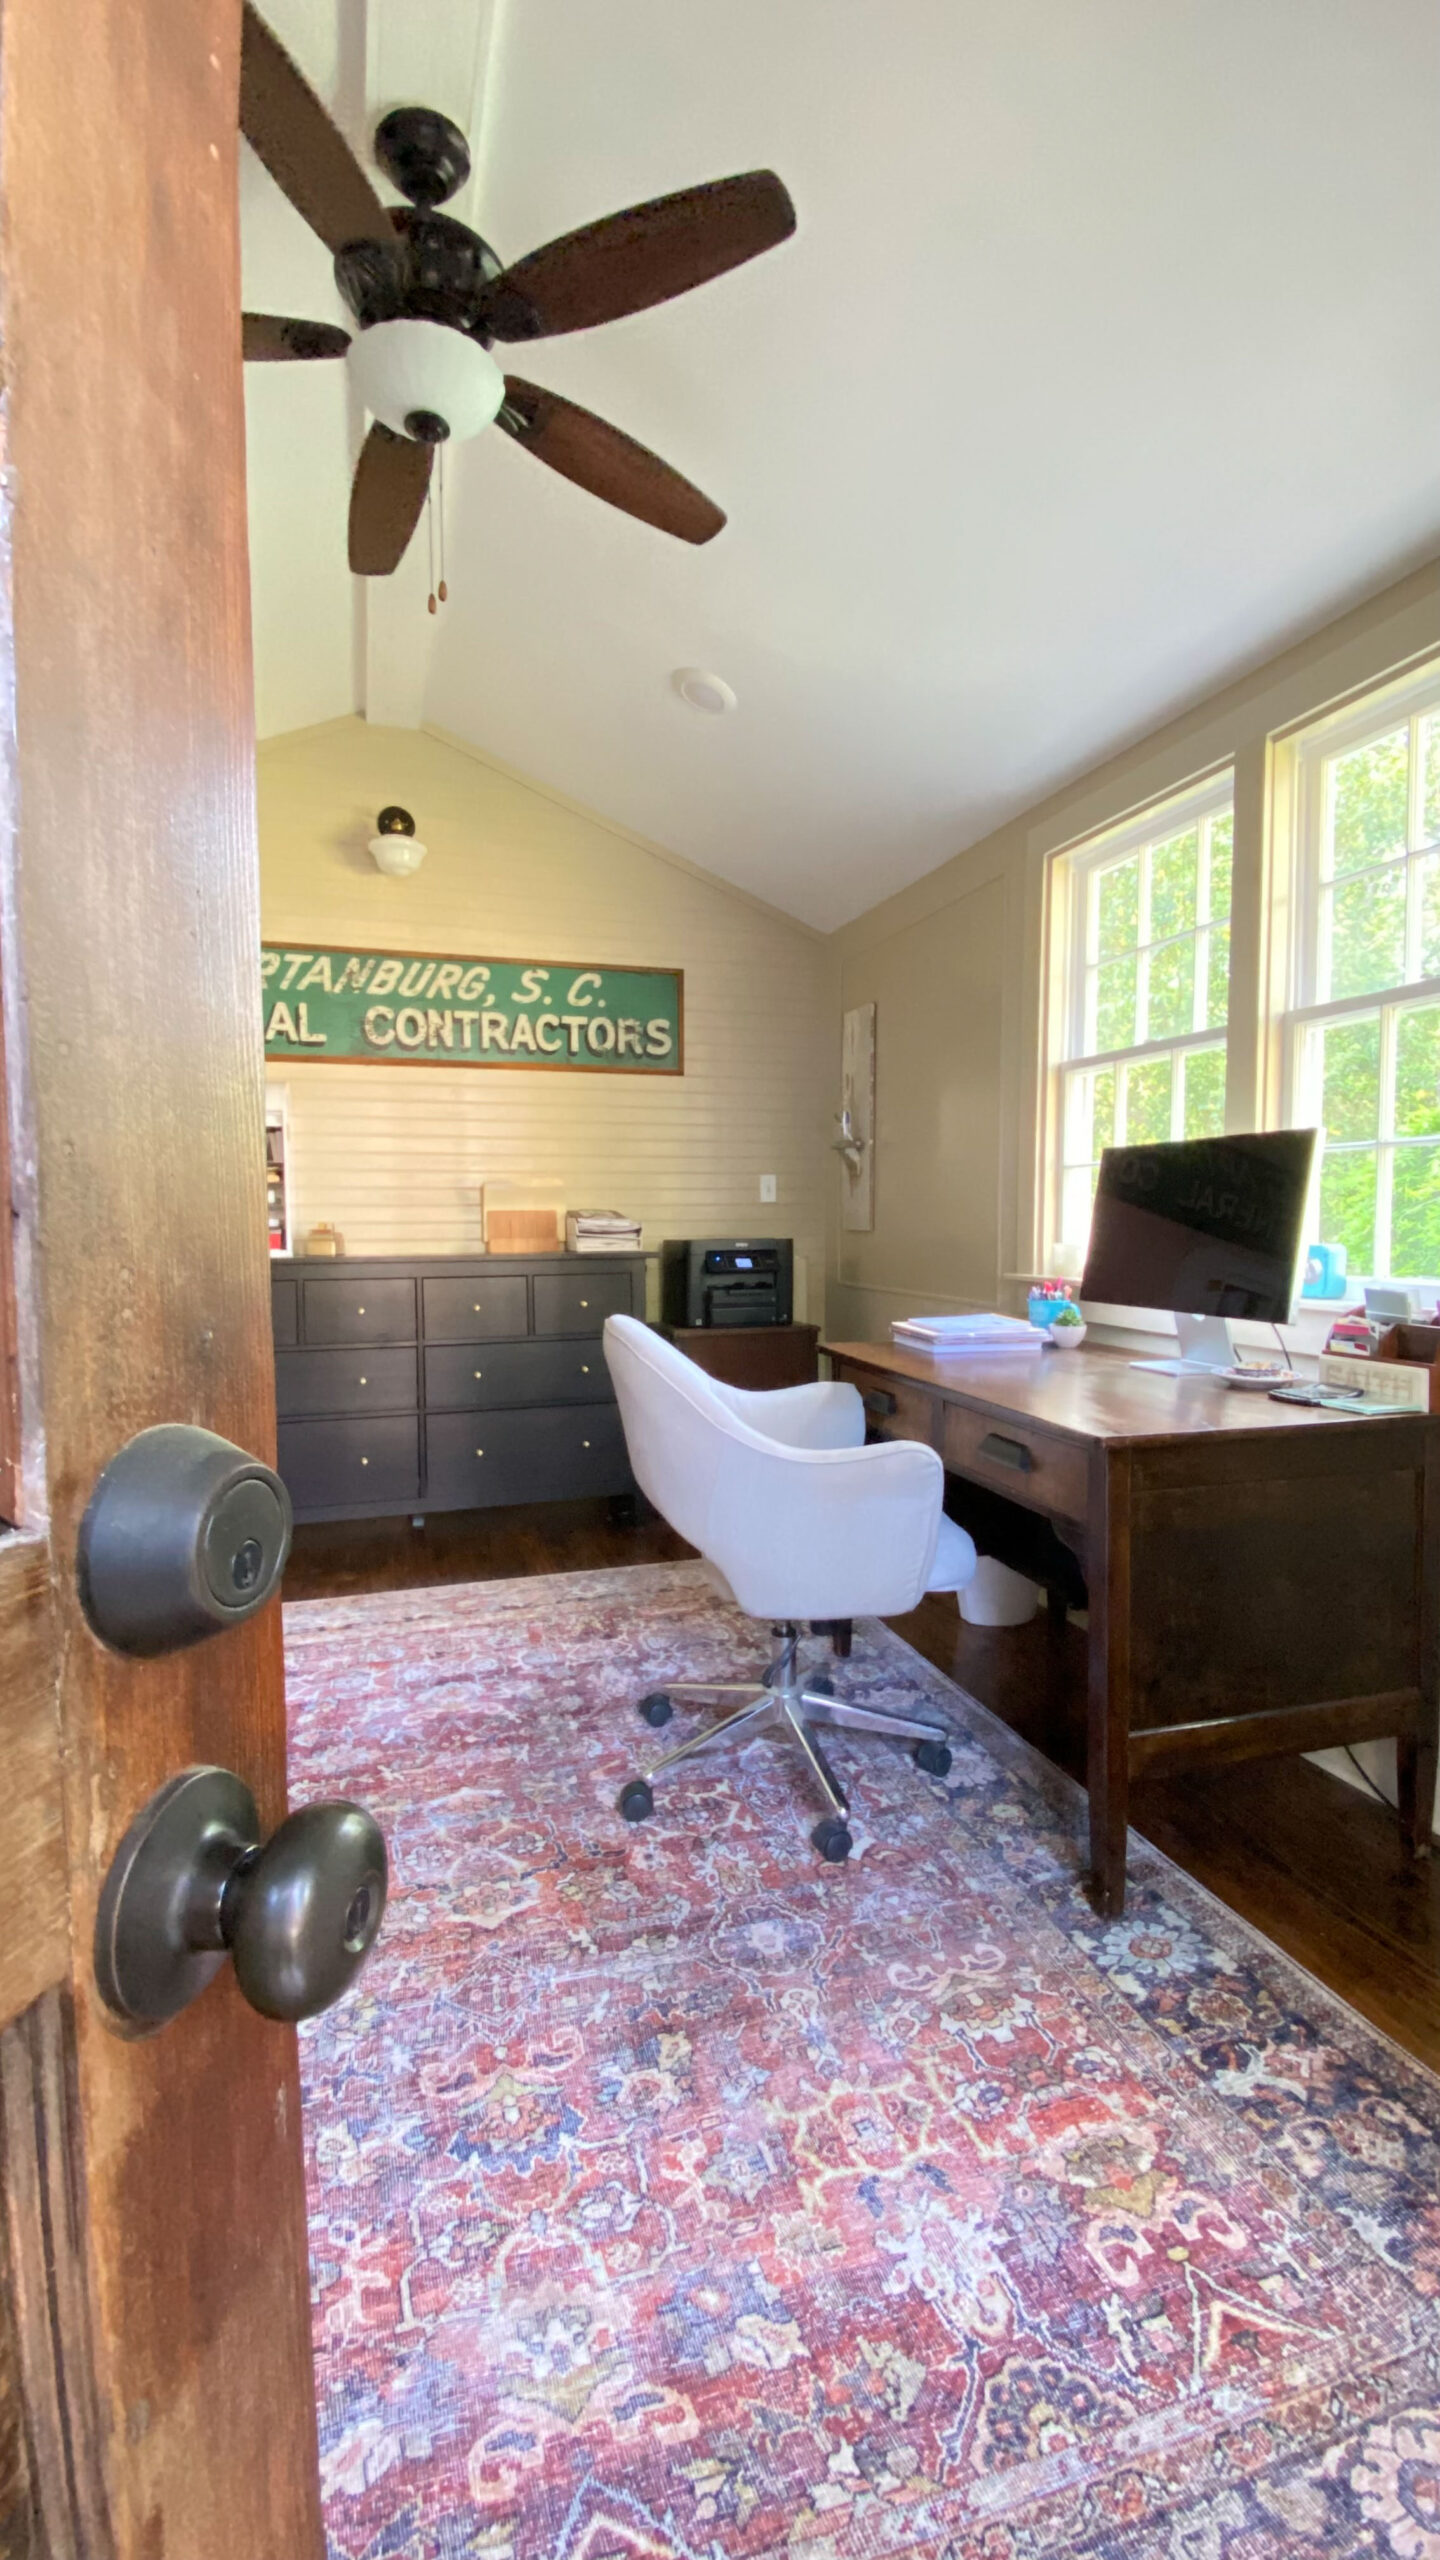
Here are some simple updates that made a big impact to my office.
Interior Updates:
Repositioned My Desk to View the Back Yard (and Sampson)
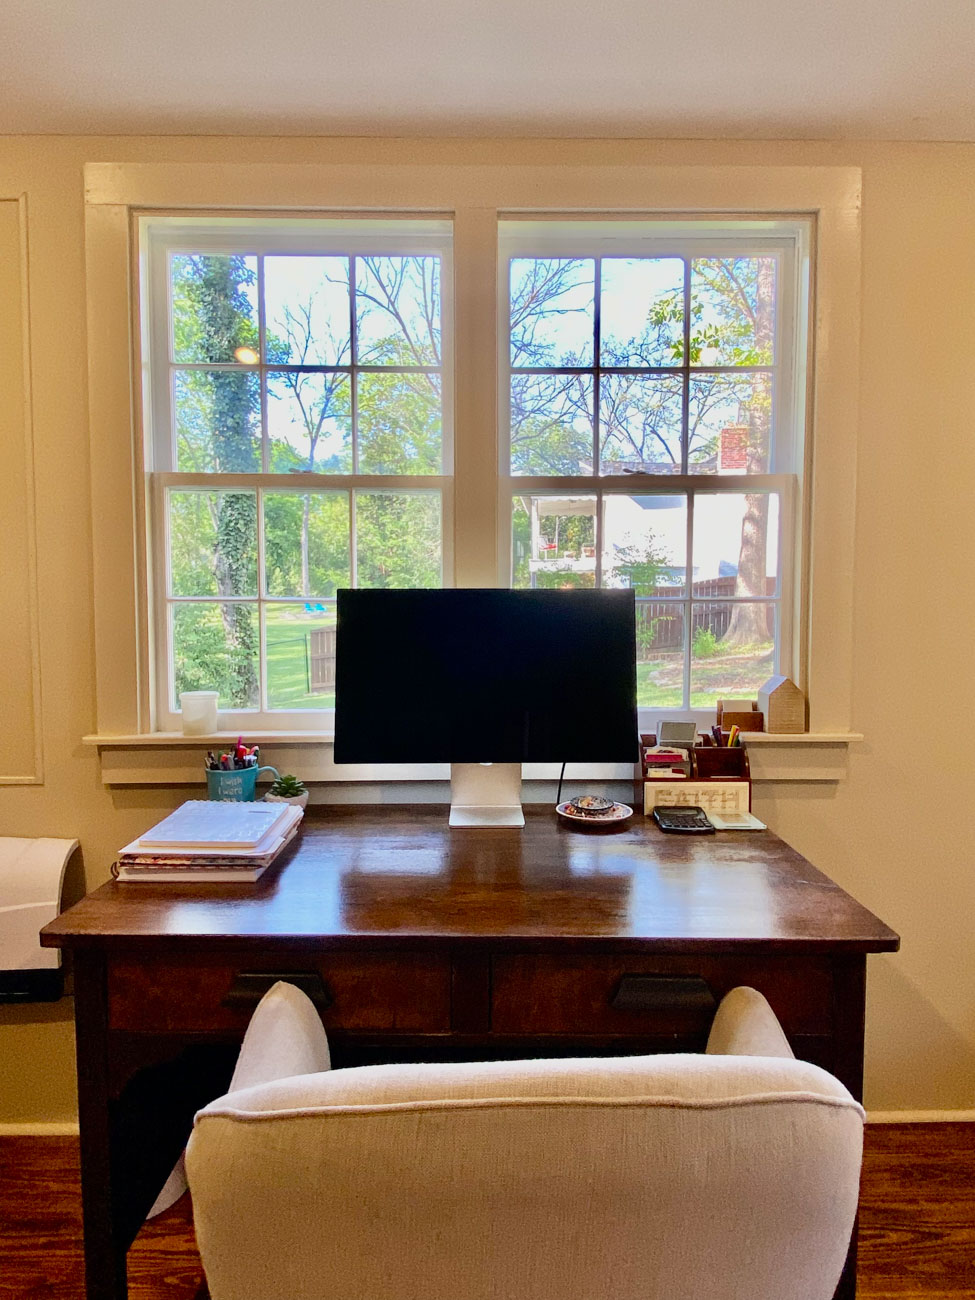
Previously my desk faced the door to my office which gave me a great view of the landscaped area behind my house. When I purchased a new display screen for my laptop, the cord was too short to plug in without an extension cord. With that being the case, I shifted my desk and chair against the wall with the windows and immediately loved the new set up. Now I can look into the back yard and most importantly, can keep a watch on my beloved dog, Sampson.
Painted Walls and Trim the Same Color
Having just wrapped up the Corner Cottage and painting the trim and walls of the dining room one color, I wanted the same for my office. I used this warm shade of beige, Valspar Oatbran, which is also the color of the exterior of my home. The power of paint should never be underestimated.
Switched Out the Area Rug
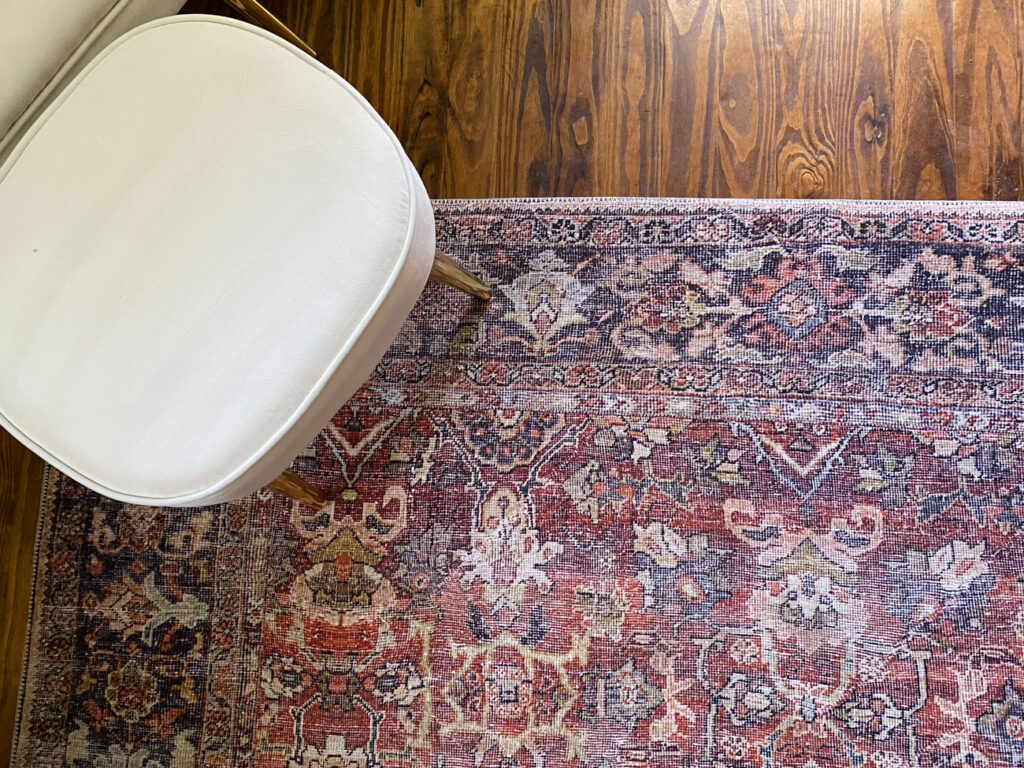
Ready for a little something different, I switched out the black striped jute rug for this vintage inspired rug. Not only is it pretty, but it’s also easier for my desk chair to roll on. And most importantly, it’s at a fraction of the cost of many rugs.
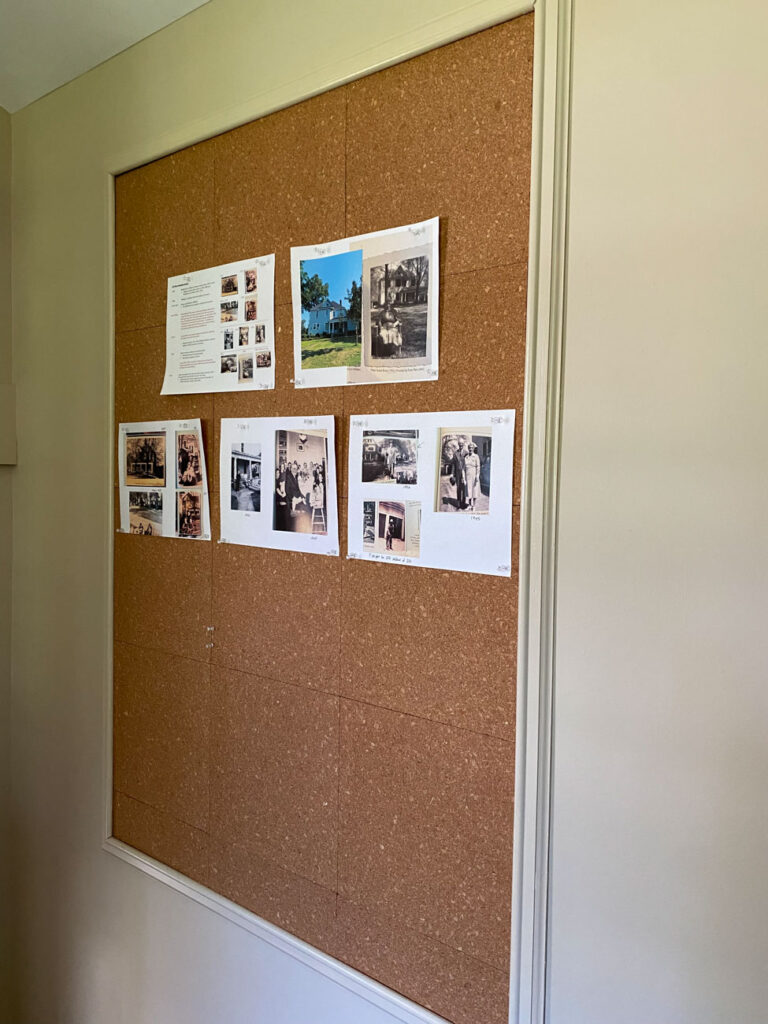
Created a Cork Board
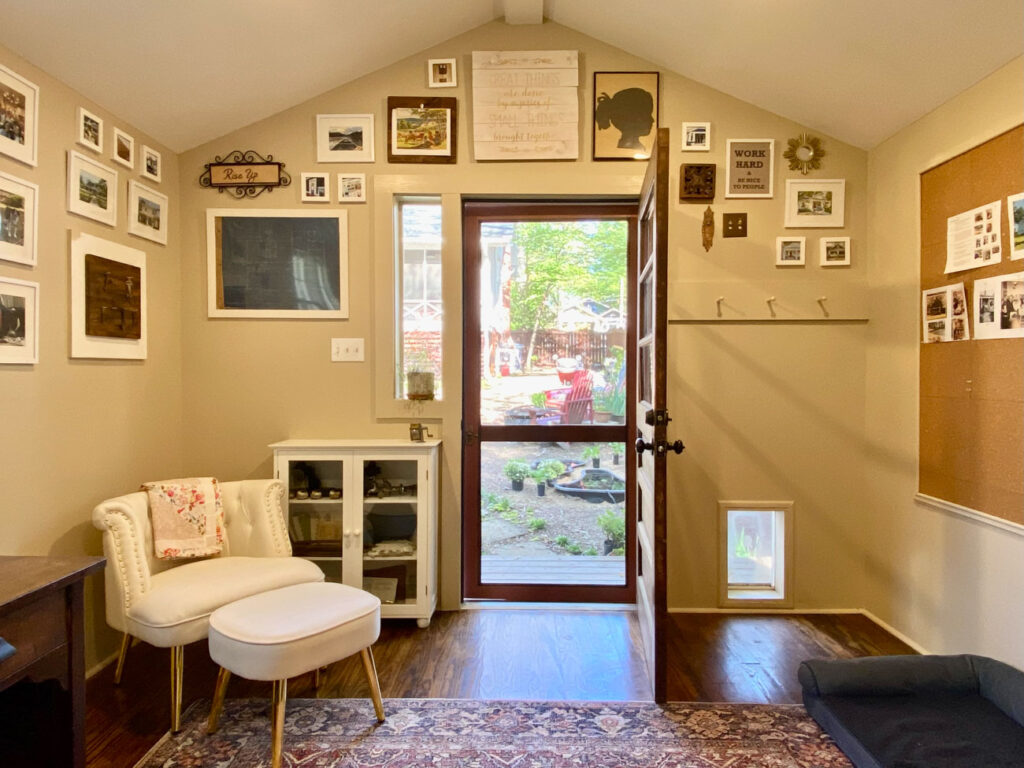
I replaced the fabric bulletin board framed in vintage trim with some 12″ cork wall tiles. This gave me a better surface to pin house research and design inspiration to.
Made a Dry Erase Board on the Wall
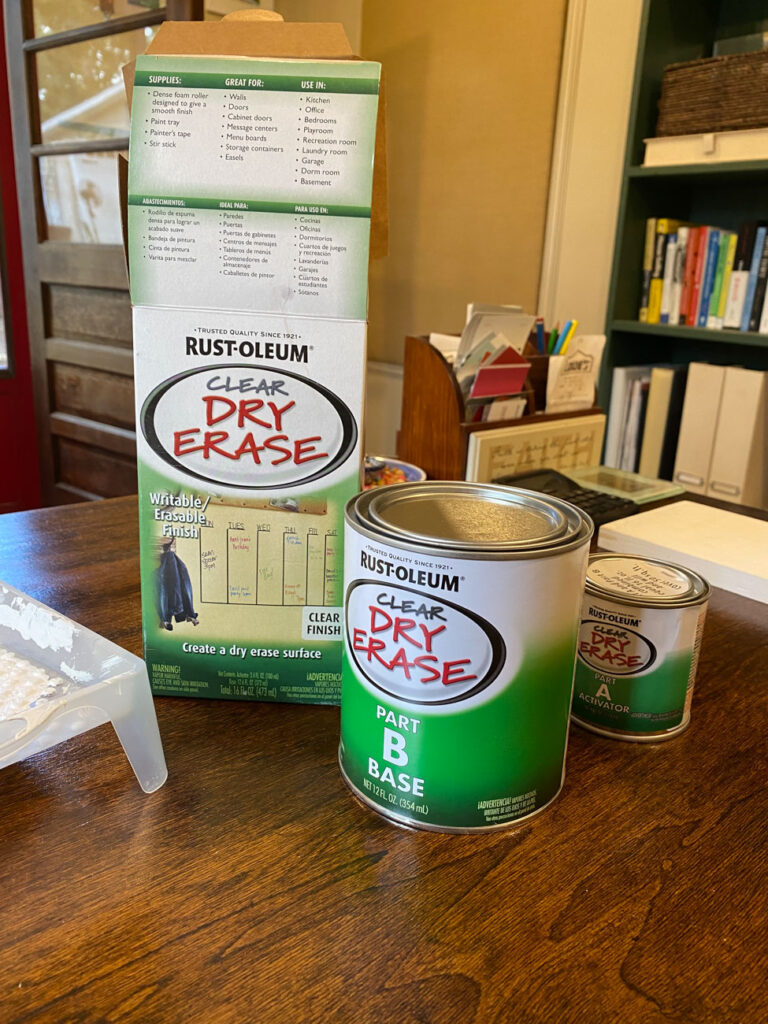
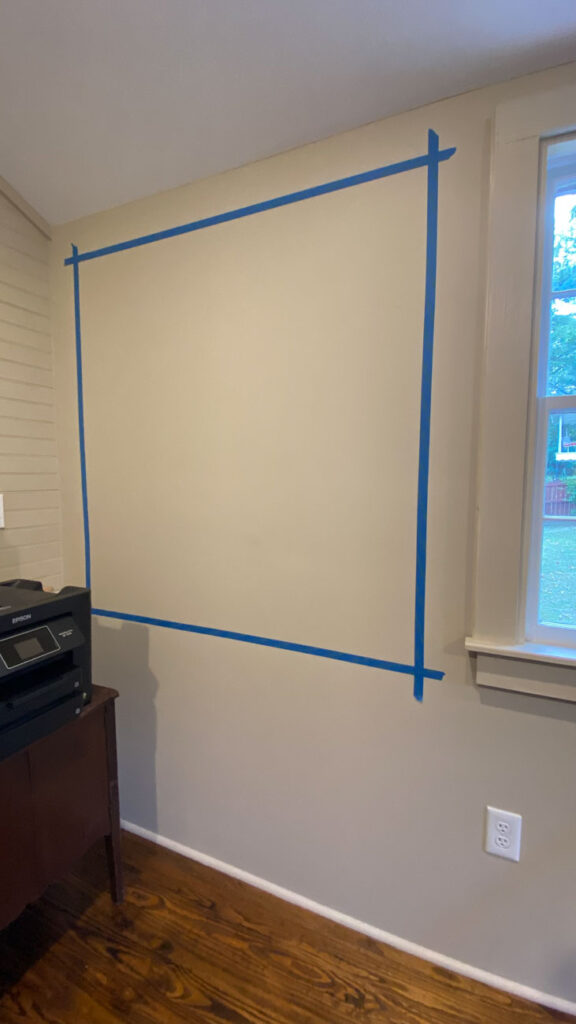
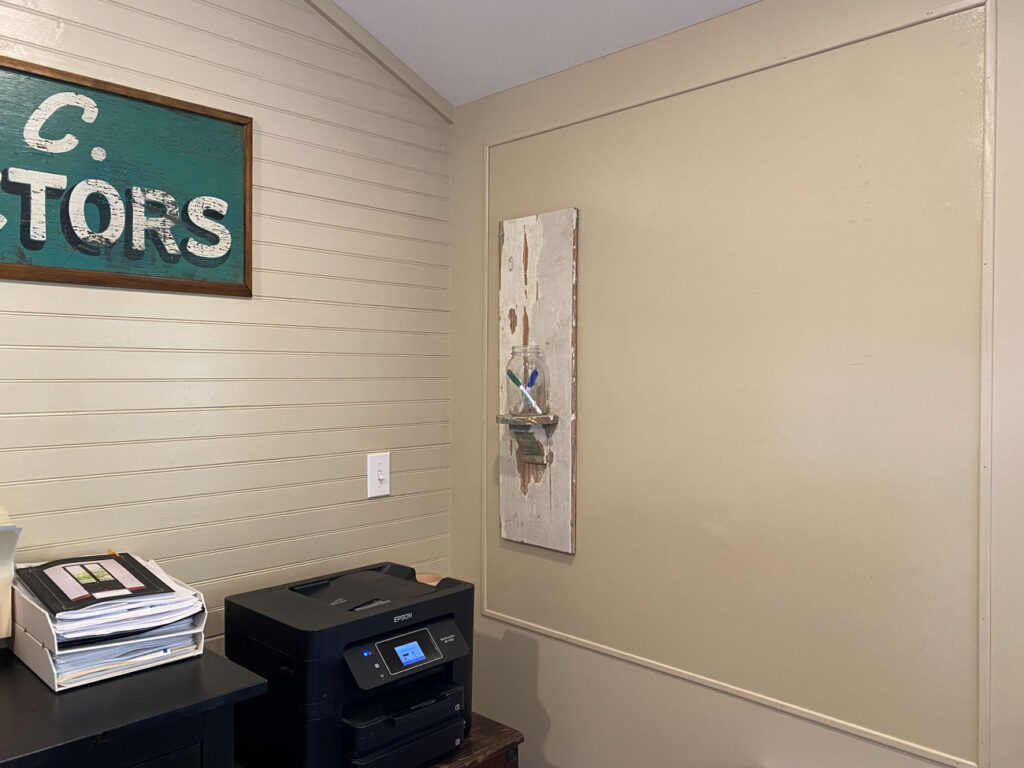
And the final interior change made was to replace the individual dry erase calendars with a wall dry erase board. After painting the wall in Valspar Oatbran I used this Dry Erase Brush-On Kit in Clear to add the slick surface directly to the wall. It’s been great for brainstorming ideas.
These five interior changes have not only made my She Shed Office more functional but also more reflective of my personality and design style. I’m a firm believer that your design style can and probably should change over time so never think twice about updating any space in your home.
Exterior Updates:
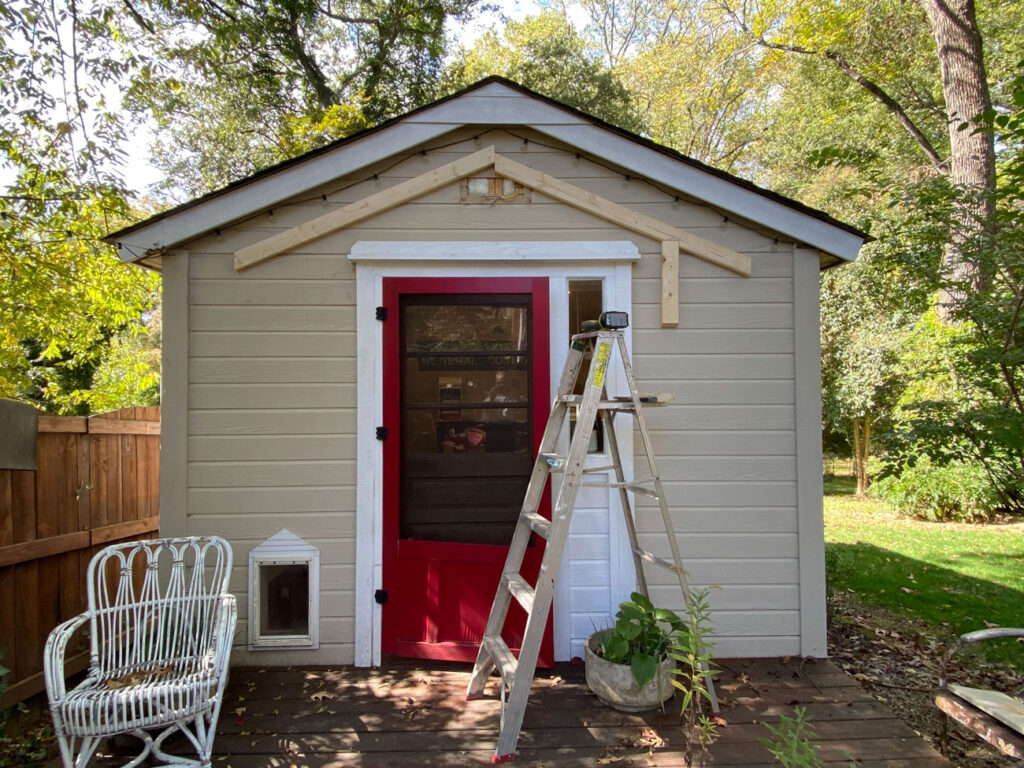
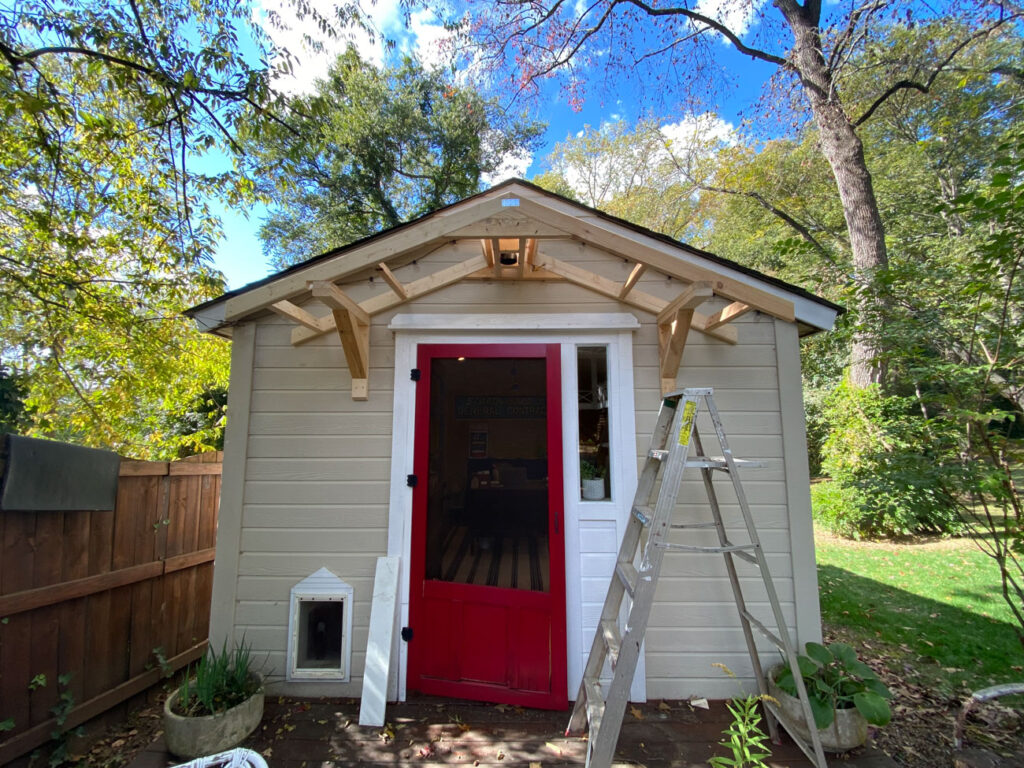
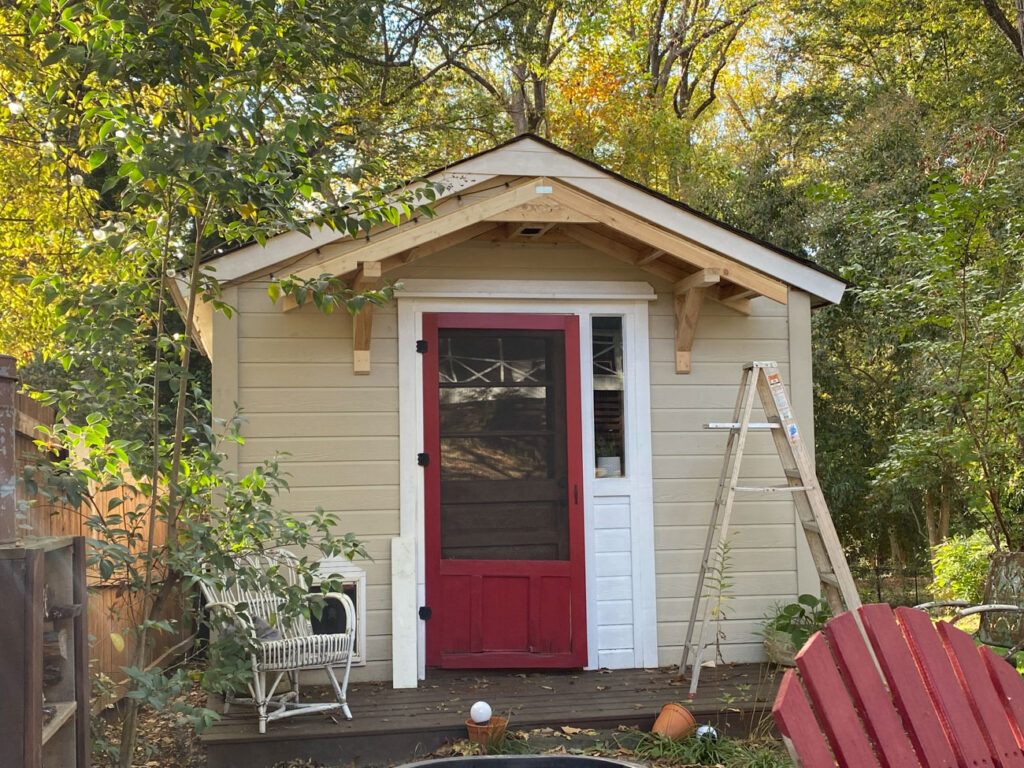
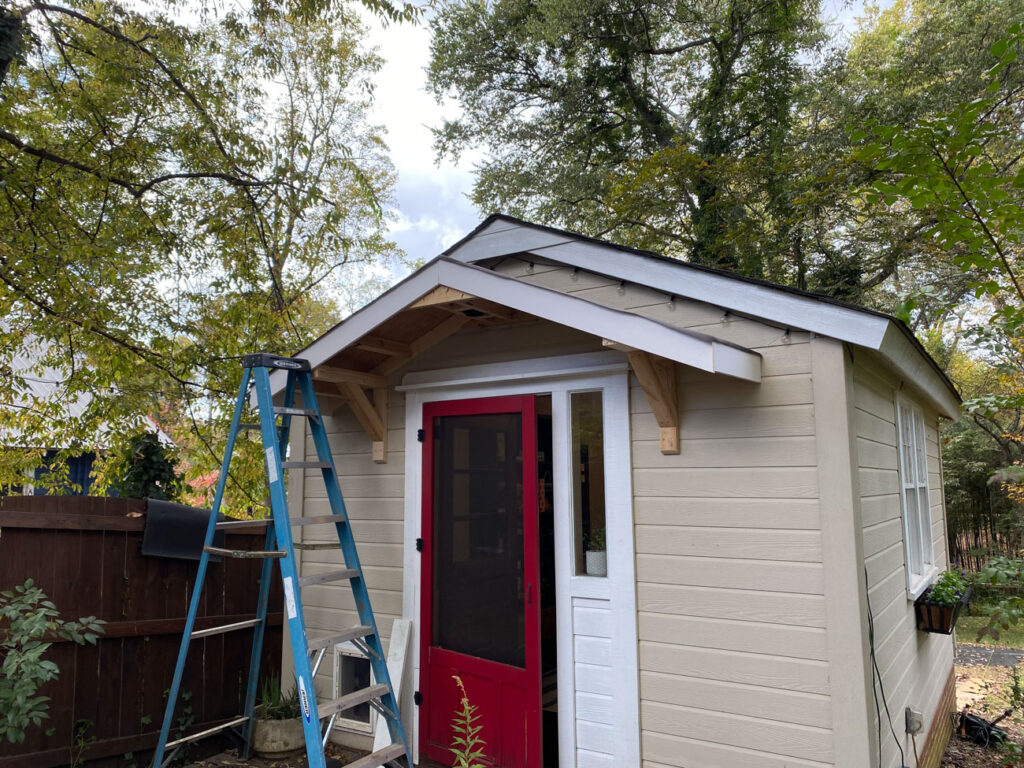
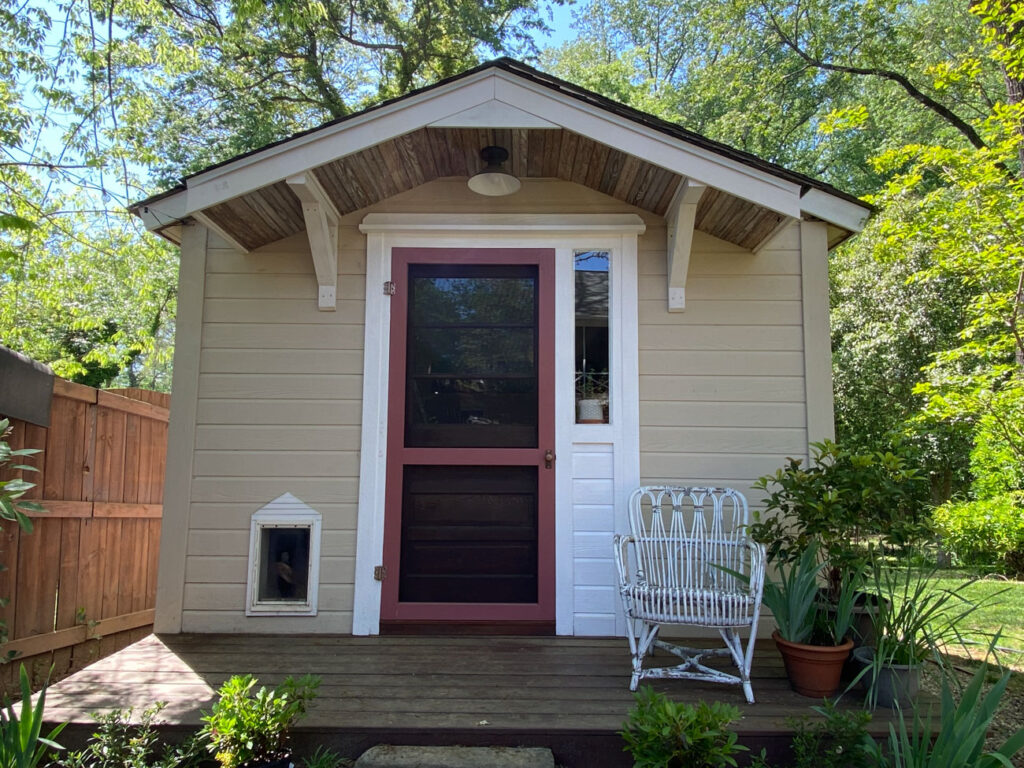
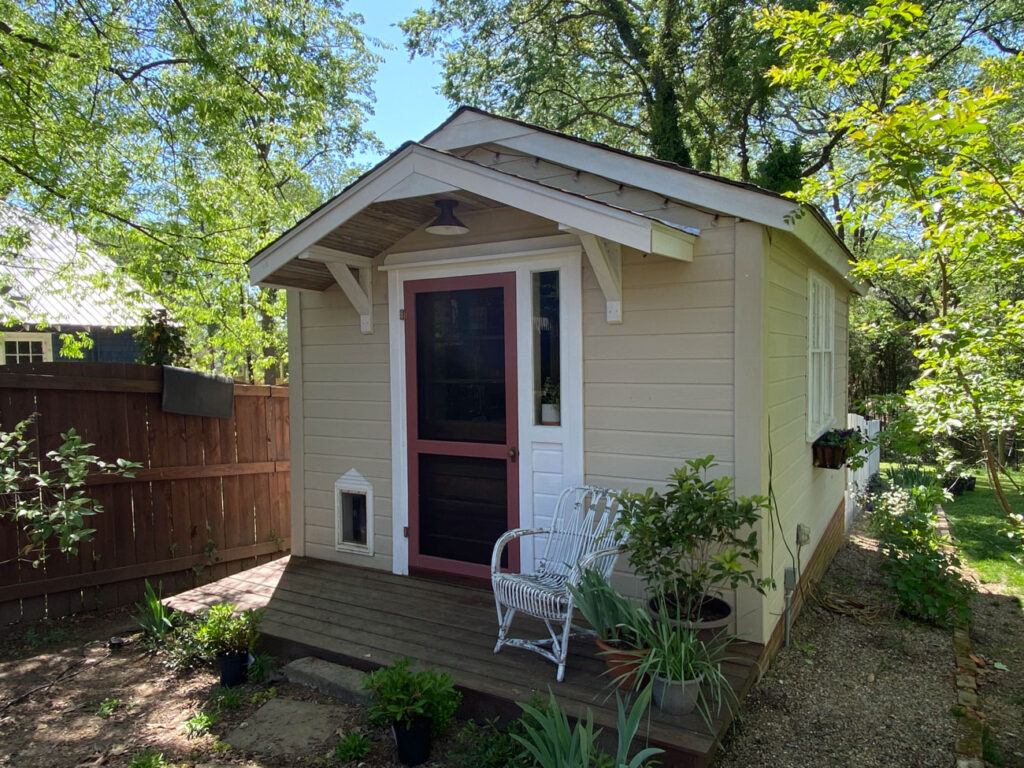
Added a Small Portico Over the Door
Truthfully I like the exterior of my She Shed Office just fine but water was not my friend. Since the front of the office does not have an overhang, water pretty much ruined the screened door. So before I could change that out, I needed to a little protection from the rain and this awning has worked great. I learned this building basics for the portico here and then just made it up as I went. I think overall it turned out pretty well and most importantly, keeps the rain off the front of the office.
Installed Vintage Bead Board on the Portico
For an extra special touch, I added beadboard to the soffit area of the awning with some I had left over from Peronneau Place. I left it natural for now but may go back and paint it a haint blue later.
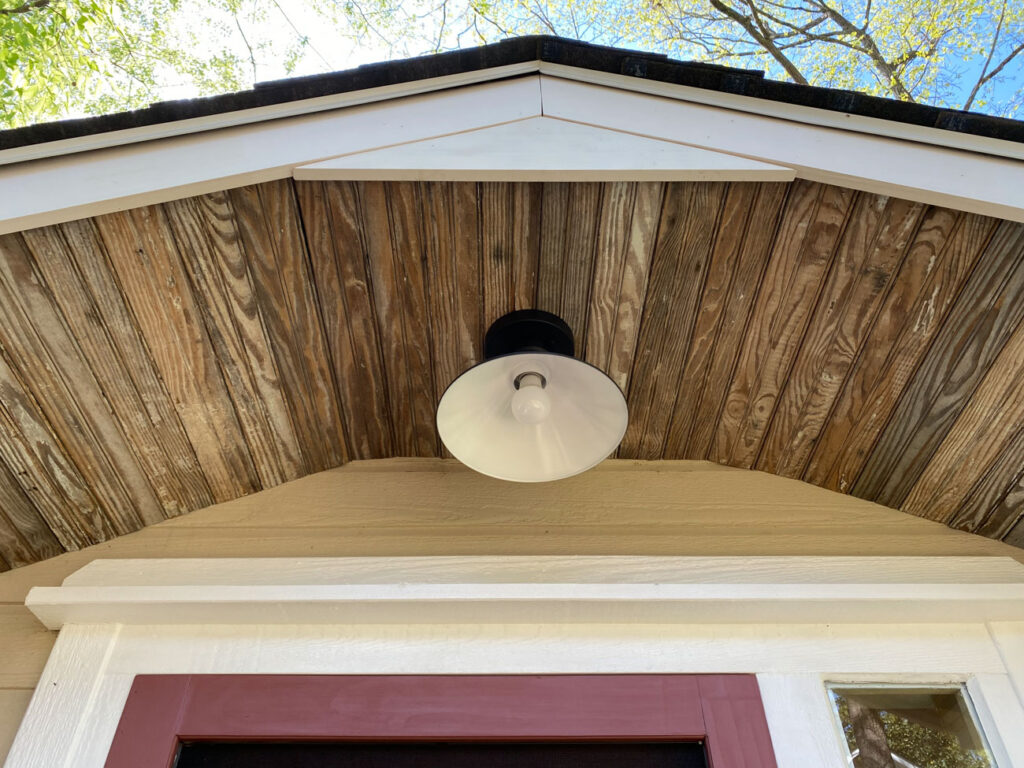
Added a New Light Fixture
With the light location moved down, I added this simple light fixture above the door.
Installed a New Screened Door with Vintage Door Hardware
With the front of the office now protected better from the elements, I pulled a screen door I had out of storage and cut it to fit. My favorite part to the door is the addition of a vintage screen door hardware set that I refurbished and installed. It’s the perfect touch.
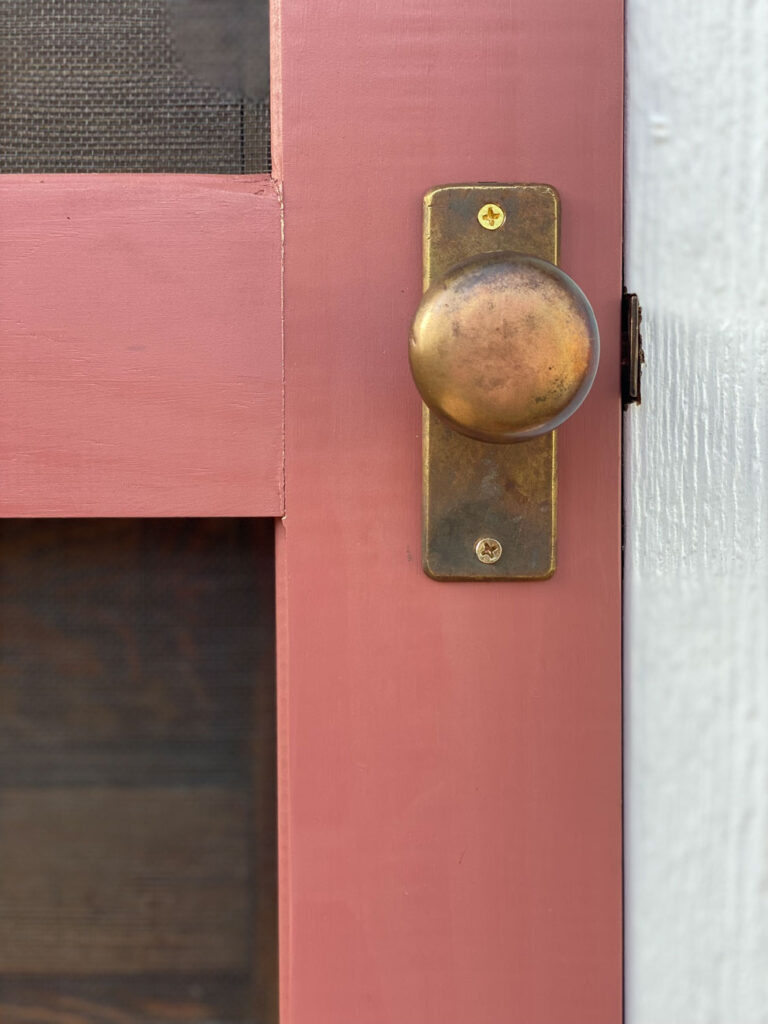
Painted the New Screened Door Rose
Originally intending to paint the door red like all of my other doors, I used some left over rose paint I had as a primer. Once it went on, I loved it and decided to see how long that would last. The color is Fading Twilight by Benjamin Moore and for now, I have no plans to go back and paint it red.

+ Show / Hide Comments
Share to: