How I Prepared My Old House for Renovations


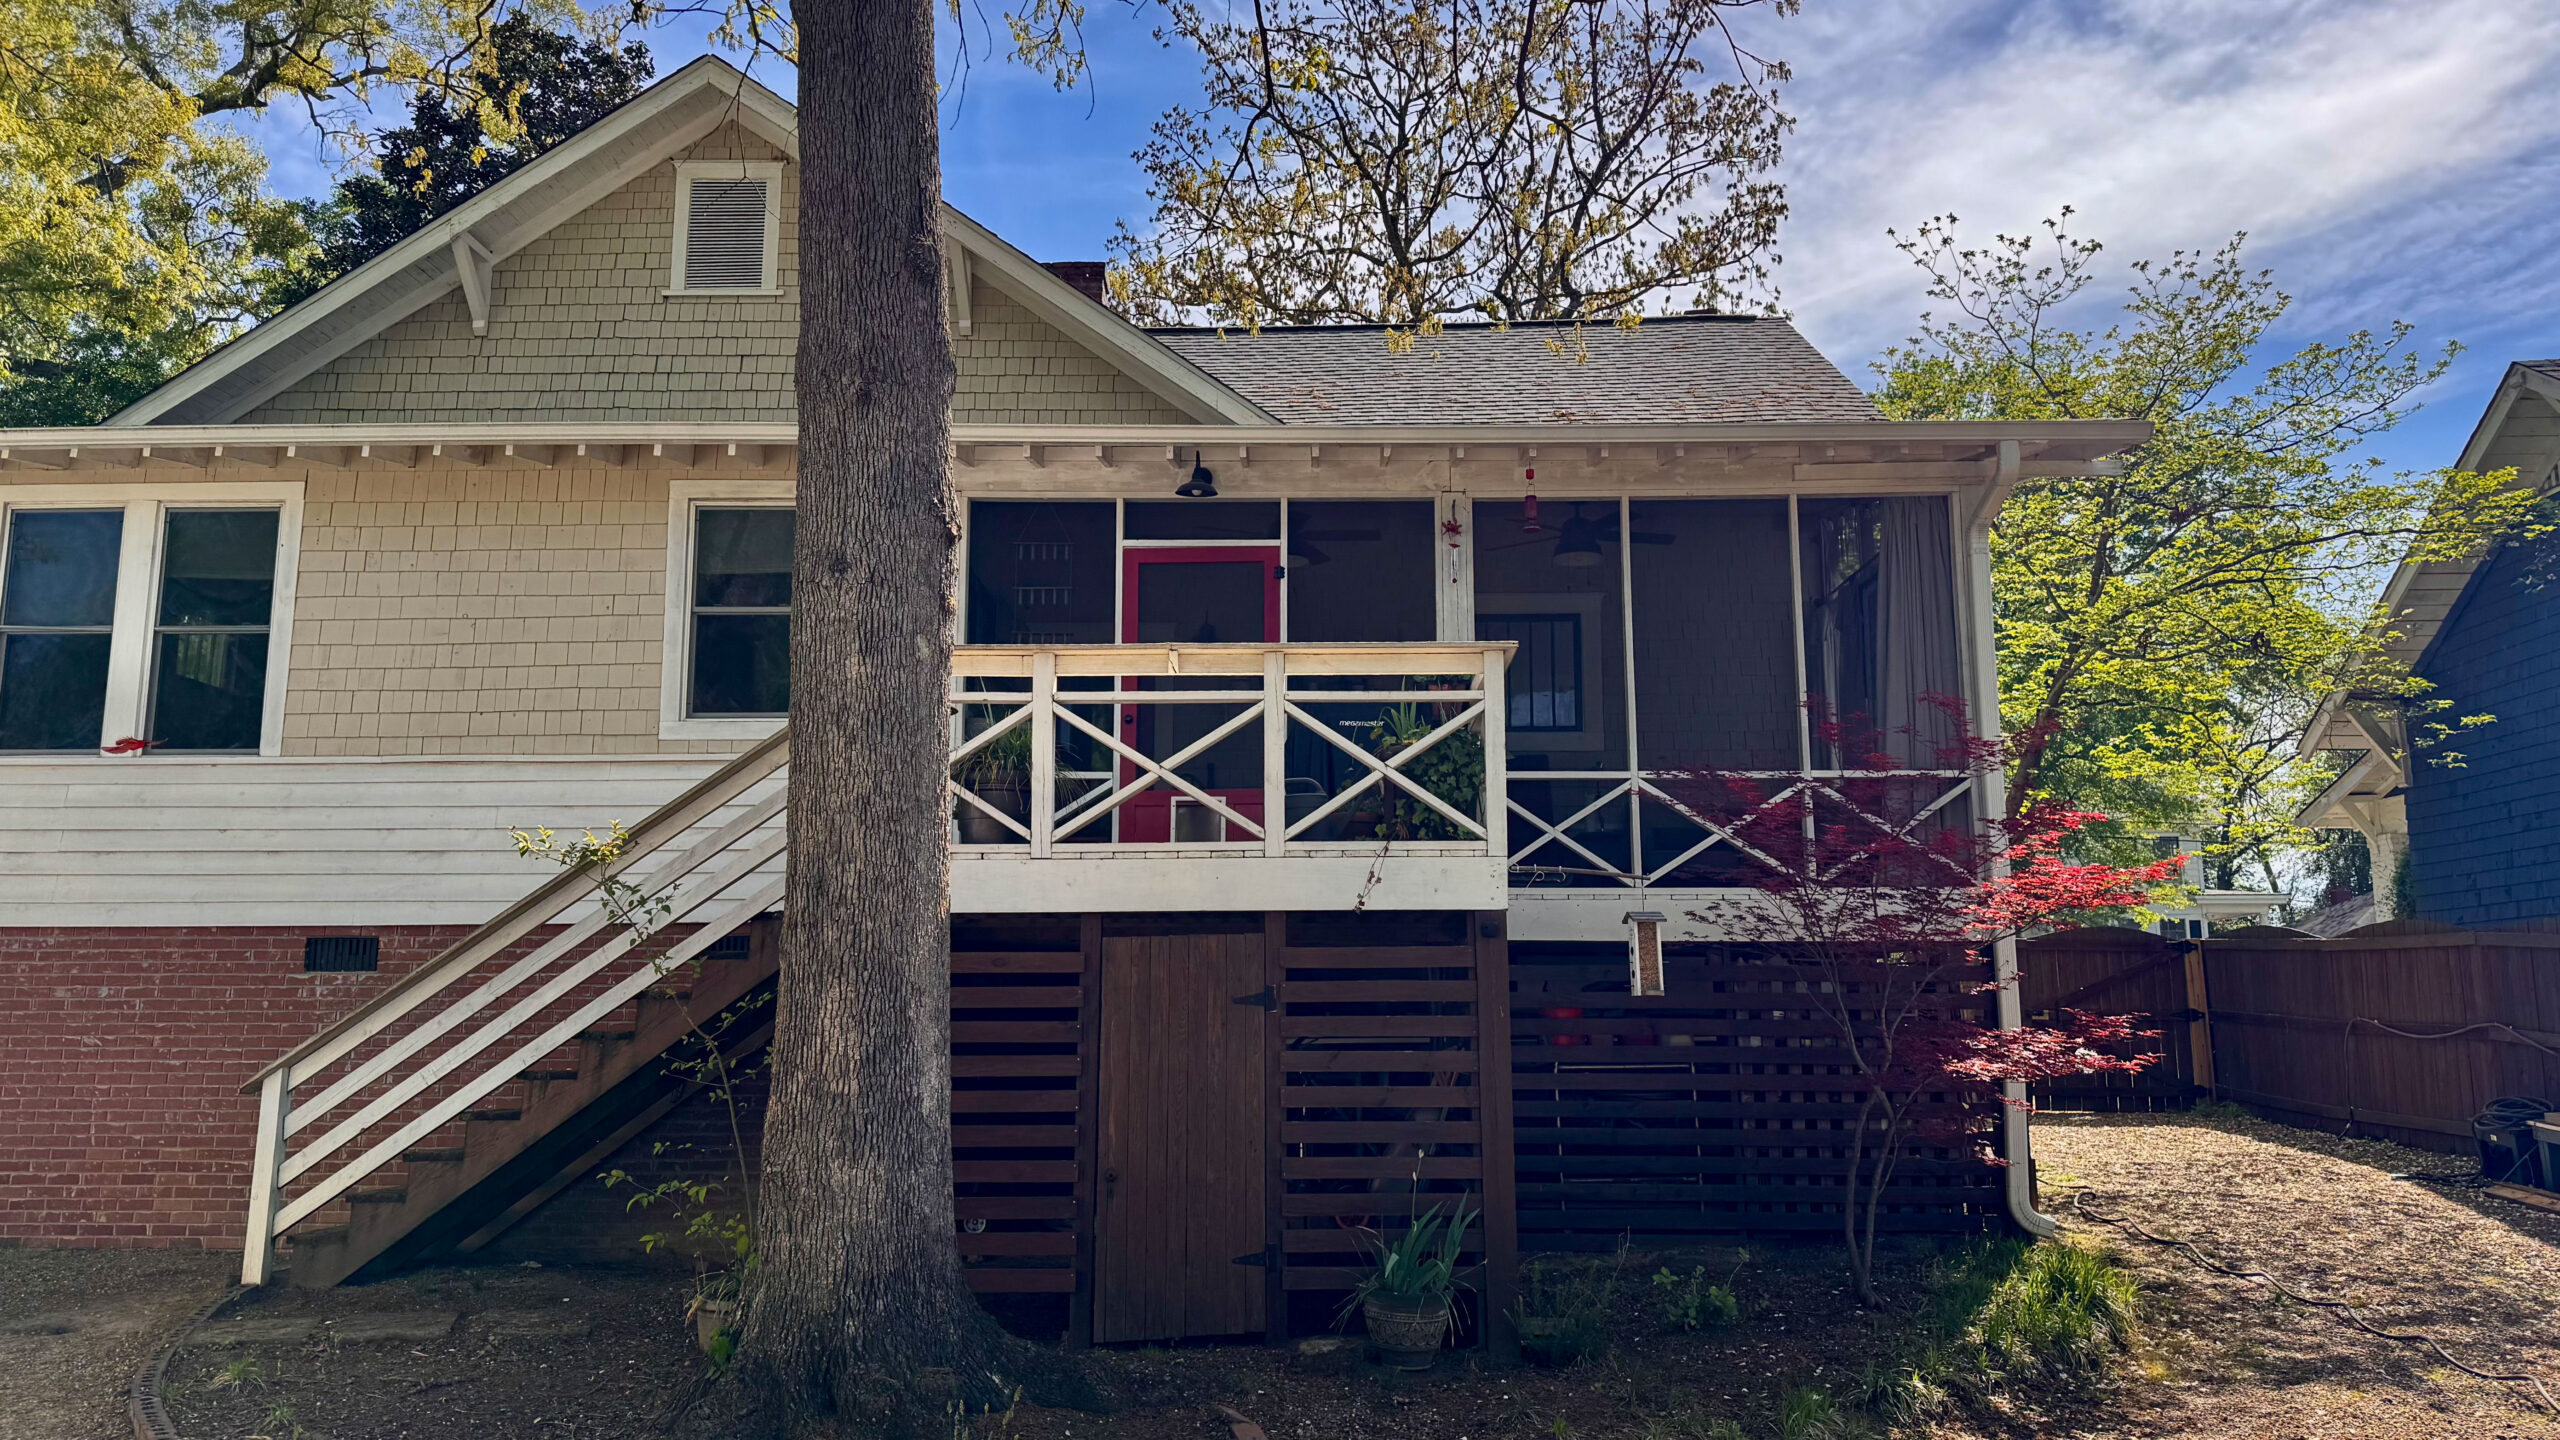
Renovating your own home hits a little differently when it’s a historic one.
Even after years of helping other homeowners plan and manage their renovations, preparing for work on My 1914 Bungalow (round two I might add) still brought that mix of excitement, chaos, and “I hope I remembered everything.”
This round of repairs is happening in my kitchen, dining room, and living room — three of the highest traffic rooms in the house — so I knew I had to get extra organized before my contractor showed up.
Here’s exactly how I got ready, what I learned (again), and a few things you might want to add to your own prep list if you’re gearing up for work on your old home.
Step 1: Met with My Contractor to Go Over Everything
Before anyone lifted a hammer, we did a full walk-through. I wanted to make sure he understood not just what we were doing, but also why — especially since I had fully renovated the house eight years ago. These are not the fun kind of renovations but instead correcting some wrongs from round one that have shown up in all the wrong ways years later.
We discussed:
- The order of work for each room
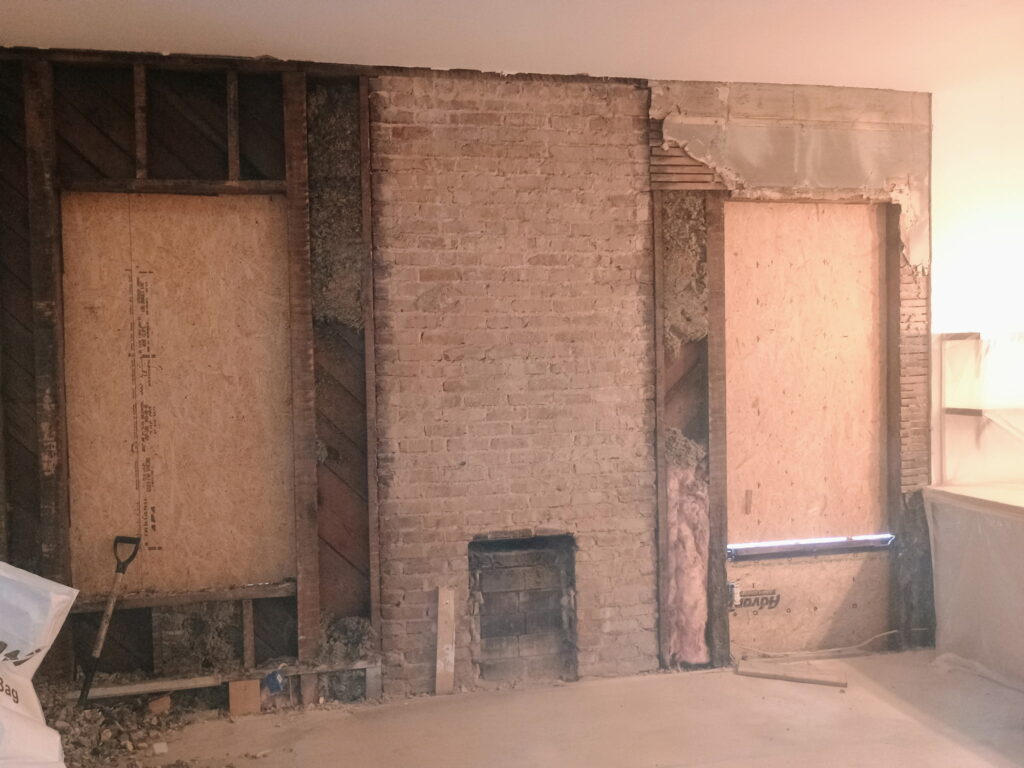
- What to expect once walls were opened up
- Which features (like the fireplace and original trim) I wanted to preserve
- Which areas I assumed had structural damage from previous work
Tip: Never assume your contractor knows all your priorities. Walk through your home together and point things out, even if they seem obvious to you.
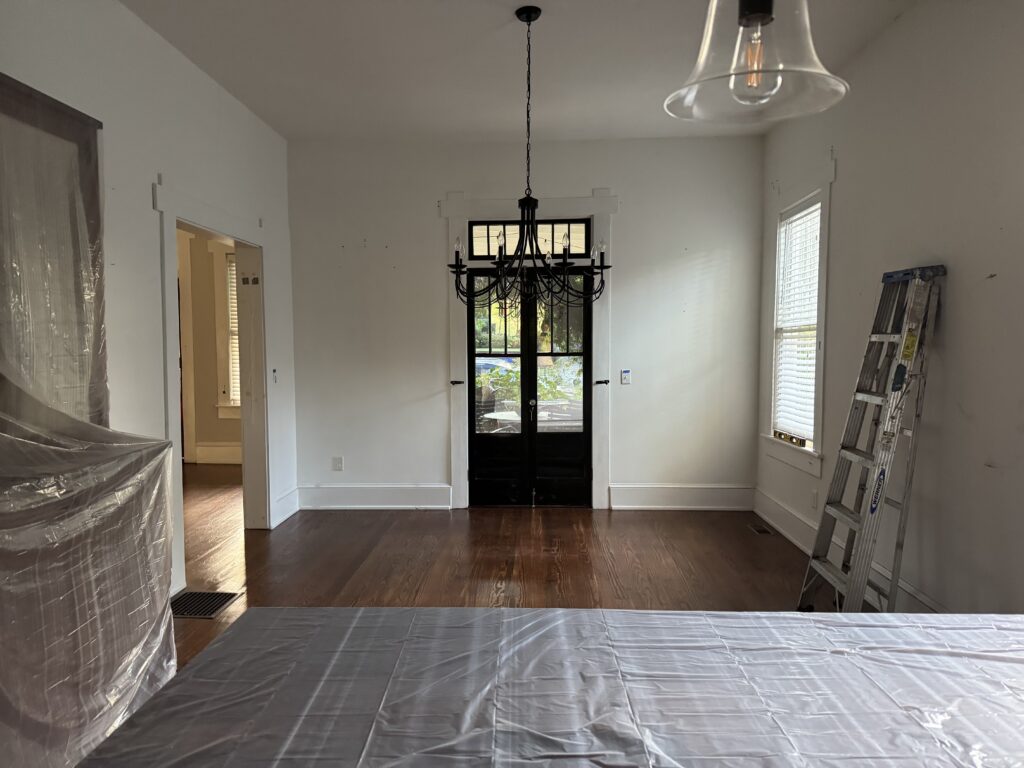
Step 2: Cleared Out the Work Zones
I completely emptied the kitchen, dining room, and living room — pretty much everything. Furniture, decor, and window coverings – leaving only the pantry unit. Then I sealed off those rooms with plastic to help contain dust and debris from the rest of the house. Since shoring up the floors were part of the work being done, I left floor covering for the guys to use when they were ready.
Tip: If you’re living through a renovation and your kitchen is part of the work area, create a temporary kitchen in the no work zone. This can include a microwave and toaster, small refrigerator, and a table to store your food during renovations.
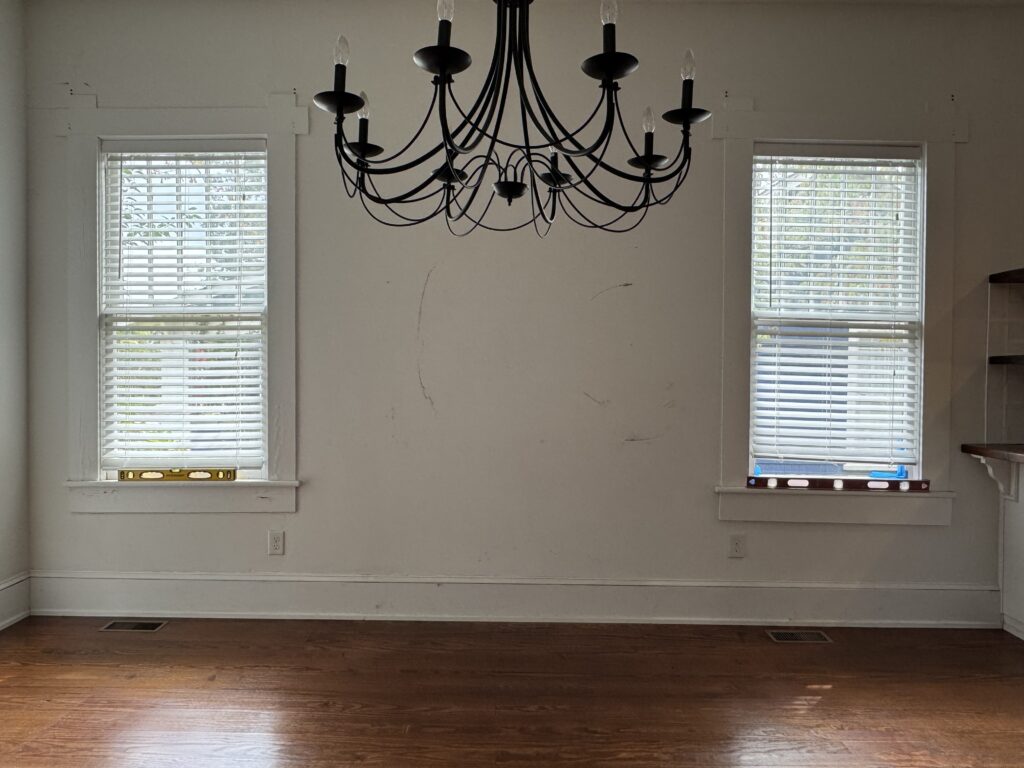
Step 3: Marked “Quirks” and Left Notes
Old houses have personalities — and mine has a few strong opinions.
I used painter’s tape and a Sharpie to mark small but important things:
- Which direction the front door knob turns (it’s opposite of what you’d expect)
- The windows that need to be squared up
- A reminder about the fireplace behind the wall between the two windows
Little notes like these prevent confusion, save time, and protect original features.
Tip: Assume that no one knows your home’s quirks the way you do — because they don’t.
Step 4: Set Communication Expectations
Since I would be out of town for the first part of the renovations, I left a key and asked my contractor to text me updates periodically. I’ve learned that even the best crews need clarity about how you prefer to communicate.
I told him I’d rather get quick text updates (with photos if needed) instead of waiting until I got home. It keeps both of us on the same page and helps catch small issues before they become big ones.
Tip: Don’t be afraid to spell out your communication style. It’s not micromanaging — it’s managing well.
Step 5: Shared Special Projects + Personal Touches
Before we started, I also gave him a heads-up about a few things I could handle myself:
- Installing chair rail
- Refurbishing the original windows
- Stripping paint from the old trim
Those pieces are the soul of this house, and they’re worth the time and effort to do right.
Tip: If you’re planning to DIY certain parts of your renovation, make sure your contractor knows in advance so they can plan their schedule and workflow accordingly.
The Big Picture
Even though I’ve managed dozens of renovation projects, this one reminded me of a truth I talk about often in my Old House Renovation Guide — preparation is everything.
From clearing rooms to setting expectations, each small step you take before demo day saves hours of stress later.
If you’re planning your own renovation soon, grab my Old House Renovation Guide — it walks you through this exact prep process (and a lot more). You’ll feel more organized, confident, and ready to roll once construction begins.
👉 Purchase it here to start planning like a pro.
And if you want to see this renovation unfold in real time, follow along on my new social media accounts (OldHouseRenoGuide on Instagram or TikTok) — that’s where I’m sharing all the behind-the-scenes moments, from the good surprises to the “well, that wasn’t in the plan” ones.


+ Show / Hide Comments
Share to: