The Master Suite and Bathroom Addition at Peronneau Place


One of my main goals for the renovation at Peronneau Place was to add a master suite. In order to make that possible I first needed to rework the floor plan and then close off the door between the back bedroom and the kitchen. Once those two changes were made I could focus on the dilapidated addition that we would be tearing down completely and rebuilding. Today we’ll take a look at all of the changes that took place in these are and how we created a private master suite.
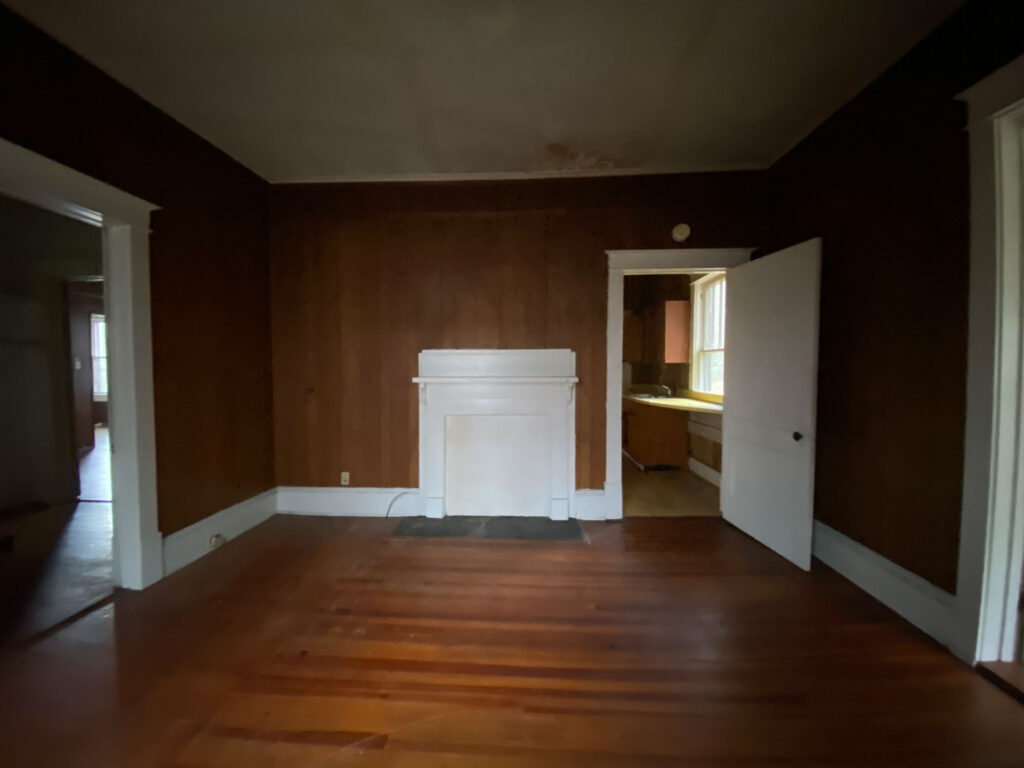
Master Bedroom
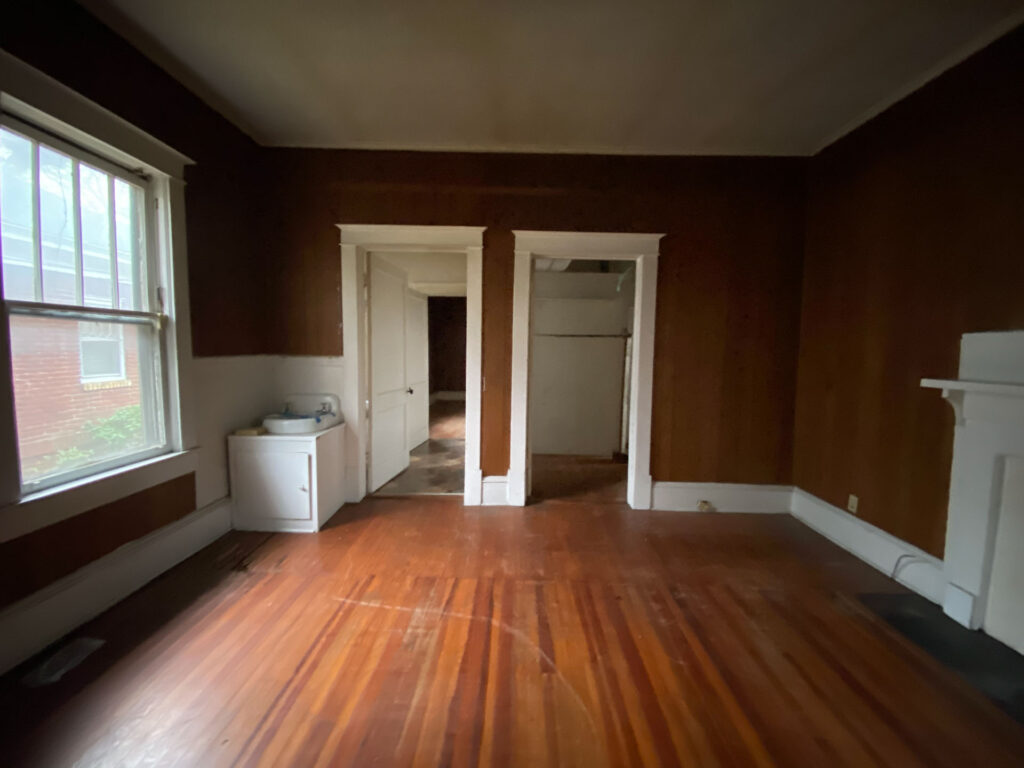
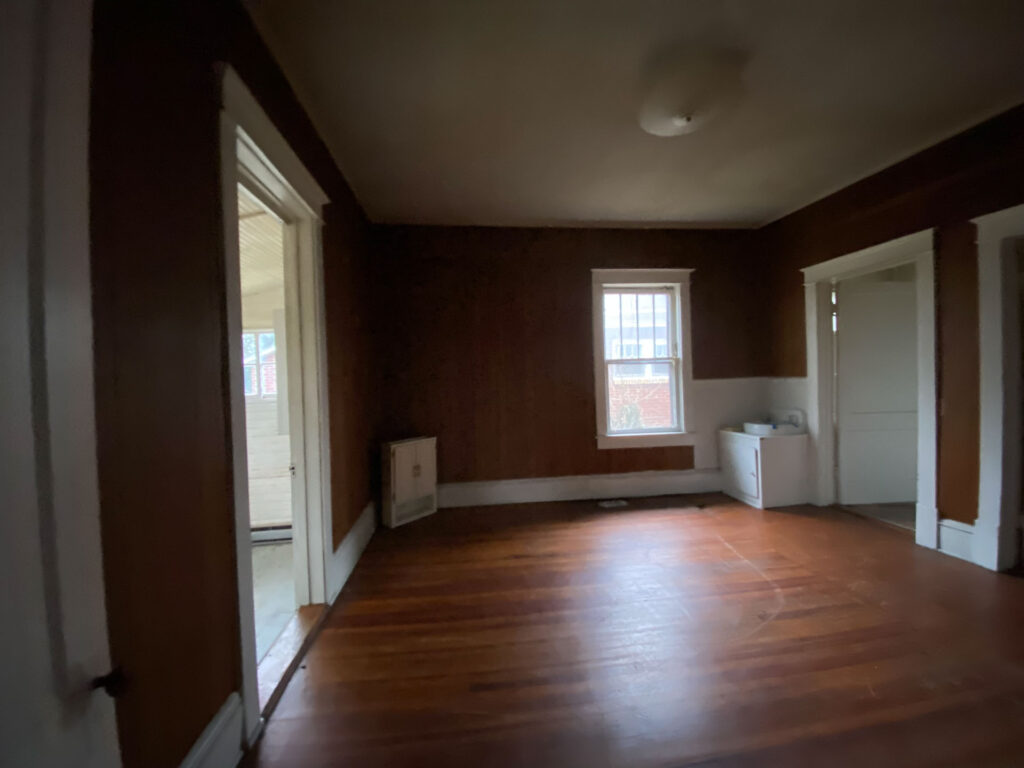
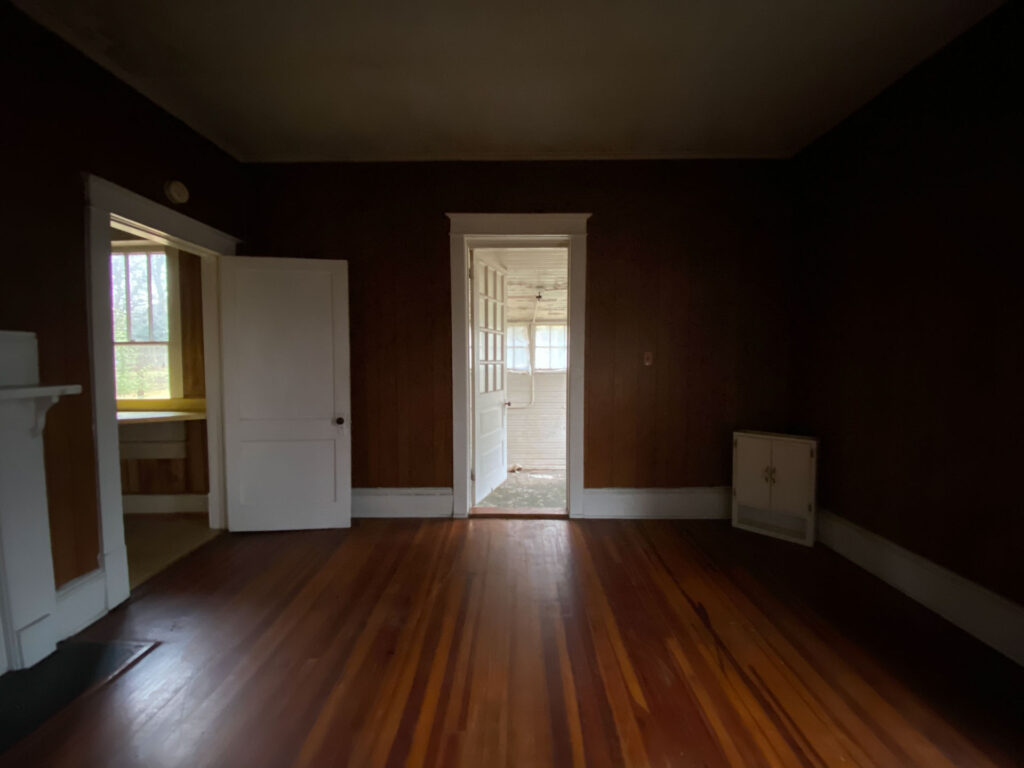
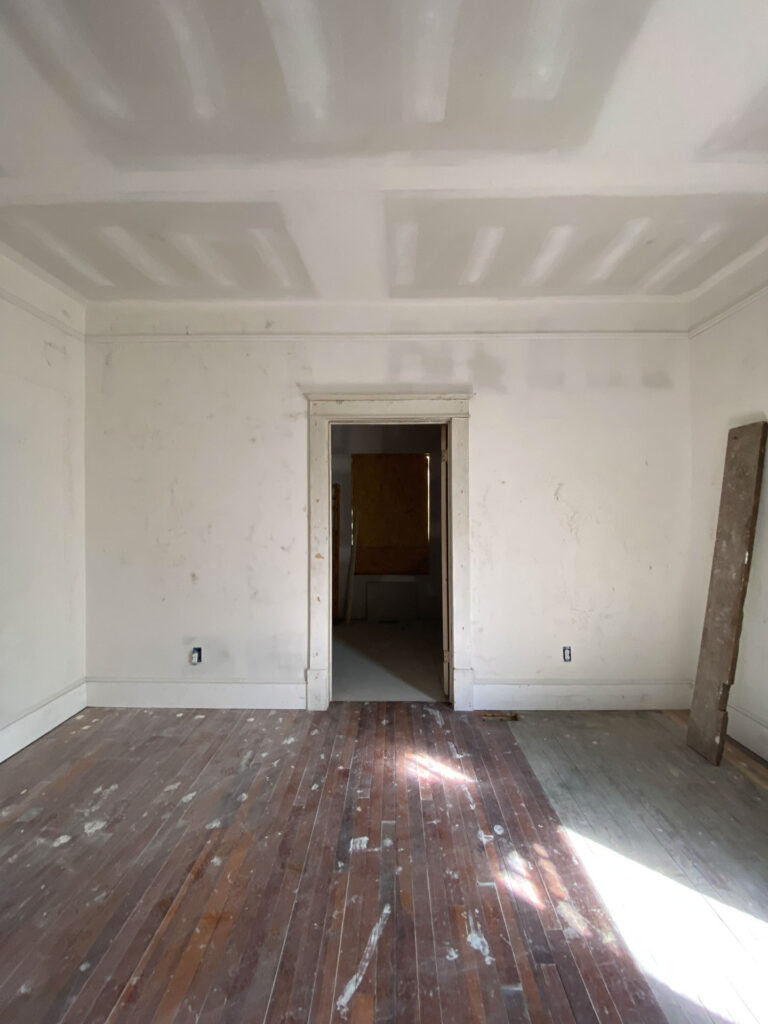
As with all of the rest of the house, the back bedroom was dark and dated with the paneling covering the walls. It also had a sink in one corner and connected to the only full bathroom through a jack-and-jill set-up, a space that is now the master closet. You can read more about how we reworked the floor plan of the house here to get familiar with some of the changes before I walk you through the transformation of each wall in the now master bedroom below.
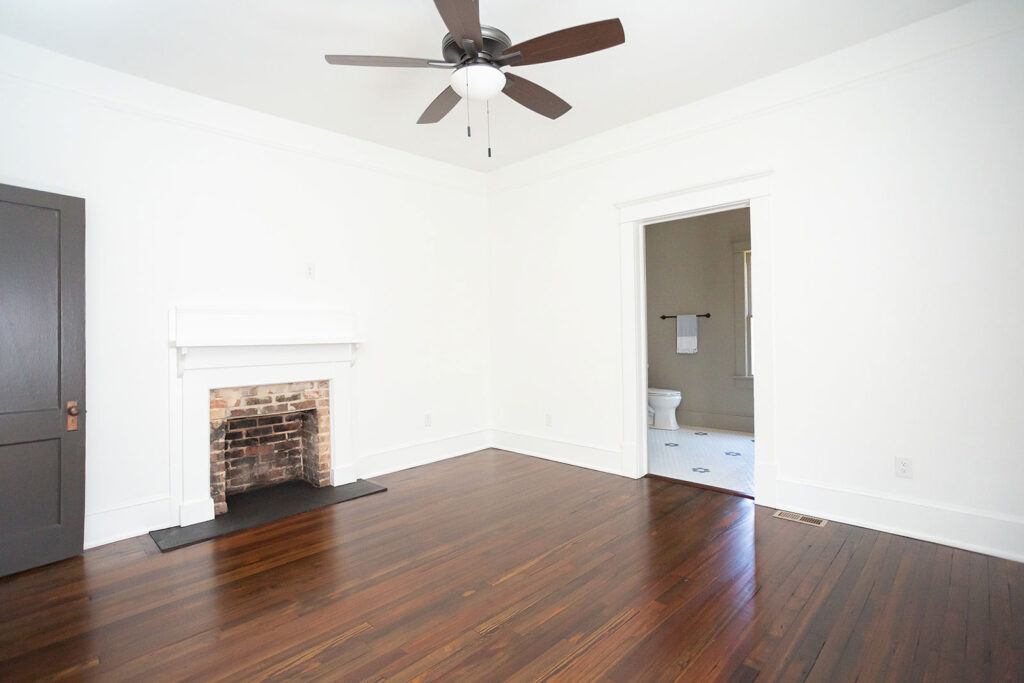
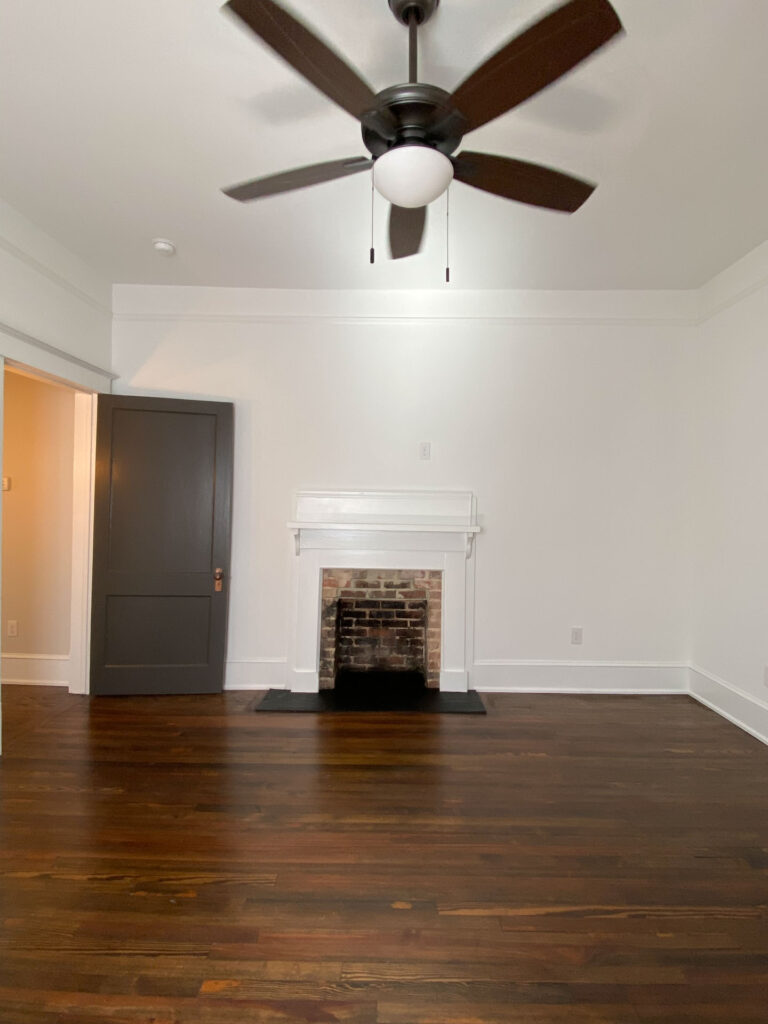
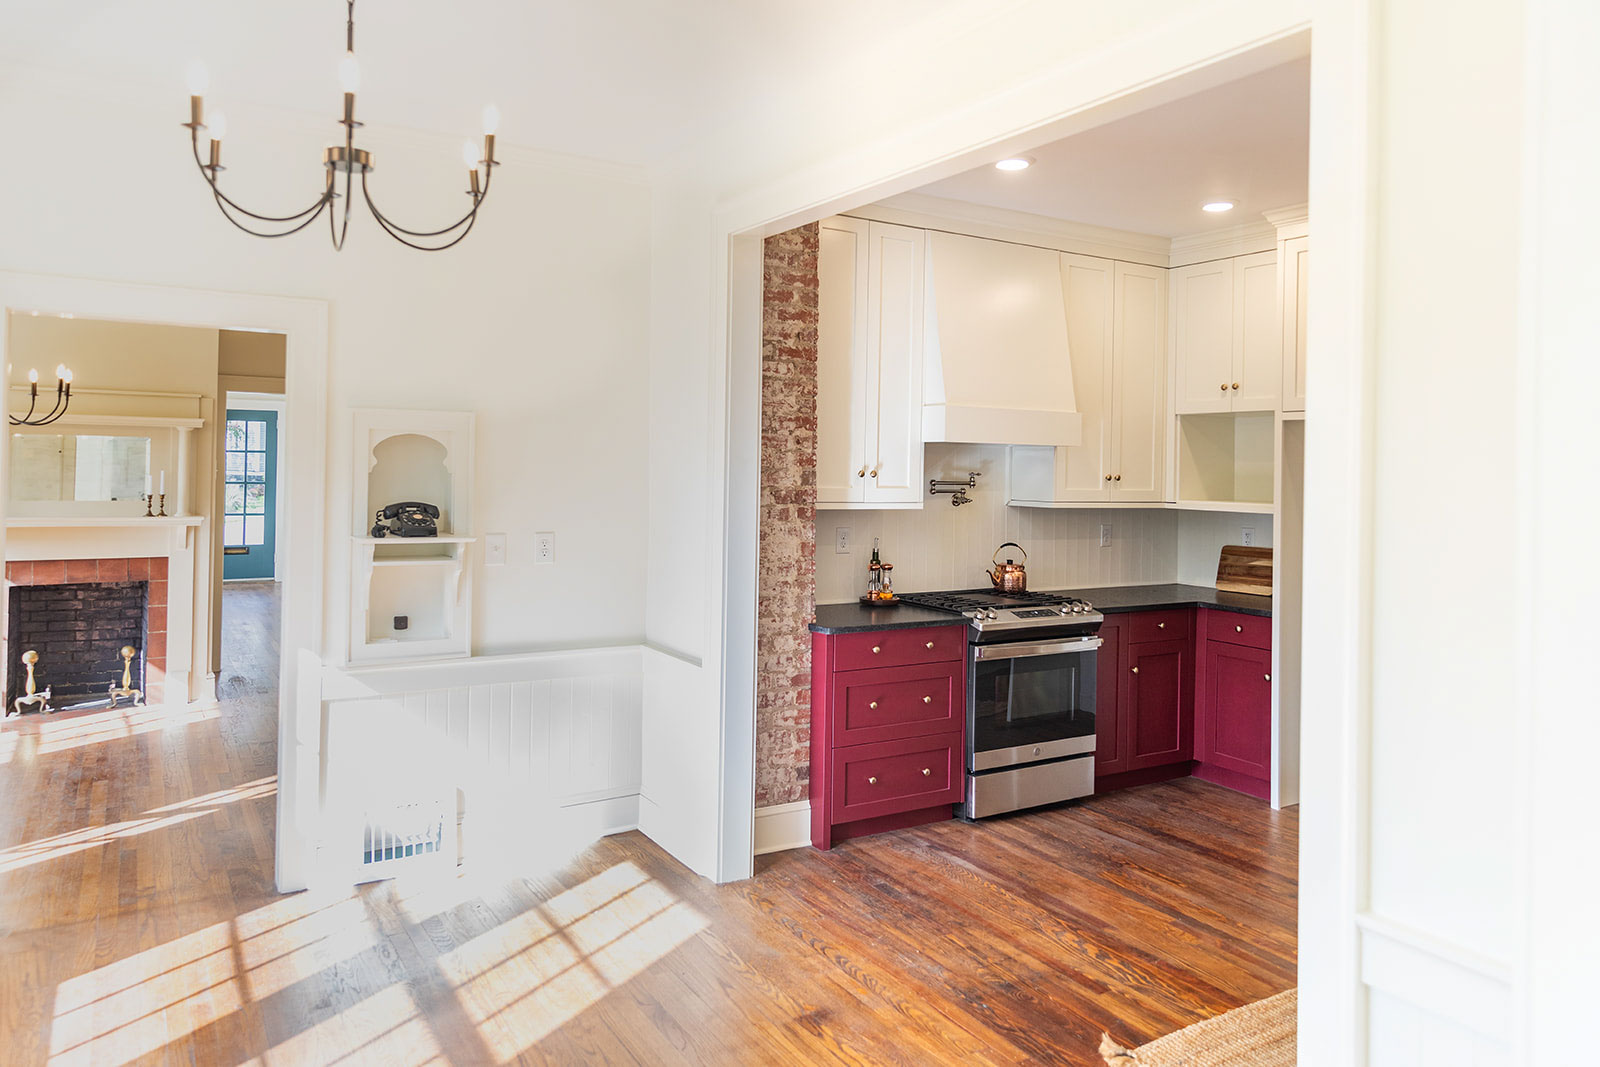
Fireplace Wall
While the fireplace remained in place, we closed off the door leading to the kitchen and relocated the doorway to the left wall off of the new bedrooms hallway. We also opened up the fireplace to expose the brick and repainted the original fireplace mantel.
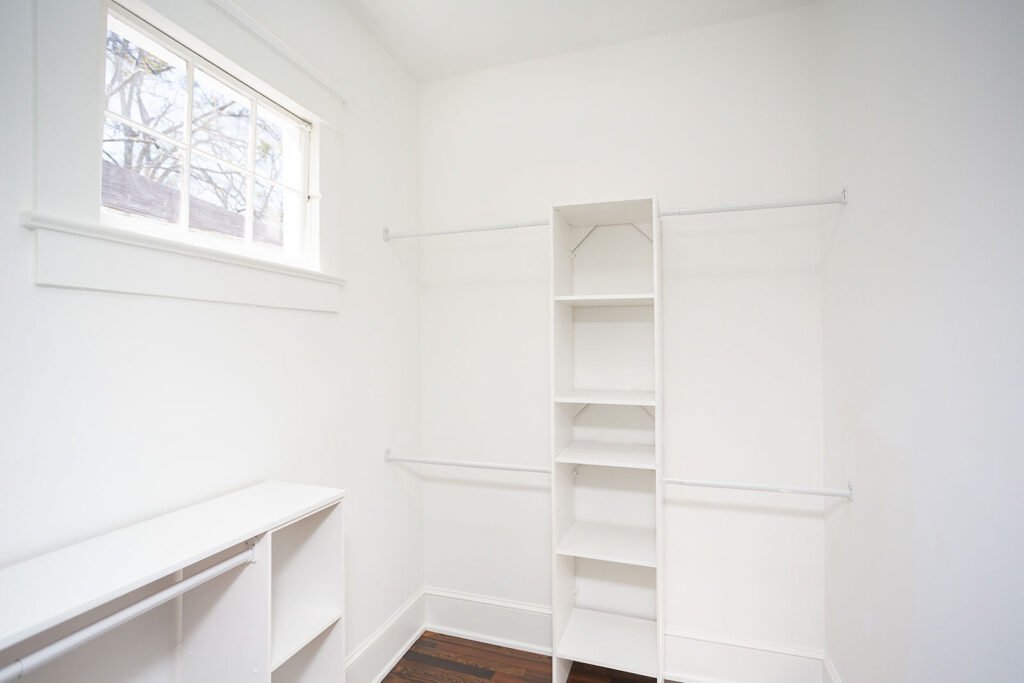
The Master Closet Wall
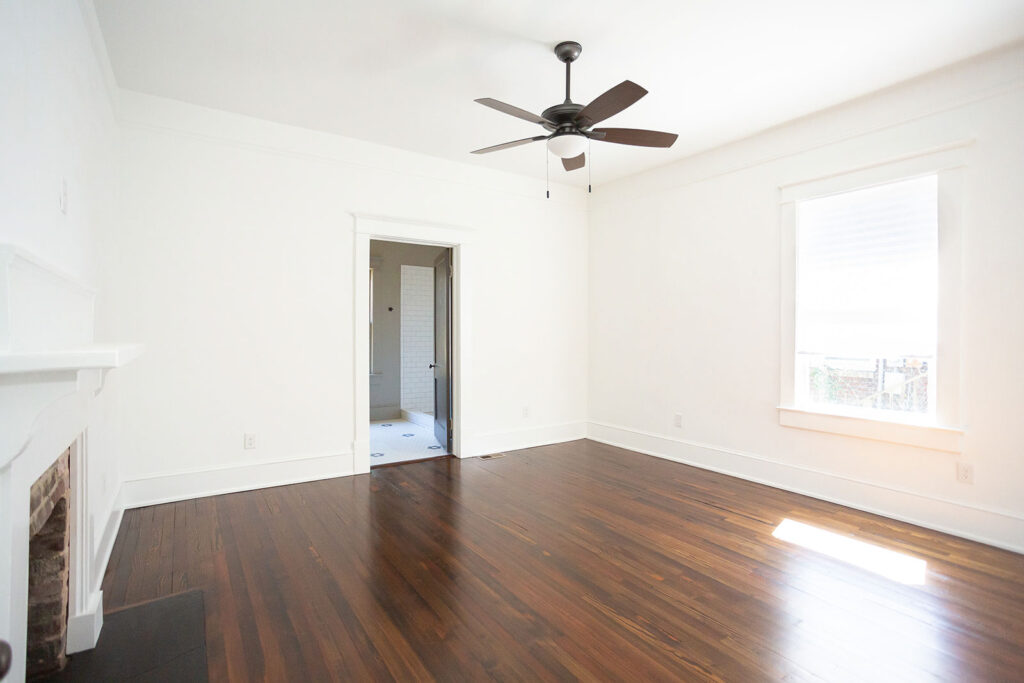
With the switch-a-roo of the doors, we were able to create the new doorway to the bedroom on the right and a walk-in master closet to the left. As you can see below, we removed the sink in the corner and then shifted the left doorway over up against the wall. This was done to make enough room on the other side of this wall for the guest bathroom and new hallway.
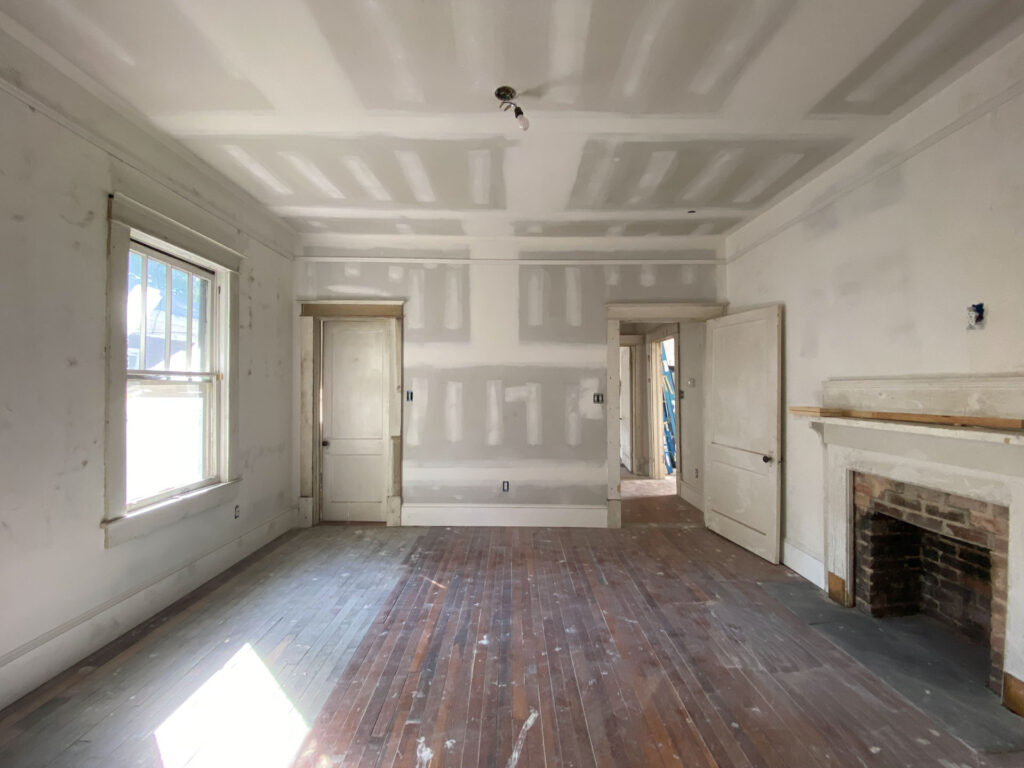
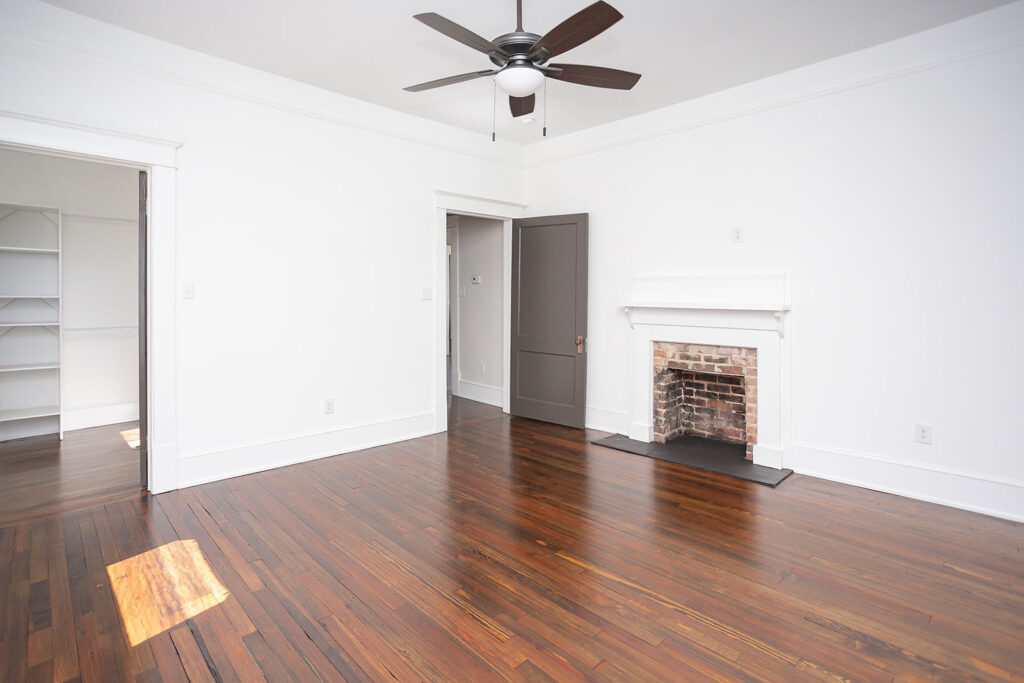
One thing to notice from the three pictures above are the hardwood floors. Along this wall there was a strange section where the floors were short and butted up against the larger section of the room. With no way to feather those floors in, we did the unthinkable and carefully removed all of the floors. We used those floors along with some salvaged flooring I had in storage to reinstall new old flooring throughout the bedroom. We then installed some painted flooring from another space in the closet. Once sanded and stained, the floors now are perfectly imperfect and match the warm tones of the flooring in the rest of the house.

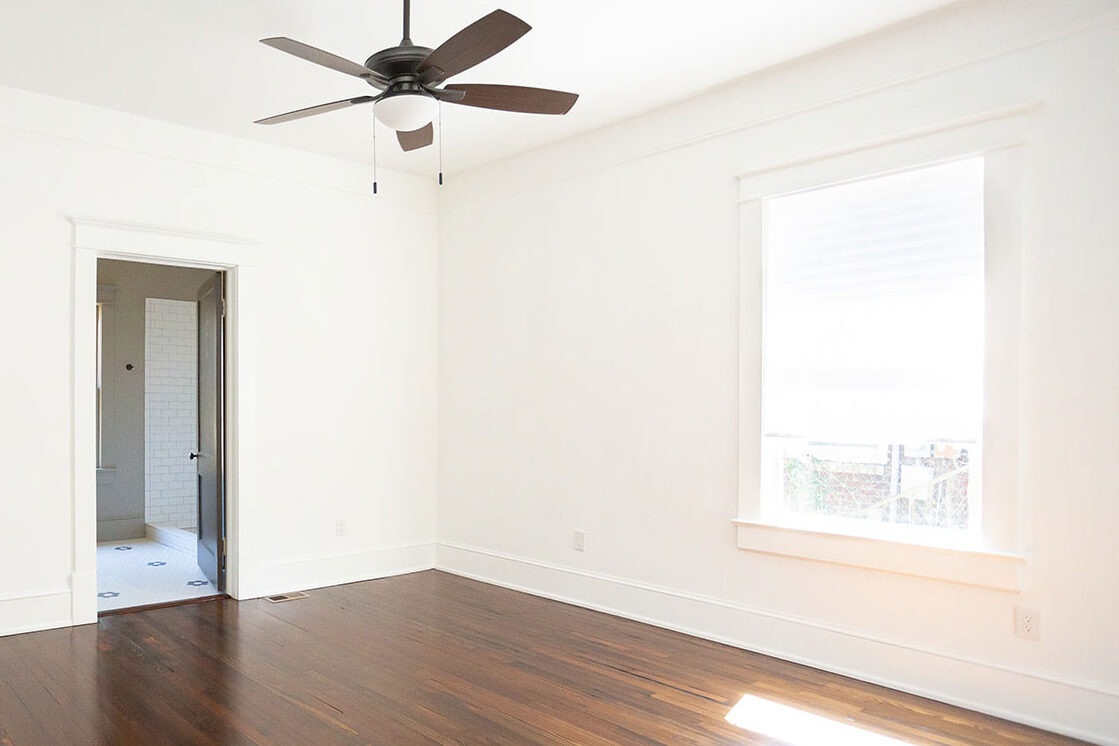
The Window Wall
Once the corner sink was removed, not much else changed here. The walls were repaired and windows made operational before a bright white painted lightened up the room.
The Bathroom Wall
And last but certainly not least, we have the wall where the new bathroom addition is located. The location of the bathroom stayed the same but we did lower the height after raising the floor height with the new addition.
The Bathroom Addition
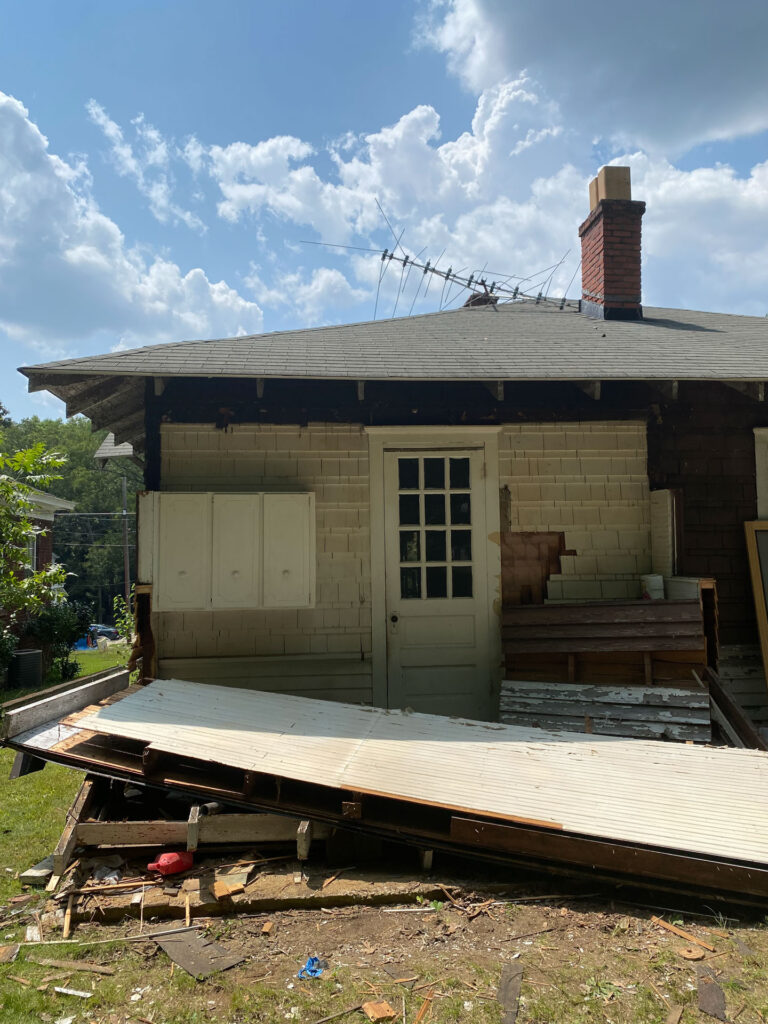
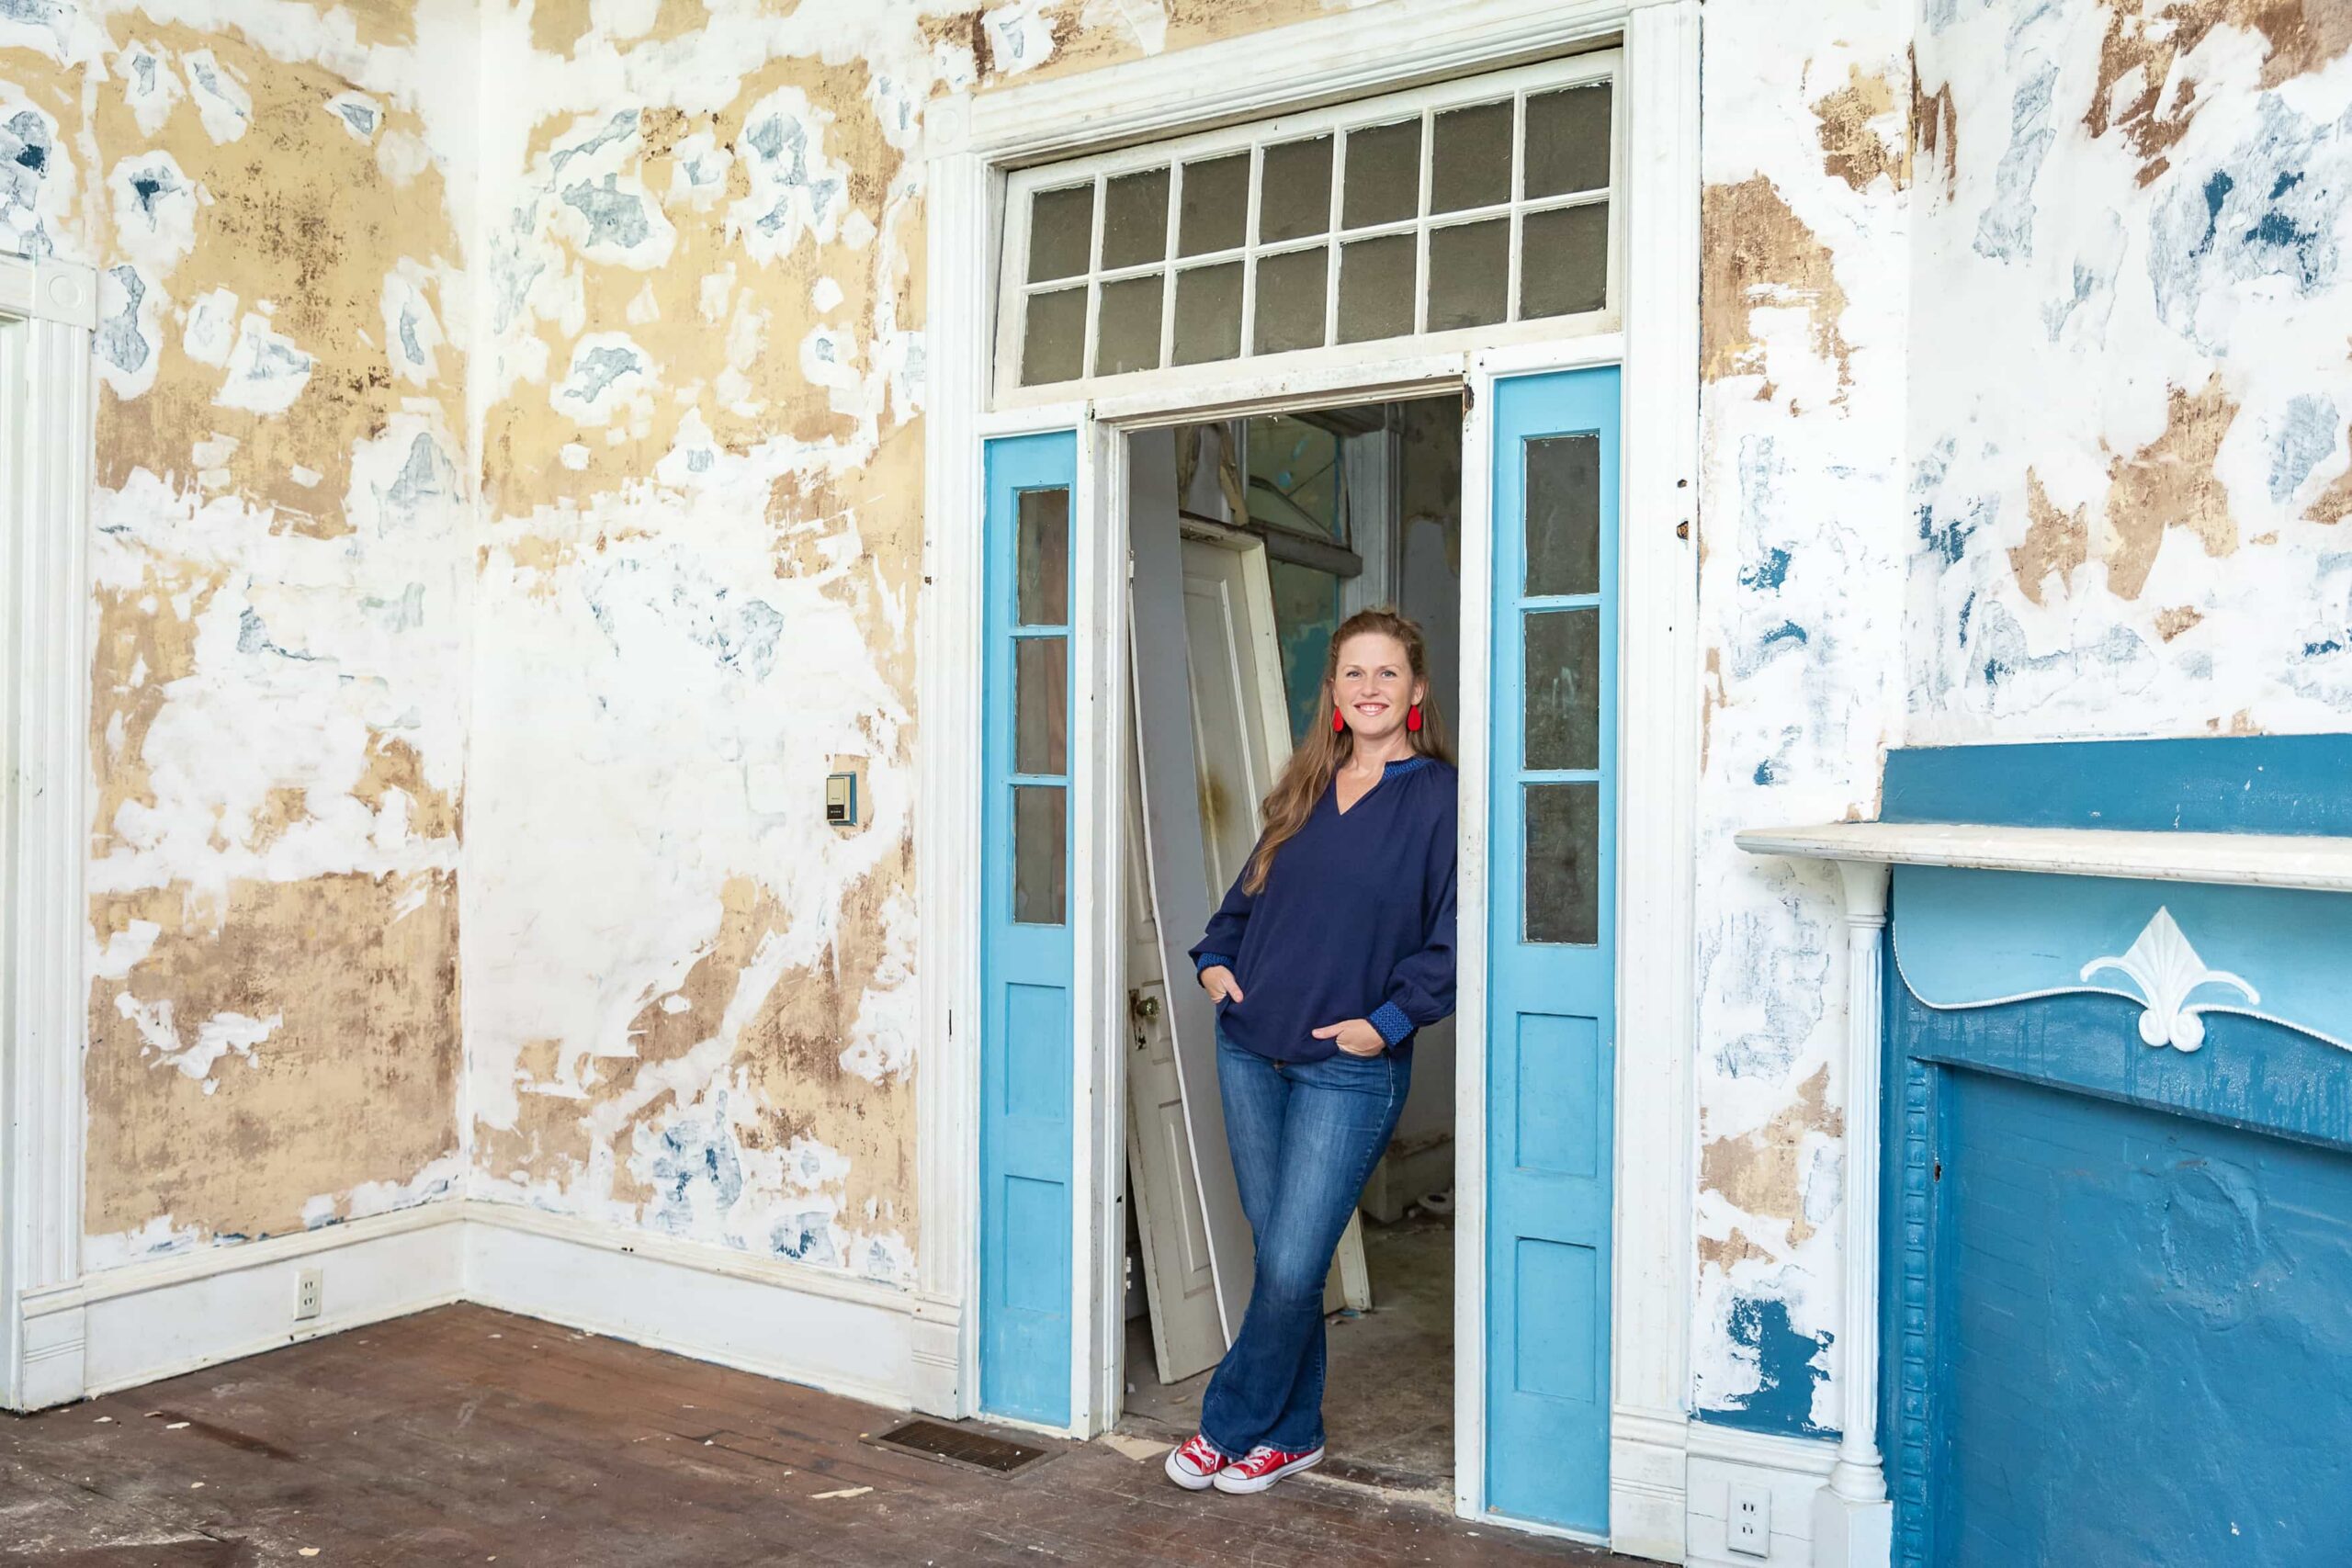
The Before
In order to do this transformation justice, let’s first take a look at what the so-called bathroom looked like before. My best guess is that this space originally was a concrete patio that at some point turned into a sunroom. Sometime along the way a landlord thought it would be a good idea to install a toilet and sink out here, or at least that’s what I’m guessing.
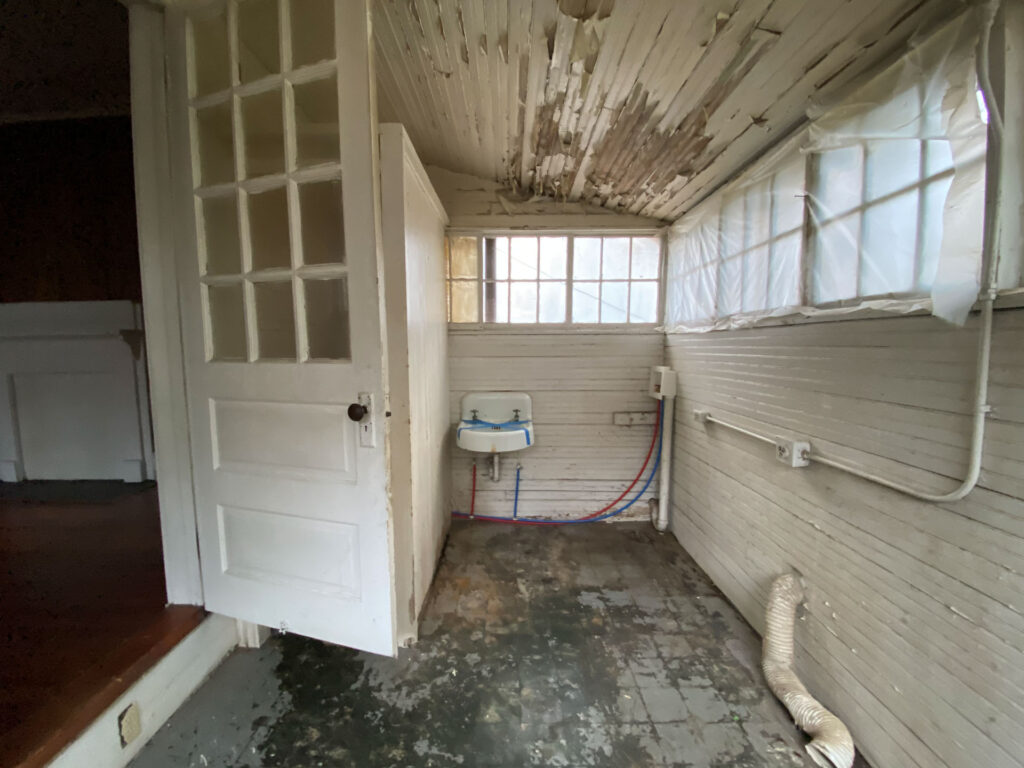
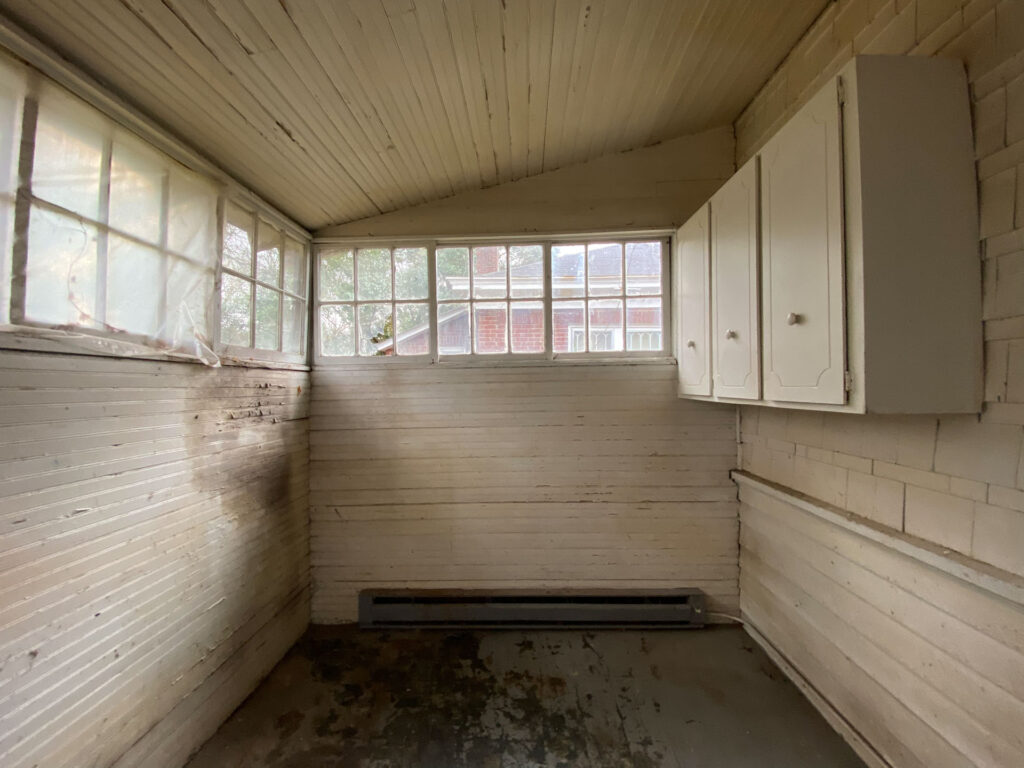
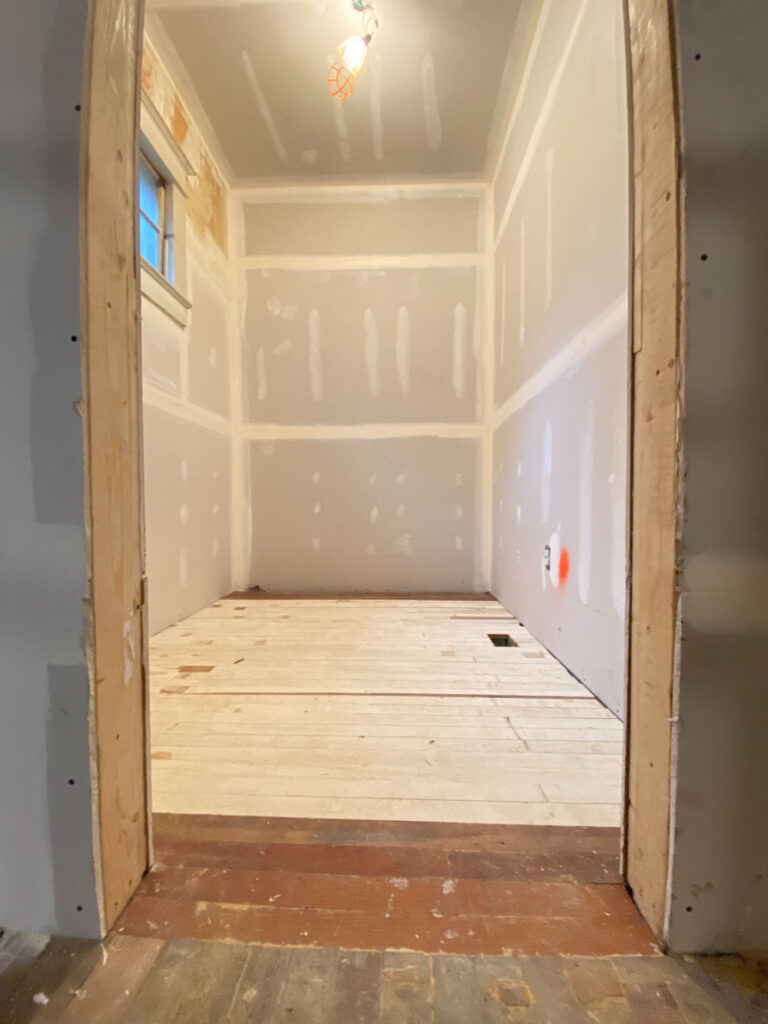
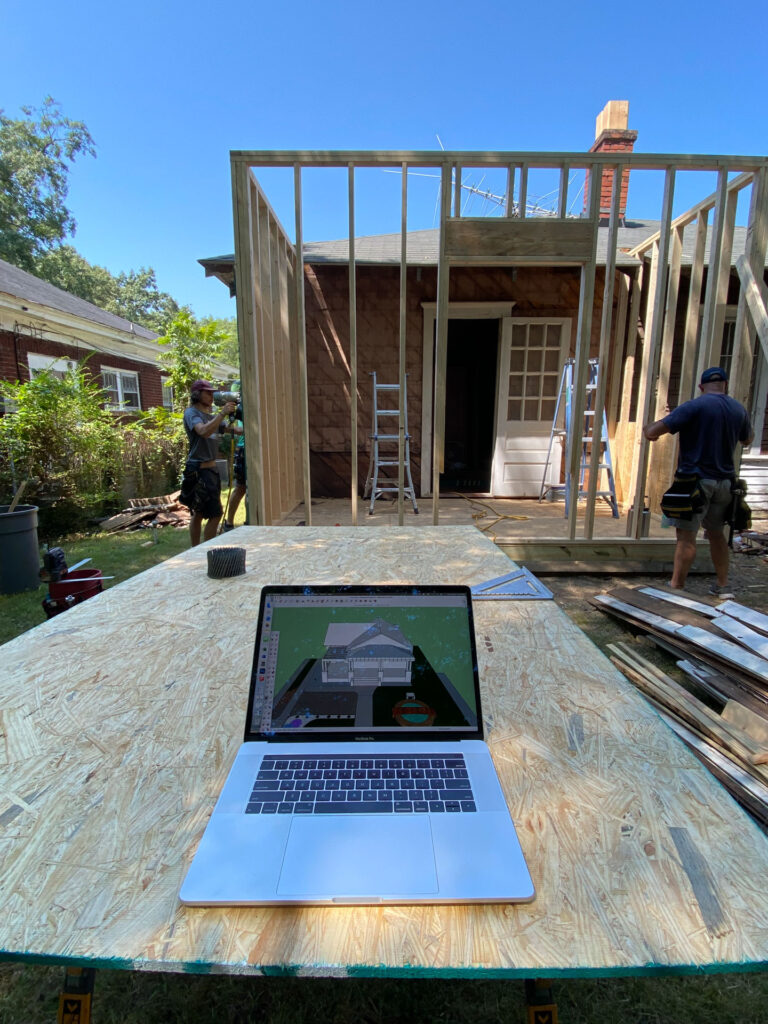
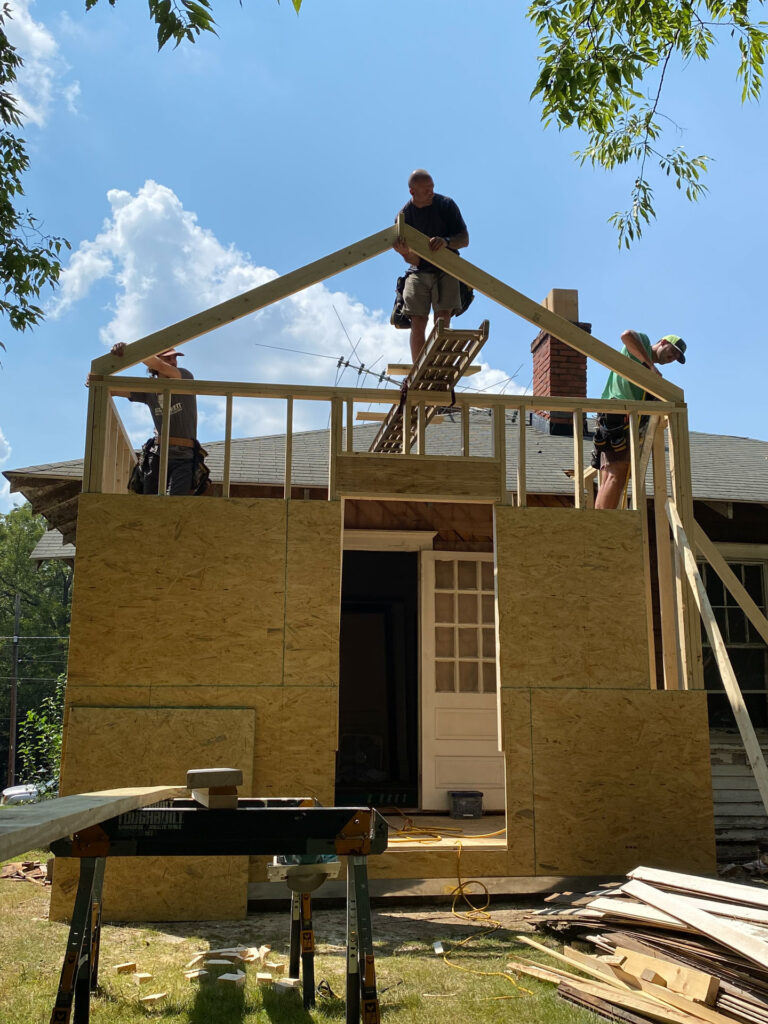
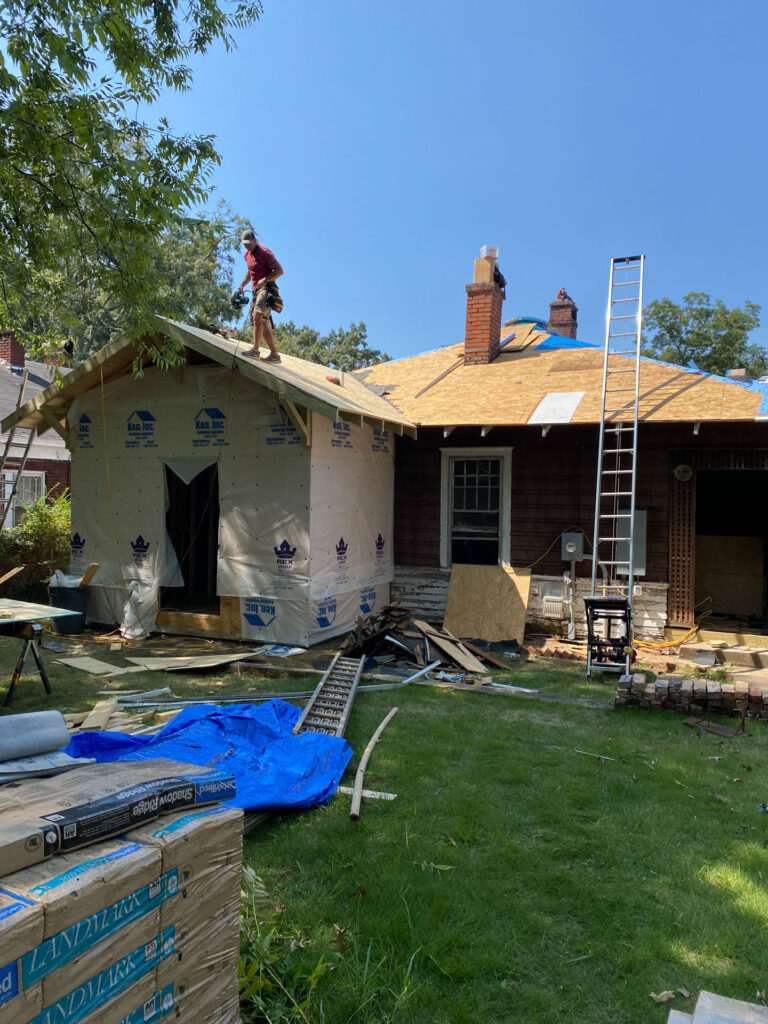
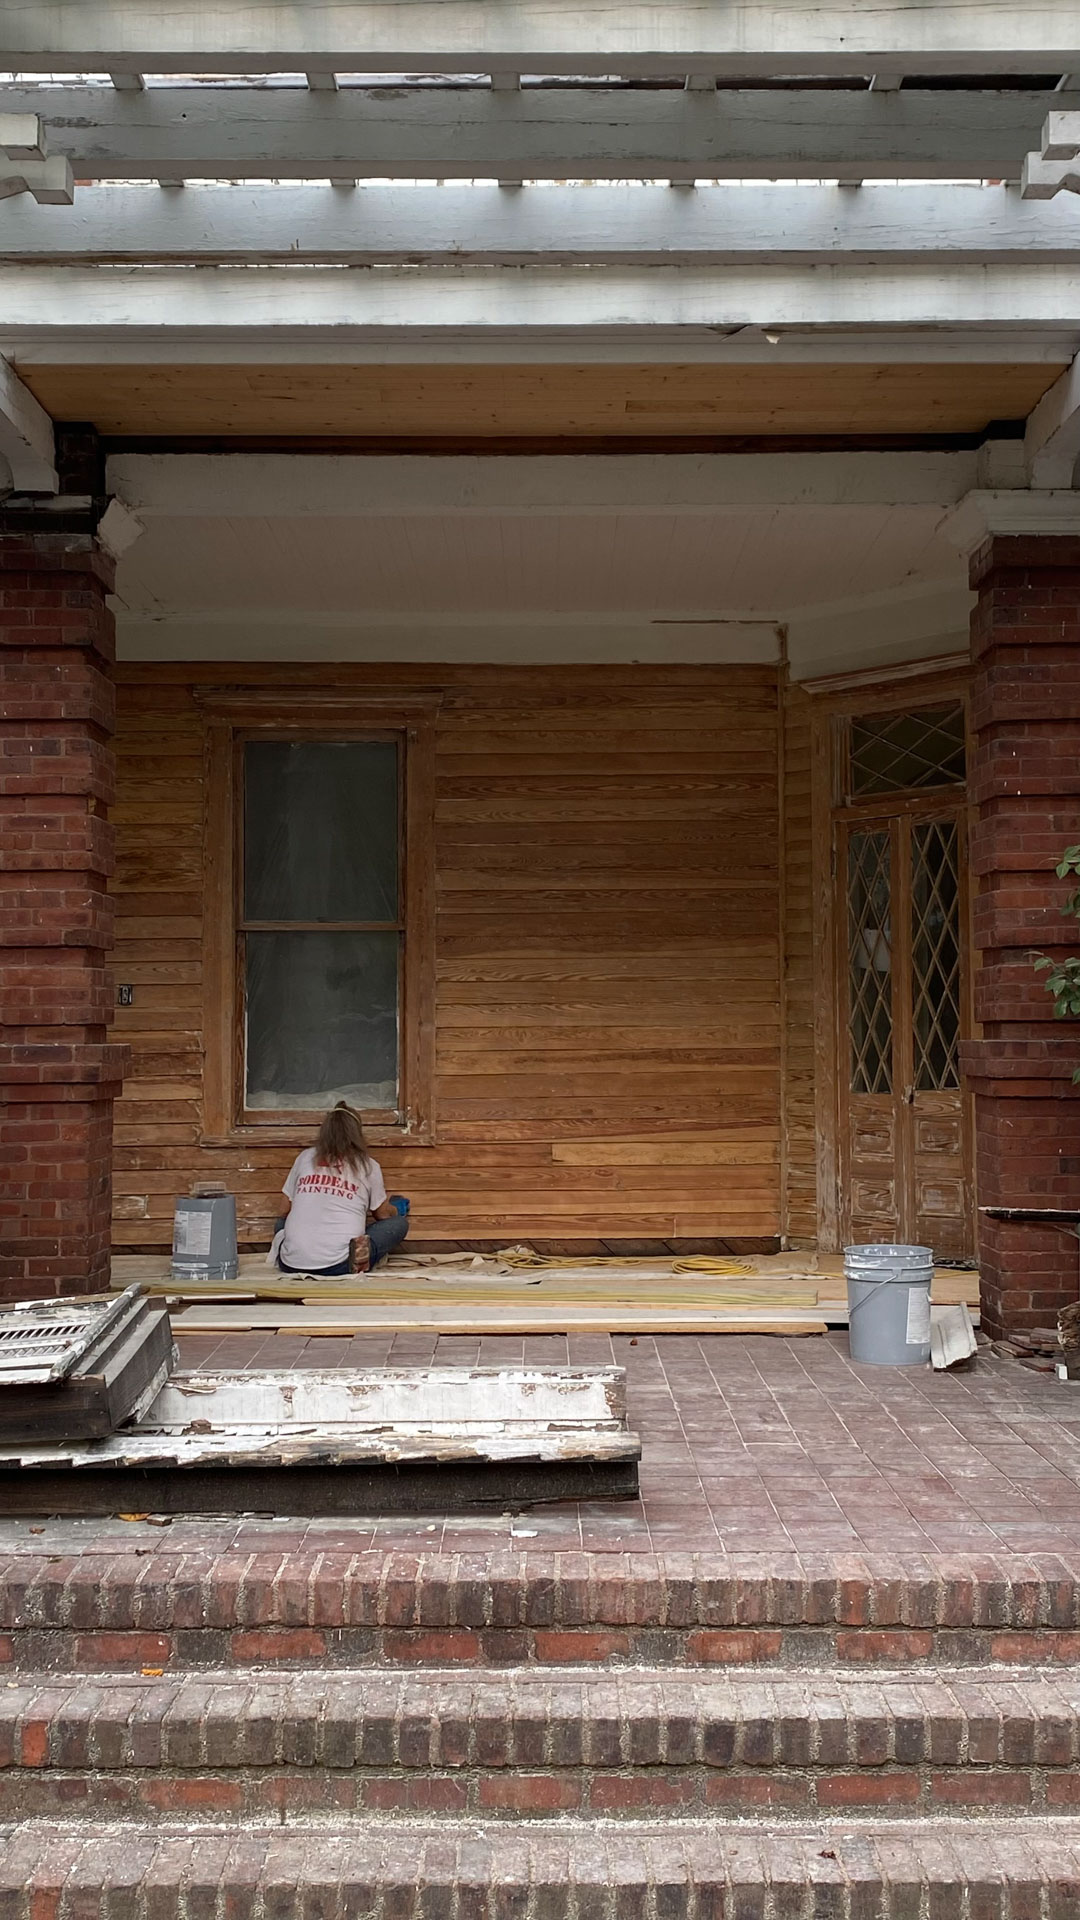
Demolition & Reconstruction
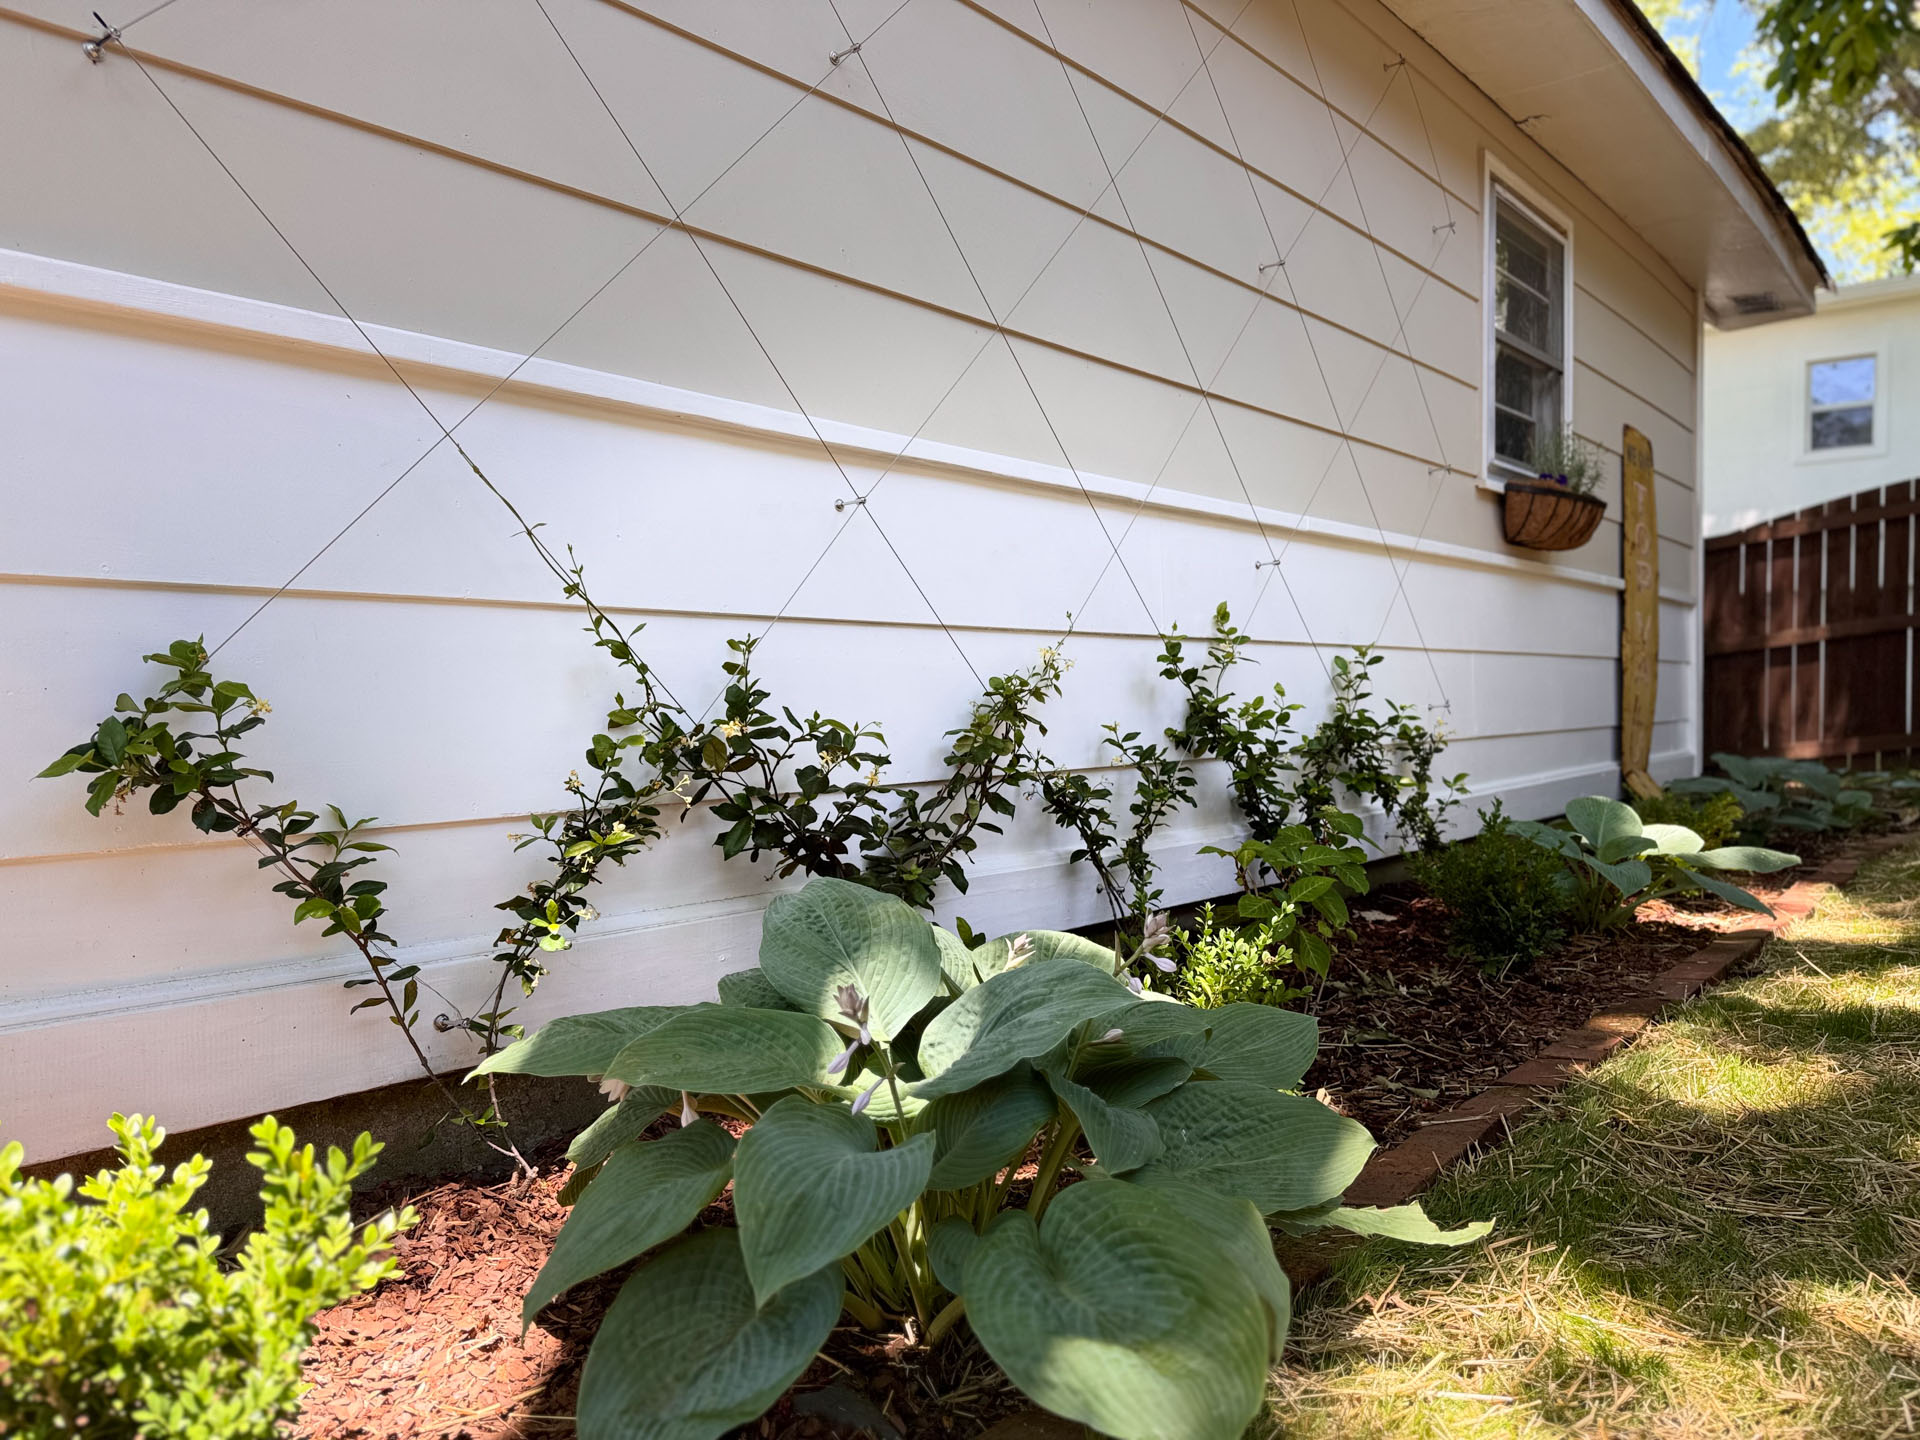
Any which way around it, it was not going to work. While we did first attempt to convert the space, we ended up having to completely tear it down and then rebuild. As is the case for any renovation of mine, we worked hard to try and make it look like it had always been here. We added a window to match the rest of the house and continued the siding and cedar shake around the exterior to match the rest of the house.
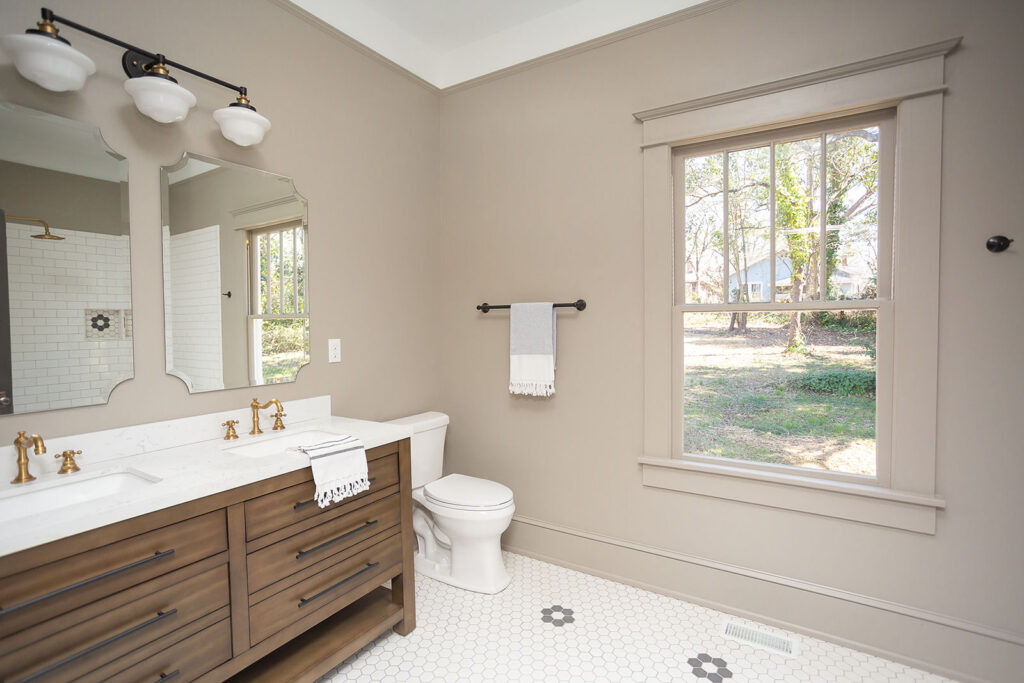
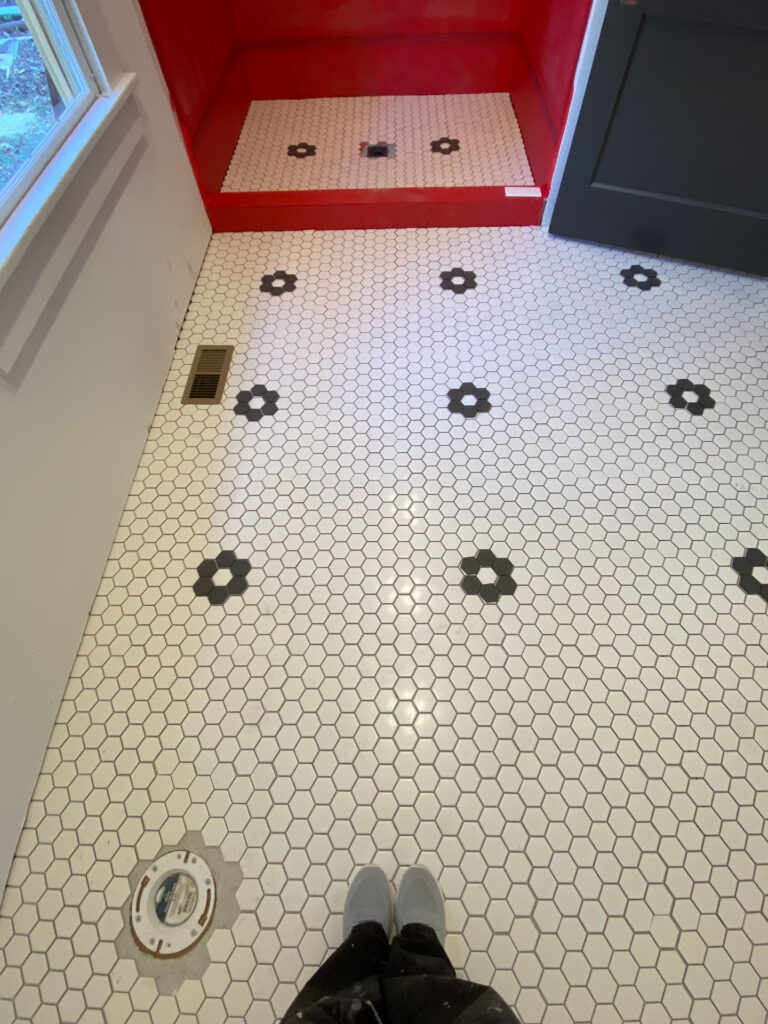
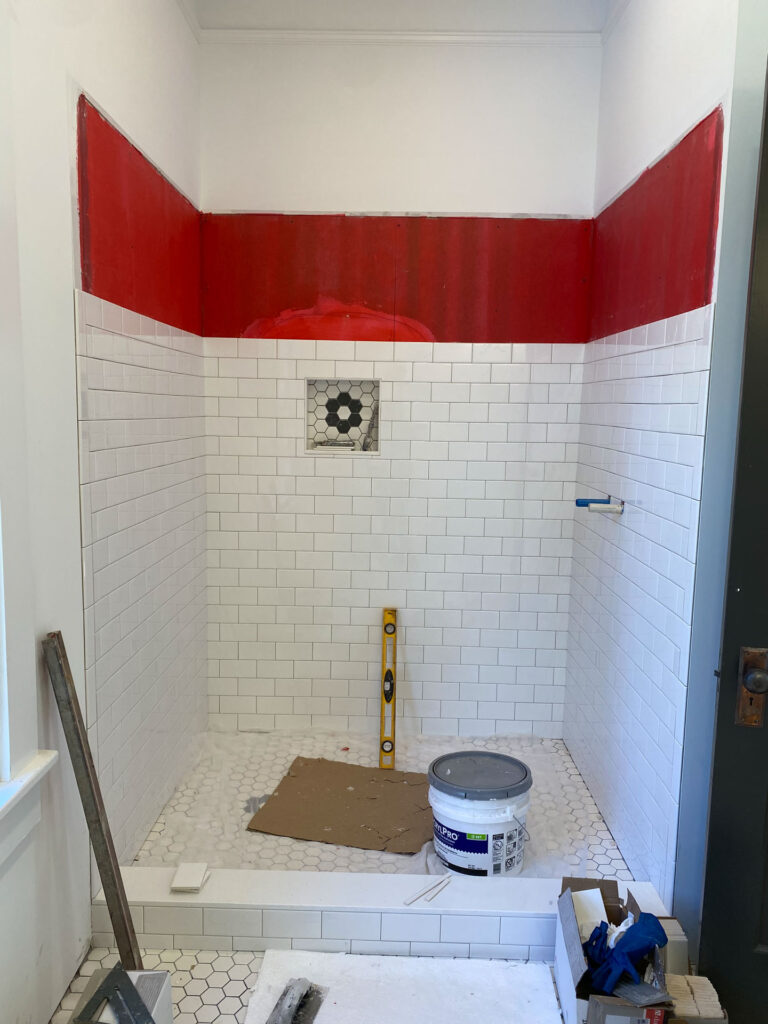
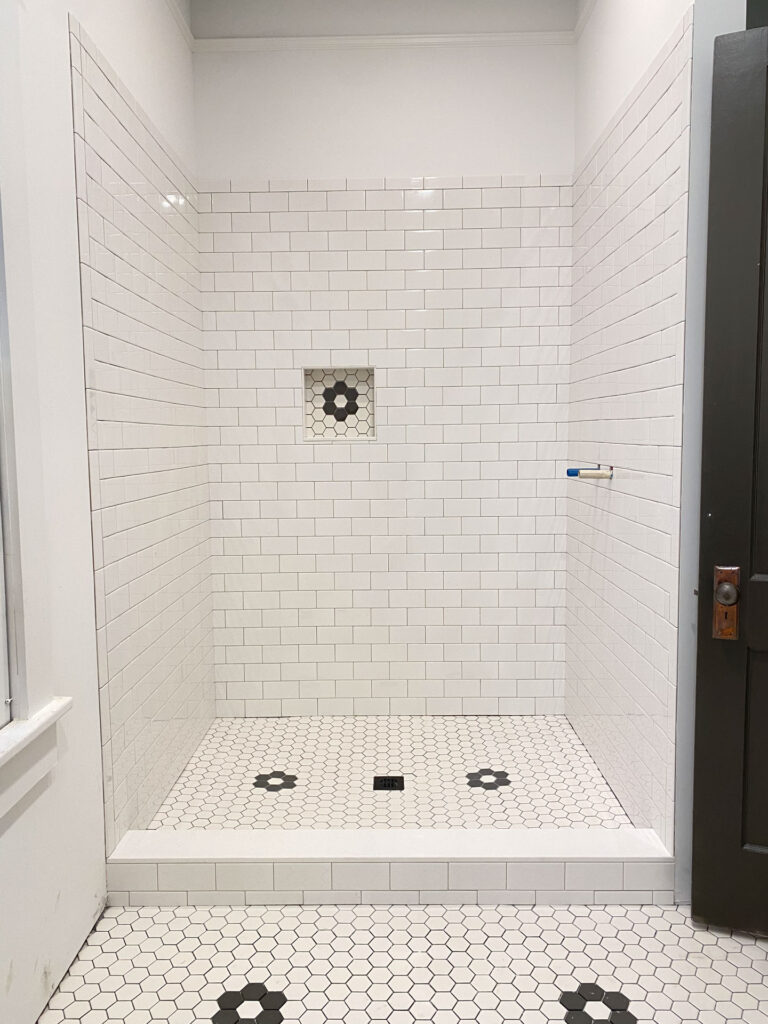
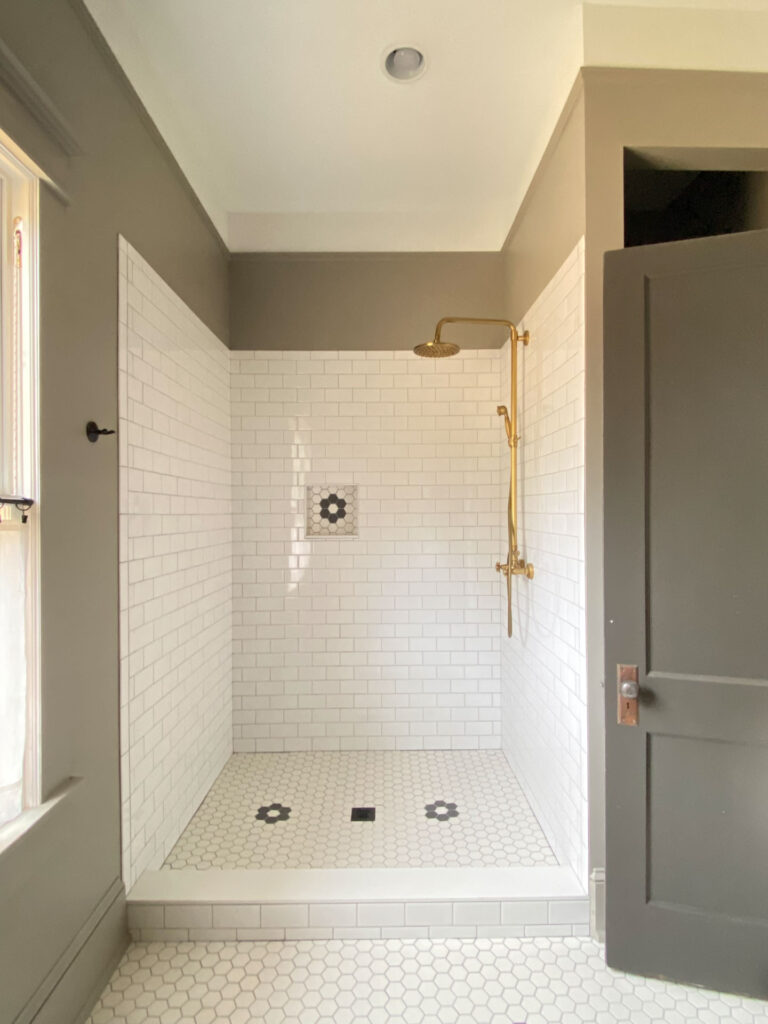
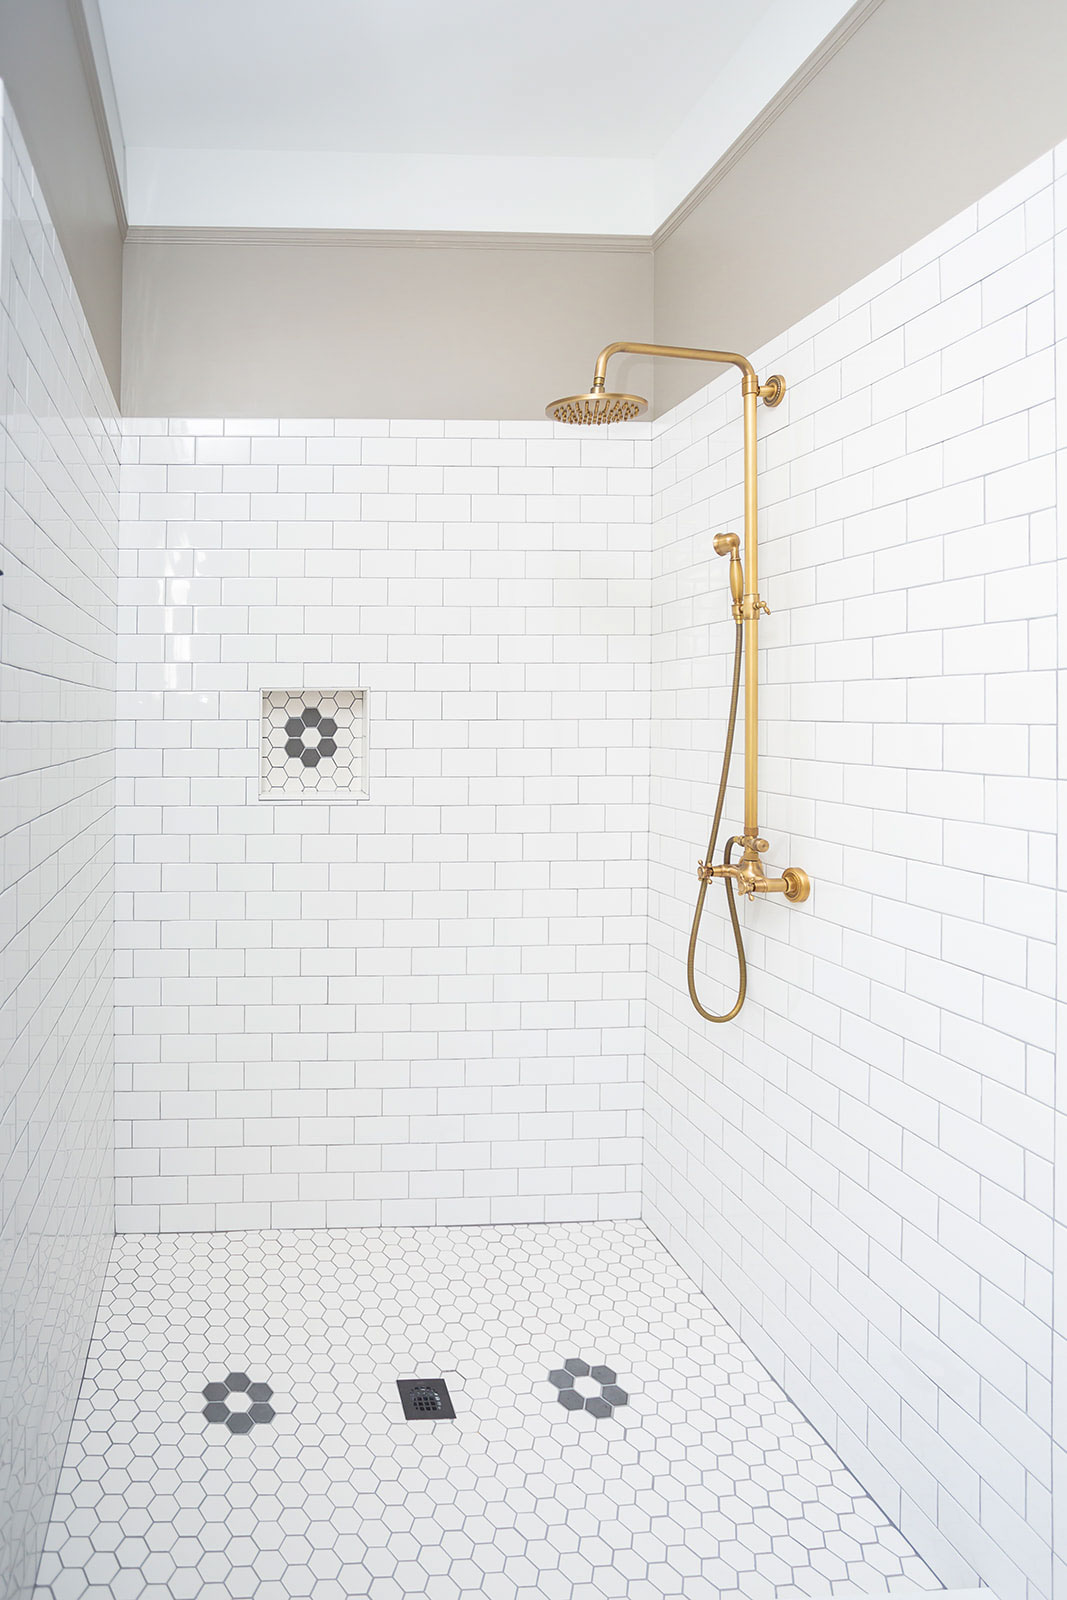
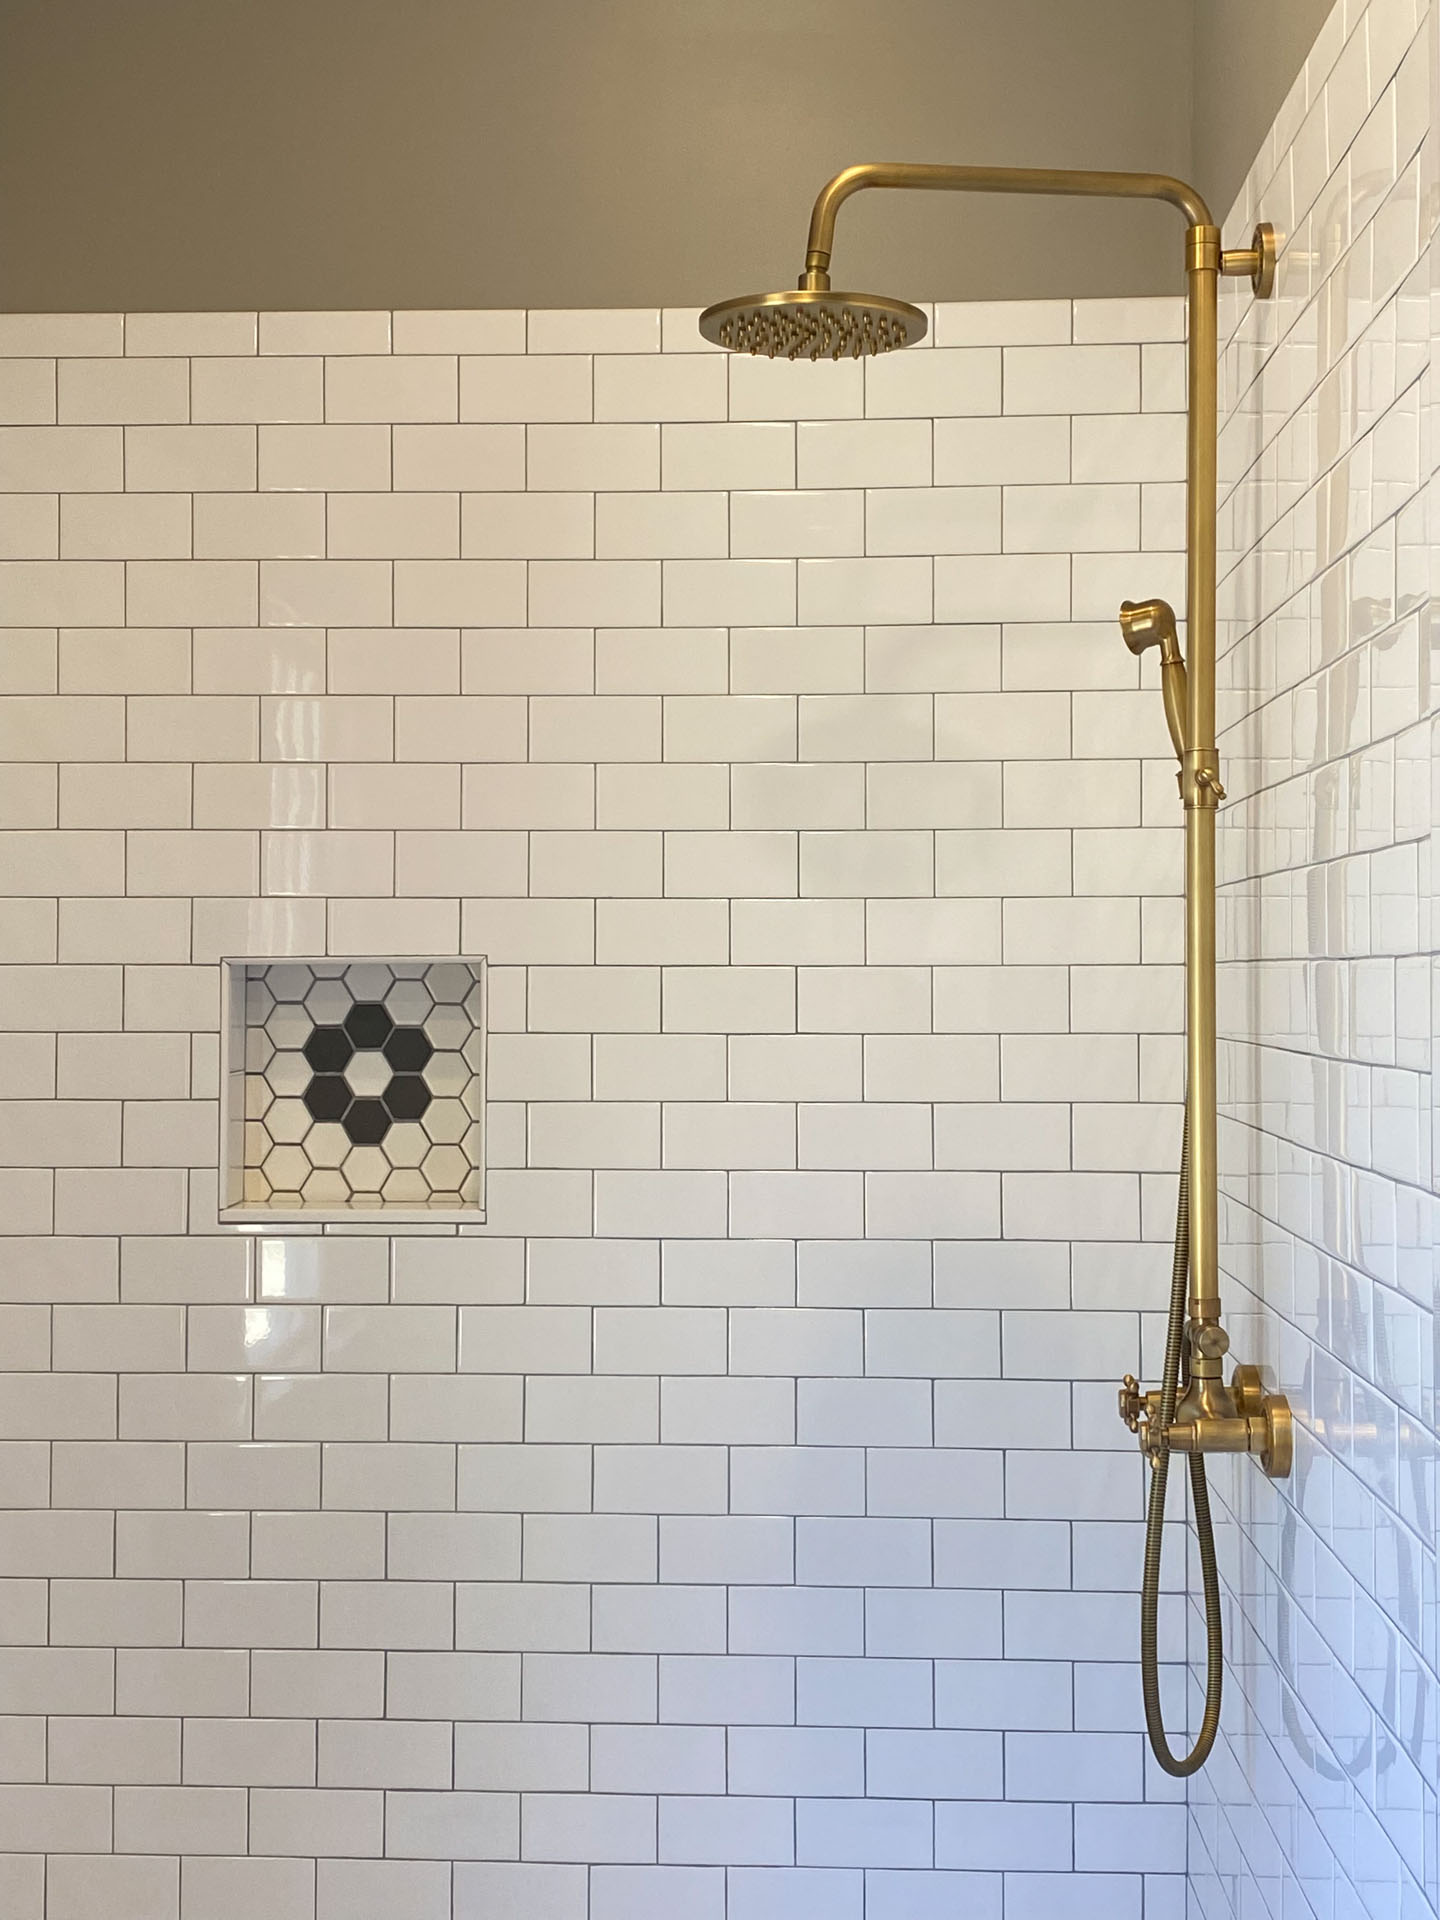
The Bathroom Tile Design
Once the new addition was in the dry, it was time for the fun details like the tile floor. I used a white hexagon moscaic tile and then found a couple of sheets of the same tile in black. I then cut out florets and spaced them out to create a pretty custom design at a fraction of the cost. Once the subway tile went up on the walls, the design really came together.
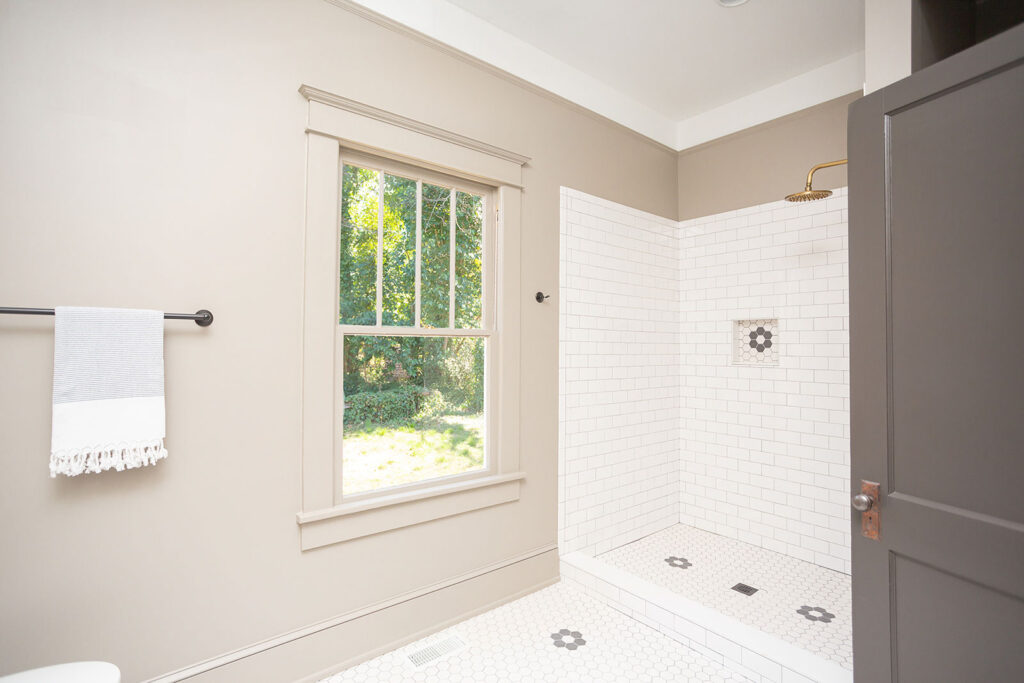
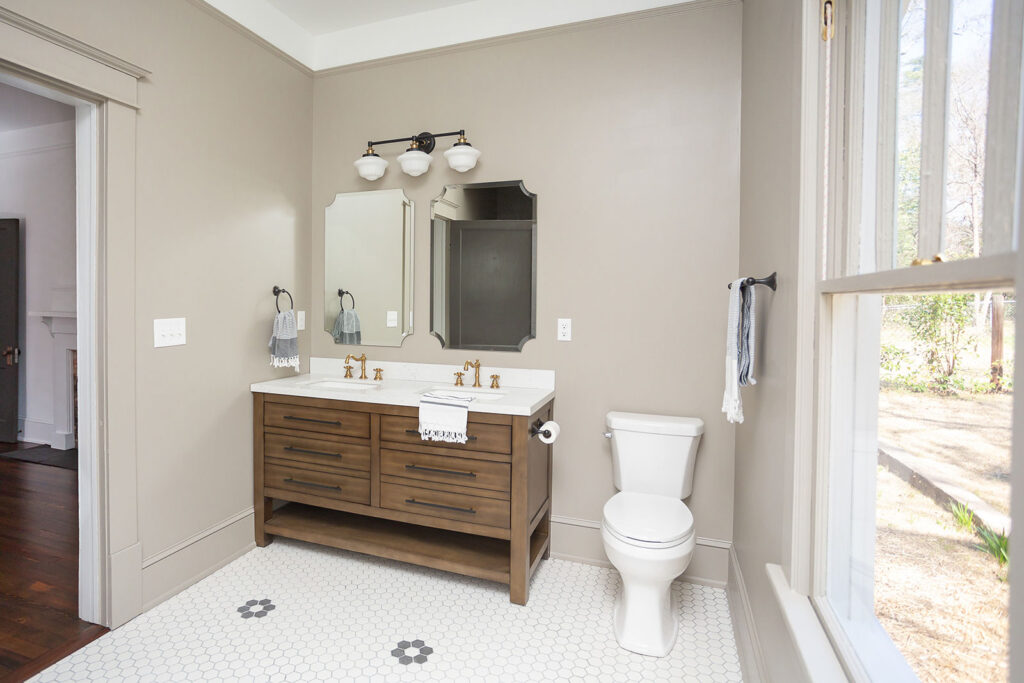
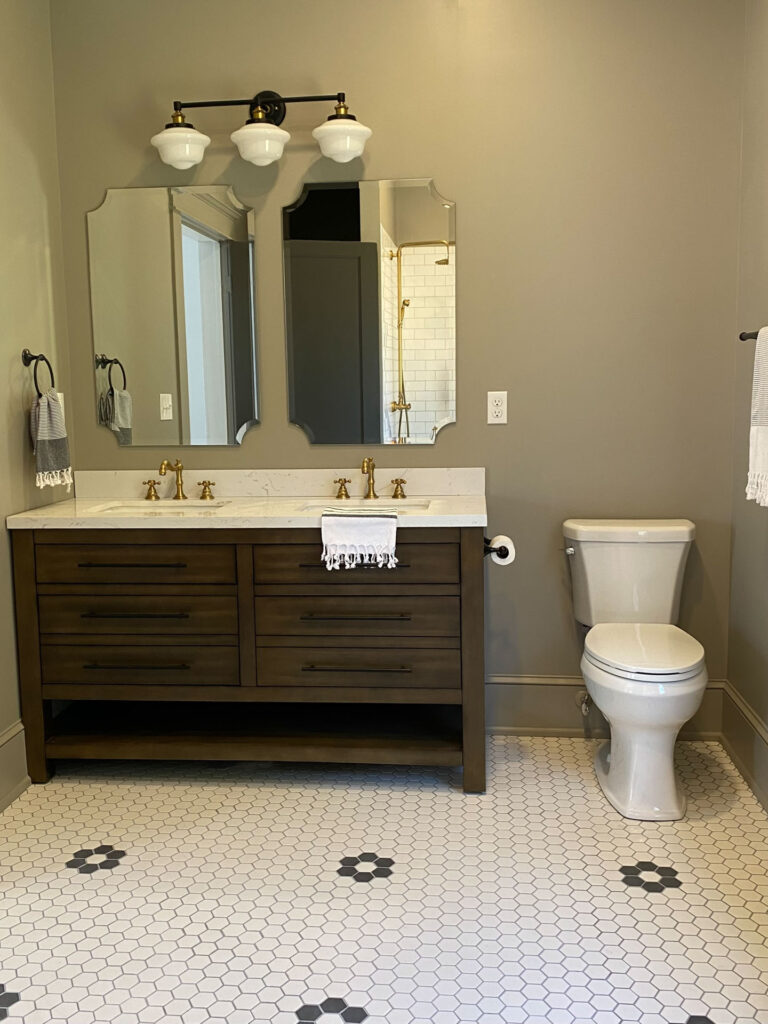
The After
Once all of the construction pieces were in place, I painted all of the walls and ceilings SW7045 Intellectual Gray for a more dramatic look. I love the way it looks with the wood double vanity and brass fixtures. Once the accessories were in place this bathroom is now a beautiful space and completes the master suite.

BATHROOM SOURCES:
Double Vanity
Sink Faucets
Beveled Mirrors
3-Light Wall Sconce
Shower Faucet
For all of the sources and photos of Peronneau Place, click here.


+ Show / Hide Comments
Share to: