Reworking the Kitchen Floor Plan at the Corner Cottage
At the heart of most homes is the kitchen and when it came time to renovate the kitchen of the Corner Cottage, I knew I needed to rework the floor plan a little. If you’re not familiar with this project, head here to learn how we reworked the entire floor plan of this 1940’s historic home and check out the exterior transformation too. But for now I’d like to focus specifically on the kitchen renovation and how we added an original wall back and made the bonus room addition seamless work with the new old kitchen.
The Before
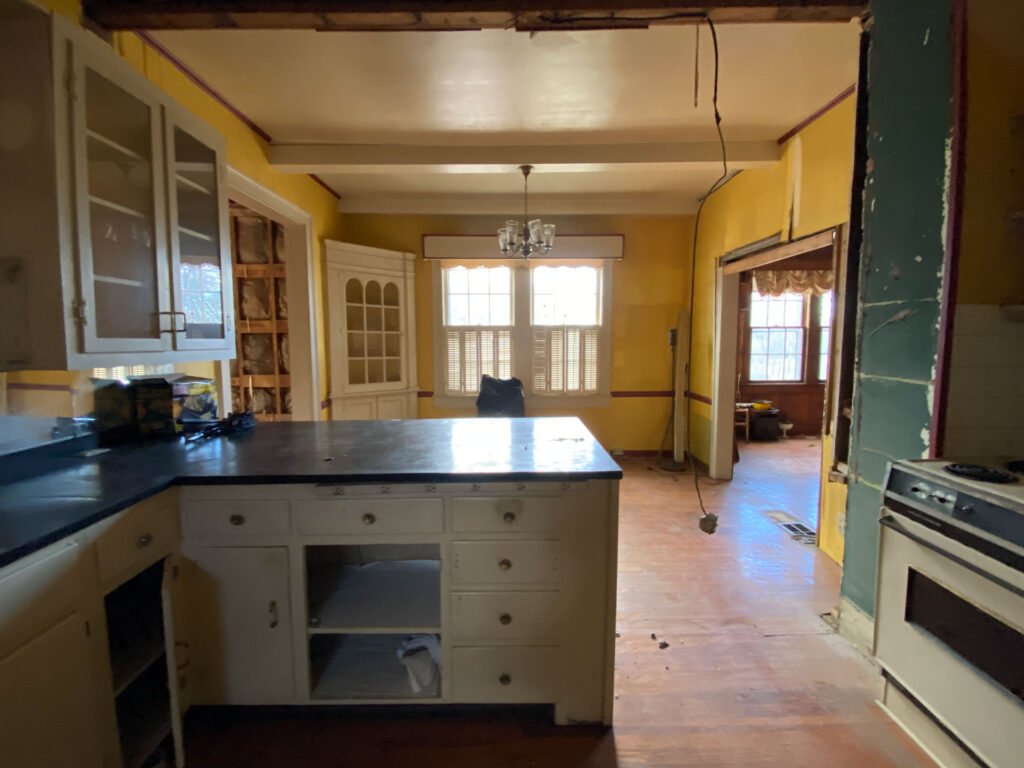
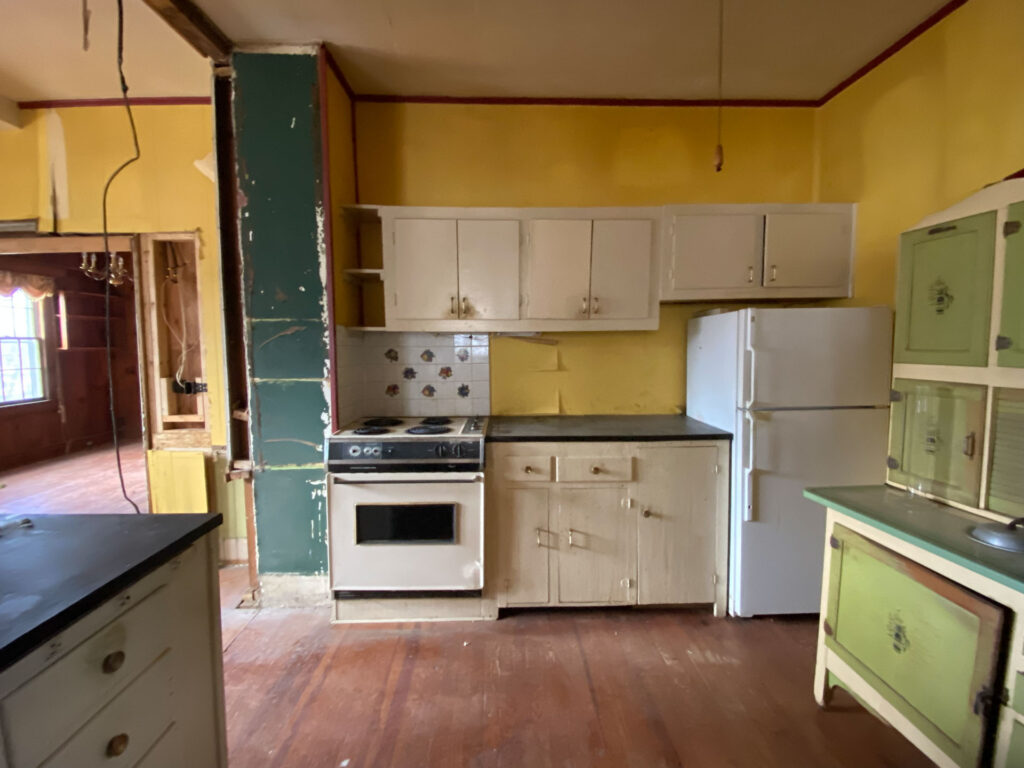
When I first walked through the Corner Cottage, this is what the kitchen looked like.
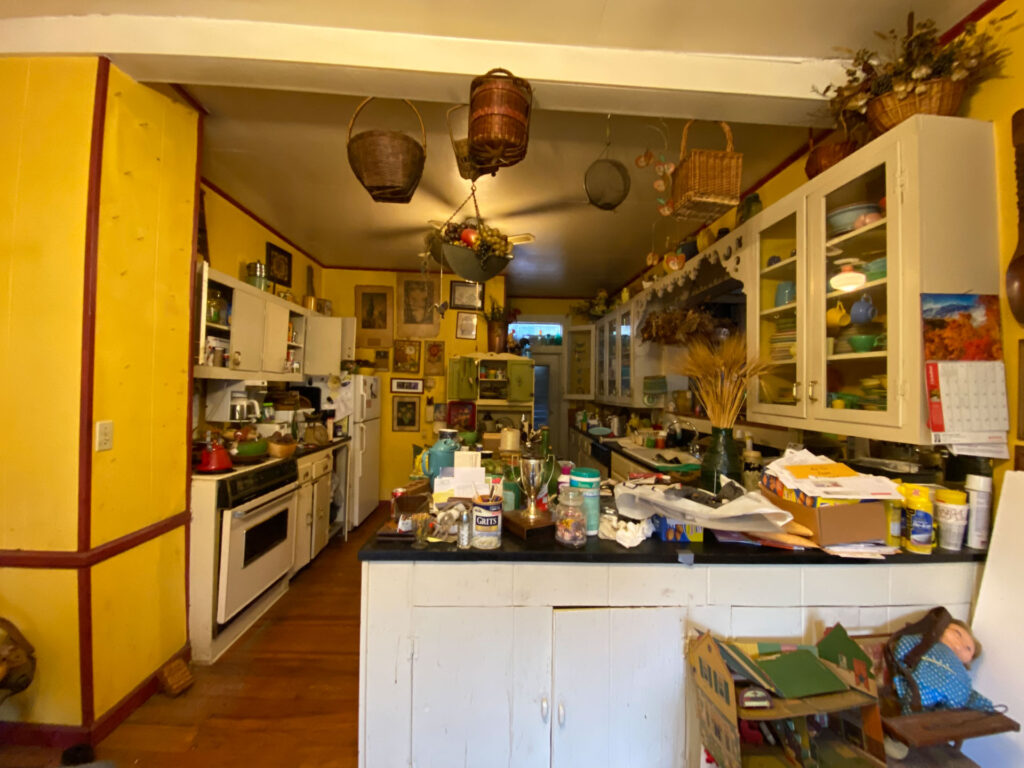
A lot of people would look at the clutter and immediately say no. But not me. I could see past all of the stuff and what kind of potential this kitchen actually had. And so, the first order of business was to clear everything out to see what I had to work with.
Reworking the Kitchen Floor Plan
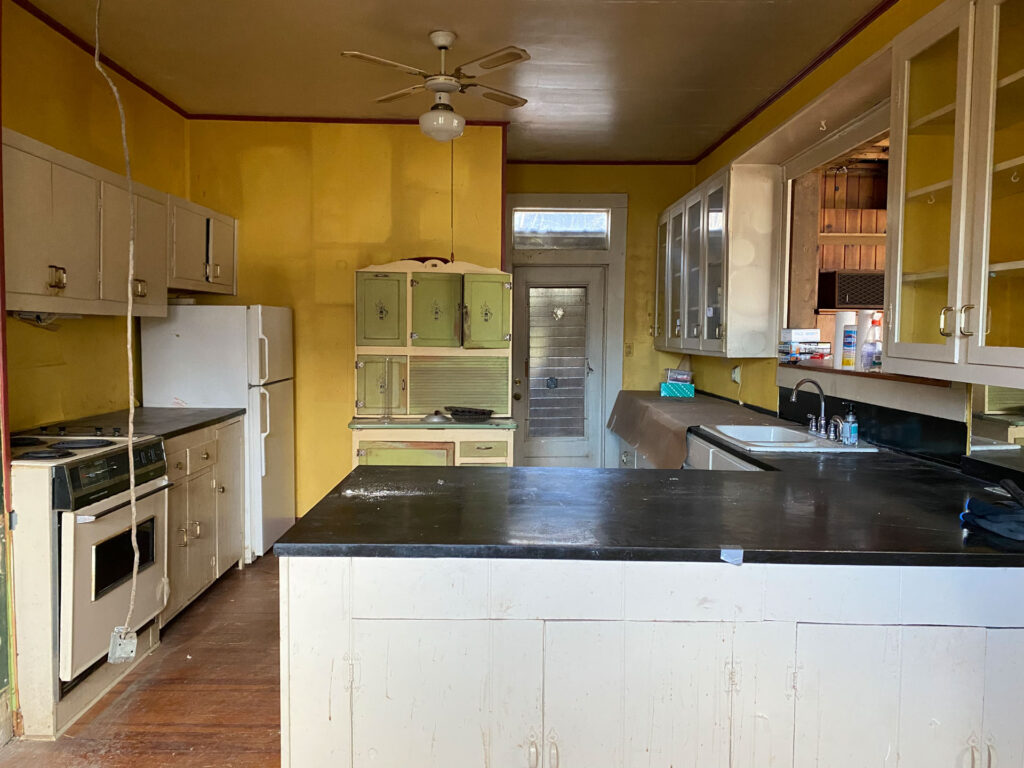
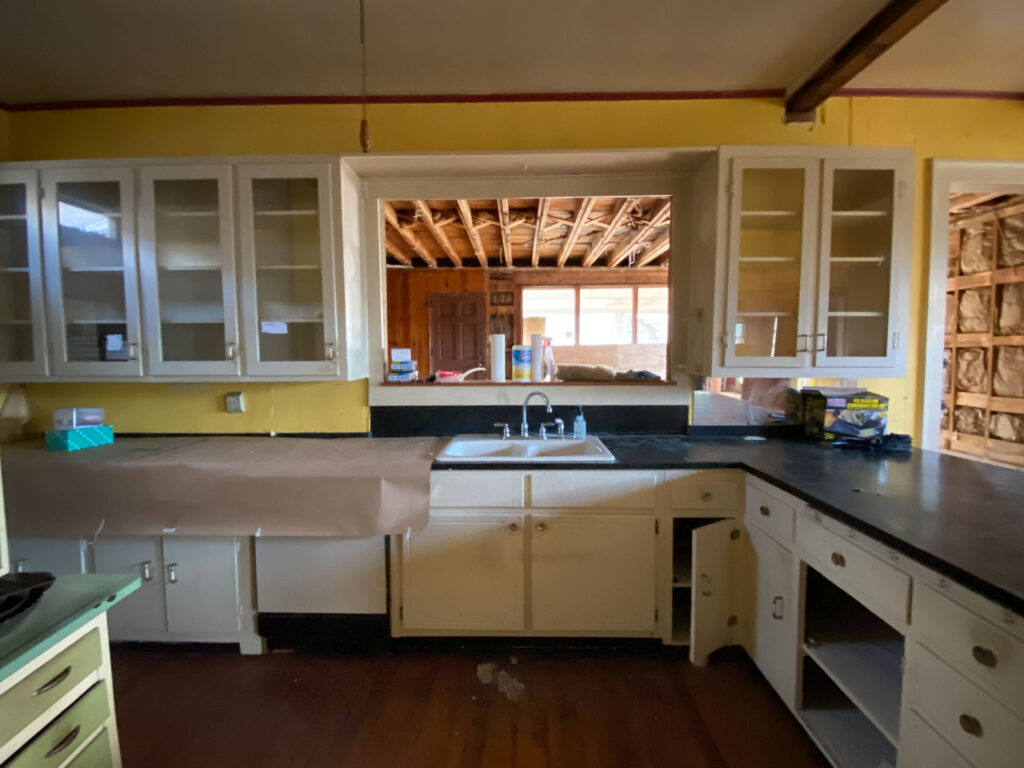
Overall I didn’t mind the layout of the kitchen even though I knew we would be tearing out all of the cabinets. And yes, we saved the upper cabinets for another project. The first dilemma was the opening above the sink that looked into the bonus room. While I didn’t mind the opening from the kitchen side, on the other side it presented a problem. The bonus room didn’t have any walls to put any furniture on and so, I decided just to close it up.
The Structural Issue
The other problem came down to a structural issue. It was easy to see that a wall had been removed at some point to open up the kitchen more. However, when we removed the cabinets, we saw where they just cut the framing down and never added in any structural support for the second story bedroom.
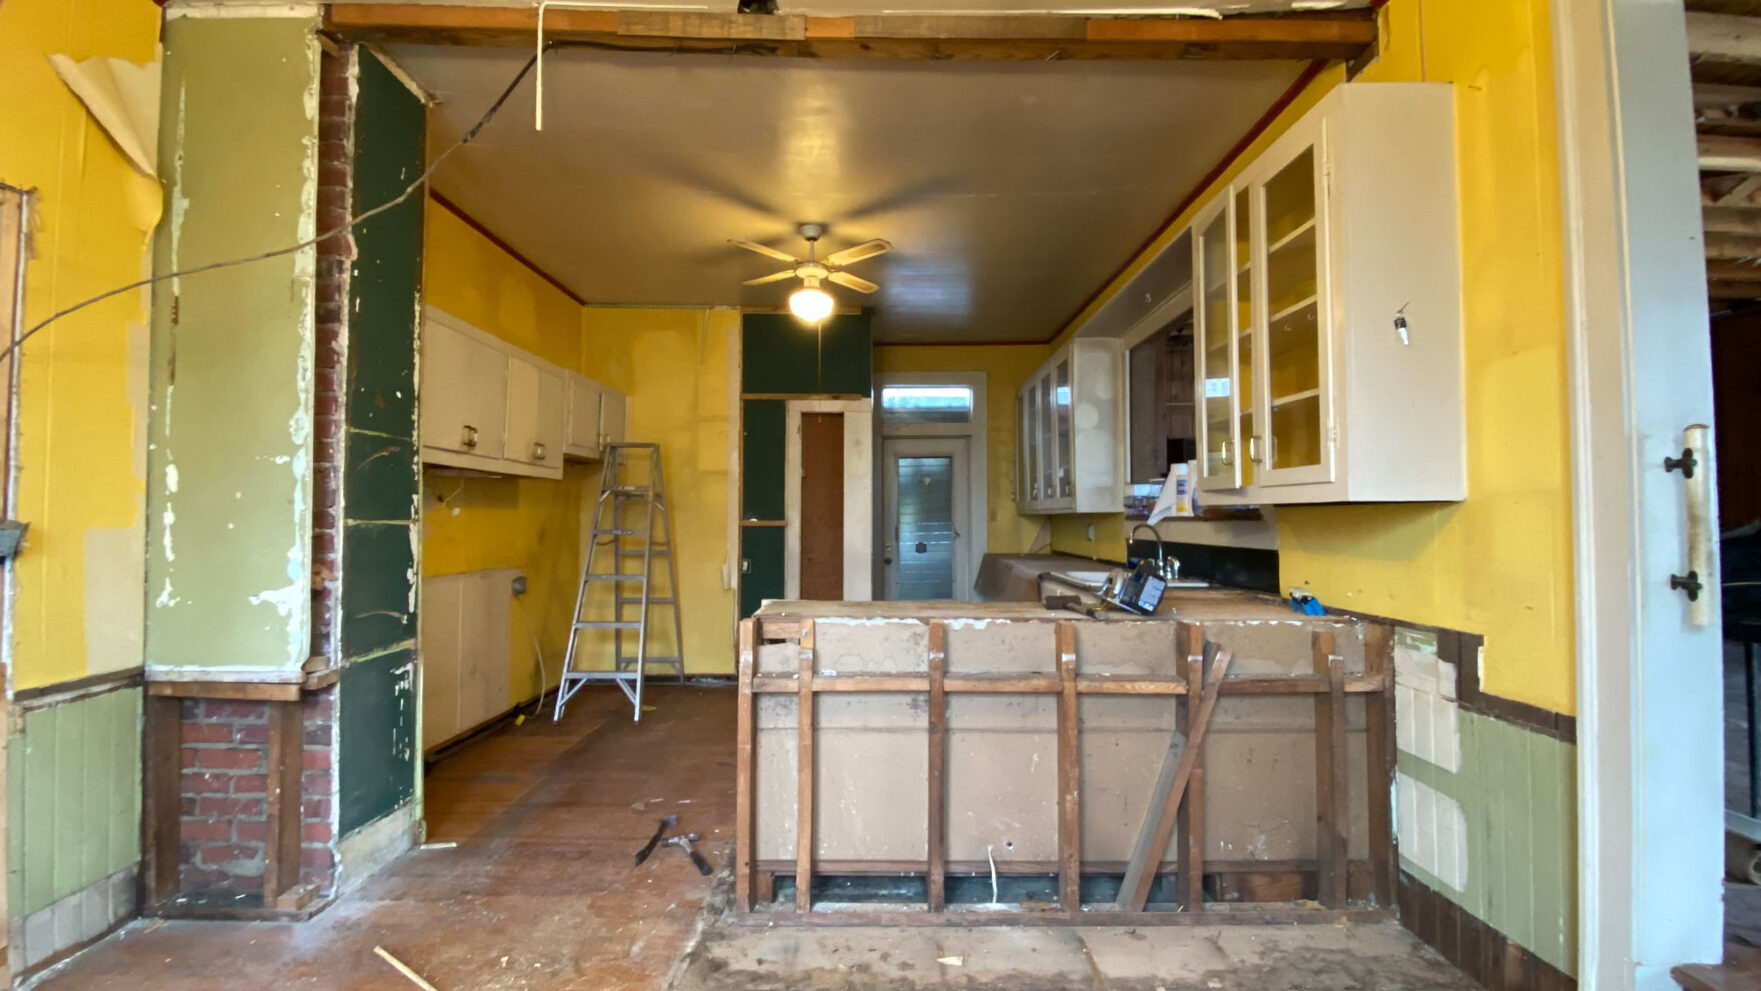
This lack of support not only caused the beam in the ceiling to drop but the floors above as well.
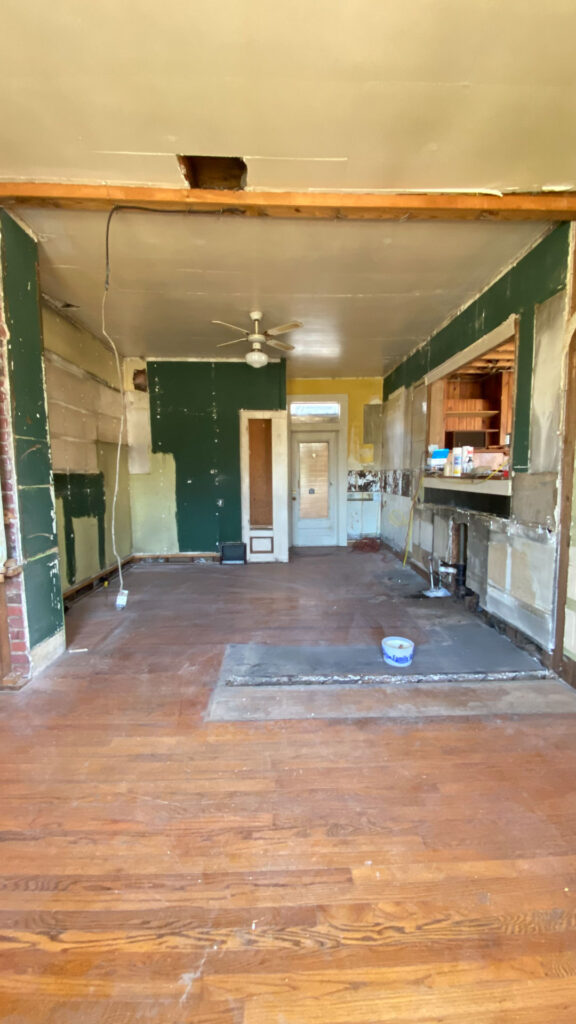
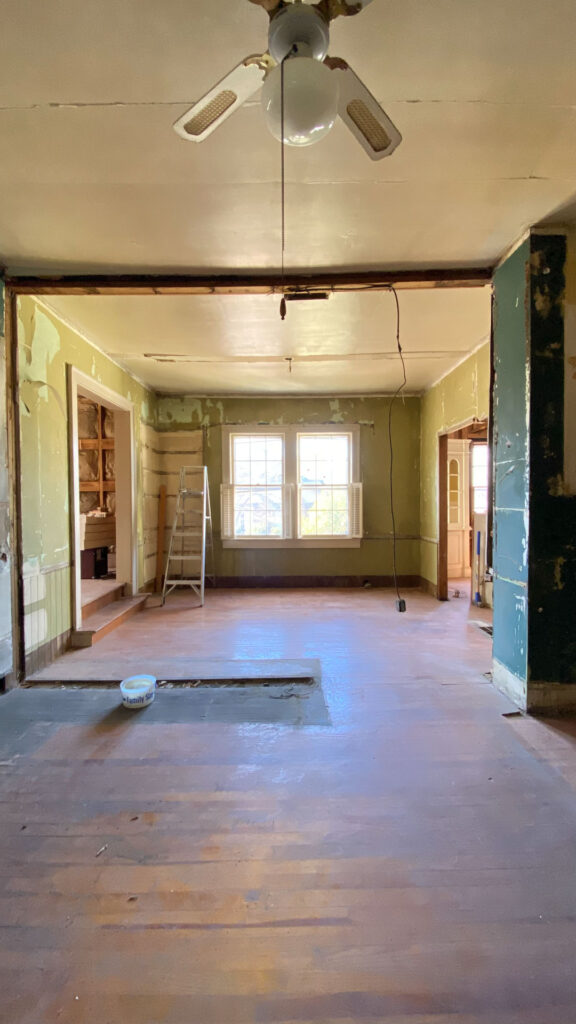
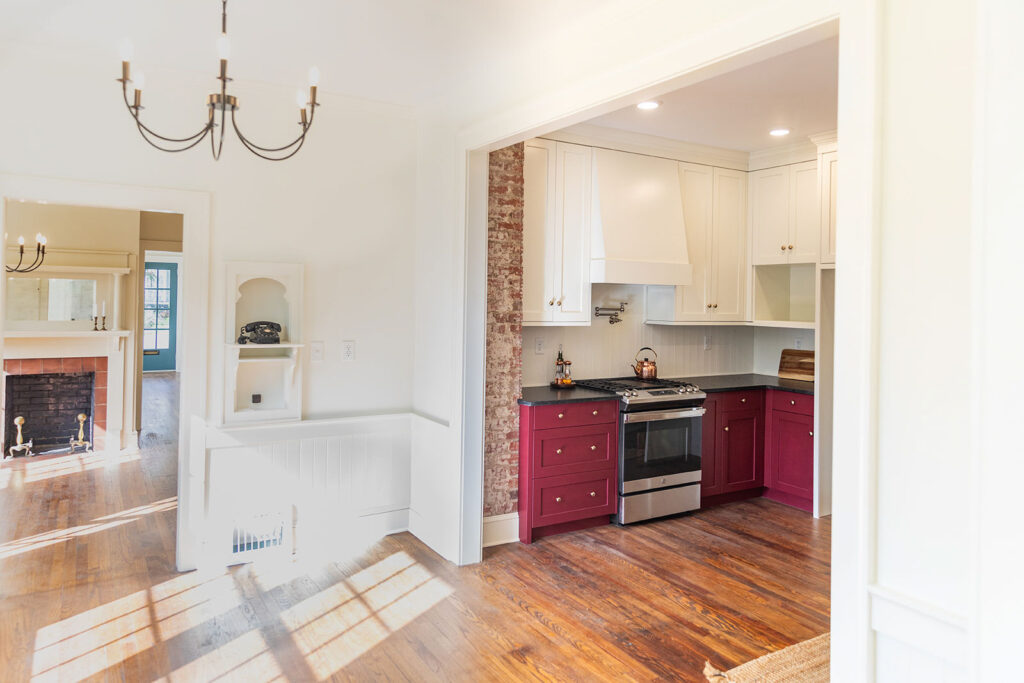
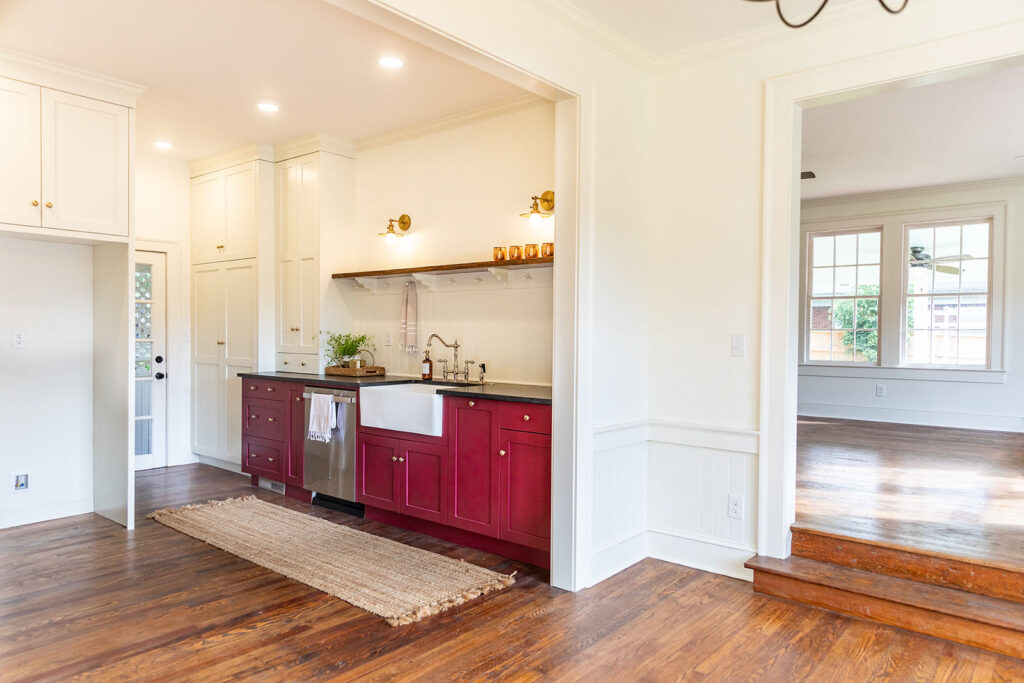
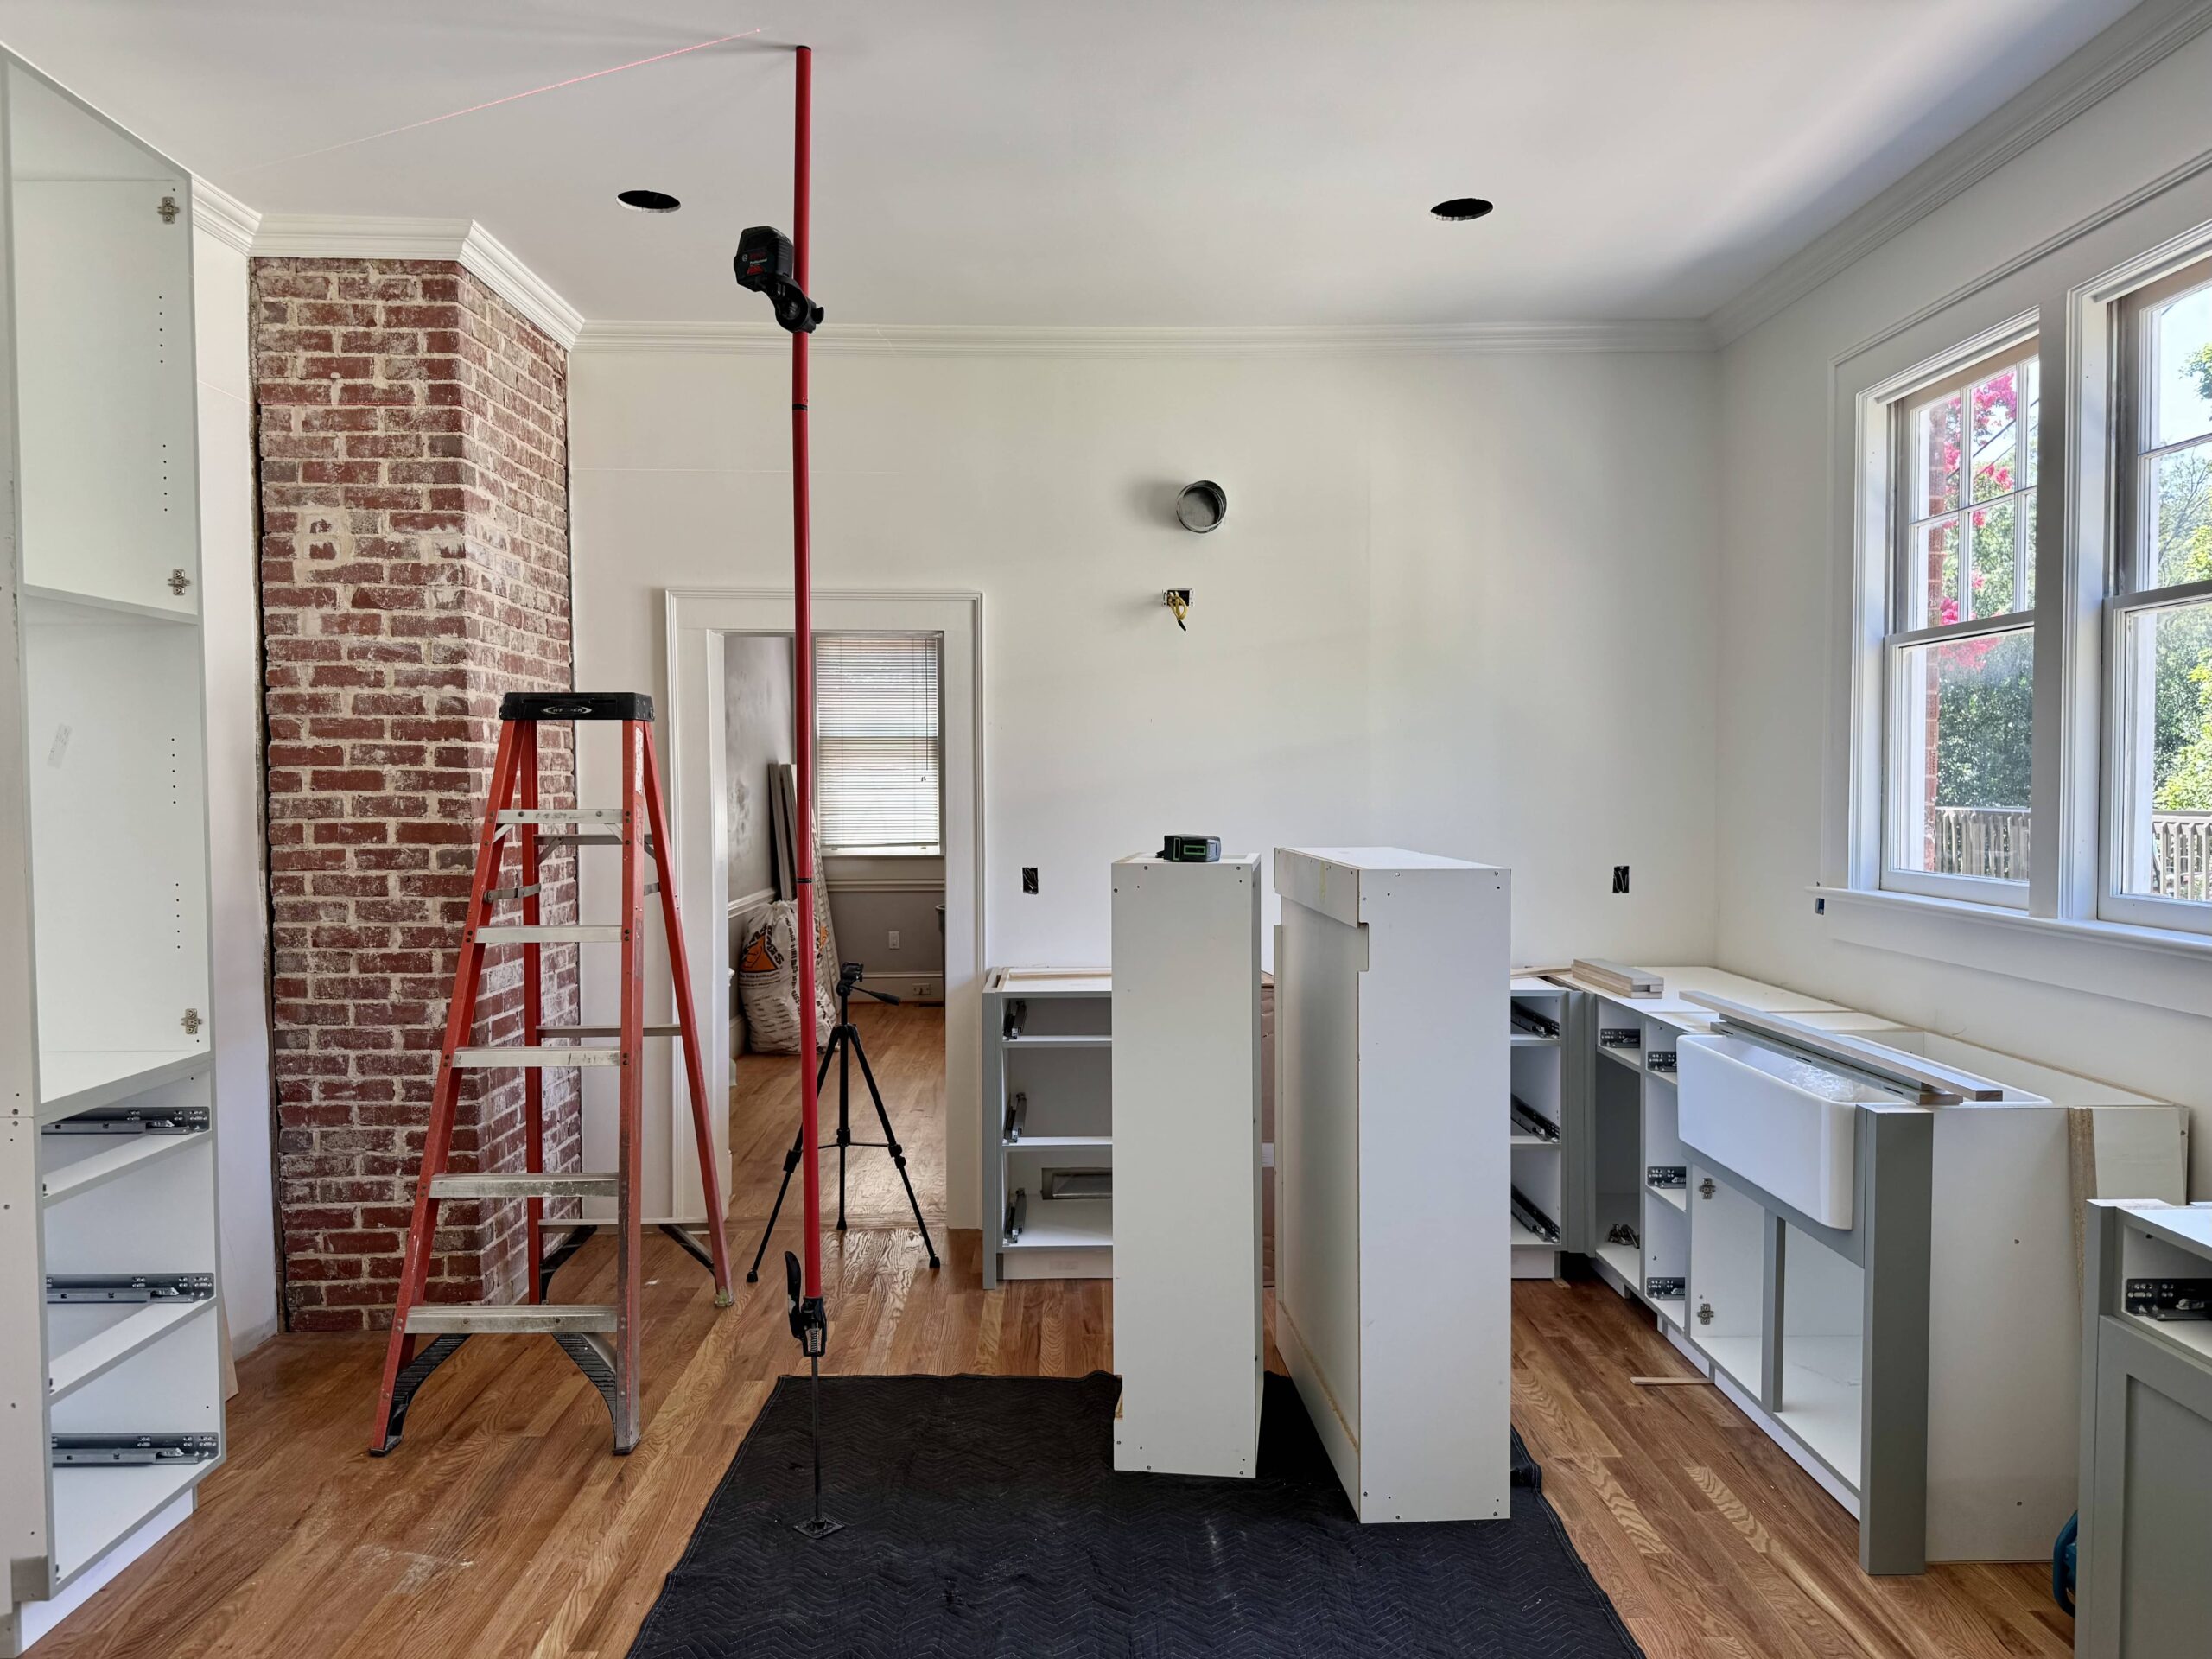
With the structural problem discovered, I decided to add part of the wall back. I had the guys build a cased opening with the proper structural support to carry the load of the upstairs and downstairs it framed out the new kitchen and created a breakfast nook.
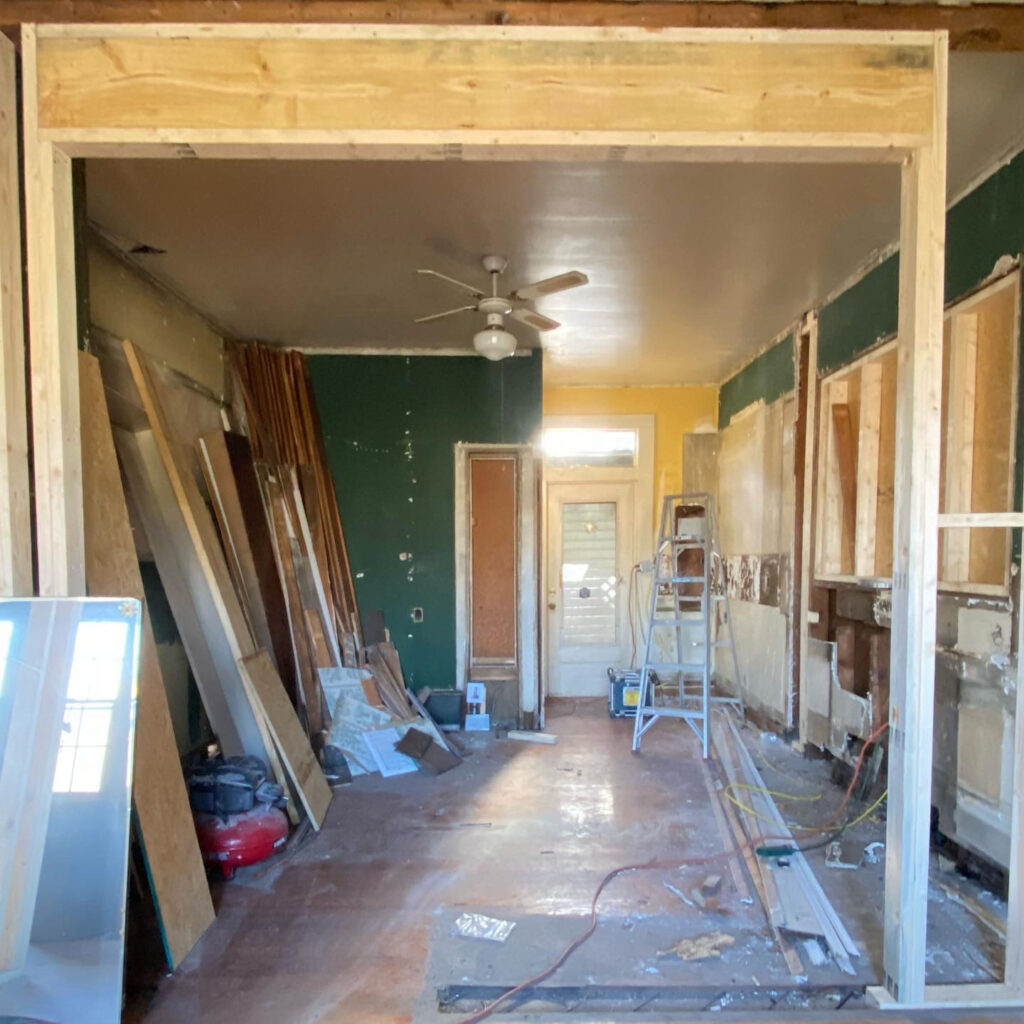
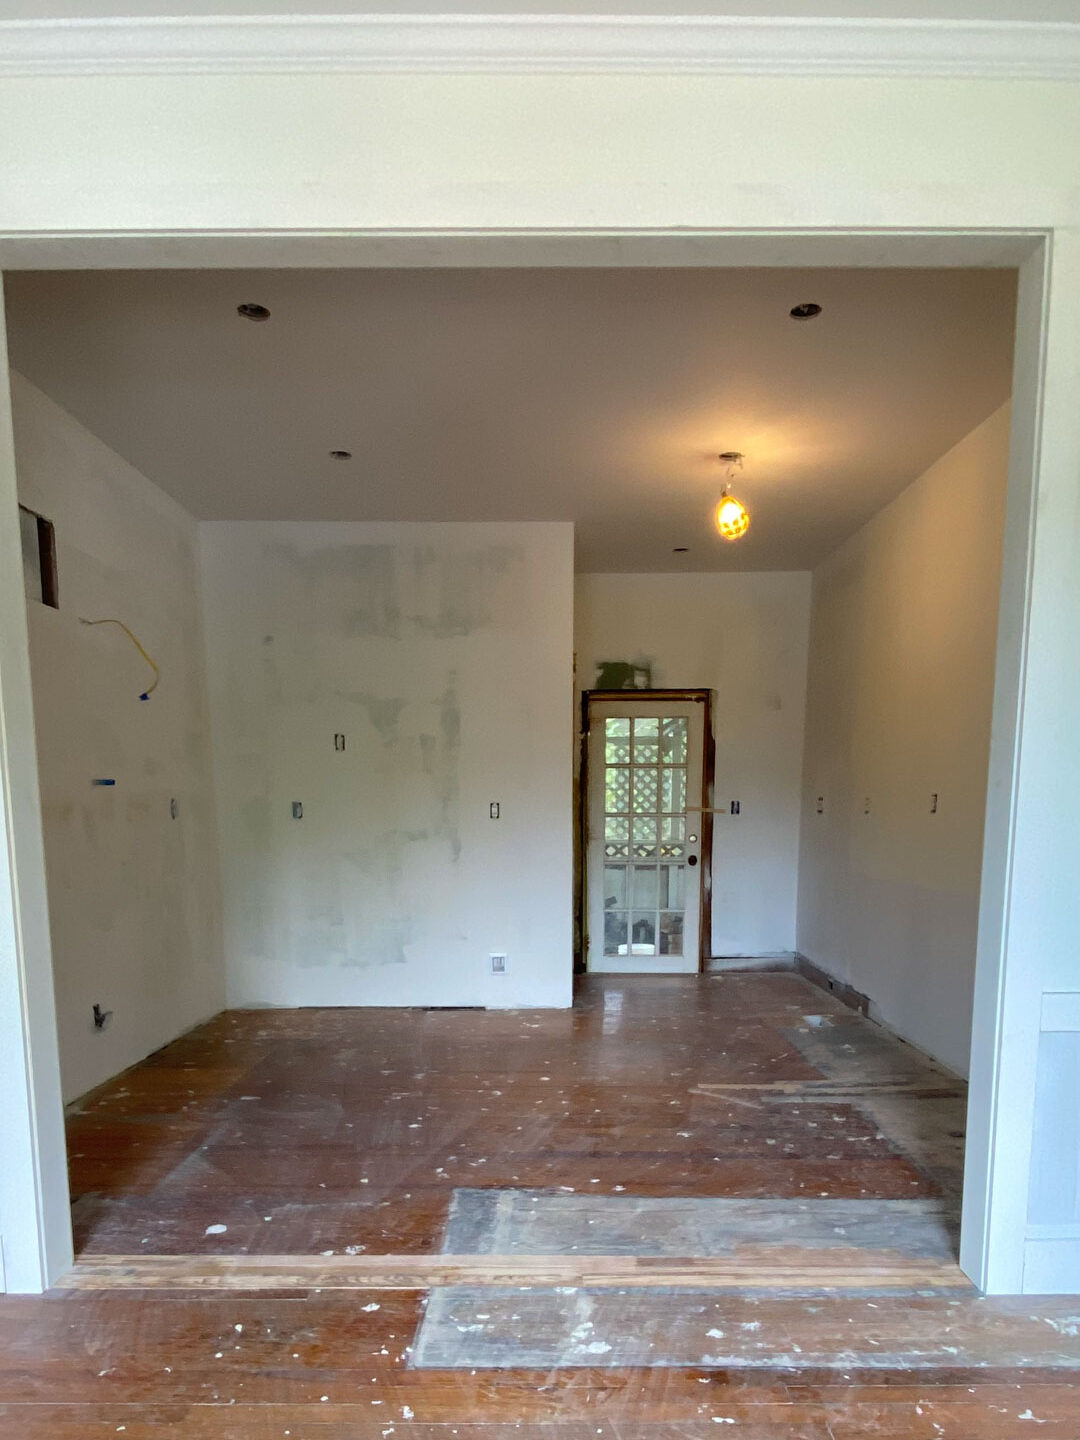
I also made sure the right side wall was wide enough for the lower cabinets and countertop to land against. This measurement included room for trim along the cased opening to match the trim in the rest of the house as well. After all of our electrical and plumbing were roughed in we were ready for drywall, trim, and paint before cabinets were set.
The Hardwood Floors
Luckily when we removed the cabinets, the floors underneath were in decent shape. The only problem we encountered was where the framing had been. Thankfully we were able to salvage just enough flooring from another area in the house to patch the floors here. After sanding, stain, and a few coats of poly, you can’t tell we changed a thing.
The Breakfast Nook
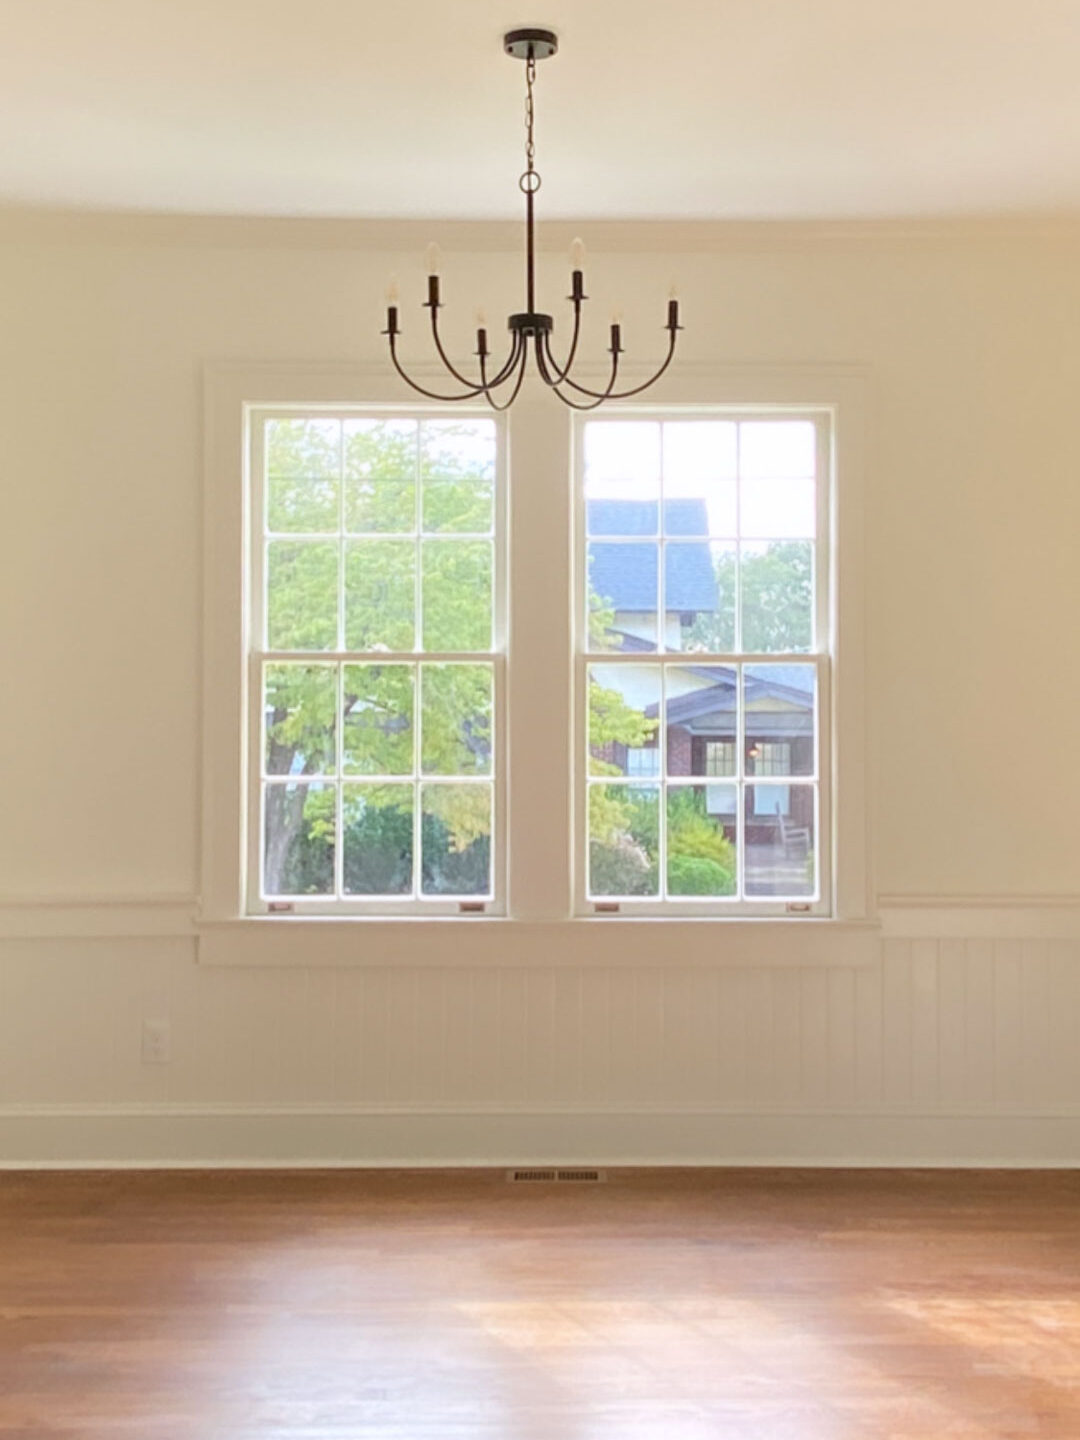
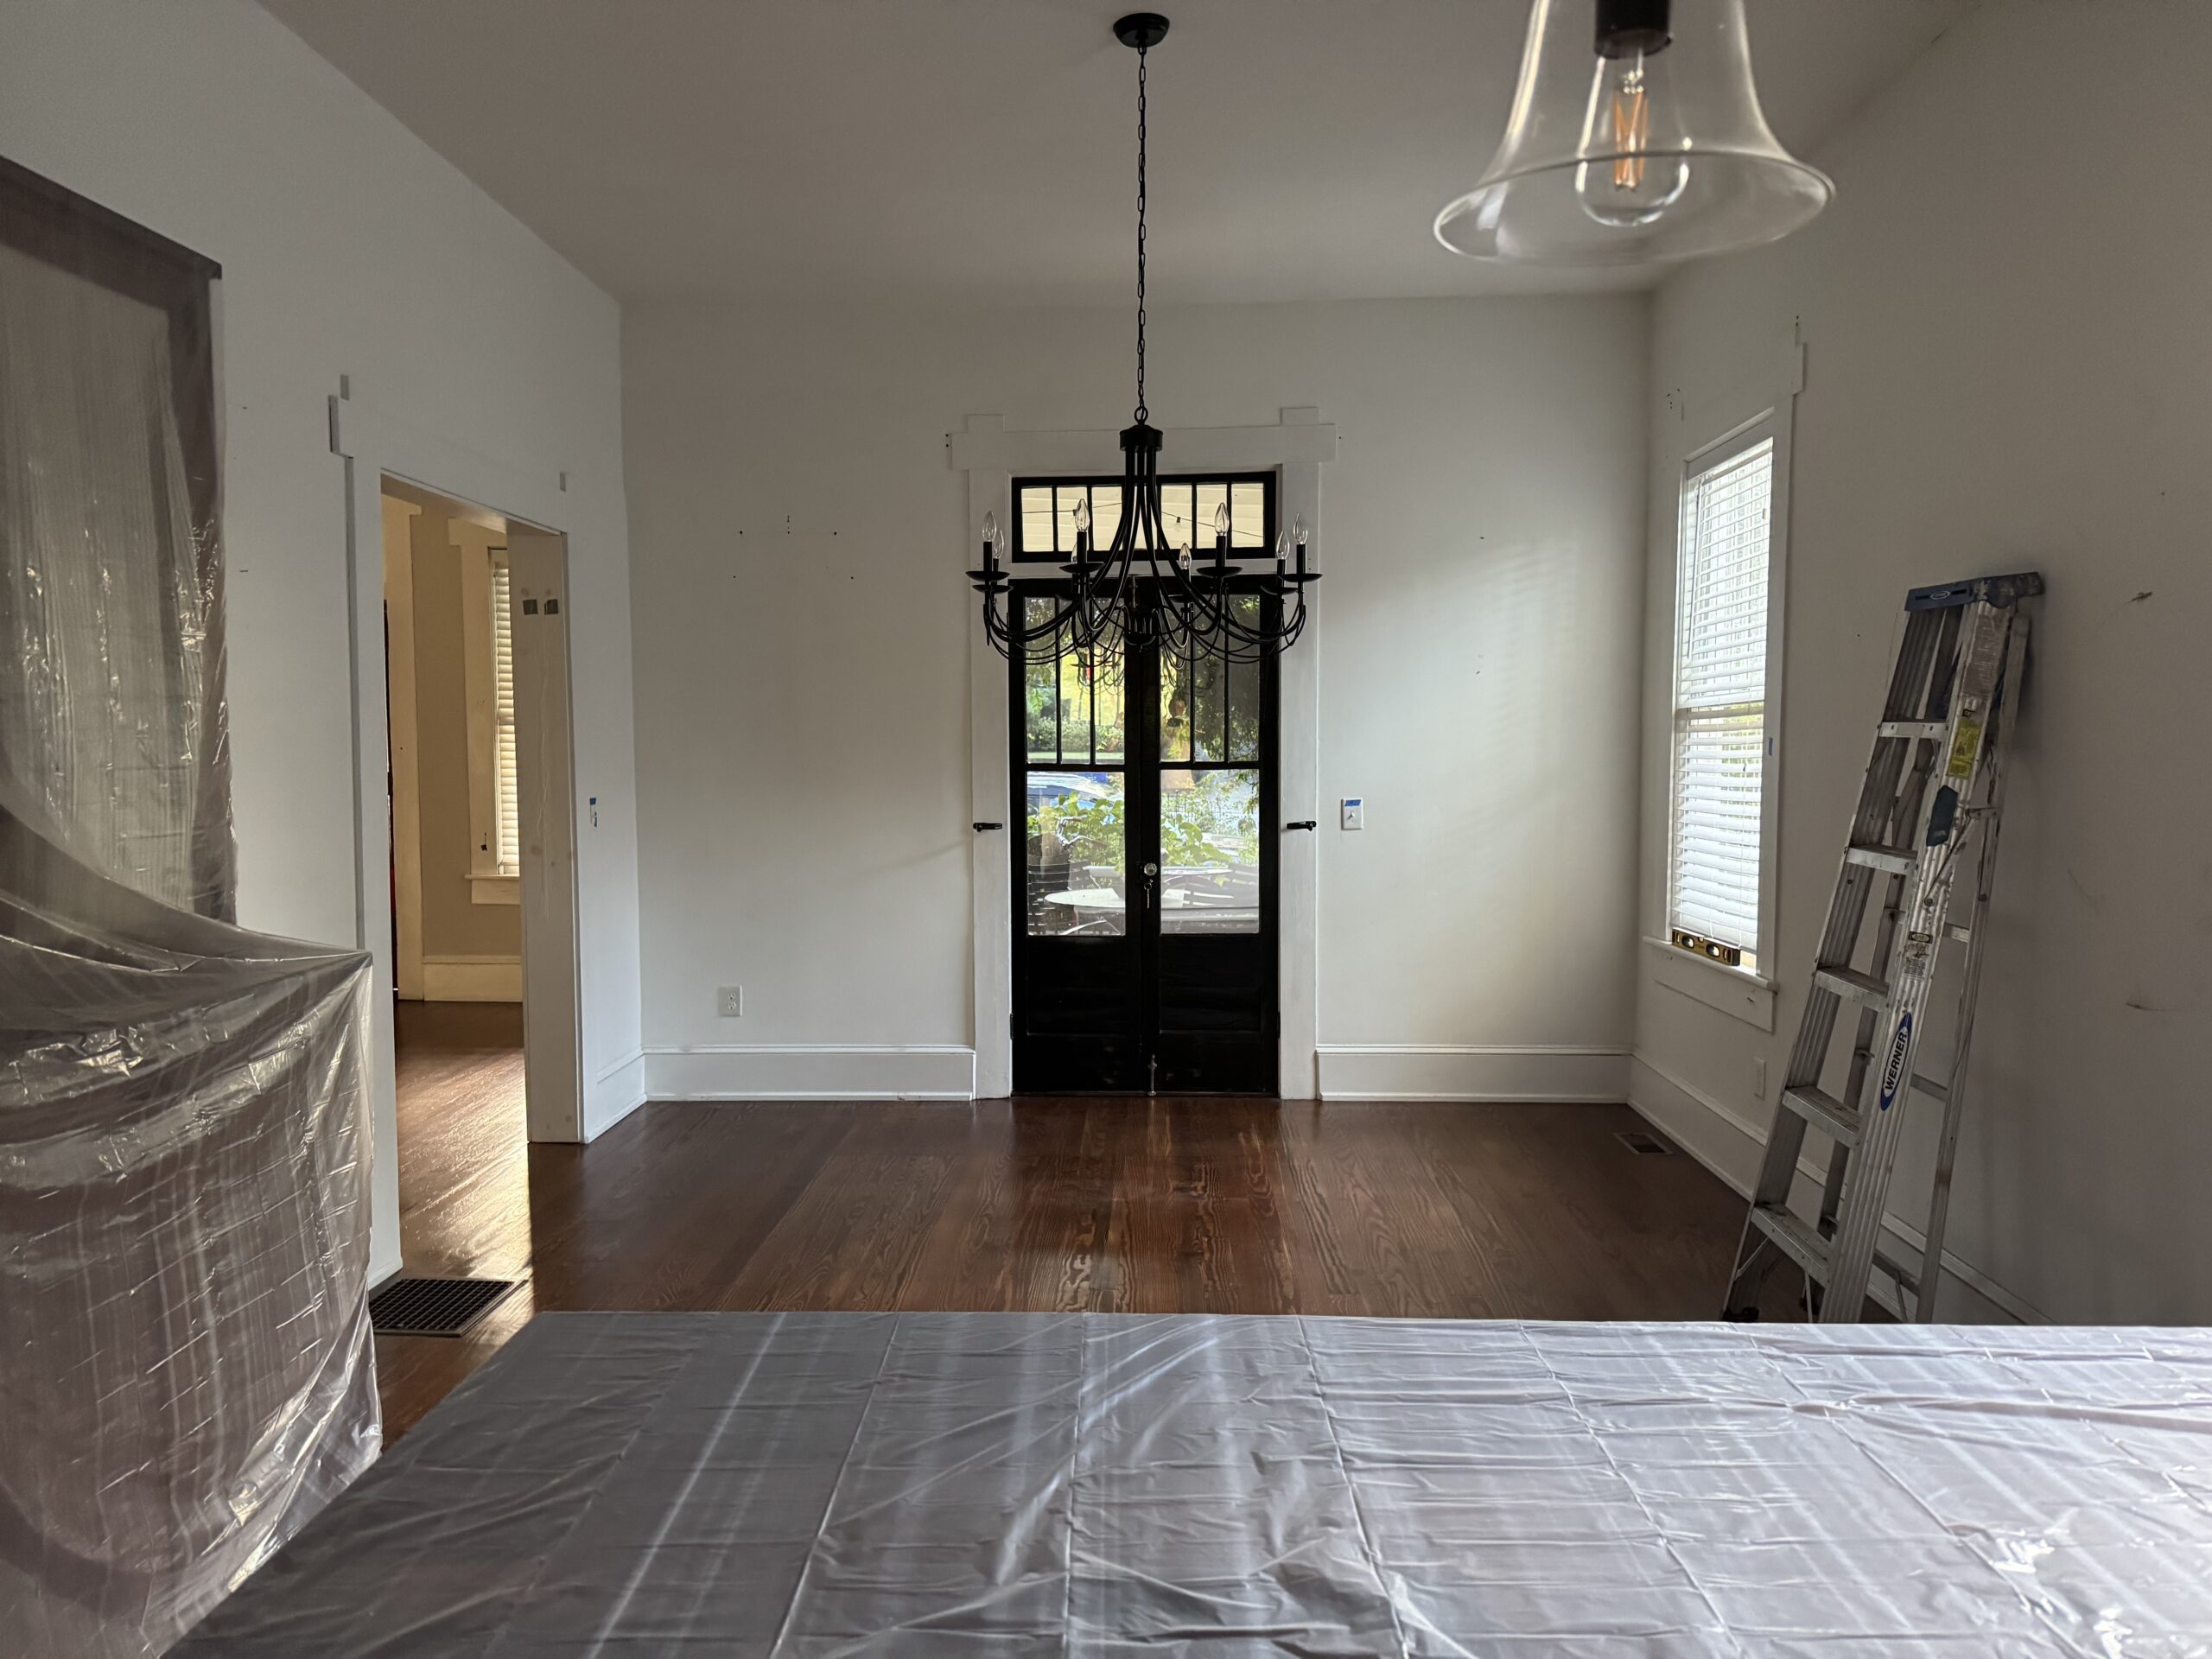
On the other side of the cased opening made way for a breakfast nook. To the right is the dining room where we changed the door frame back to it’s original size where it previously had been opened up by a homeowner.
Original Wainscoting
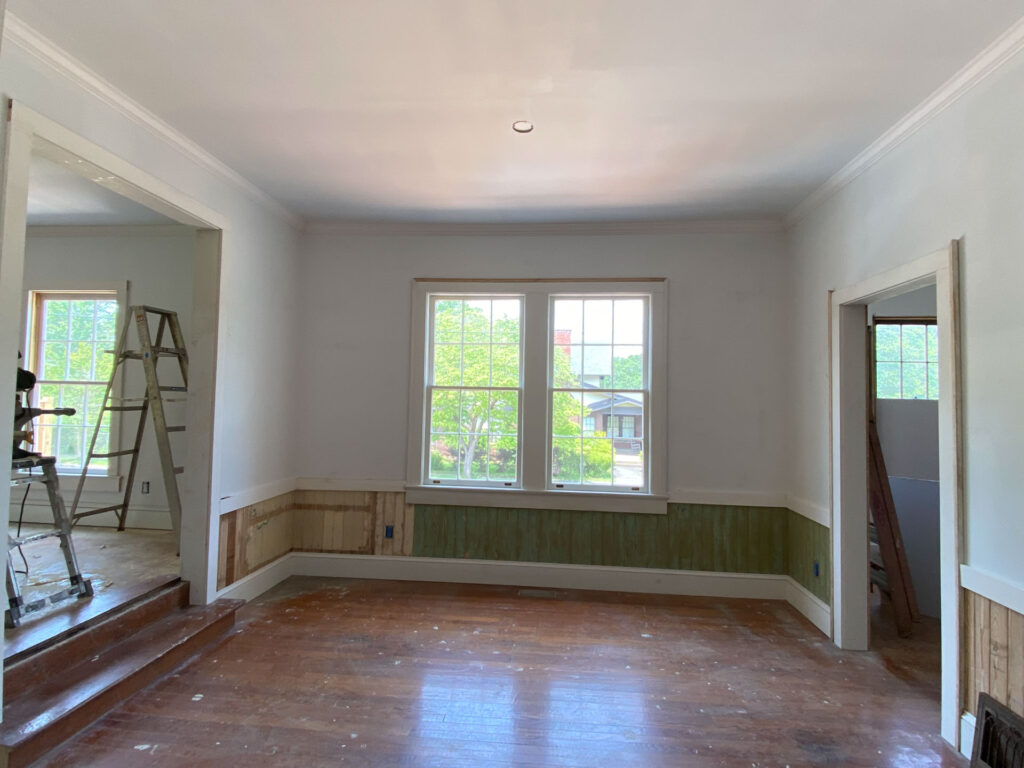
When we removed the paneling in the kitchen, we also discovered some original wainscoting underneath. Luckily we had almost enough to go around the walls of the breakfast nook and were able to find something new that was a really close match. After painting everything the same color and adding a simple chandelier, this is the perfect space for coffee in the morning.
Phone Niche and Original Floor Register
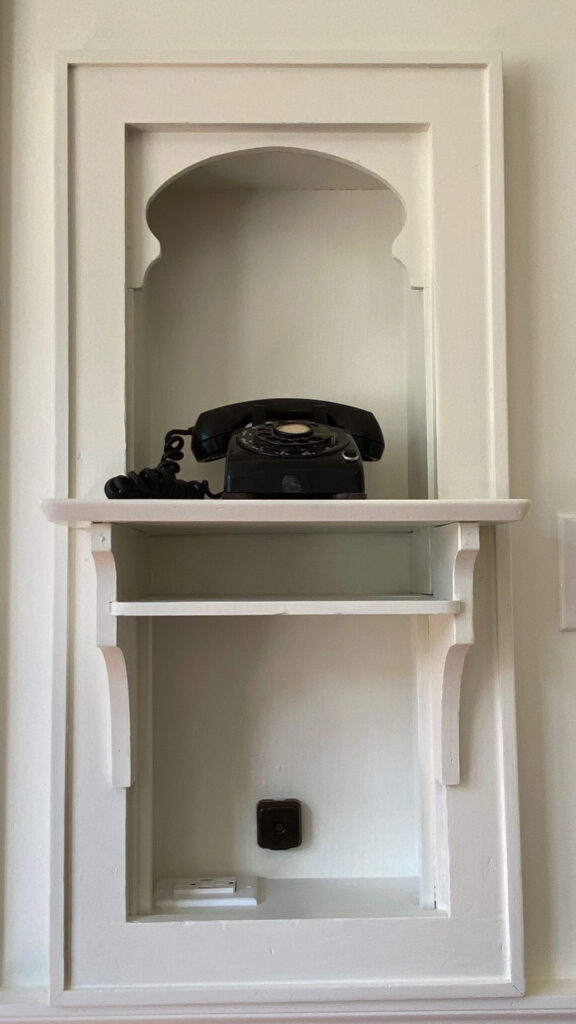
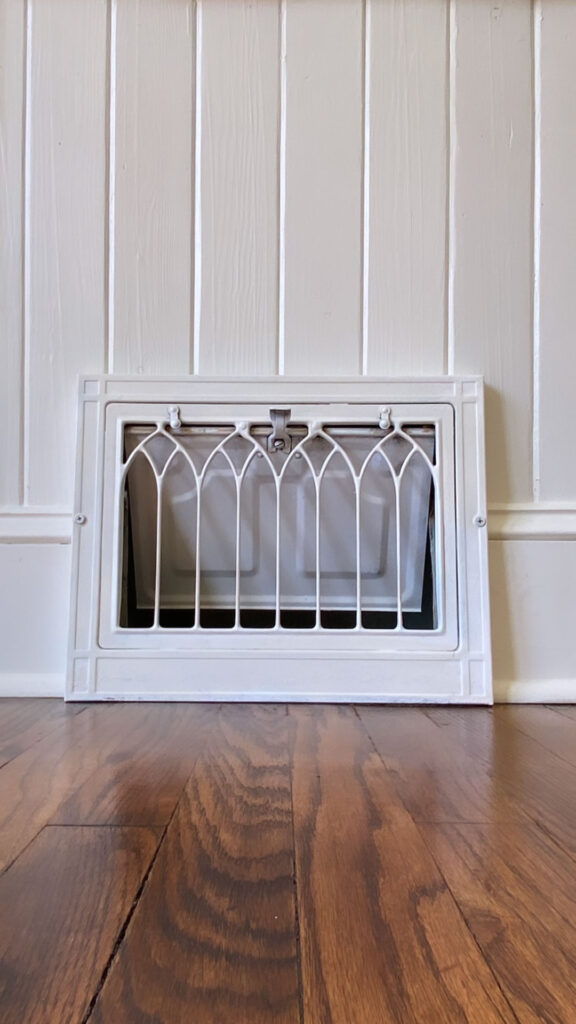
With the wall to the dining room changed, I also had just enough room to relocated a vintage phone niche to put in this wall with an original restored vent below. We added an electrical outlet in the niche for the new homeowners to use as a charging station if they want.
The After
The Finishing Touches
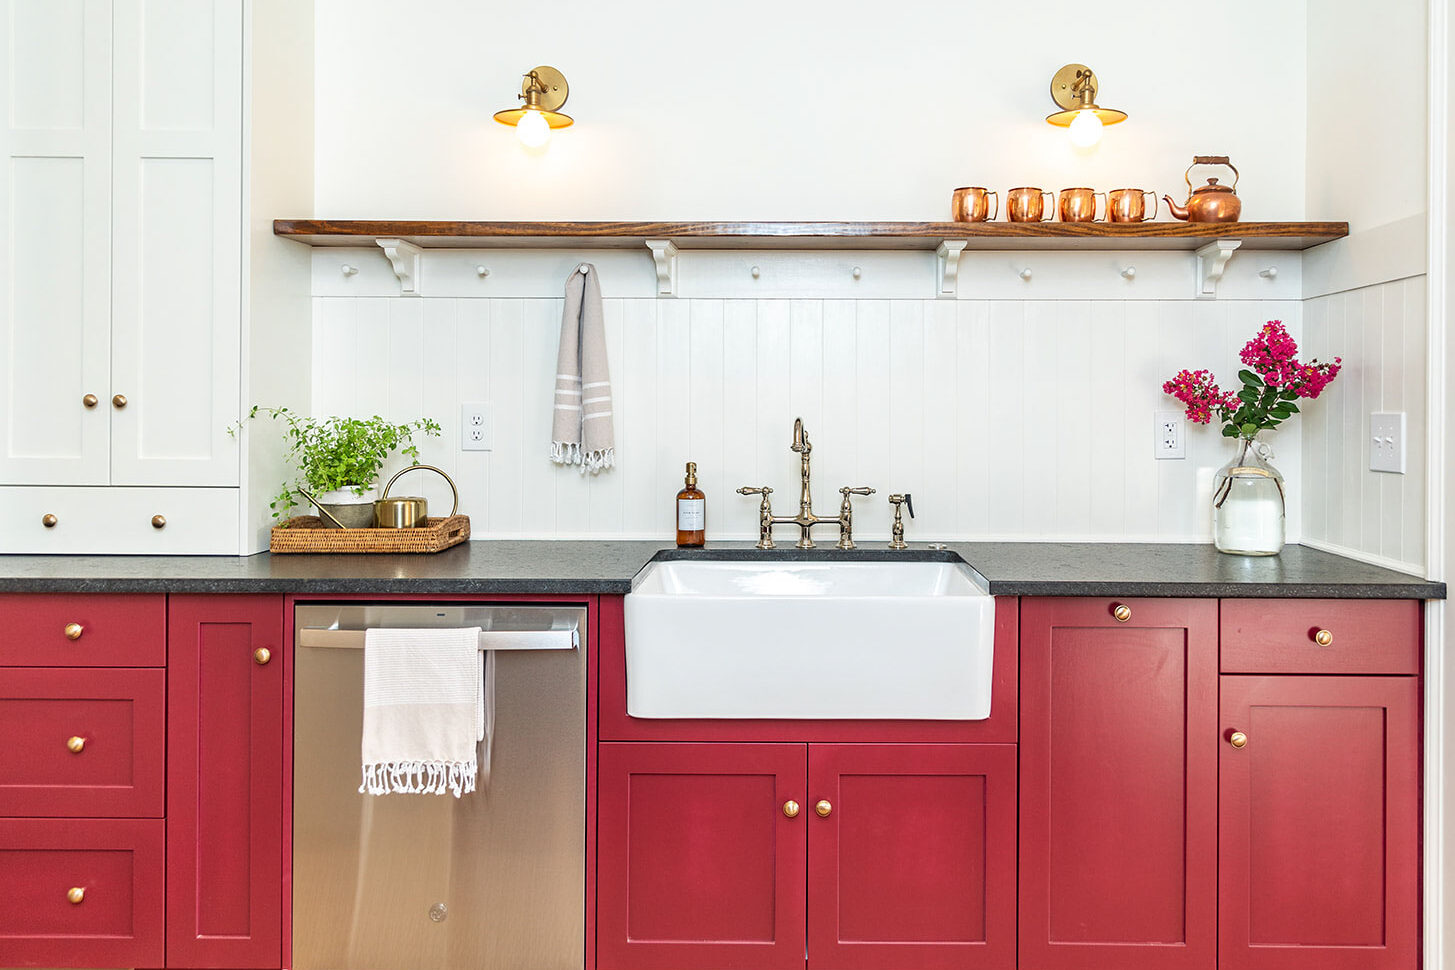
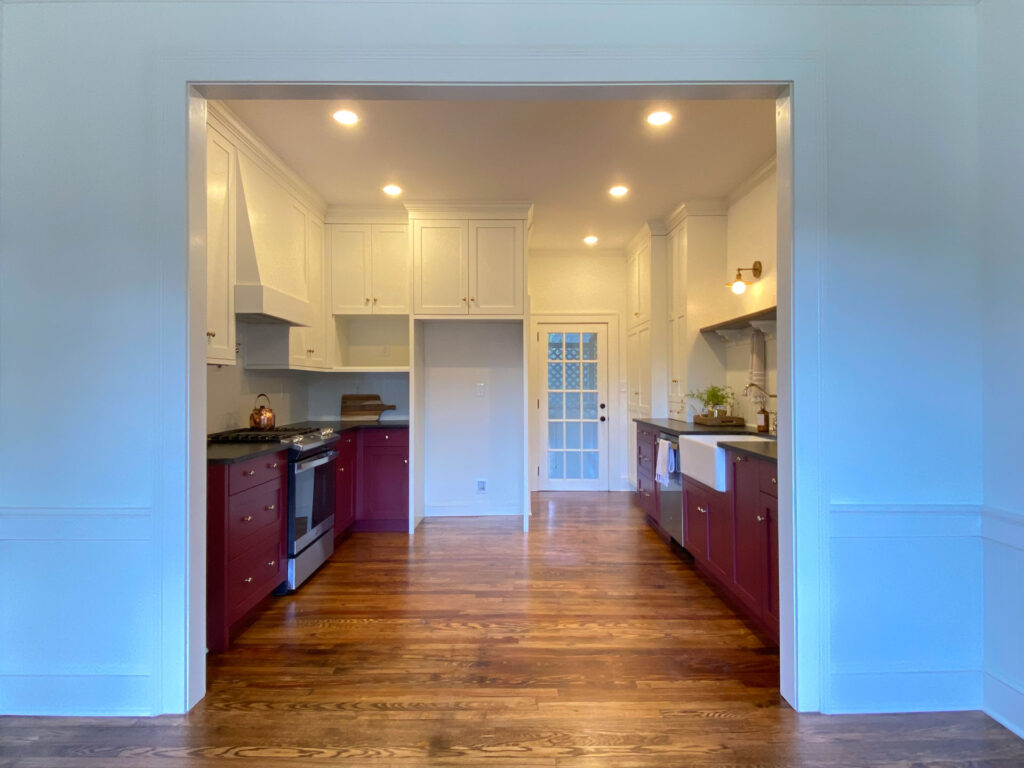
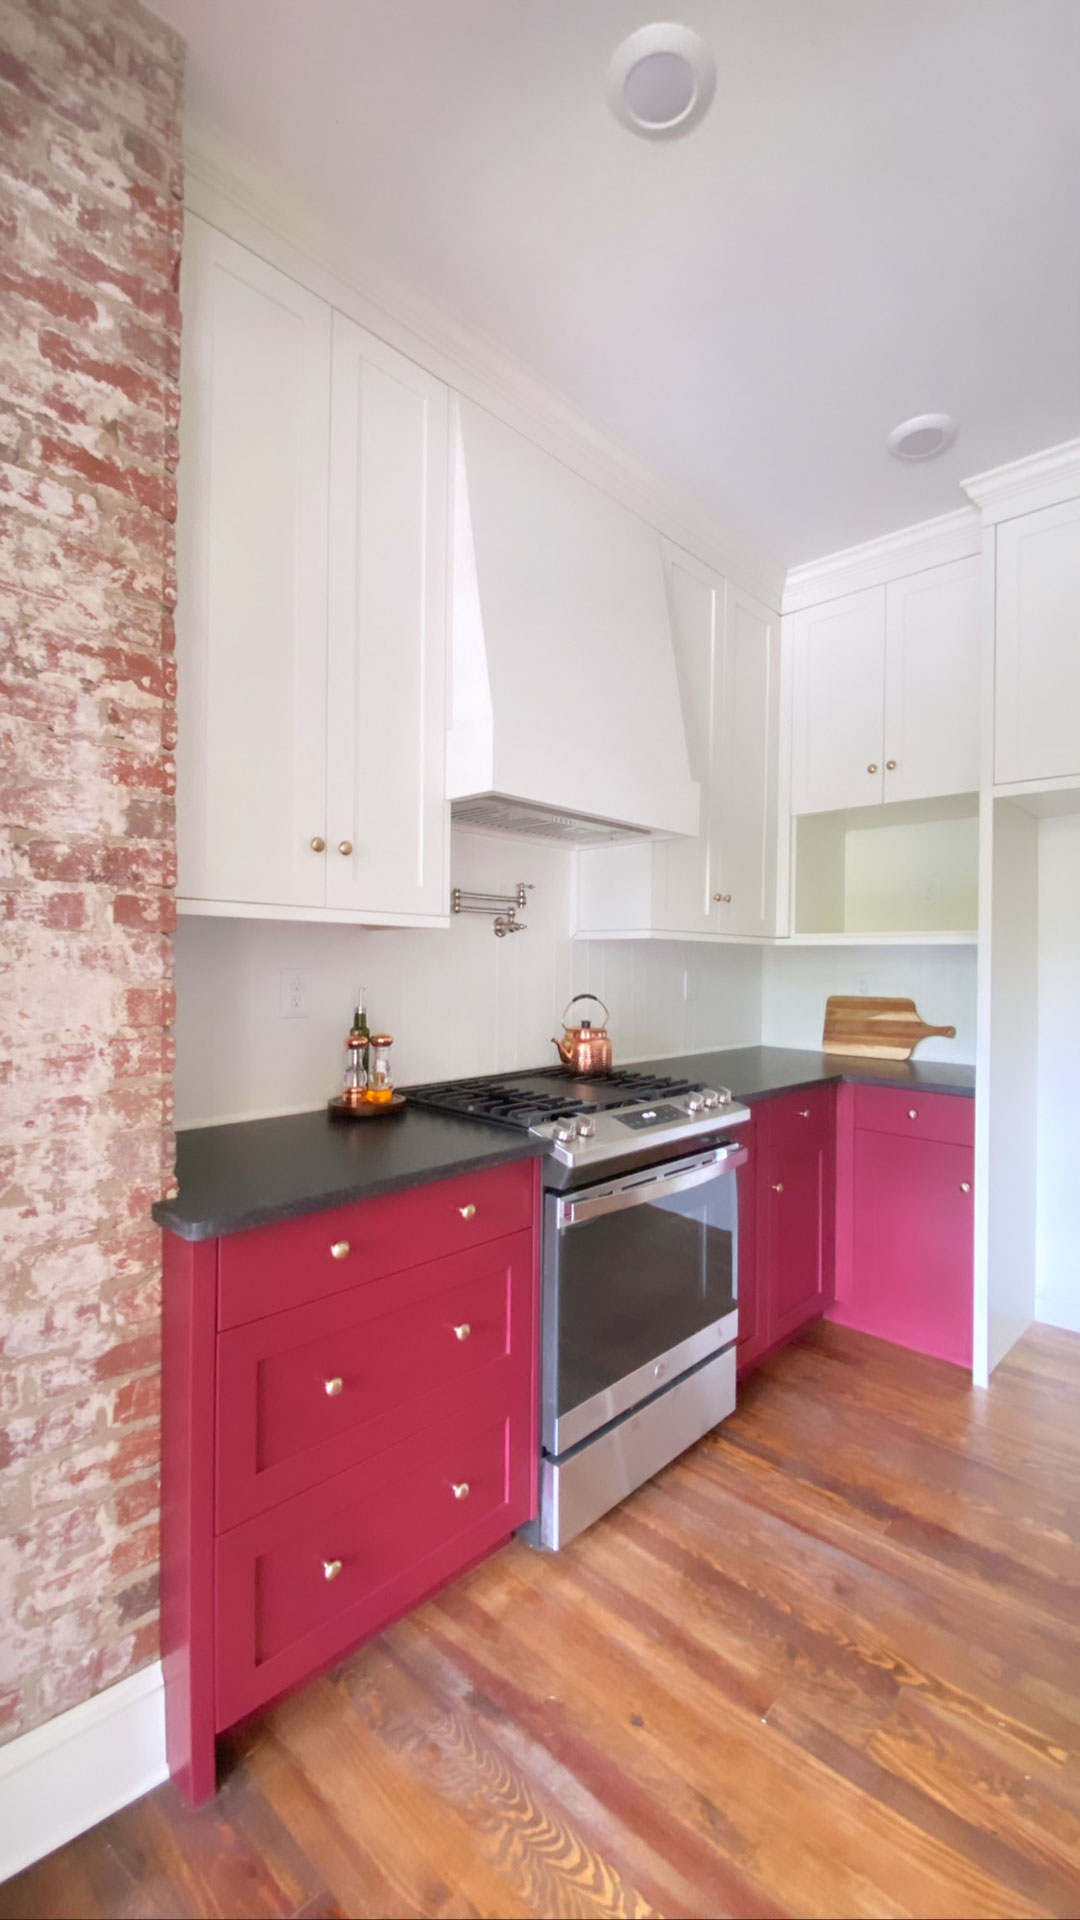
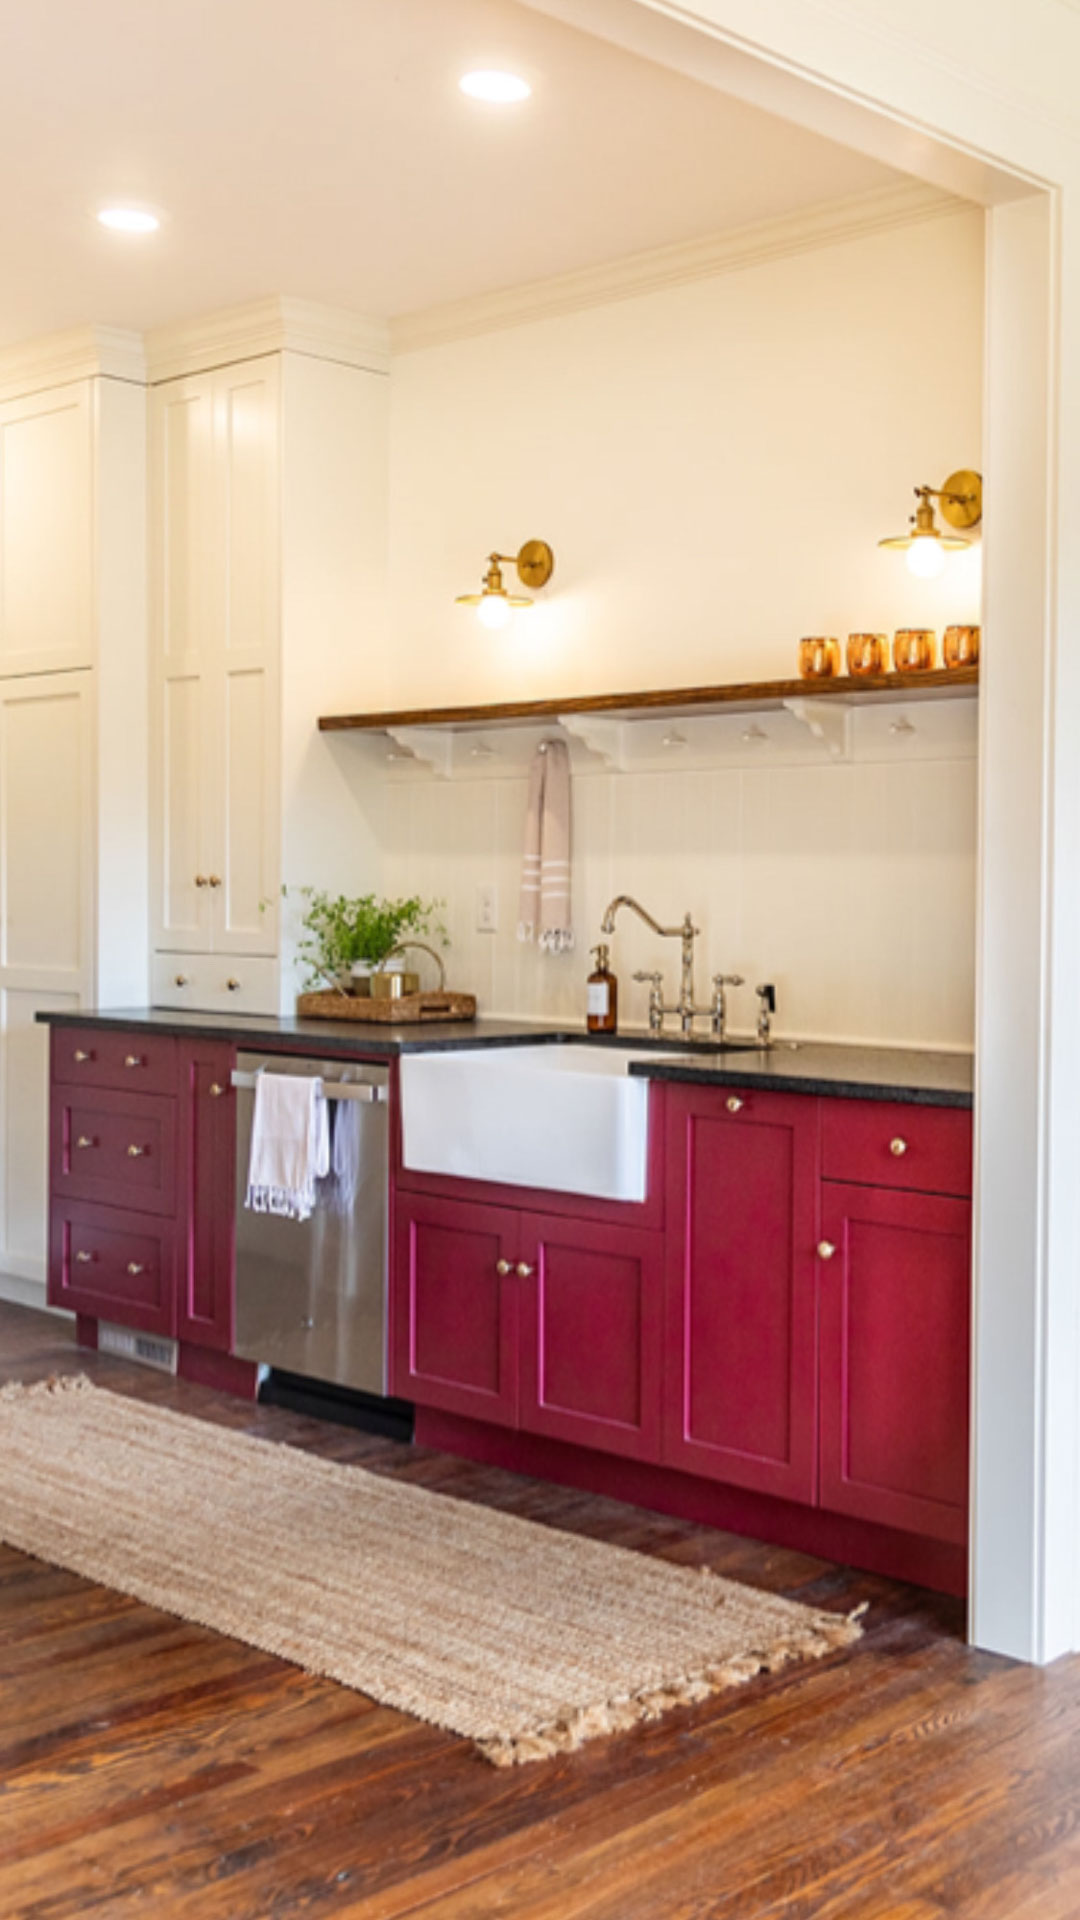
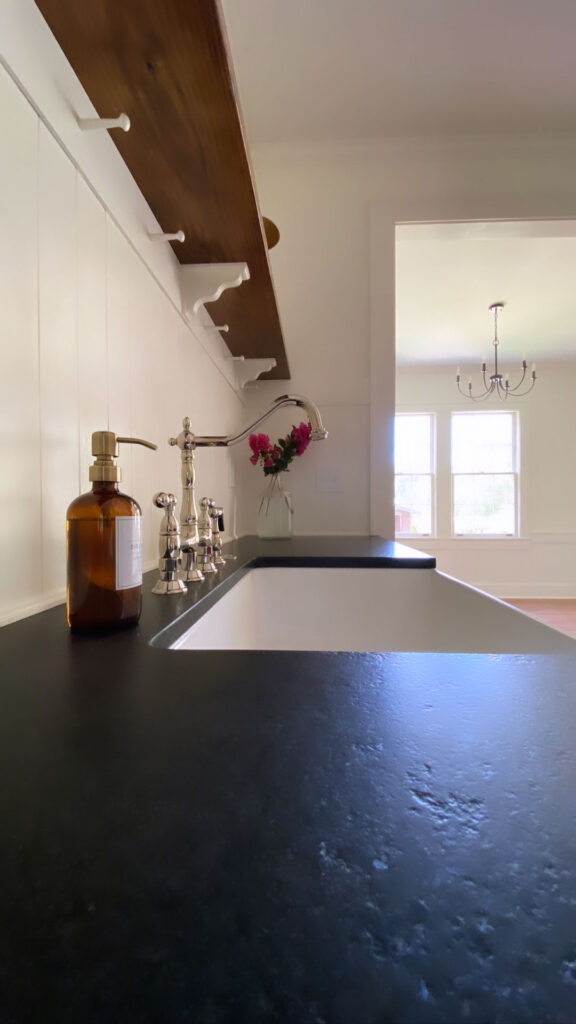
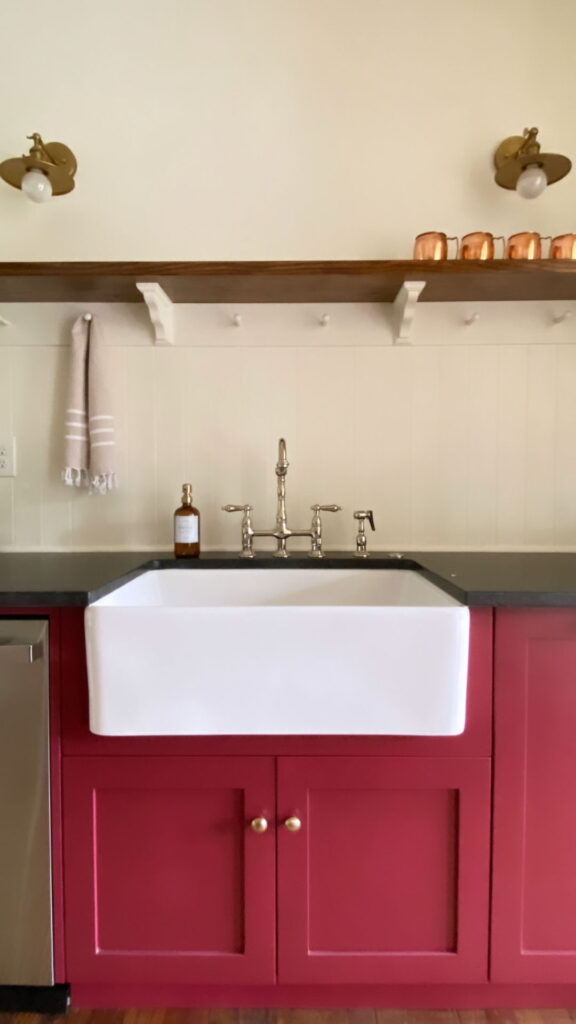
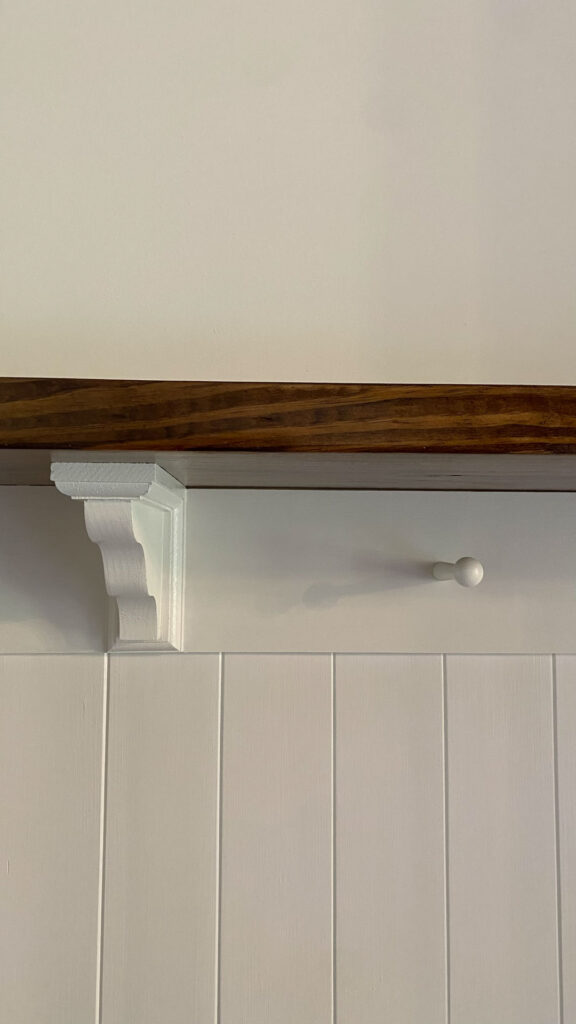
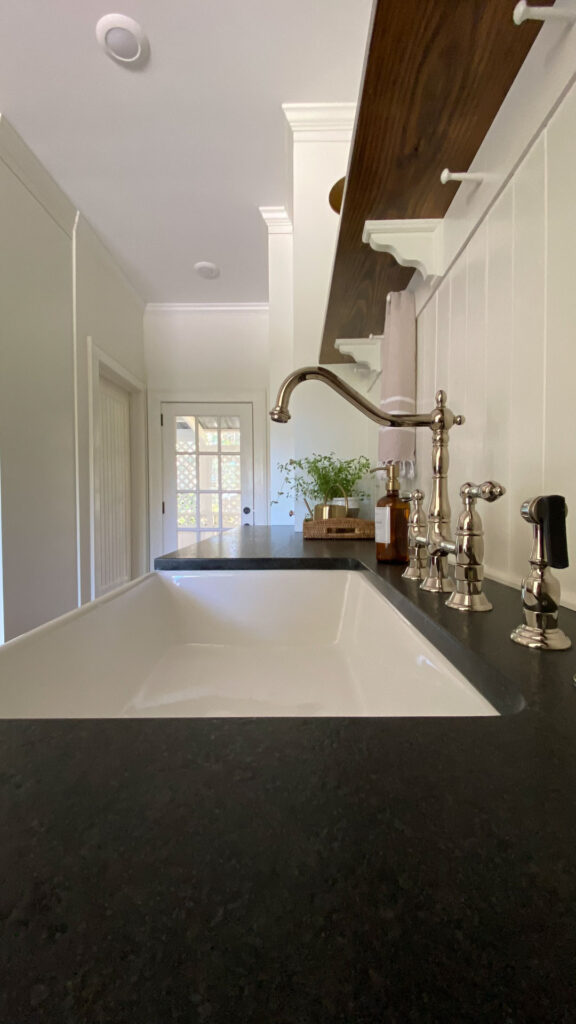
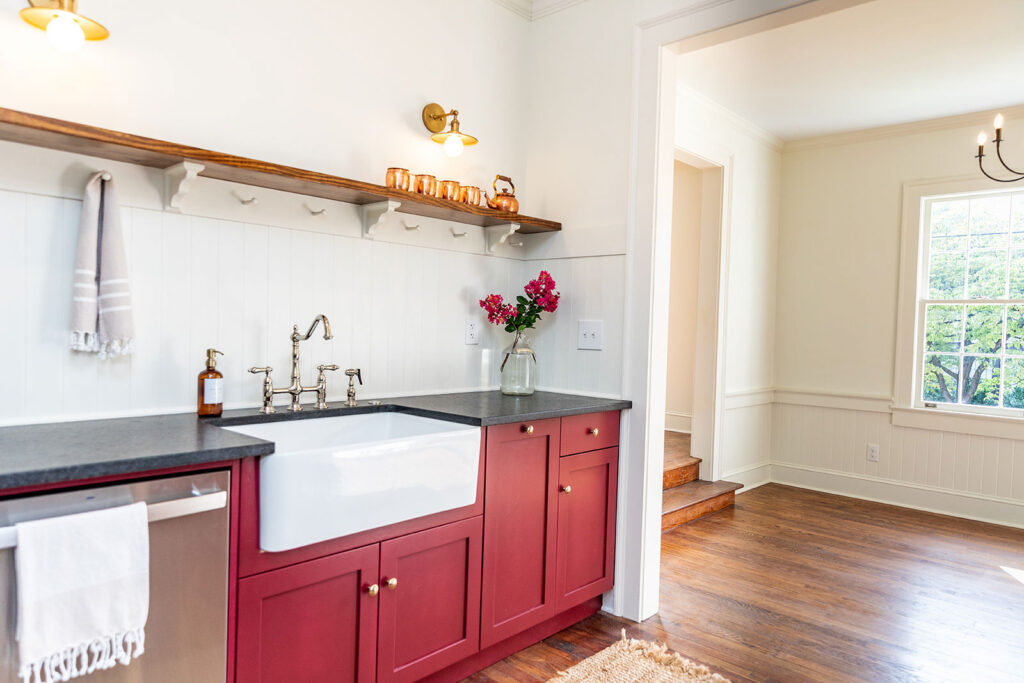
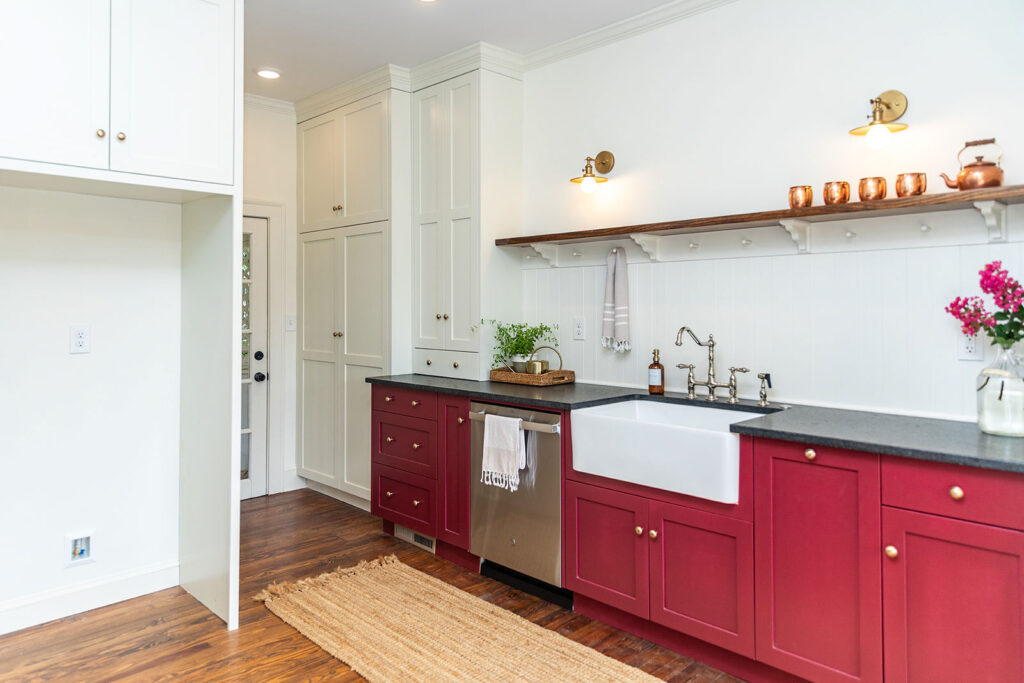
Once all of the changes were made, cabinets, countertops, and appliances installed, it was time for just a few finishing touches. I carried the wainscoting theme into the kitchen by way of a backsplash and added a stained wood shelf with decorative corbels and wood pegs below along the sink wall.
The Color Red
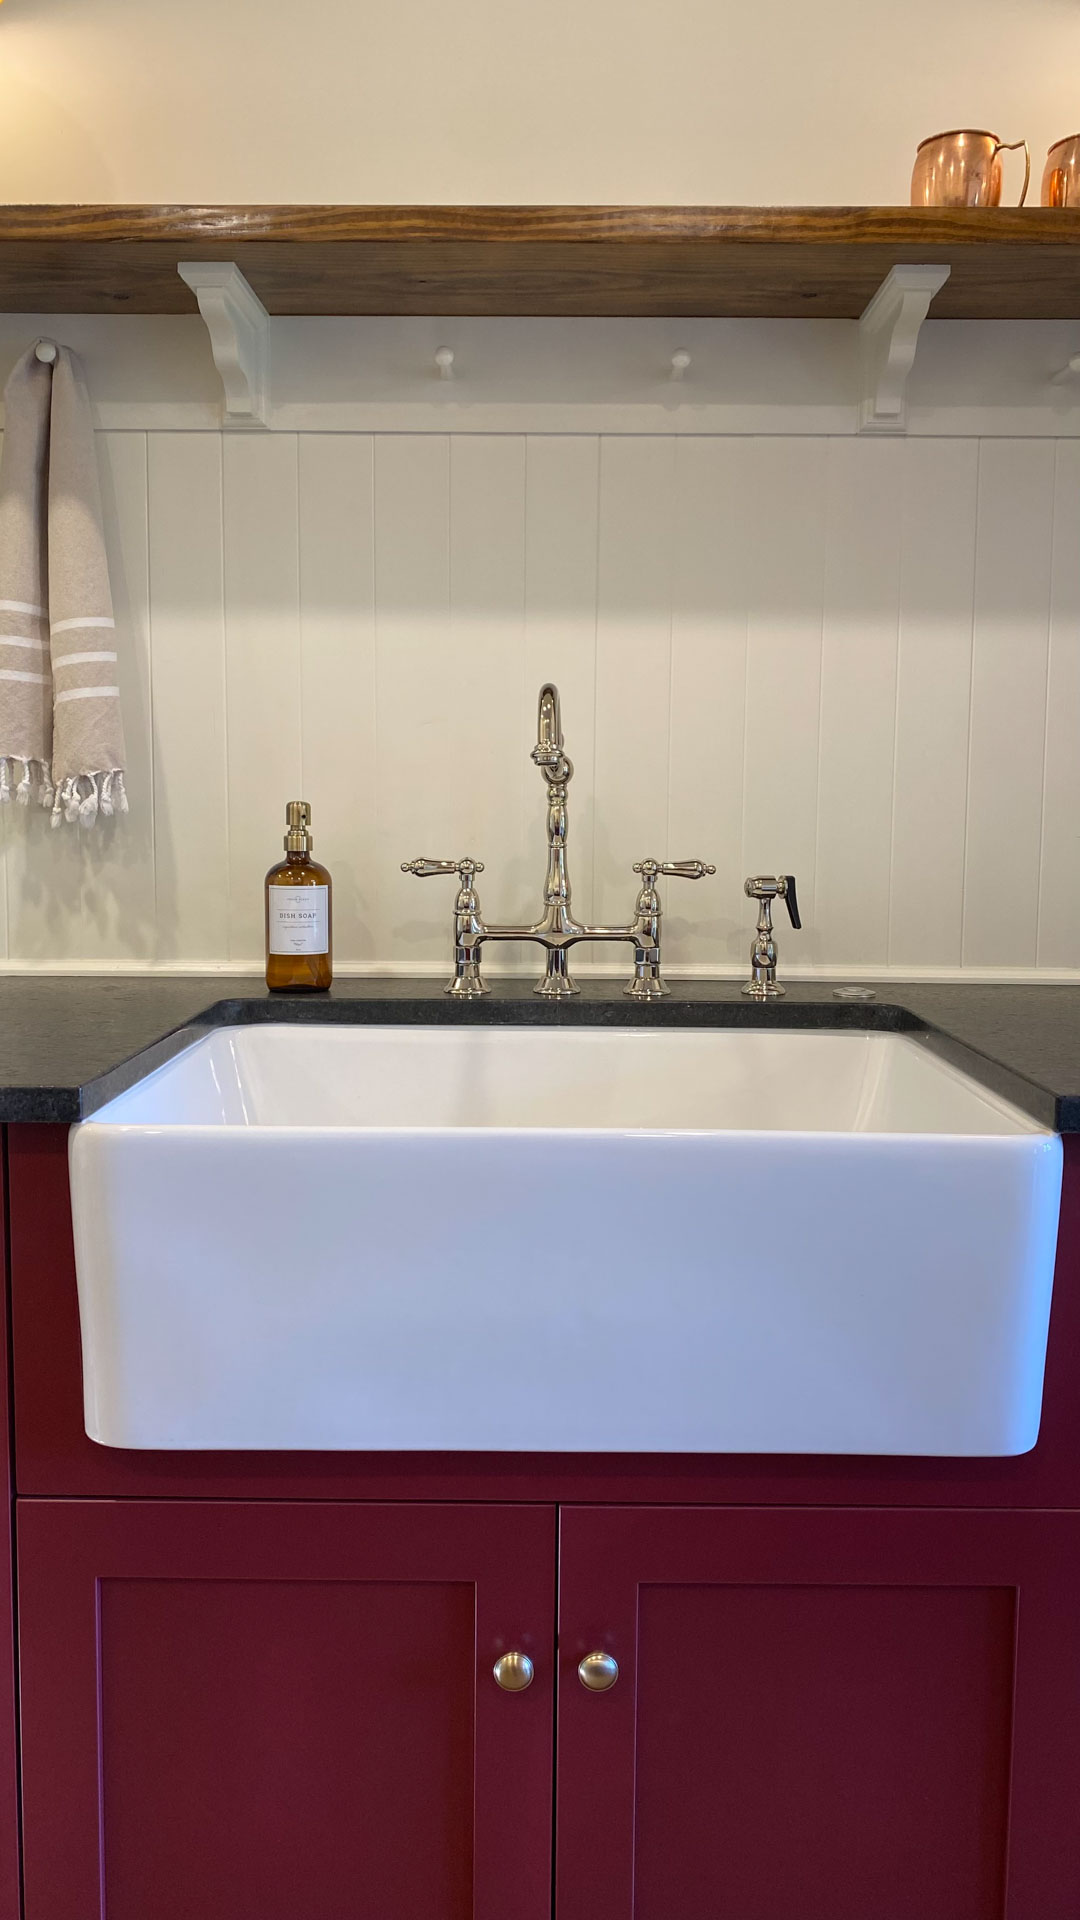
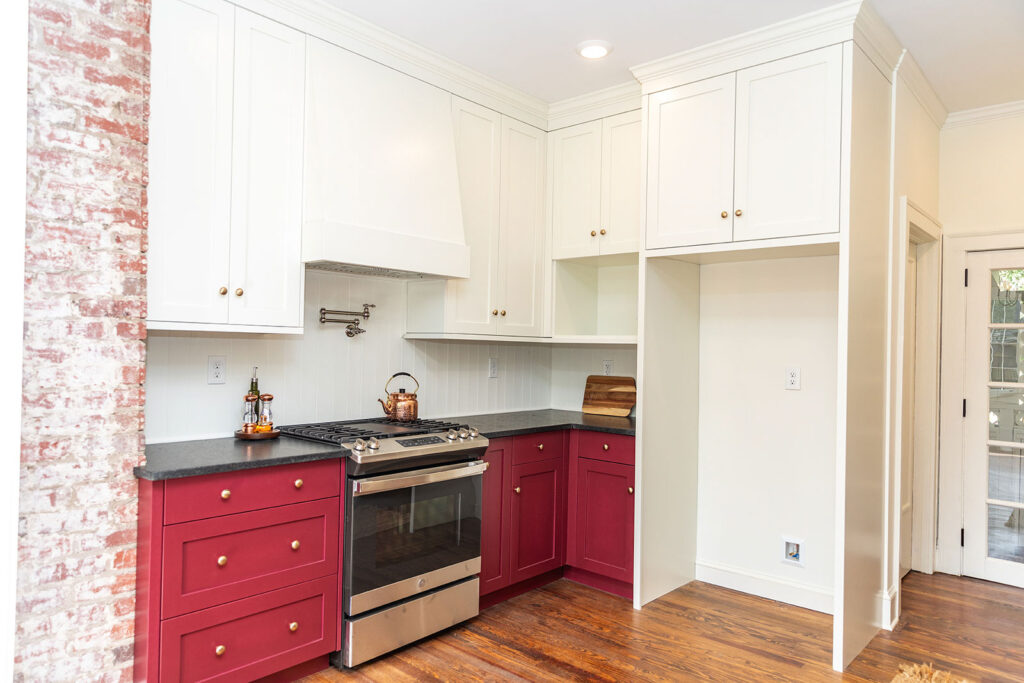
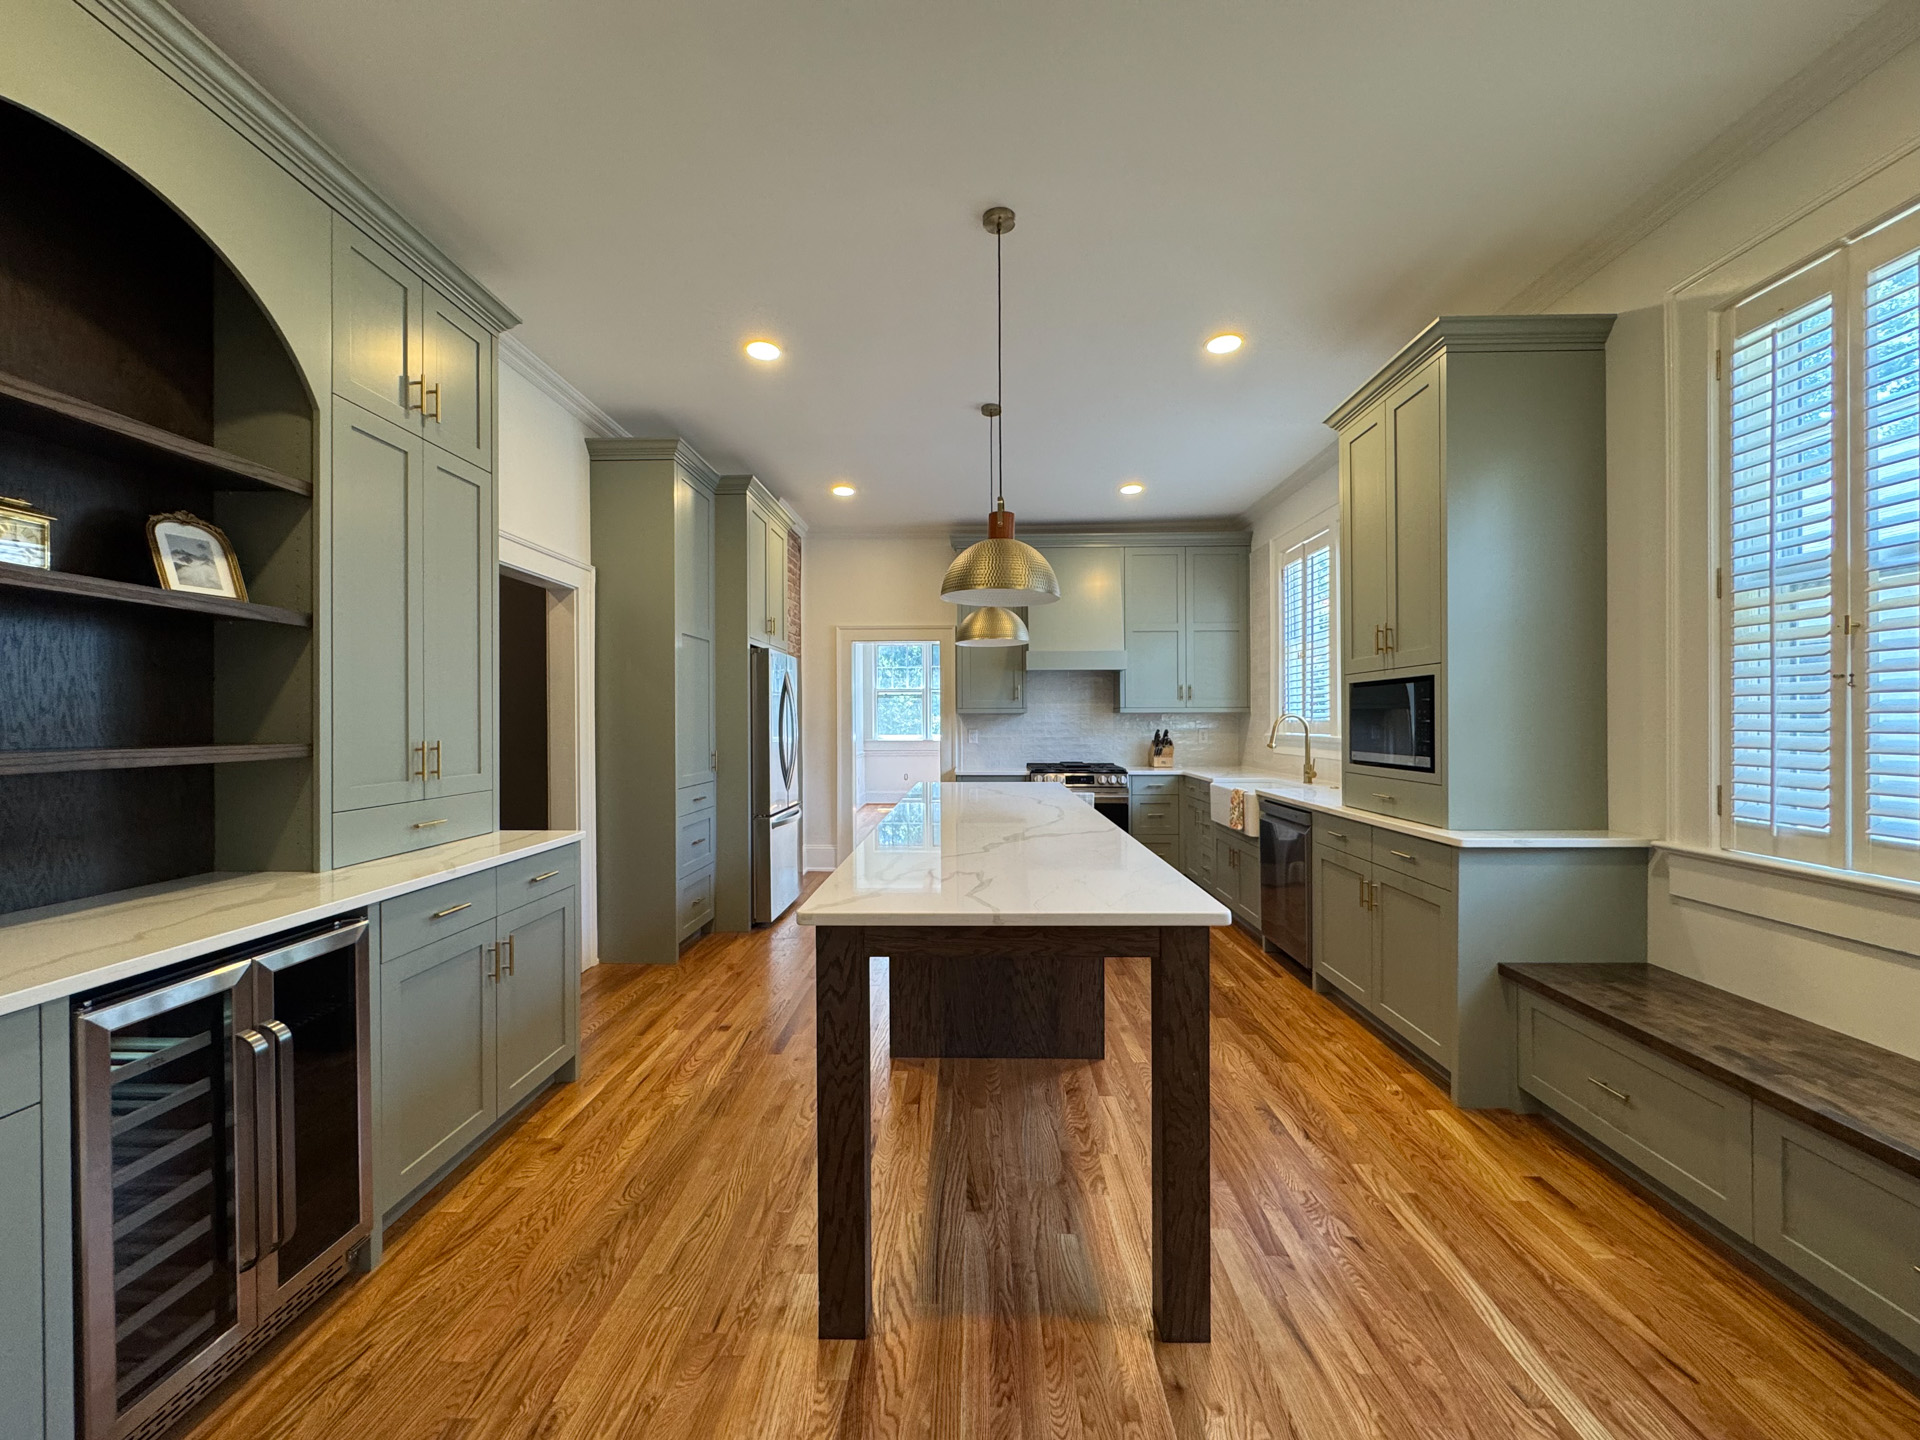
When it came time to pick a color for the kitchen cabinets, I decided to go bold. Like really bold. A bold in a way that I knew would possibly narrow the pool of potential home buyers kind of bold. I like to change things up a bit and felt like with the soft white walls and trim, this kitchen could handle the red. The color is Borscht by Sherwin Williams (SW 7478) with the upper cabinets BM White Dove to match the walls and trim. For contrast I chose a black honed granite for the countertops with a white farmhouse sink and could not love this color combination more.
Mixing Metals
I’m also a big fan of mixing metals so added brass knobs for all of the cabinet hardware and a polished nickel vintage sink. This combination also works well with the stainless appliances we added.
And That’s a Wrap
While I did take a chance on the bold decision of red lower cabinets, I think it was worth it and definitely paid off. It makes a statement without being over the top and I feel like this kitchen is a great blend of modern touches with vintage personality. So I want to know….would you ever paint your kitchen cabinets a color this bold?

KITCHEN SOURCES:
Farmhouse Sink
Polished Nickel Vintage Faucet
Disposal Button
Brass Knobs
Wood Pegs
Decorative Corbels
Hood Insert
Pot Filler
6 Light Chandelier
Wall Sconce
Amber Soap Bottle
For all of the sources for the Corner Cottage, click here.


+ Show / Hide Comments
Share to: