She Shed Office Reveal: The Interior
With the She Shed Office having been completed for almost a month now, I can say with great joy that I love this space. If you didn’t get a chance to see the exterior reveal hop over and do that first. That way you’ll know why I chose to convert my storage building into an office space before I walk you through the inside.
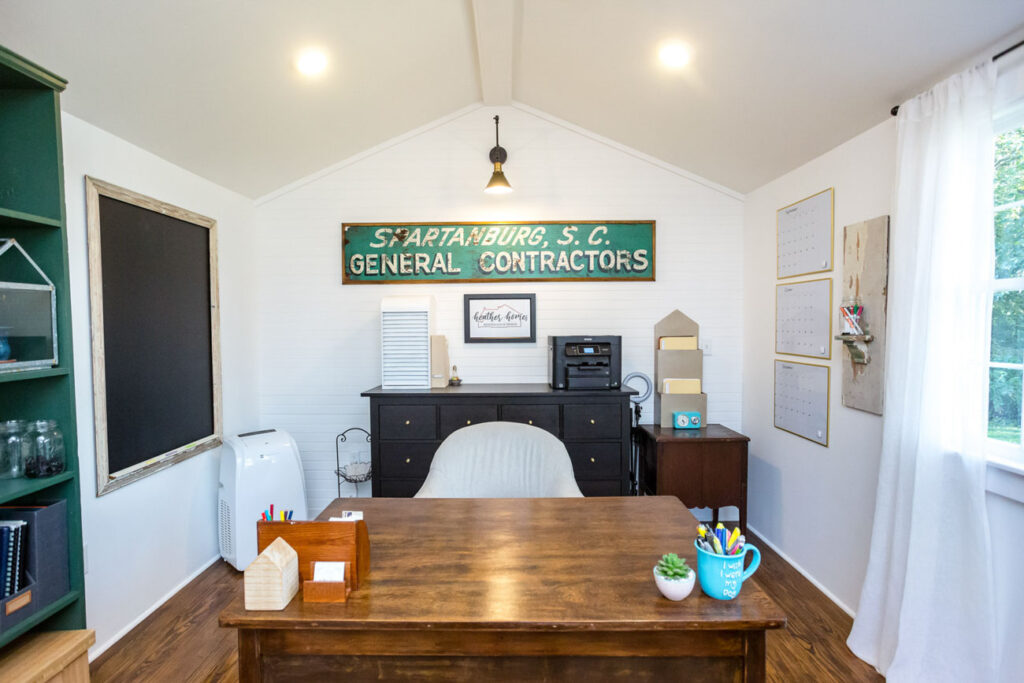
The interior feels like a little treasure trove. It is a collection of vintage finds from all over the place which make the space feel like home. And most importantly, a reflection of my personality and the heartbeat of my business.
She Shed Office: The Before
Before we delve too far into the after, let’s take a quick look back at what we started with. These are the steps we took before focusing on the fun stuff.
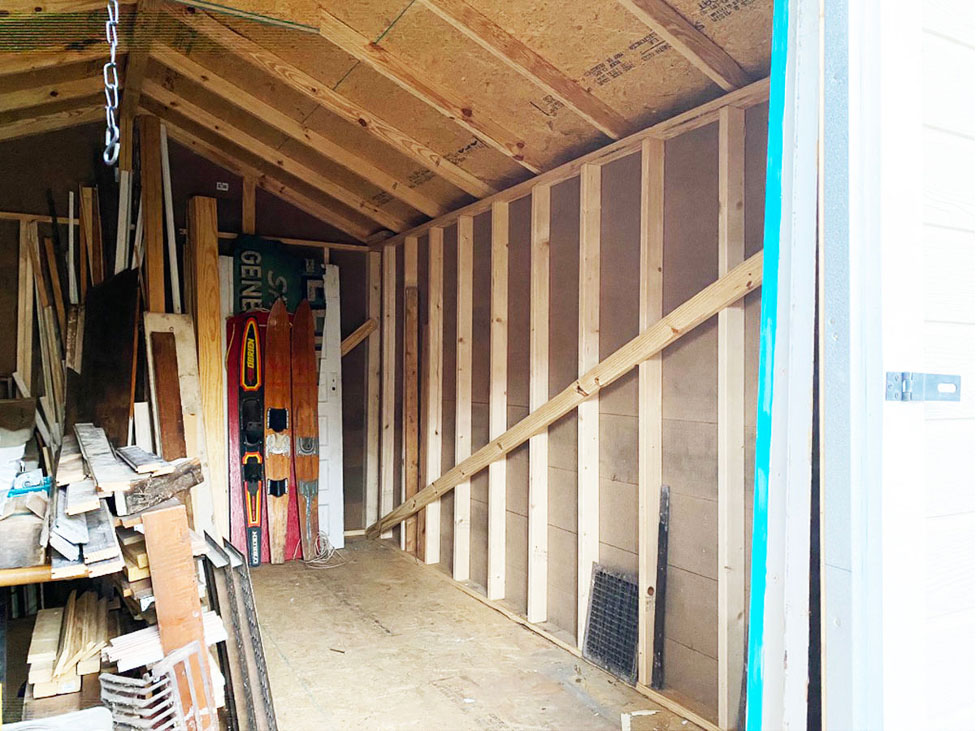
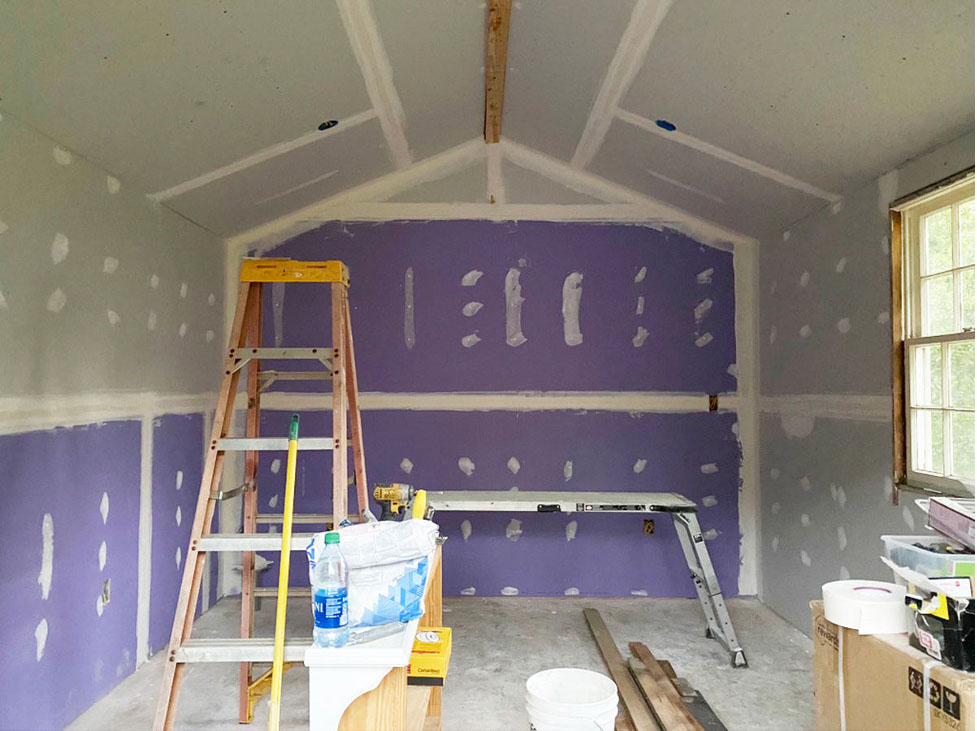
The inside was a standard 12’x15′ storage building built off site and delivered to my property. I ended up storing all of the items that wouldn’t fit into my garage there so it was good incentive to clear things out.
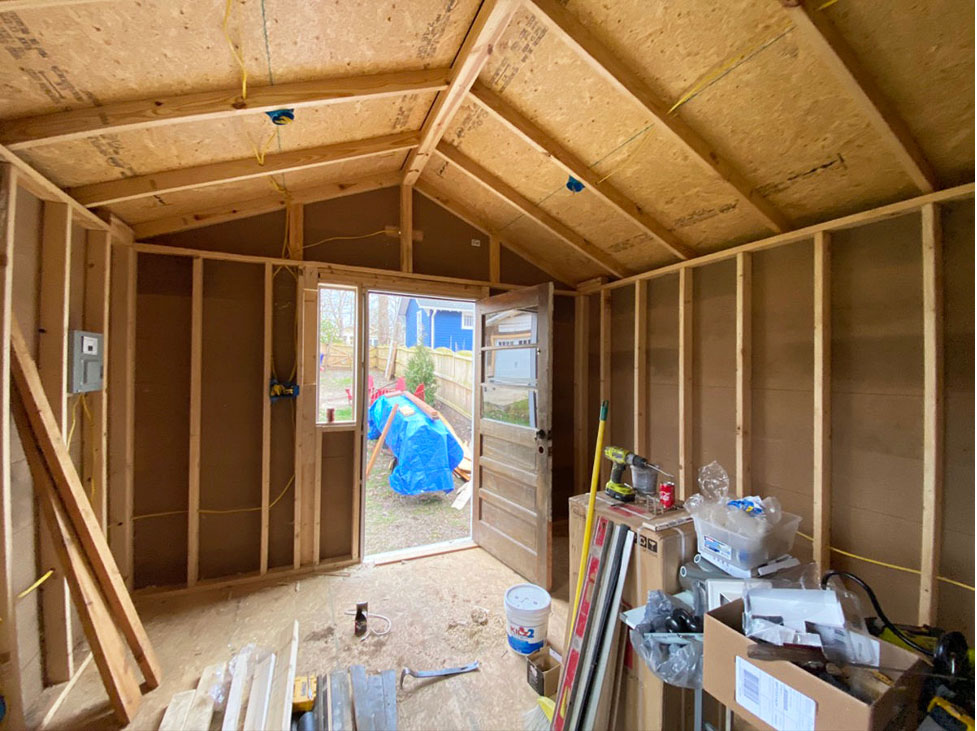
After the old door and windows were installed, we dug a trench from the main house to add power to the building. We then roughed in the electrical including a dedicated panel. Next we added insulation to the walls and ceilings and then drywalled both for a finished look.
When to Hire vs. DIY
While I did help a little with the electrical rough-in, I ended up hiring guys to do everything else up to this point. That help consisted of framing and installing the windows and doors, electrical, and drywall. I think hiring an electrician goes without saying. While I’m sure those with DIY electrical skills could handle a job of this size, I didn’t feel comfortable connecting everything myself. I also had no idea how to tie into the main breaker panel.
I also could have installed the drywall, but I knew it would have taken me five times as long plus I would have to recruit a helper for the ceilings. At the end of the day I have learned that there are areas where it pays to hire certain trades. This is especially true if you’re working alone but all project costs you something – either your time or your money. Once these items were completed, the rest was up to me.
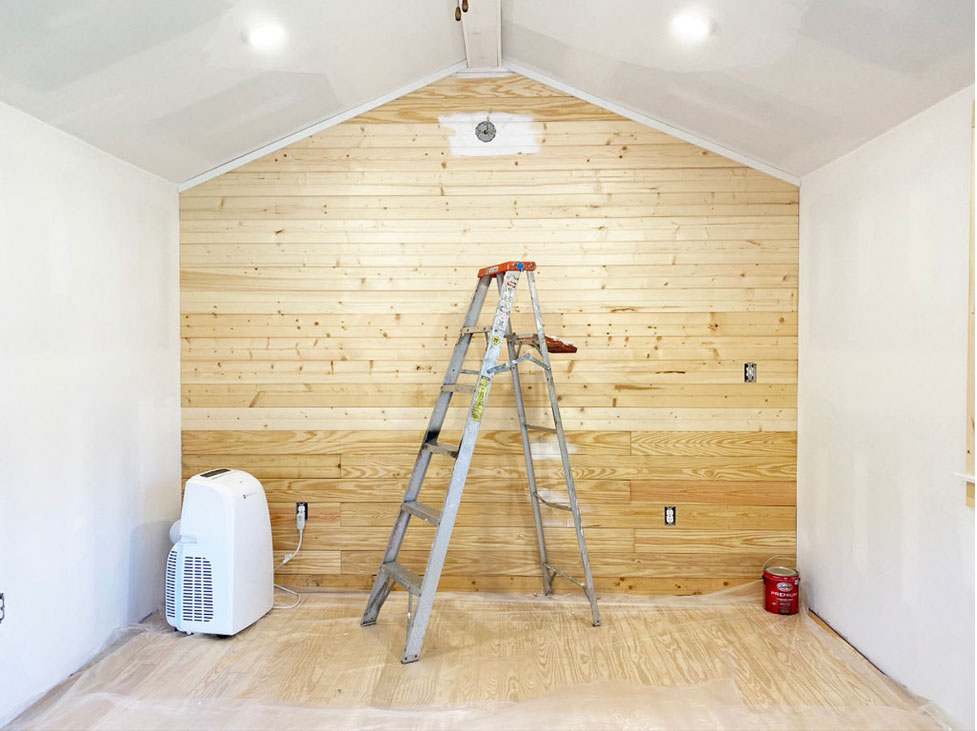
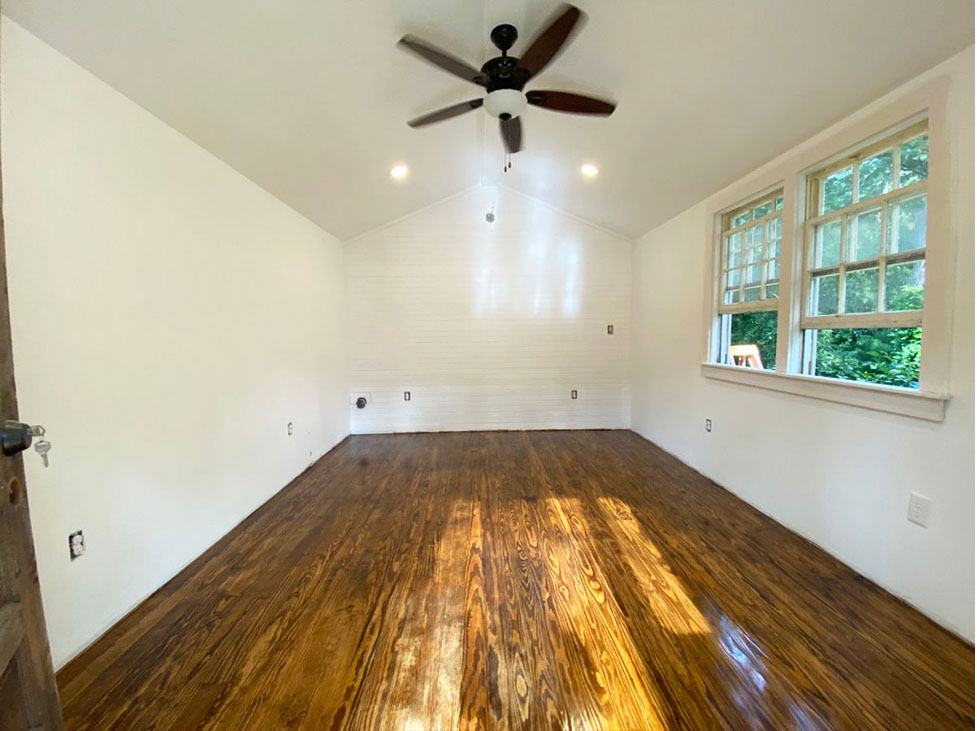
One of the perks of my job is that I often have leftover materials. This was certainly the case at the Queen Anne. We had a lot of extra materials including 6″ tongue and groove beadboard and 3.5″ pine tongue and groove flooring. I used the beadboard along the back wall as a focal point and the pine on the floors. After a light sanding I added my favorite stain mix for pine floors – half Mahogany/half Honey. After a couple of coats of polyeurethane, the floors looked warm and beautiful.
I also needed to have heat and air, so I purchased a small portable unit. It sits in the corner of the office and vents outside. So far it’s worked well. With the ceiling fan and large trees overhead, I find that it stays cool enough so far. I’ll circle back and share a review of the heat once it cools down.
Here’s a similar model if you’re looking for a portable heat/air unit for a small space:
Everything was painted a bright white to serve as a backdrop for all of my vintage items.
She Shed Office: The After
And so the fun began – furnishing and decorating. Believe it or not, almost everything in this office I already had. Remember the hoarding garage I mentioned earlier? Every single piece of furniture was pulled from there along with some of the accessories. I then purchased a few additional items to make the office both organized and efficient to run my business.
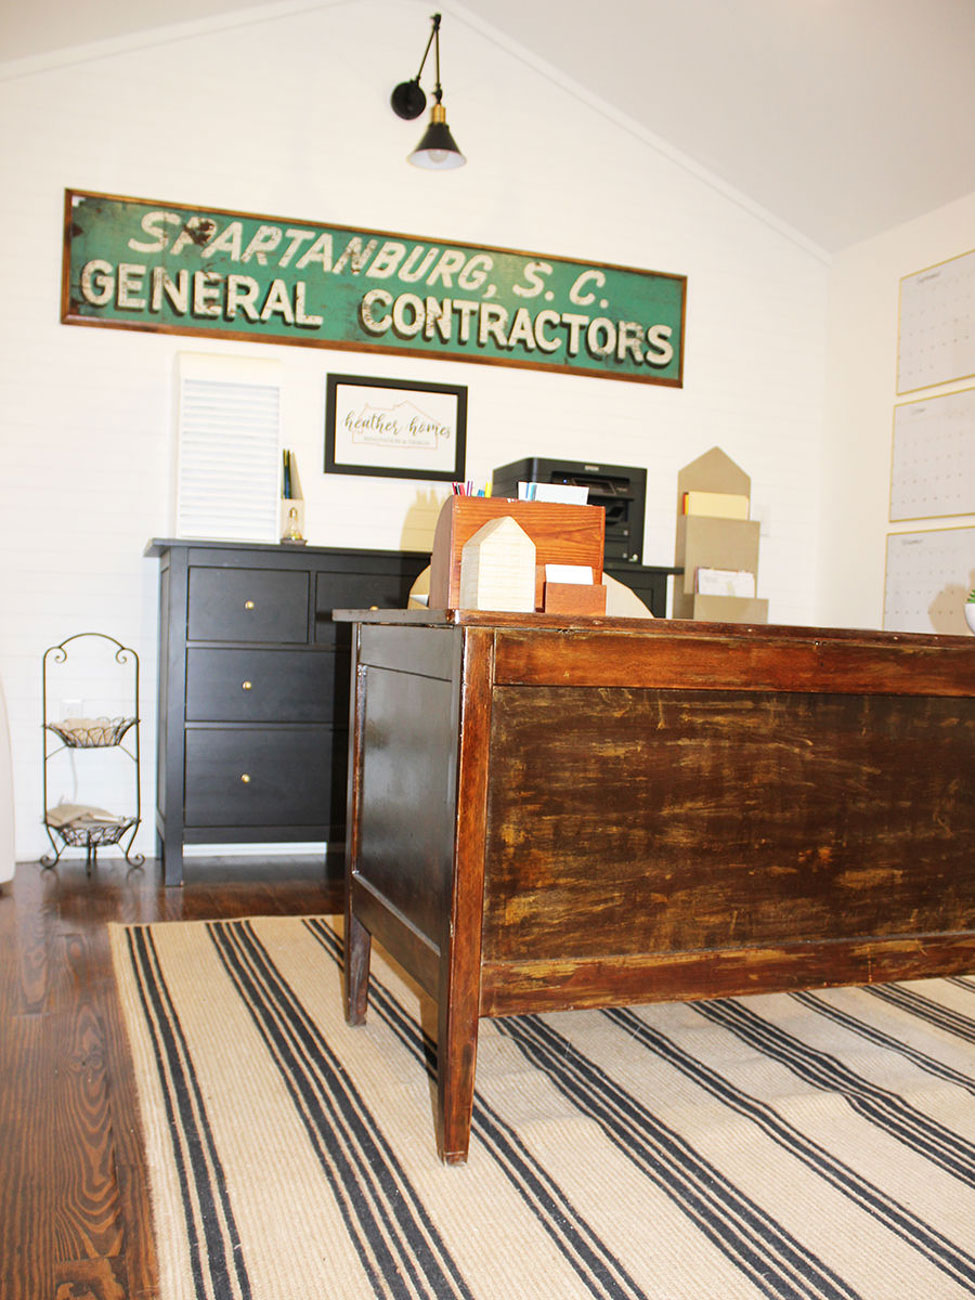
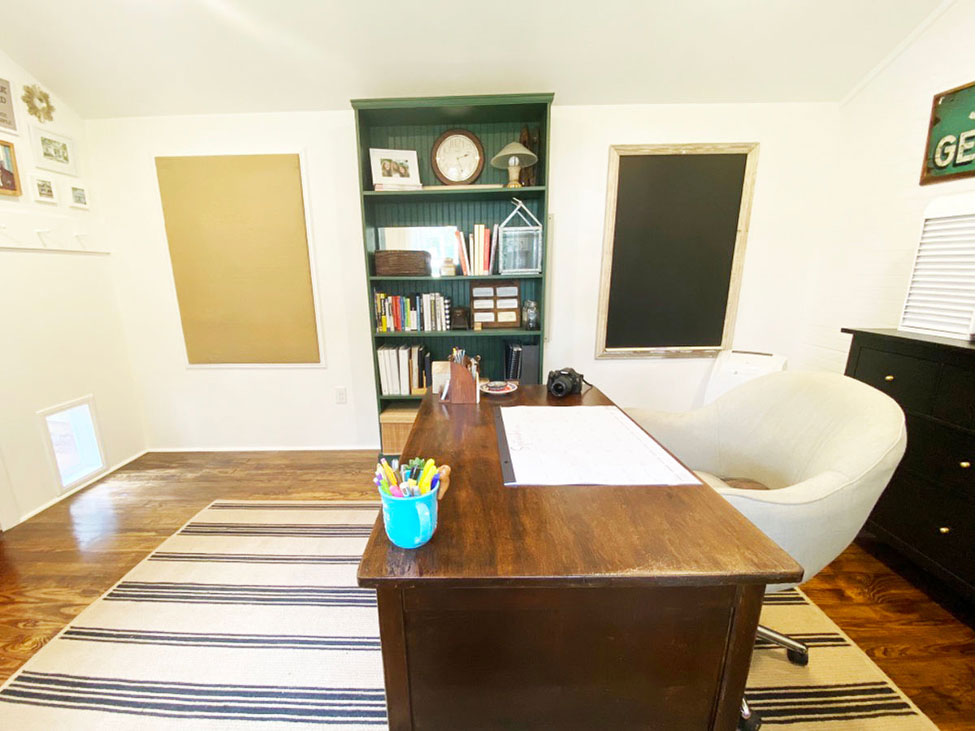
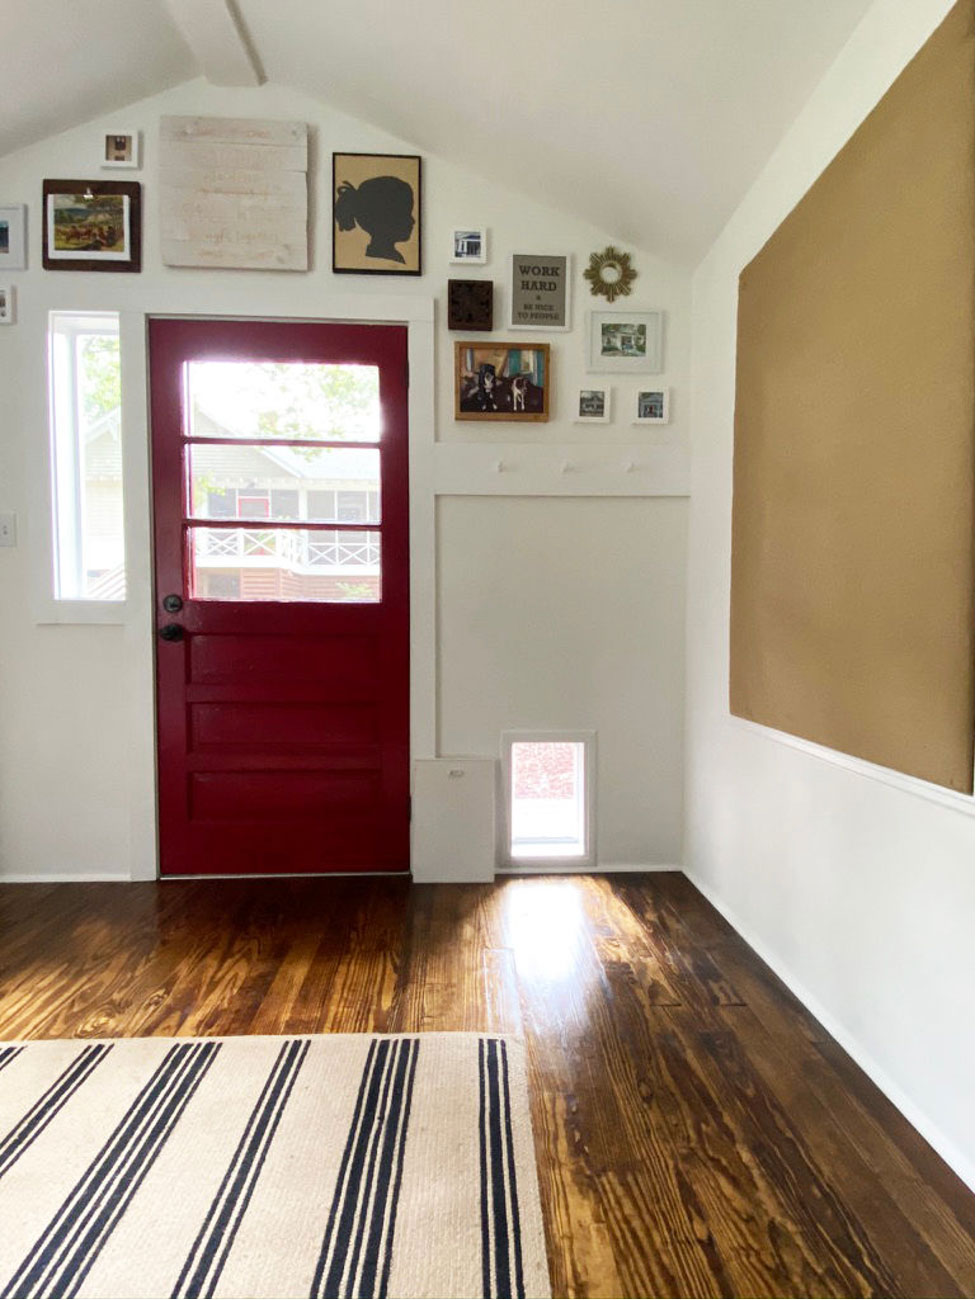
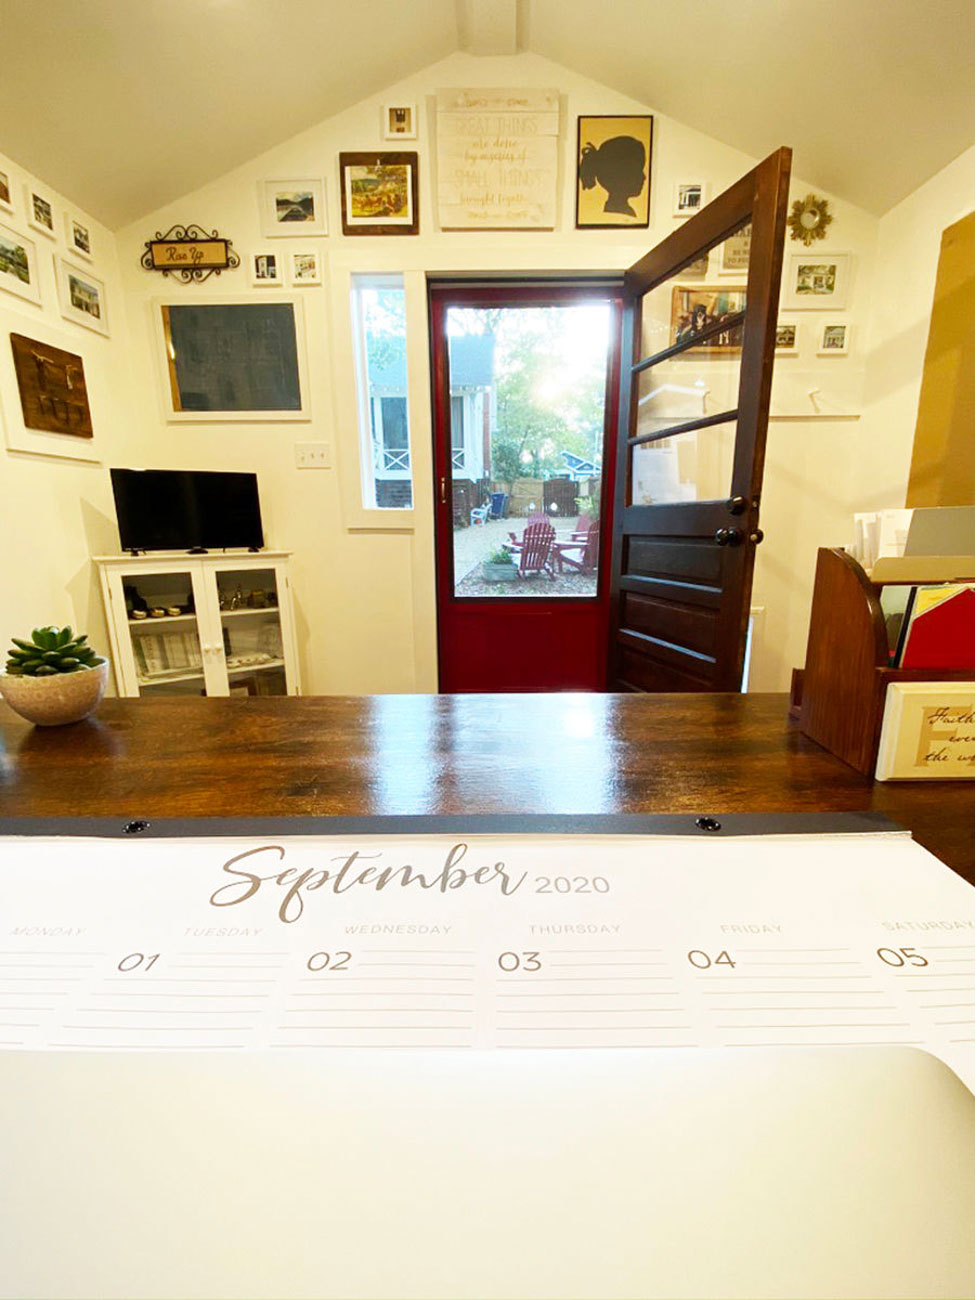
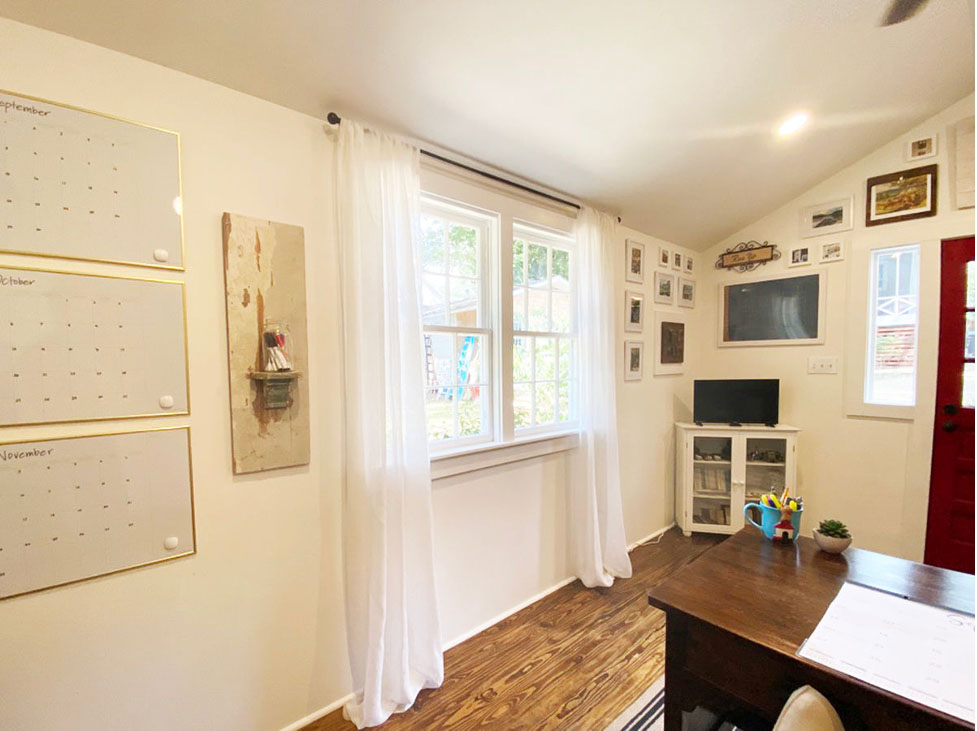
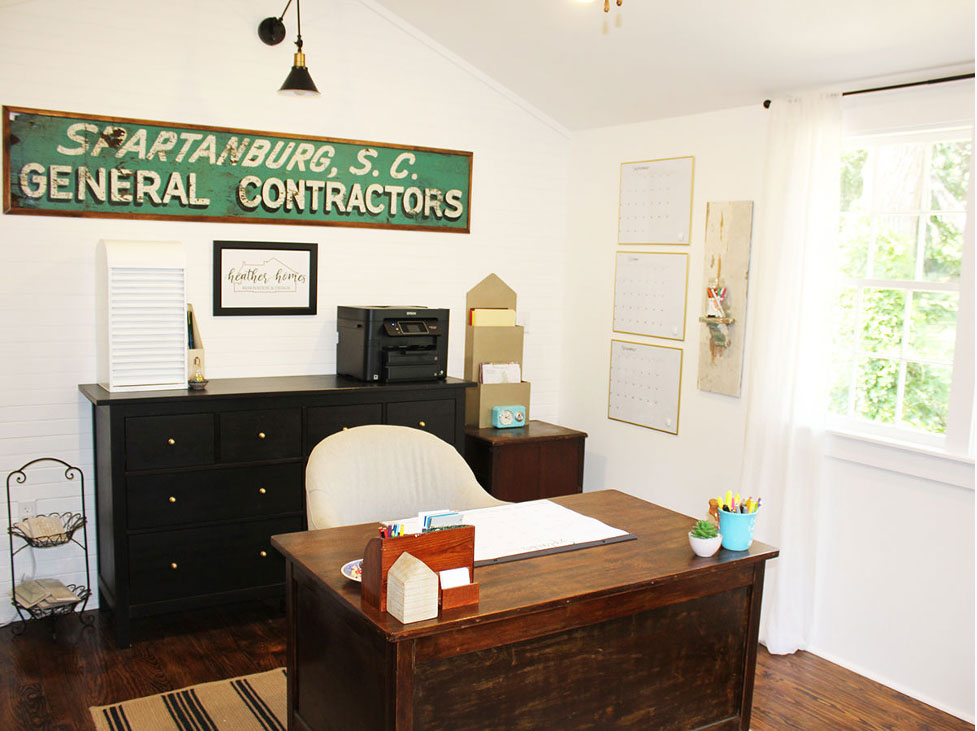
This cool vintage desk was found in The Americana when I moved in. And just as a reminder, this is the house I lived in before my current one. I just couldn’t bear to part with it for years even though this is the first time I’ve used it. In full disclosure I’m not 100% certain I’m keeping it. While I love the vintage appeal, the drawers make it hard to sit underneath. So, I’m still trying to decide whether it stays or goes. Underneath is a sisal rug with a simple black stripe pattern that ties the room together without being too busy.
Oh and the Ikea desk on the back wall – I found on the side of the road. I’m not kidding. I saw it on the side of the road one morning, called my dad to help me pick it up, and stored it until now. The only change I made was to swap out the hardware for these cool antique gold knobs.
BRASS ANTIQUE GOLD DRAWER PULLS
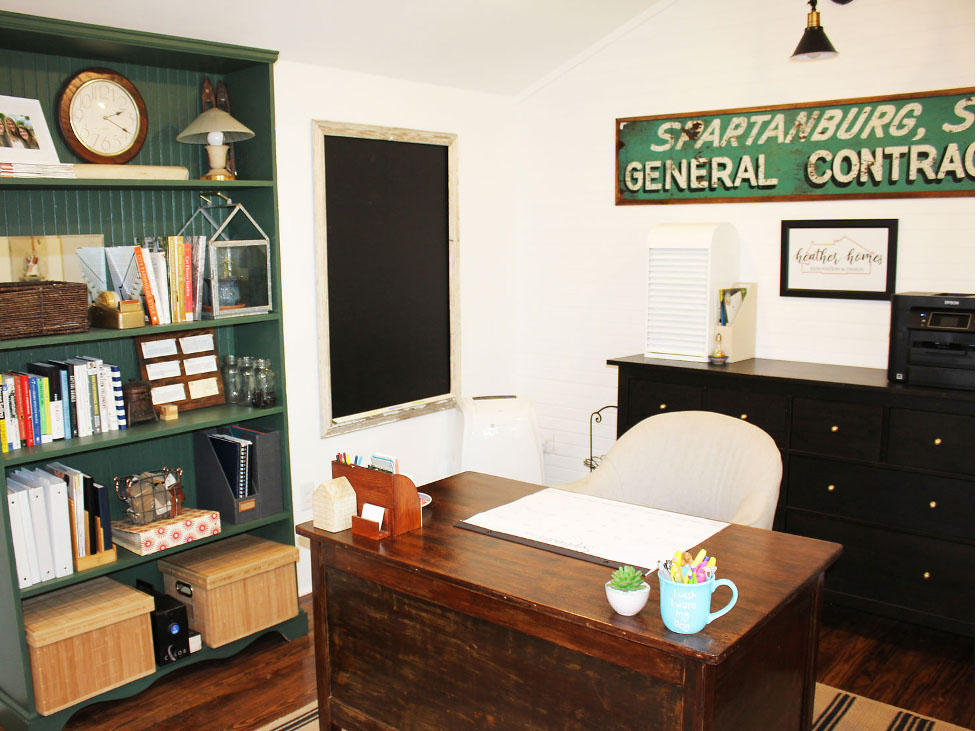
The bookshelf was one I built several years ago and have used in my two previous homes. With no place to use it in my home, I kept it in the garage to use down the road. I painted it a deep shade of green (HGSW 3251 Coriander) and filled it with all of my books, notebooks, and files. The chalkboard is flat black paint painted directly on the wall. To wrap up I trimmed it with salvage trim I had left over from another renovation.
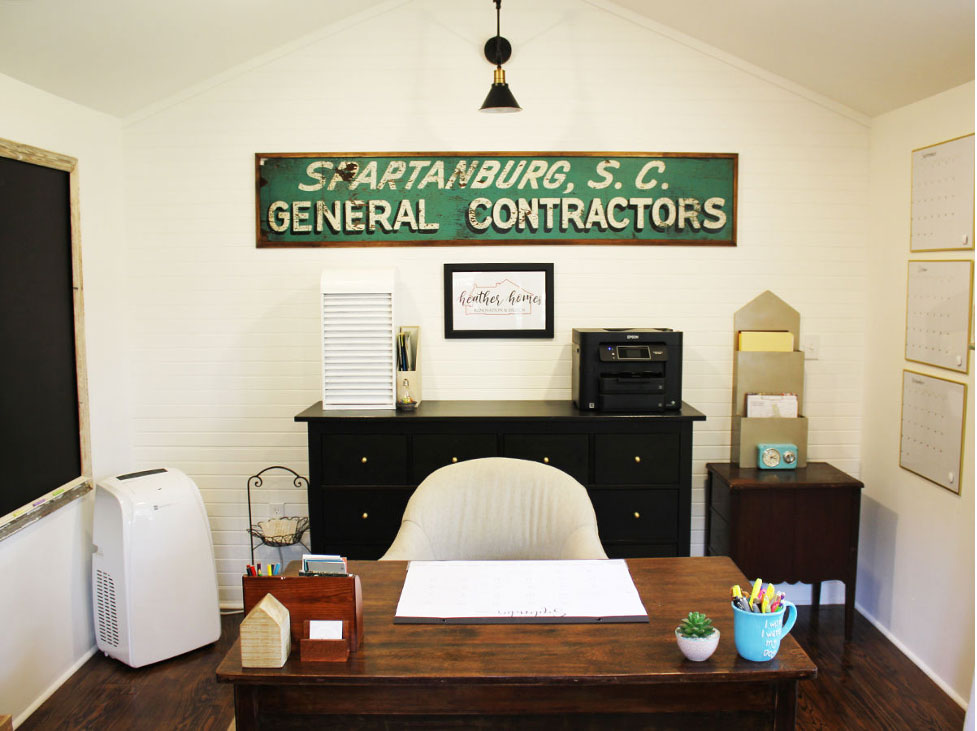
The Vintage Sign
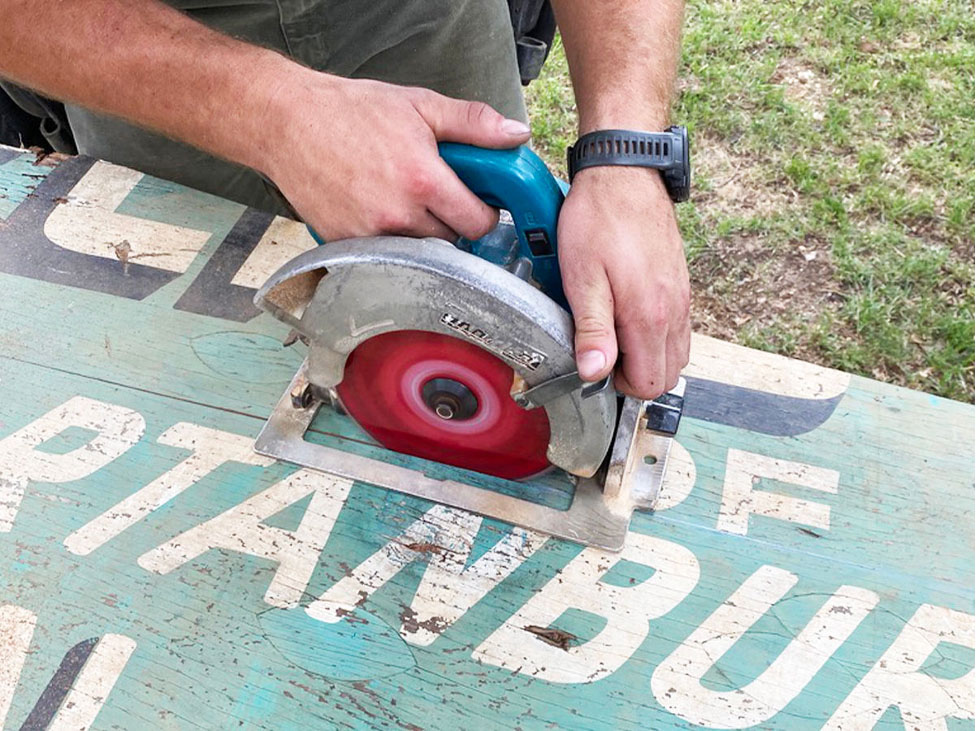
I had always planned for the vintage sign on the feature wall to be the focal point of the space. And it did not disappoint once installed. Five years ago I found it in the basement of the Cecil House when I was cleaning up to sell. It was flipped over so I thought it was just a piece of plywood. Unfortunately, it had been sitting in water for a while rotting away. Imagine my surprise when I turned it over and saw this. I was immediately in love. While the entire sign couldn’t be saved, we were able to trim it down. Next, I added a coat of sealer for protection and then trimmed it out. To make it the perfect focal point, I added a vintage wall sconce above.
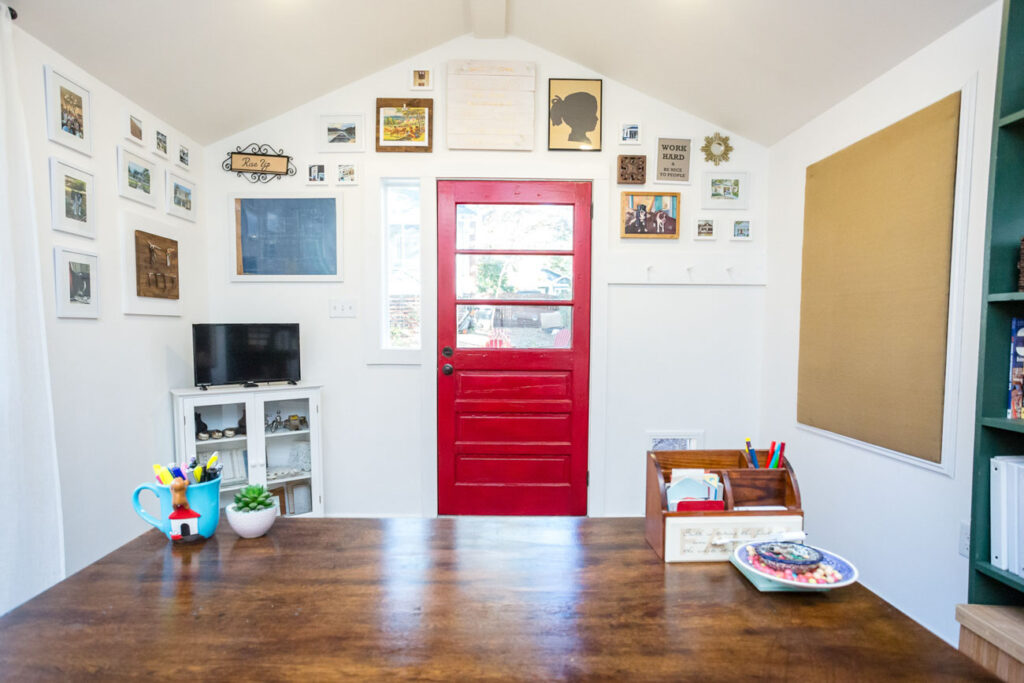
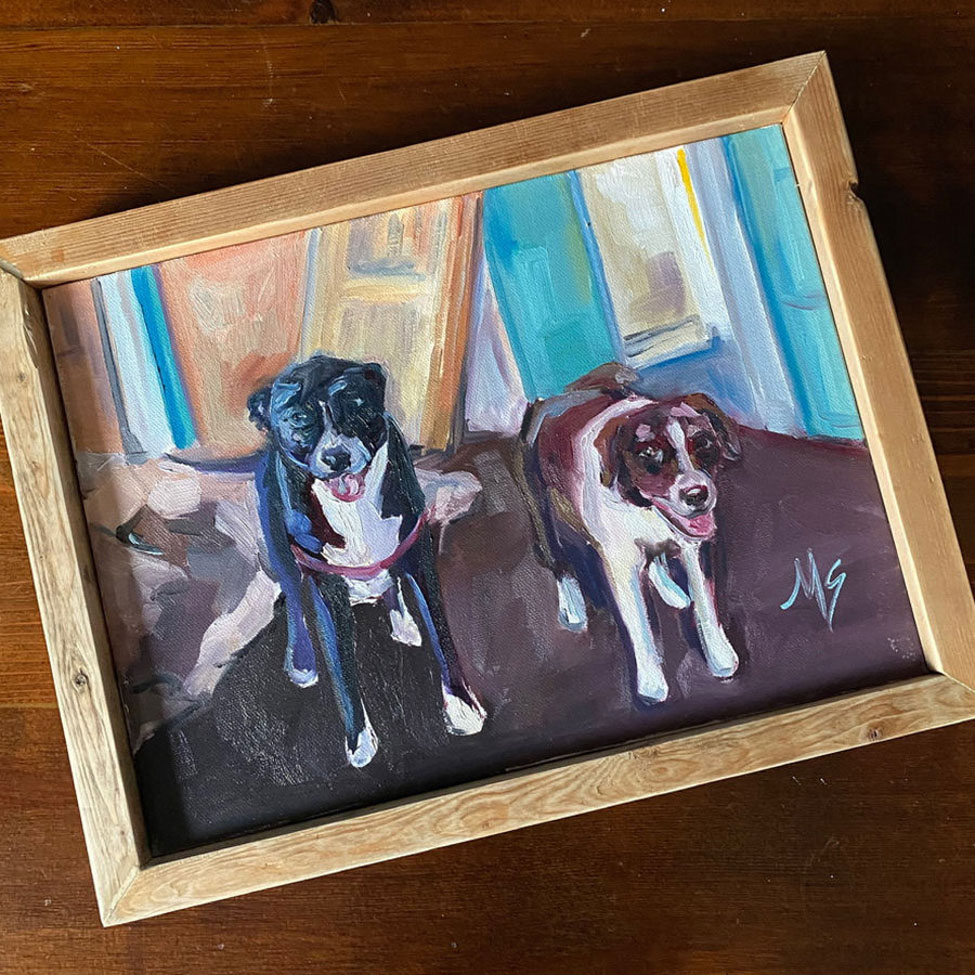
The rest of the room is a display of vintage finds, organizational items, and little, personal things. Together they reflect my journey of renovating houses over the years
One of my favorite items on the gallery wall is the blue print. It’s an original blueprint of the house my dad grew up in.
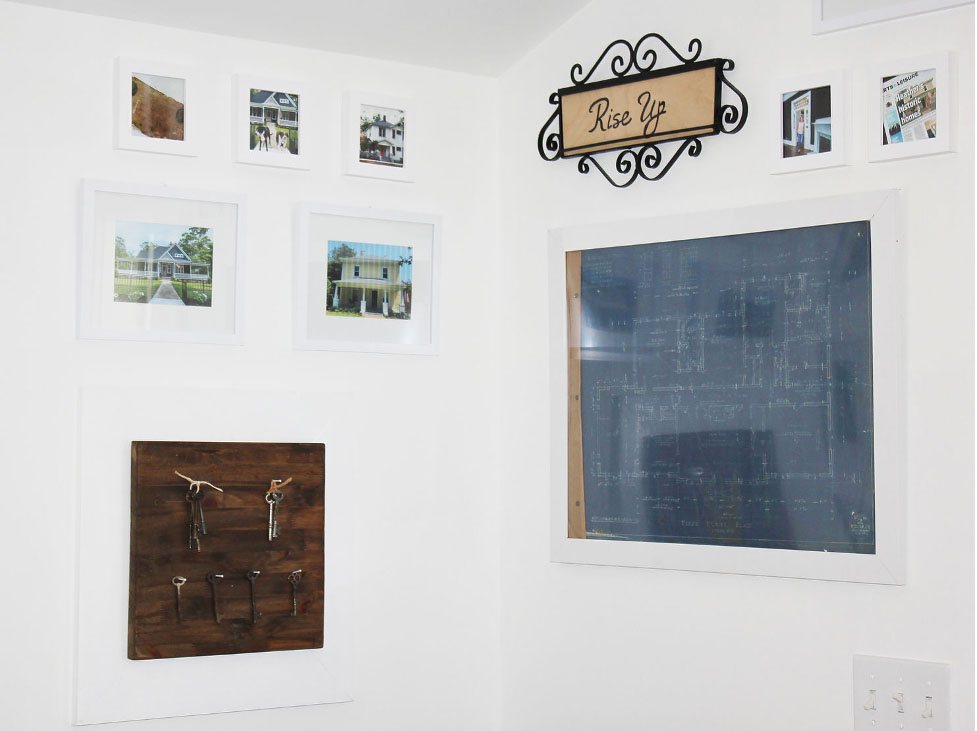
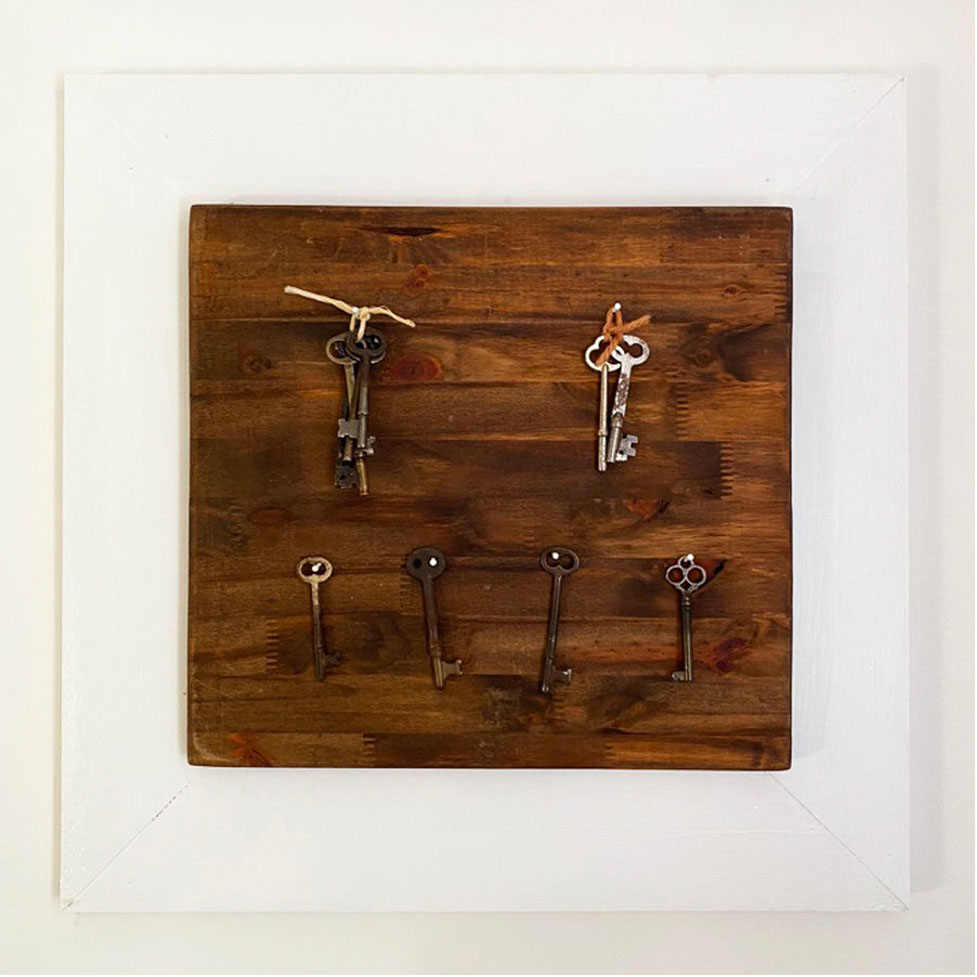
And this clever little display of vintage keys I’ve collected over the years covers the electrical panel.
So as you can probably tell I really love this space. It’s separate from my house which creates a little space between personal and professional. The office also displays some of my favorite things, and provides me with a creative place to do the work I love.
shop
favorites
All of our favorite shoppable links and sources in one place! We love to share our projects with you and hope these resources help you as you design your own home.

+ Show / Hide Comments
Share to: