Reworking the Upstairs to Make Room for a New Hall Bathroom
When my client first reached out, one of her top priorities was to add a new bathroom to the existing square footage upstairs. I quickly drafted a new floor plan that reworked the spaces to create not only a new bathroom, but laundry nook as well. With the new plan in place, I made sure to incorporate original materials like trim and doors so the new bathroom would feel as if it was original in this historic house.
The Design Process
The Before
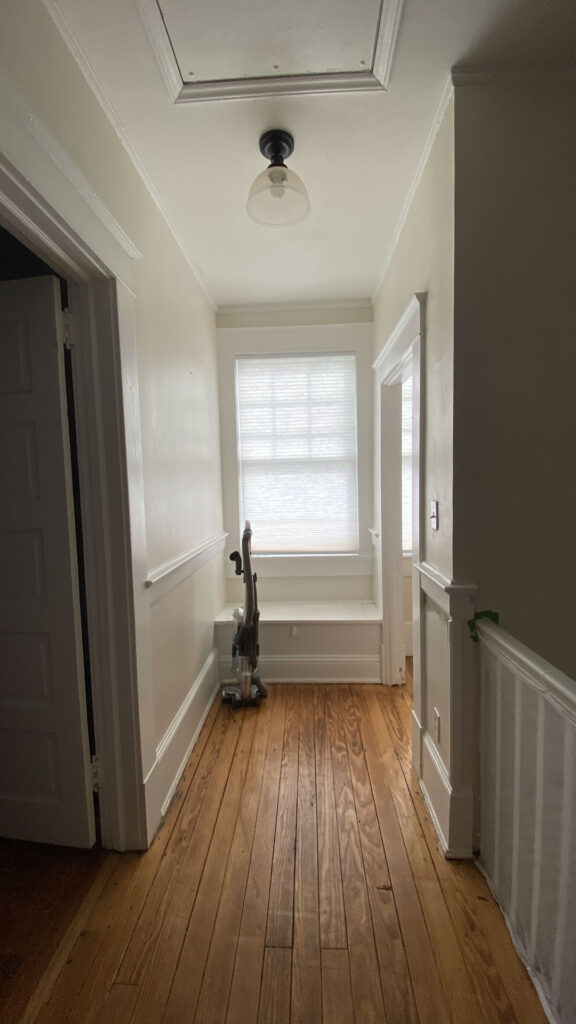
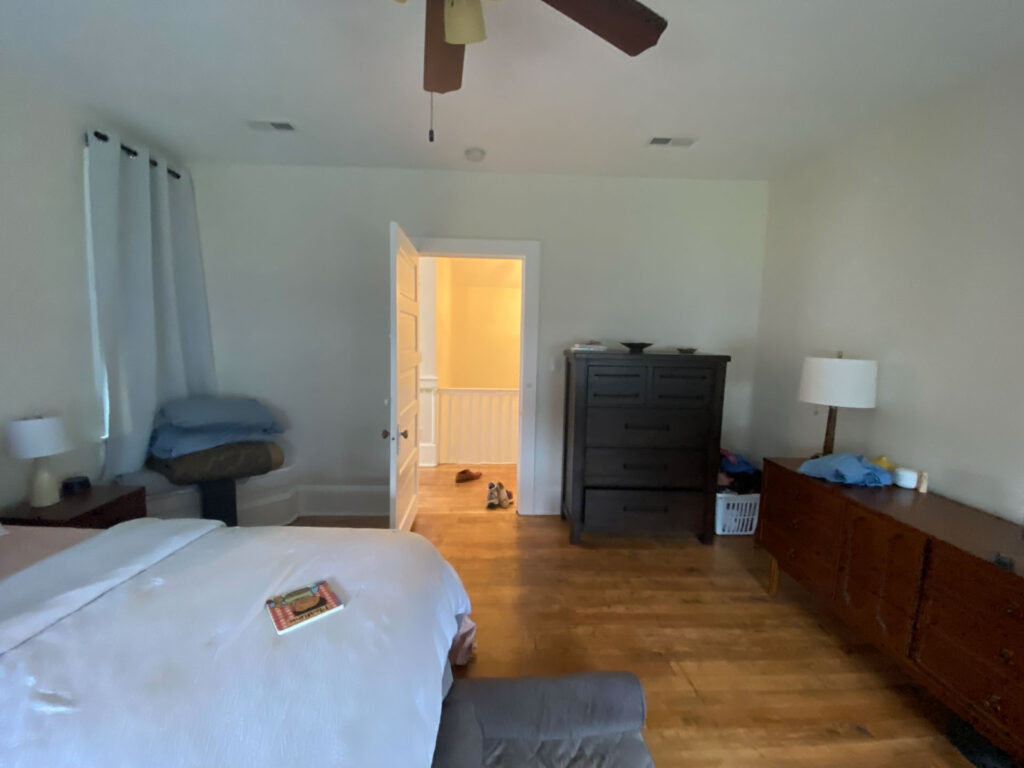
The upstairs consisted of a stair landing with two bedrooms on one side, one bedroom on the other, and a bathroom in between. Opposite the bathroom down the hallway was a seating bench in front of original windows with a small nook to the right used as a home office. Knowing that the existing bathroom was going to be converted into a private master bath, they needed a second bath upstairs for the kids.
Working Through the Floor Plan
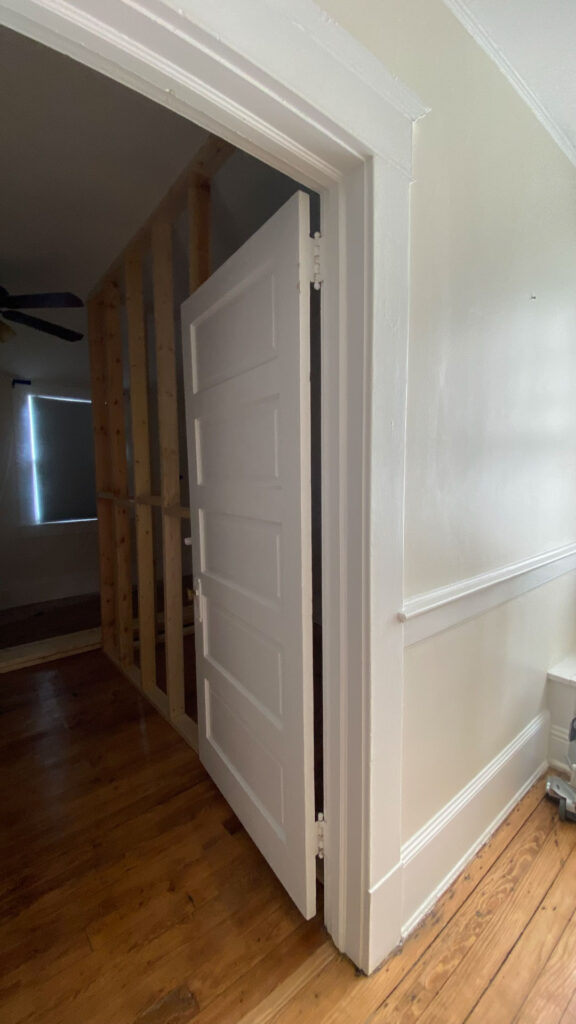
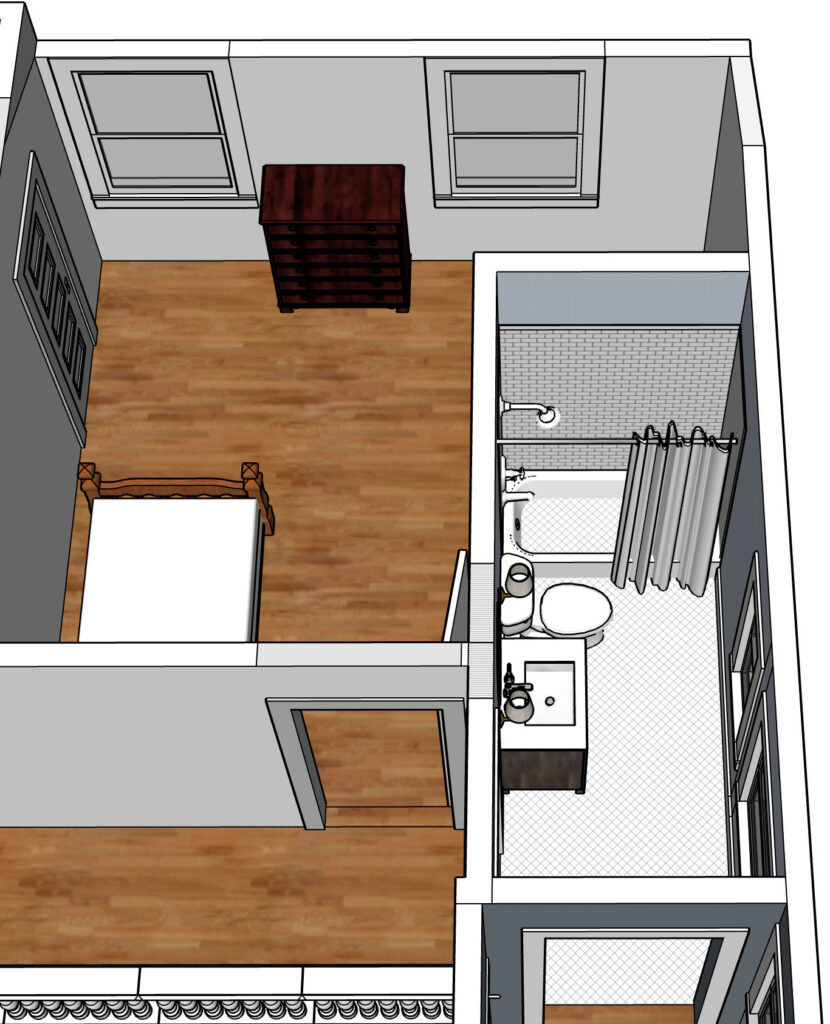
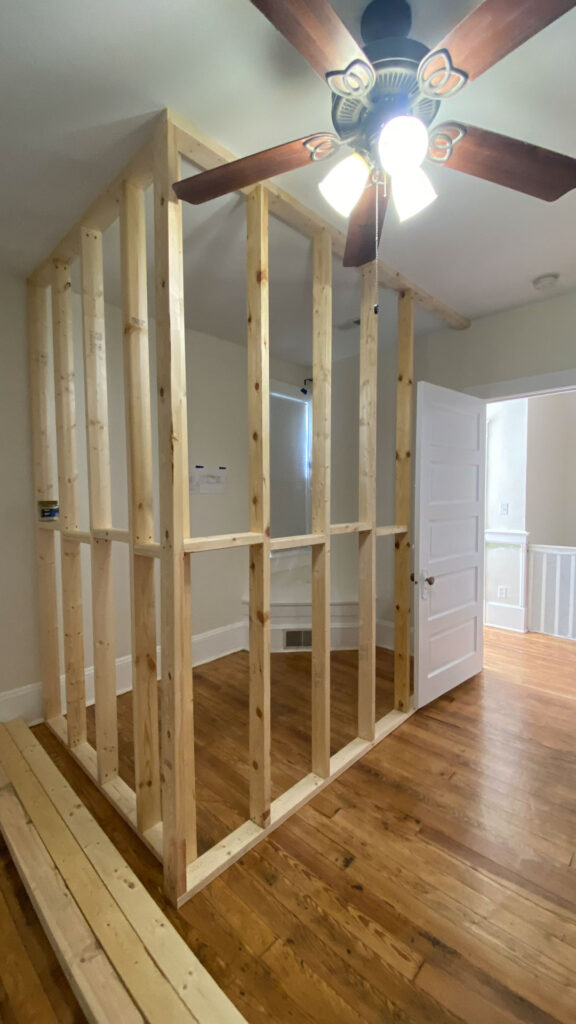
Originally the request was to look at the closet space between two bedrooms to see if a bathroom could be added there. However, after drawing the existing floor plan, I suggested claiming some of the hallway and the front corner of one of bedrooms for the bathroom instead. After a couple of revisions, we had the green light to move forward on this new floor plan.
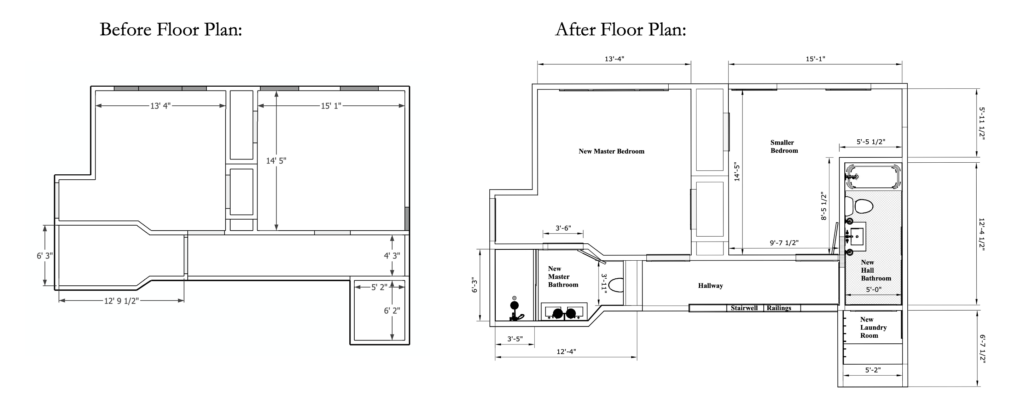
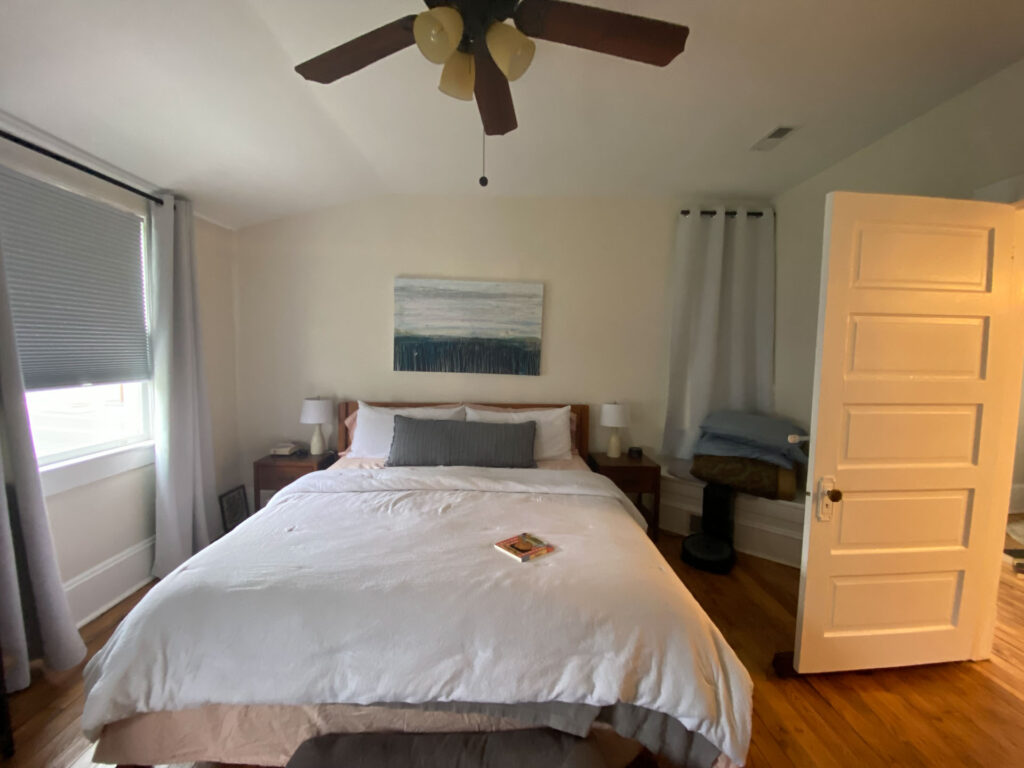
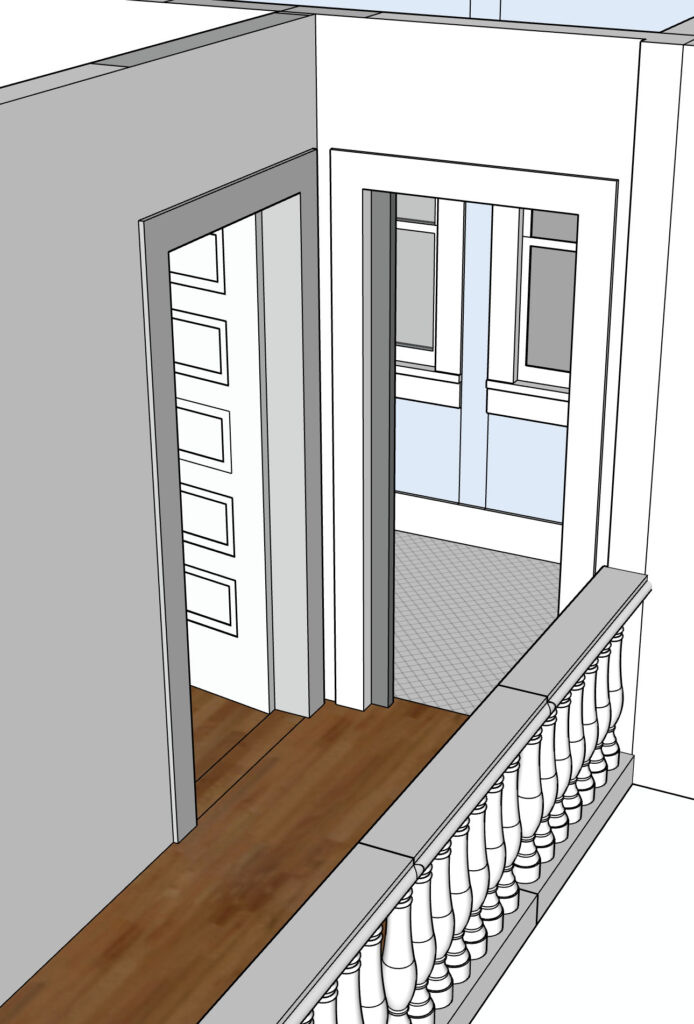
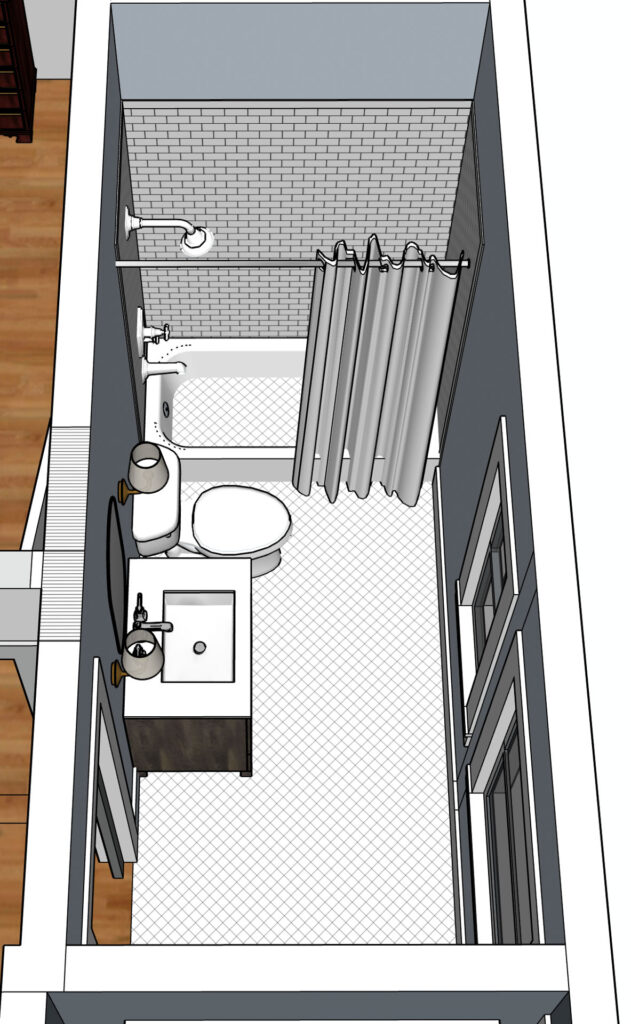
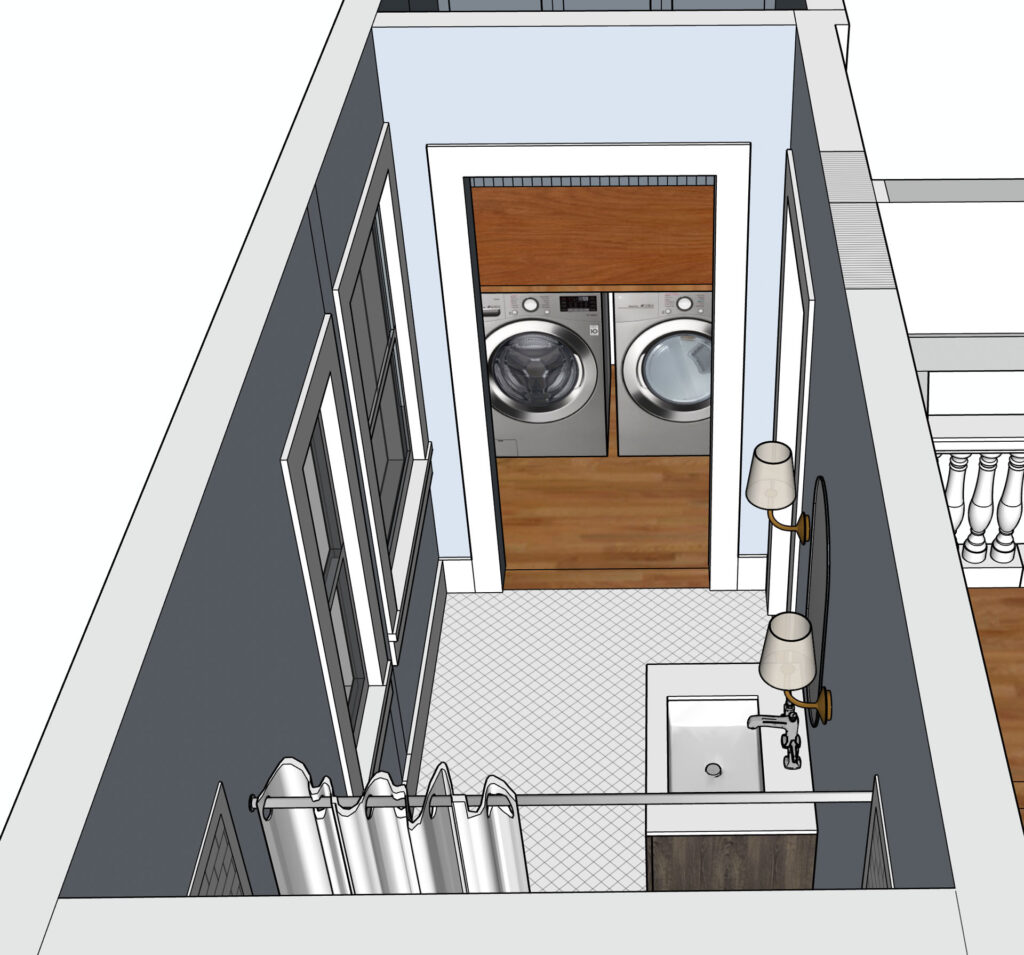
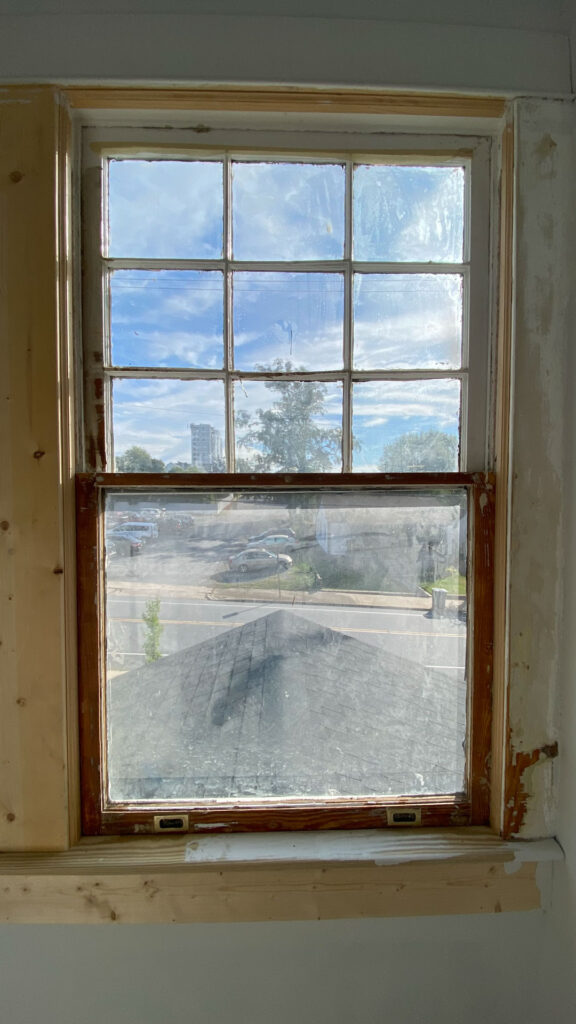
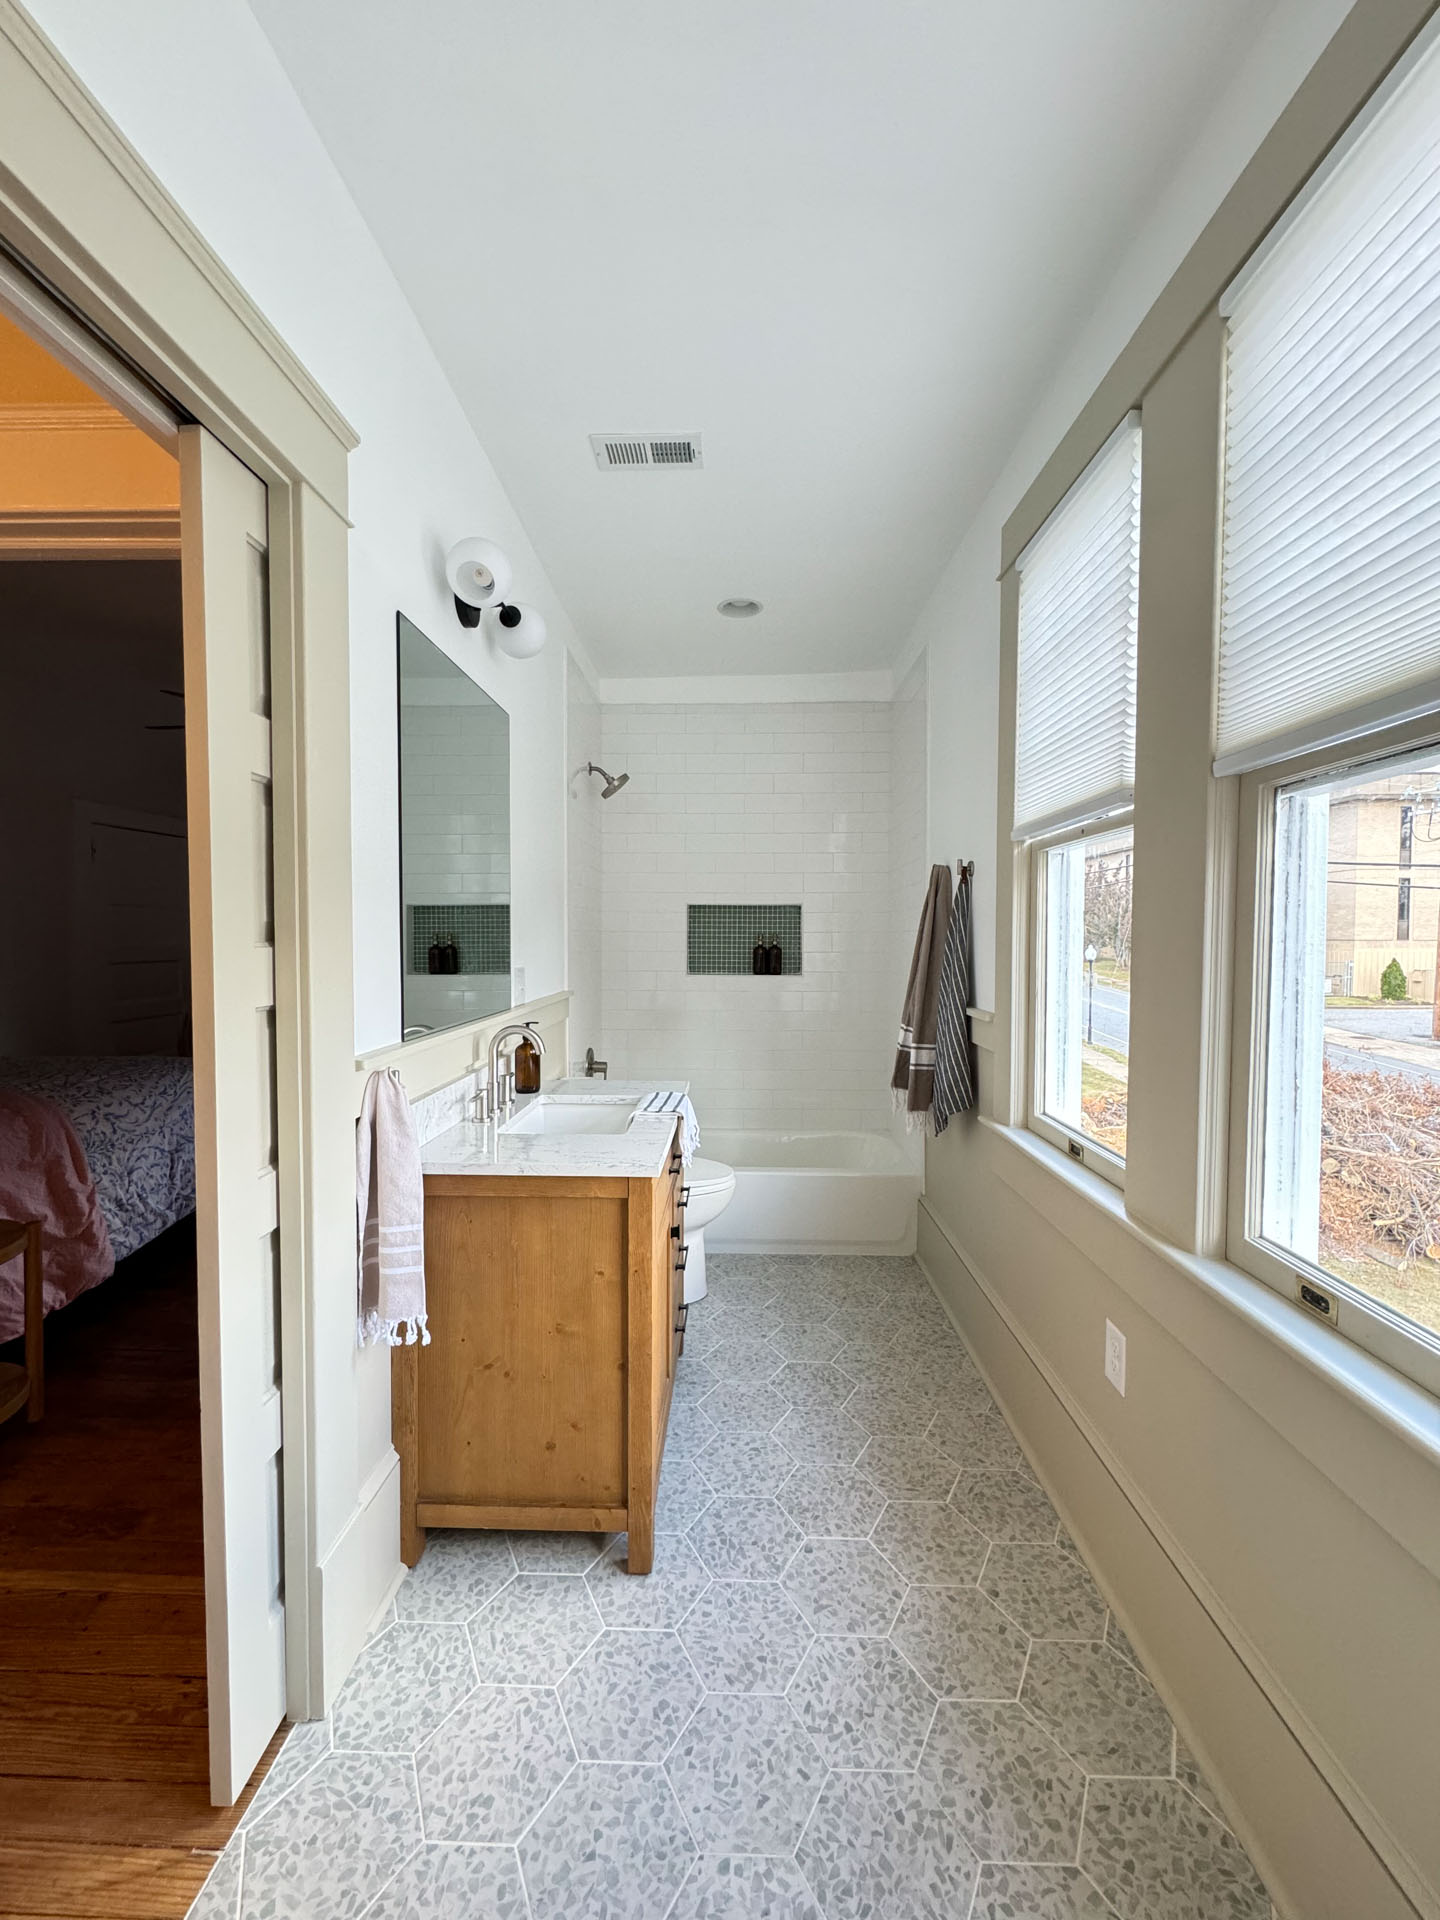
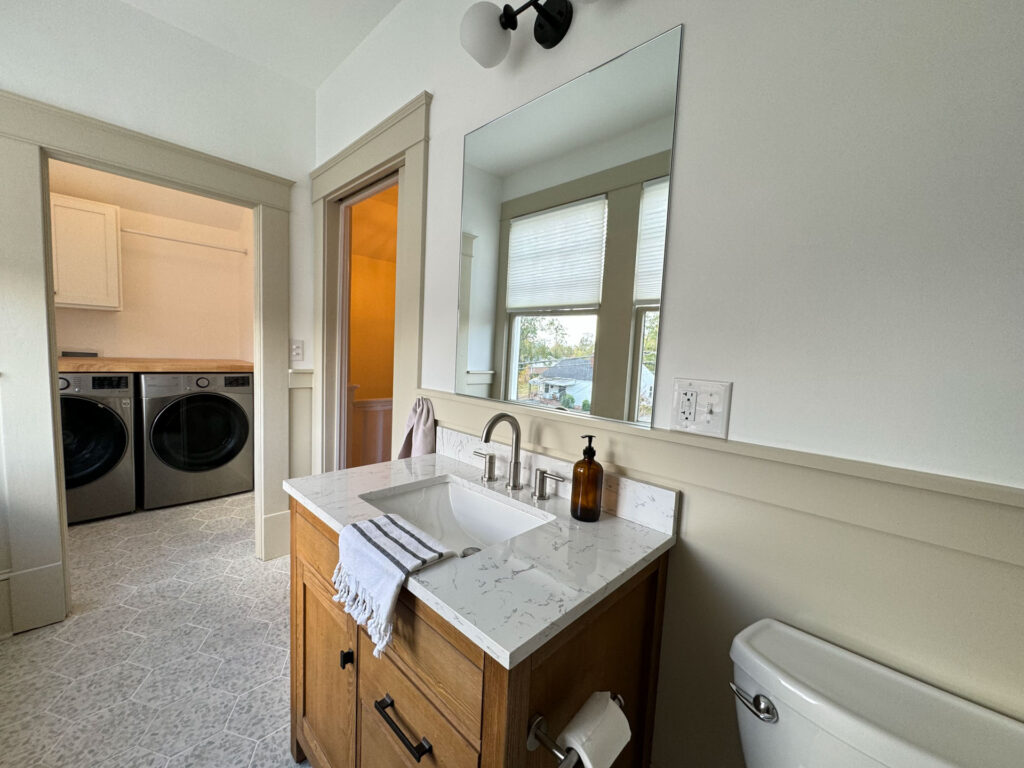
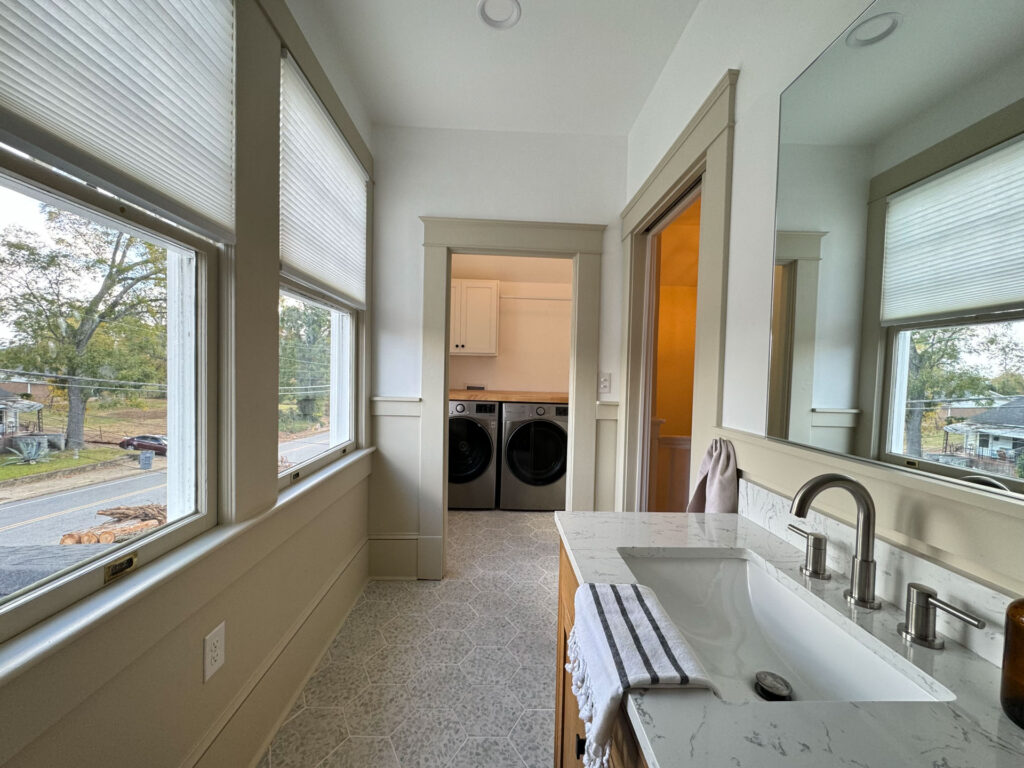
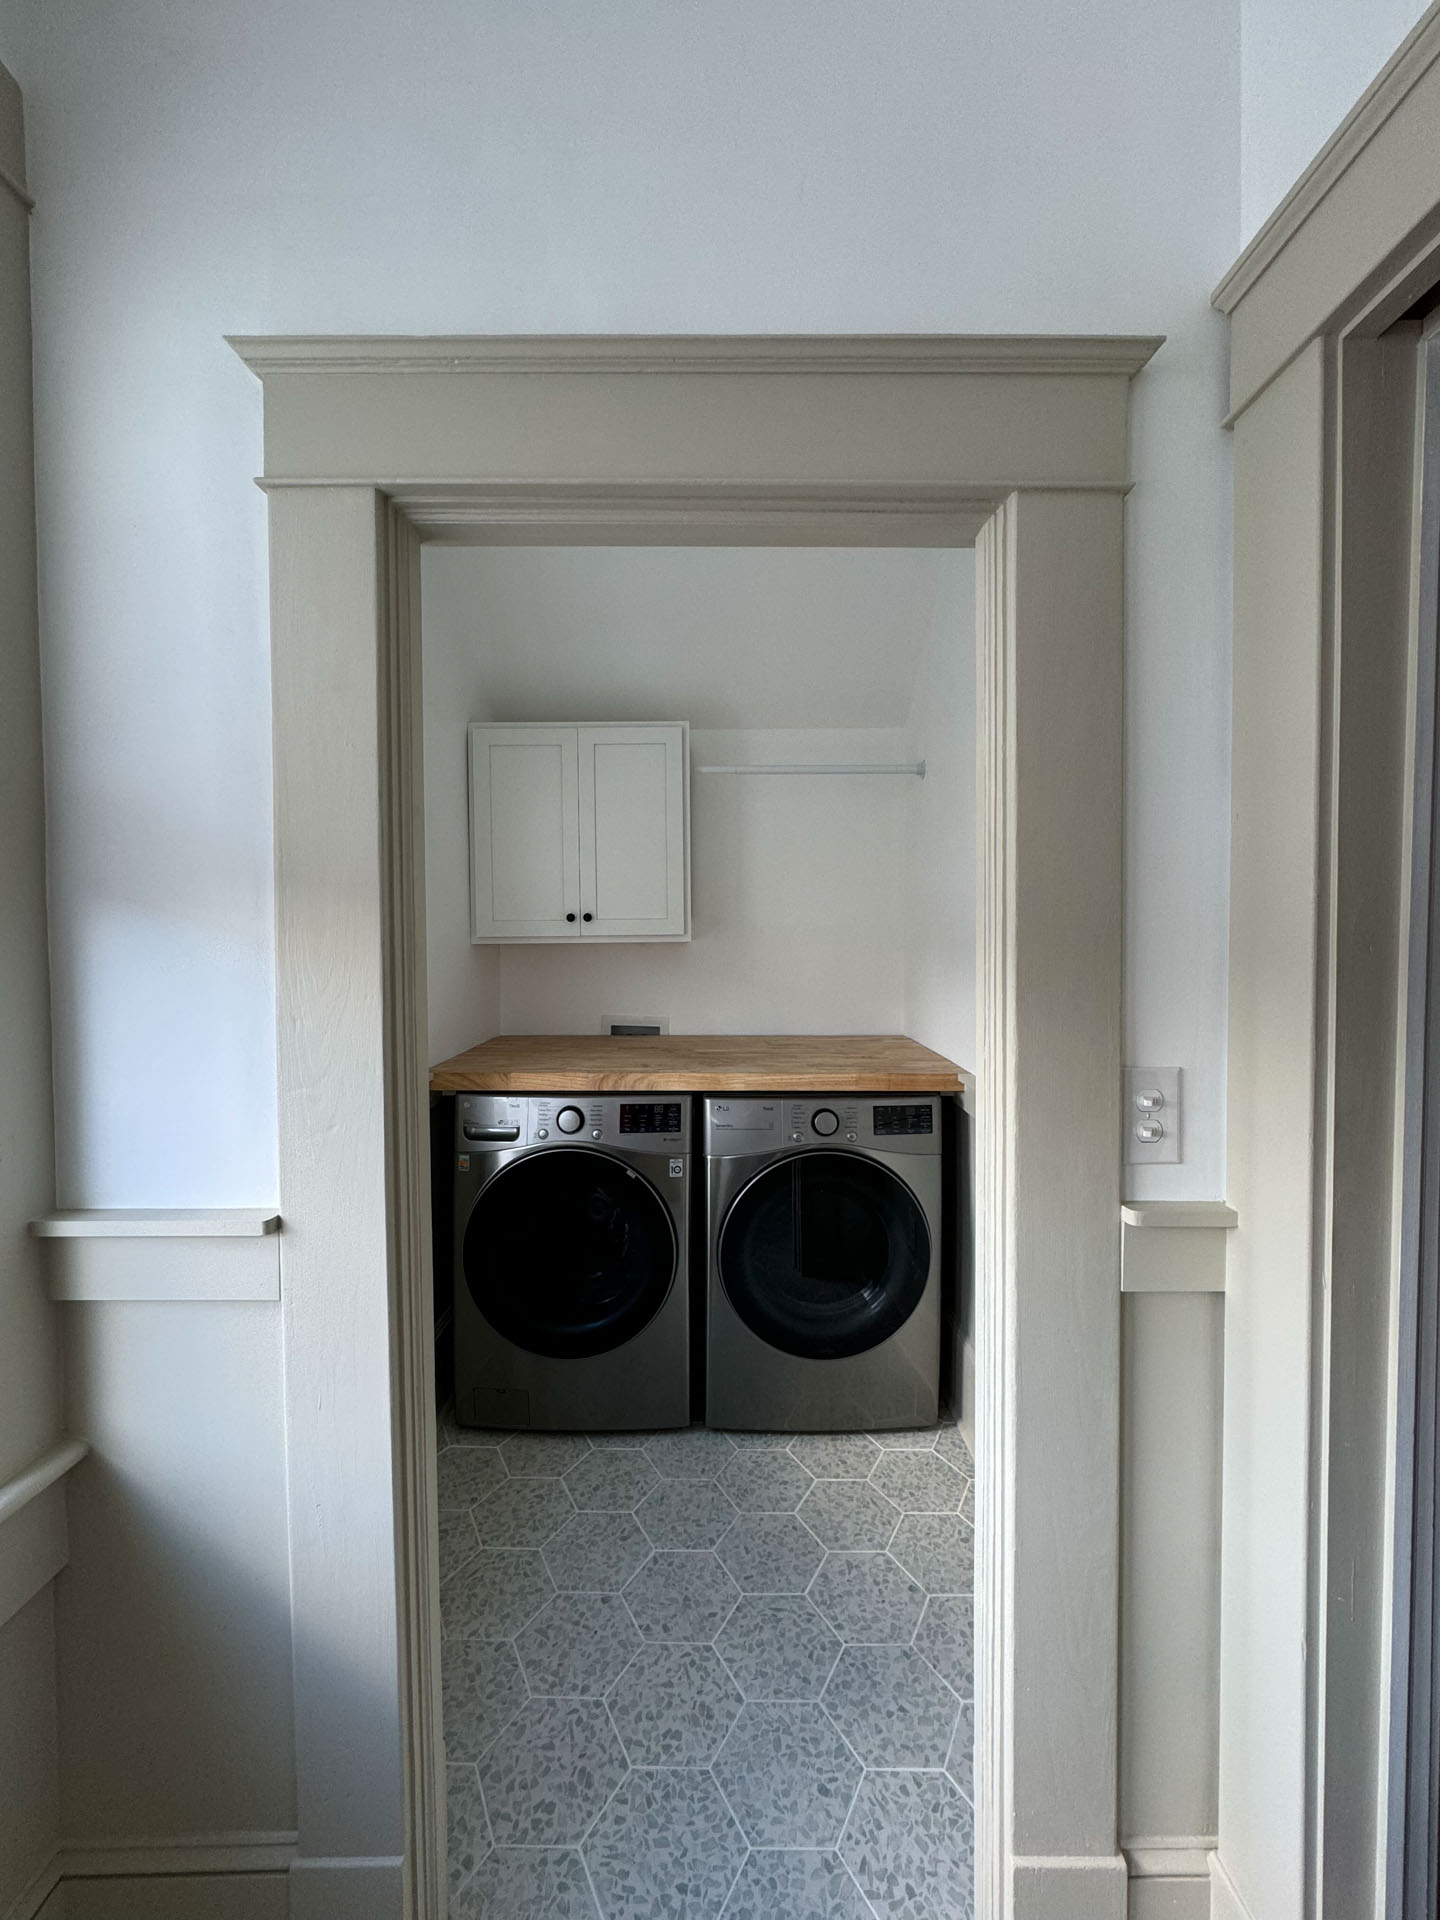
With the new floor plan, we would be taking a portion of the front bedroom and the last five feet of the hallway as the space for the new bathroom. To the right, the little nook would become the new laundry room that adjoins the bathroom. This plan incorporated the original windows and the use of a pocket door to make the best use of the space. While we did have to take some space from the bedroom, it was a large enough room to be able to accommodate the loss especially since it would become a kid’s room.
The Construction Phase
Salvaging During Demolition
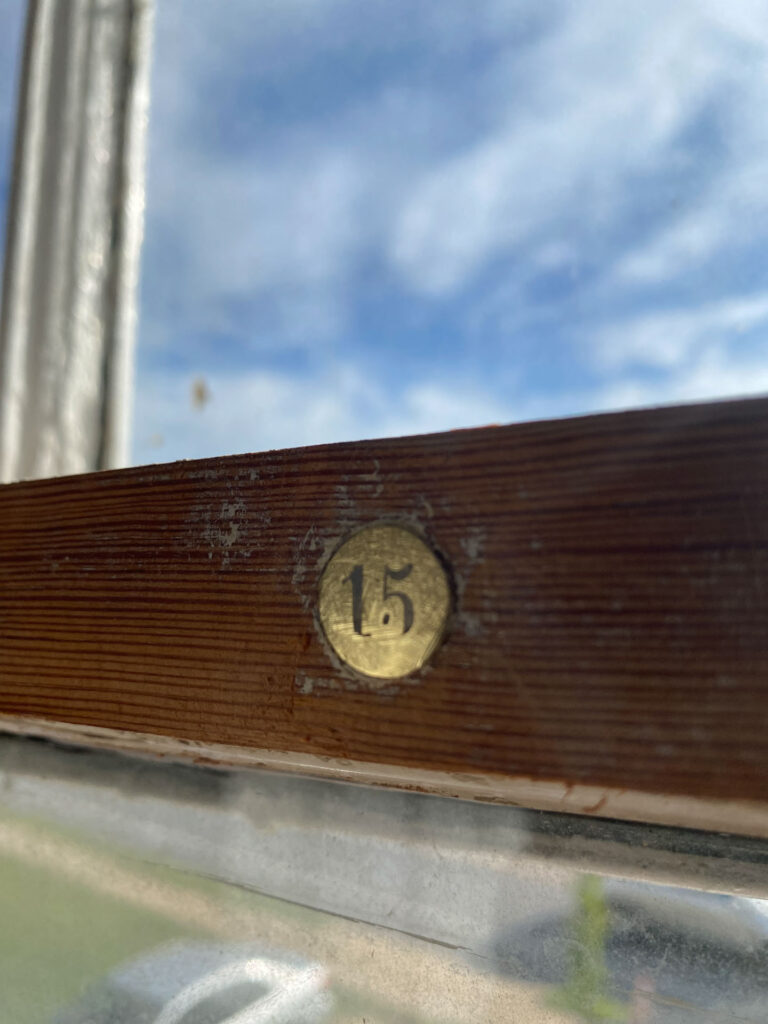
The longer I have worked on historic homes, the more intentional we have become about salvaging as many original materials as possible. In this case, I had the guys save any trim they removed and the pine floors which we used in another space. My client also had an original door we used for the pocket door and we refurbished the original windows.
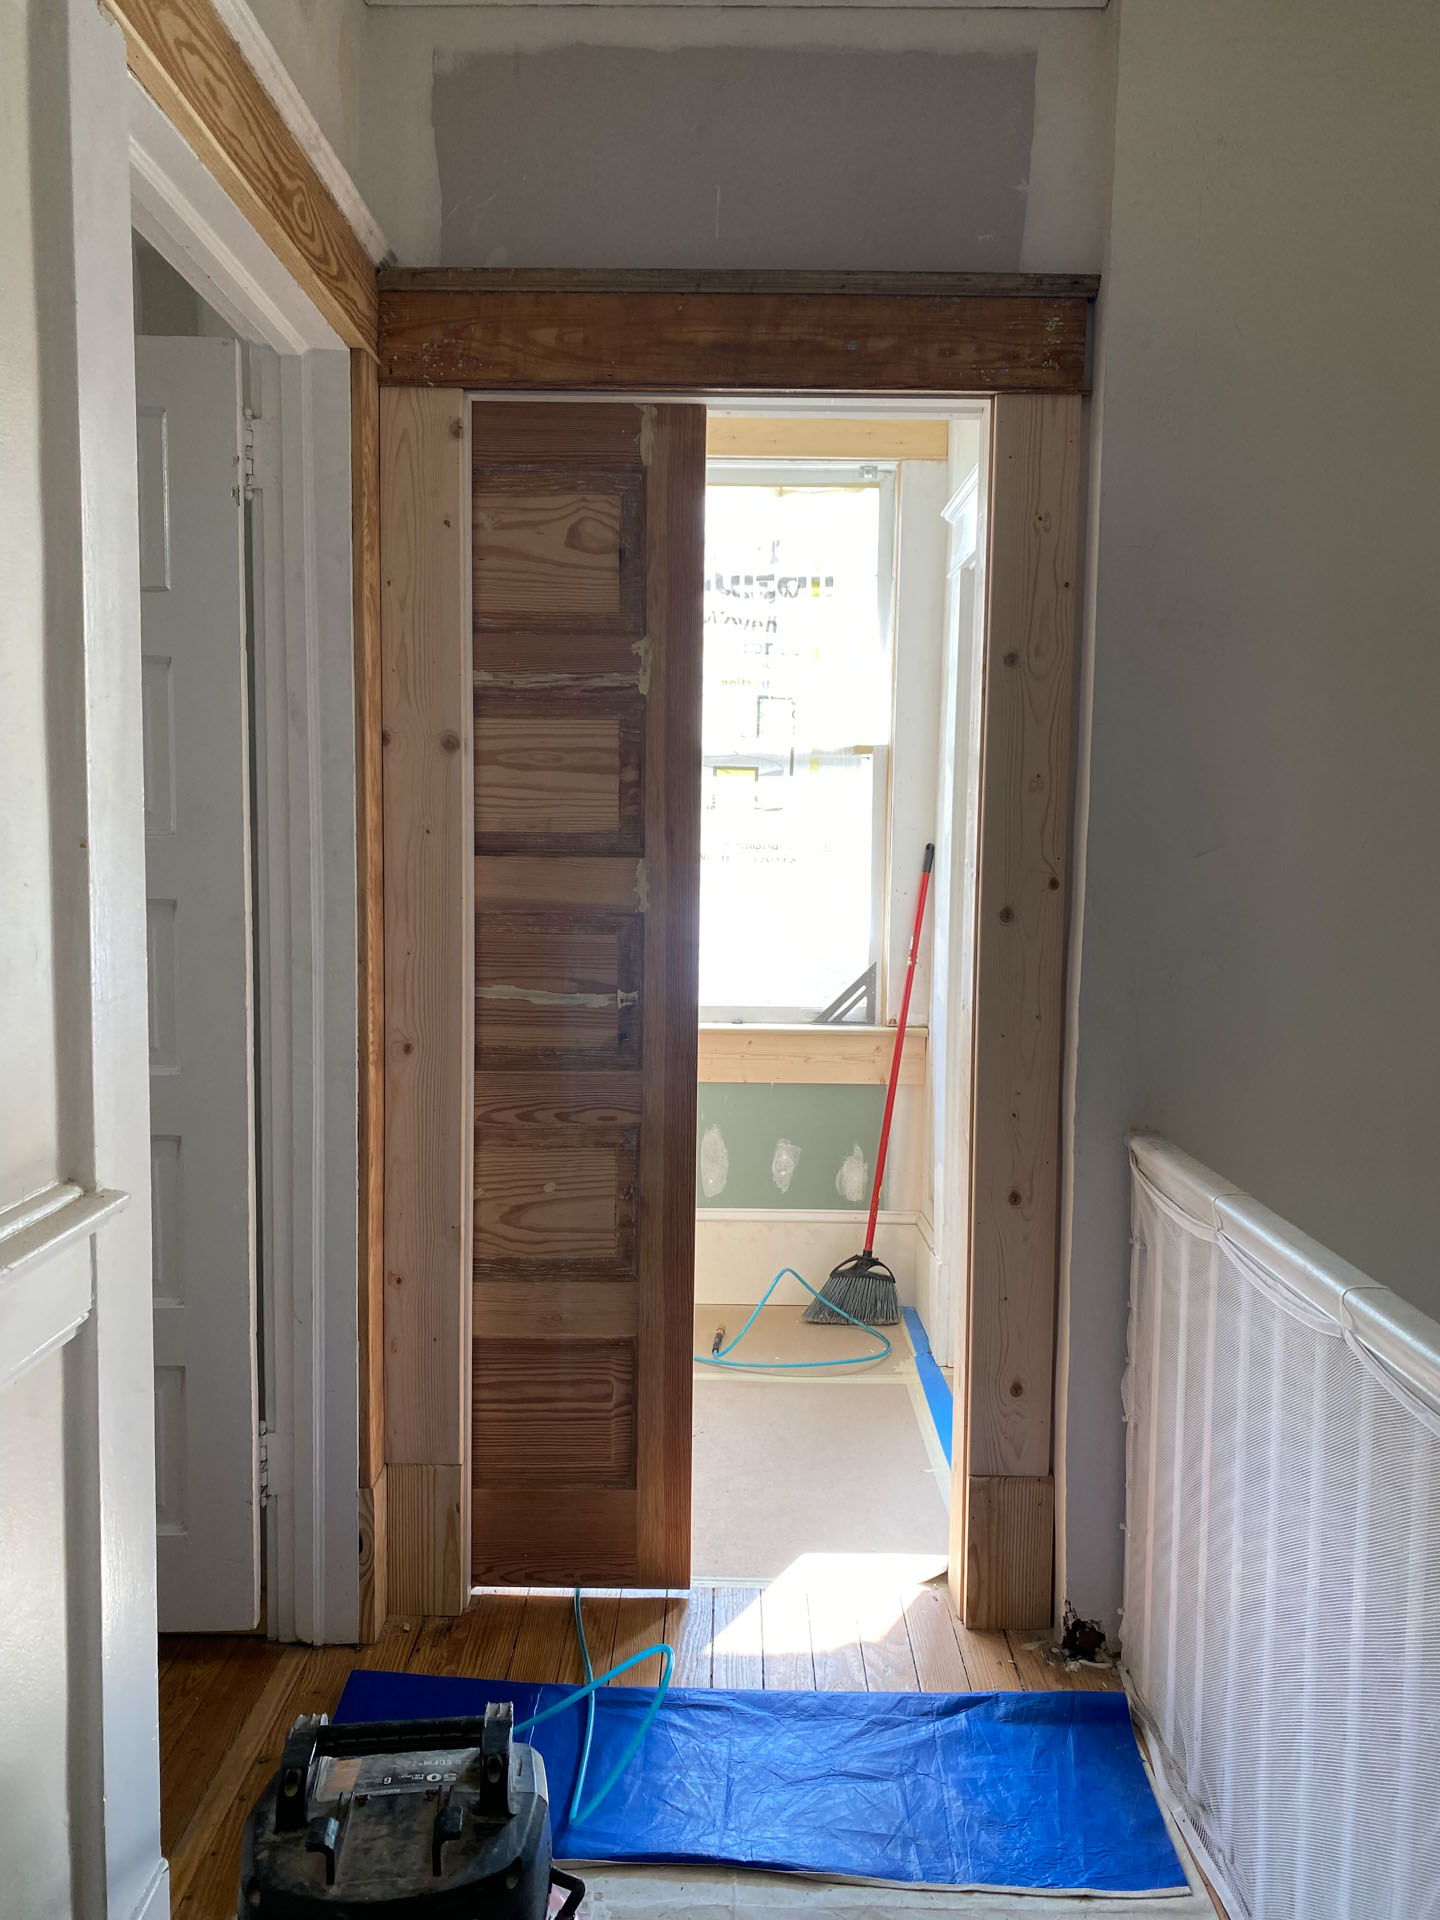
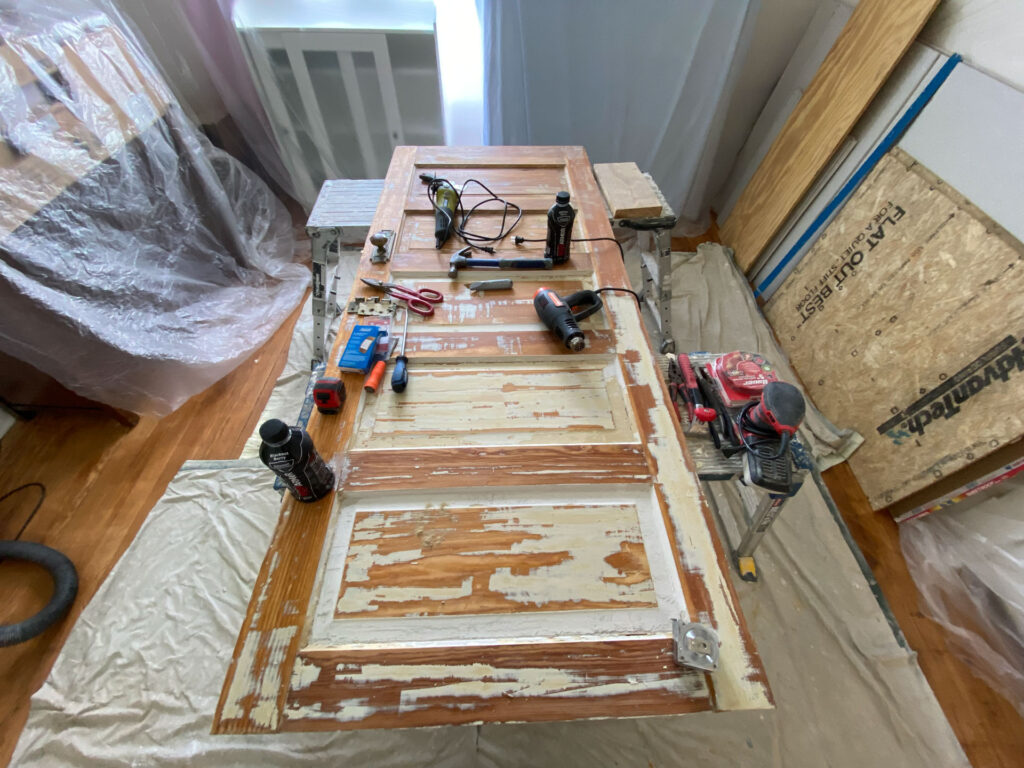
While it does take longer because of the extra care it takes to carefully remove these materials, I feel that is the difference a historic home deserves. It’s also typically those details that make the space feel original once completed.
Additional Framing and Upstairs Access
Since this new space sits directly over the living room below, there was no wall to help support the weight. So, the guys cut out a portion of the ceiling below. This made it possible able to add extra floor joists to carry the load. We didn’t necessarily have to do this but felt like it was important knowing the weight of tile and a bathtub full of water at times could be heavy. The goal was to make sure the living room ceilings would not sag down the road.
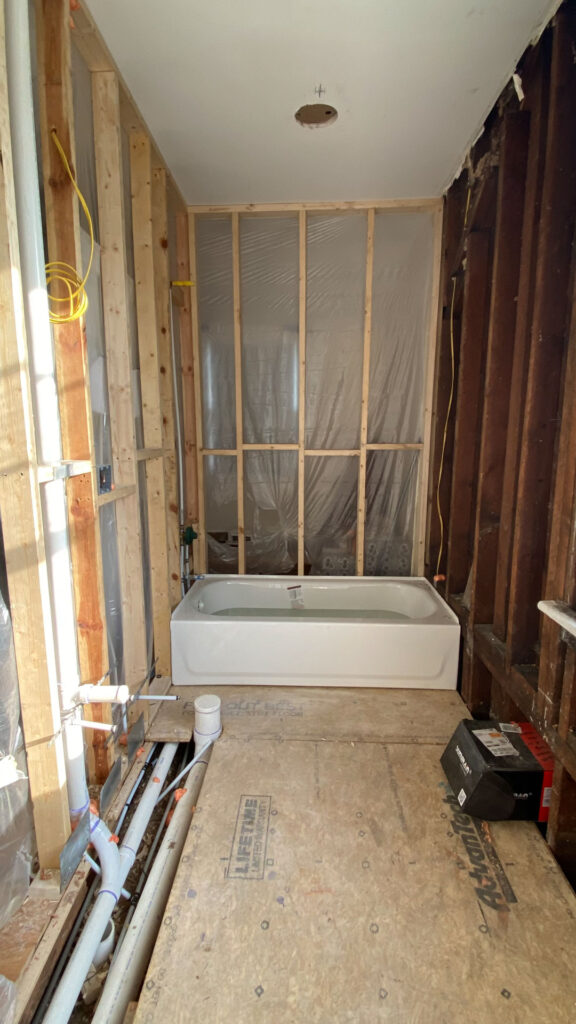
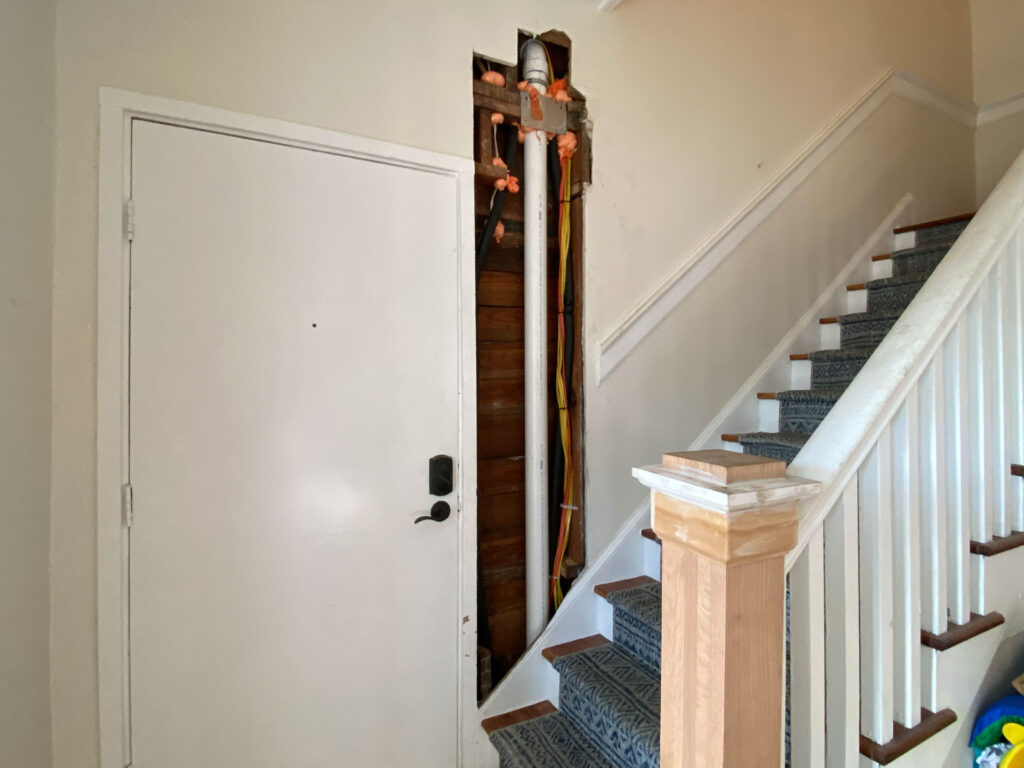
The other item we had to factor in was how to run the new electrical and plumbing to the upstairs. My clients had already renovated the majority of the house before they moved in. With that in mind, we wanted to do as little damage as possible to their previous work as possible. However, an access panel was necessary. Luckily the guys were able to find a place at the bottom of the stairwell that would work. Once opened up they could run all wiring and plumbing from the basement to the upstairs.
Letting the Trades Get to Work on the Bathroom
With demo and framing completed, we let the electrical and plumbing teams come in and do their thing. I use the same subcontractors consistently because they’re easy to work with and always go the extra mile which is necessary when working on a historic home. I’ve said this before and I’ll say it again. Not all contractors are cut out to work on historic homes. So, be sure to ask how they approach historic homes if that’s important to you.
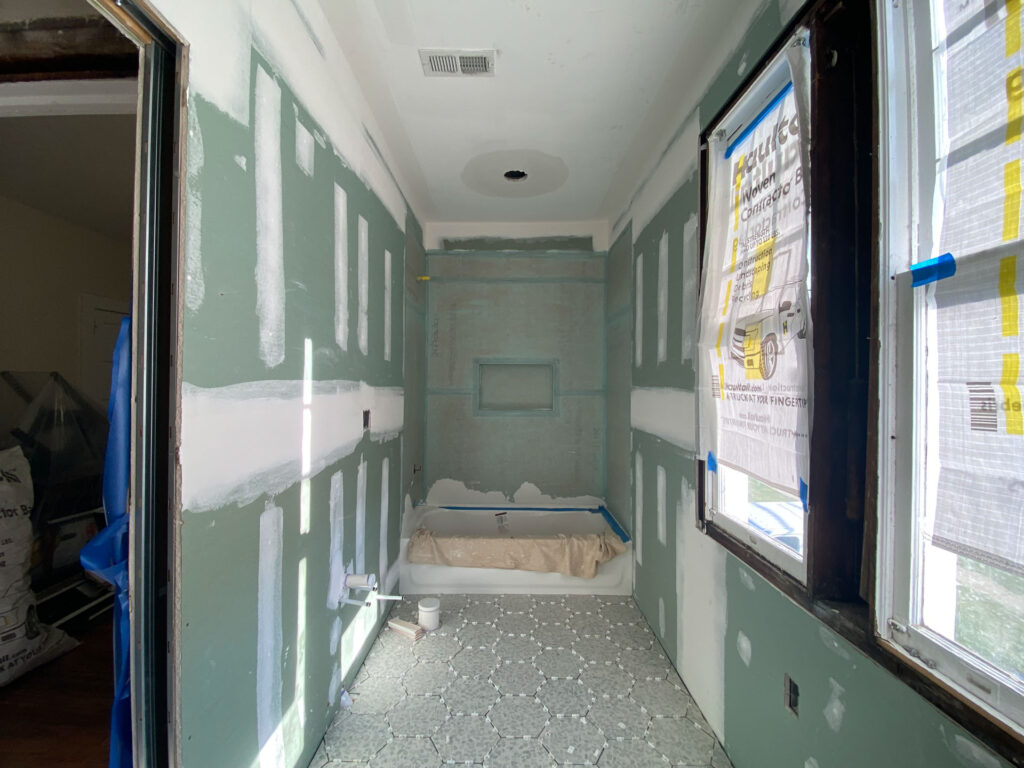
After all of the rough-in work passed inspection, the guys added insulation and hung drywall. Once completed this made way for the tile team to work their magic. I’ve been working with this tile team for a few years now and appreciate the chance to work through details that might otherwise get overlooked. When in doubt on any detail, he’ll reach out so that we can make a decision together.
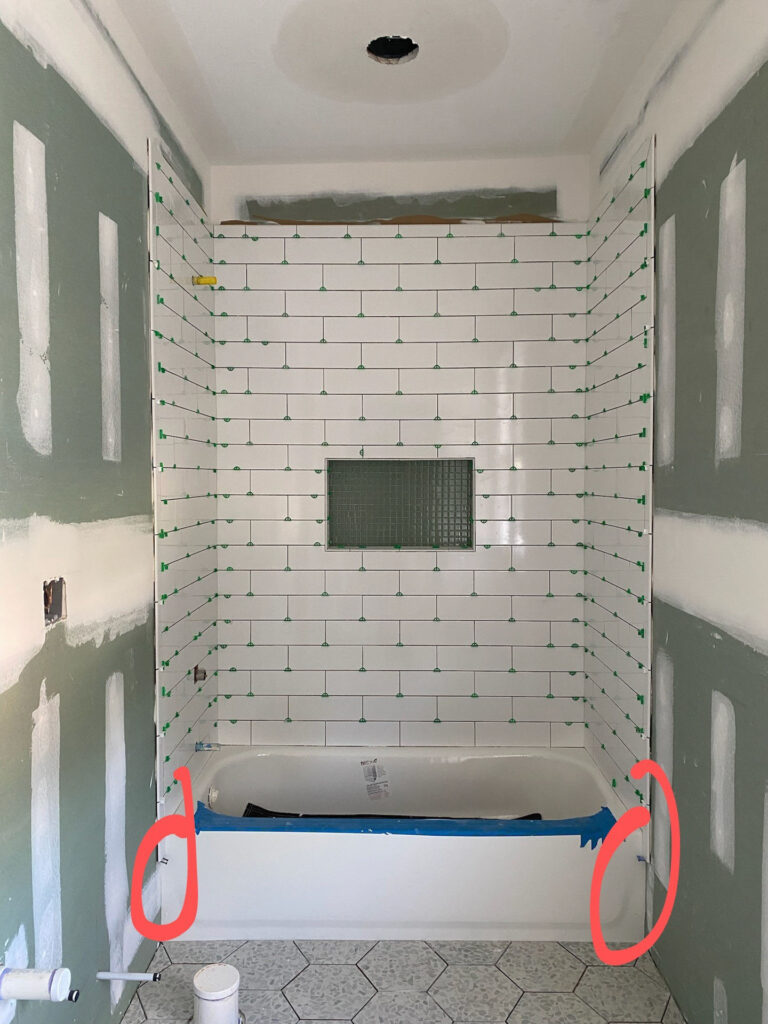
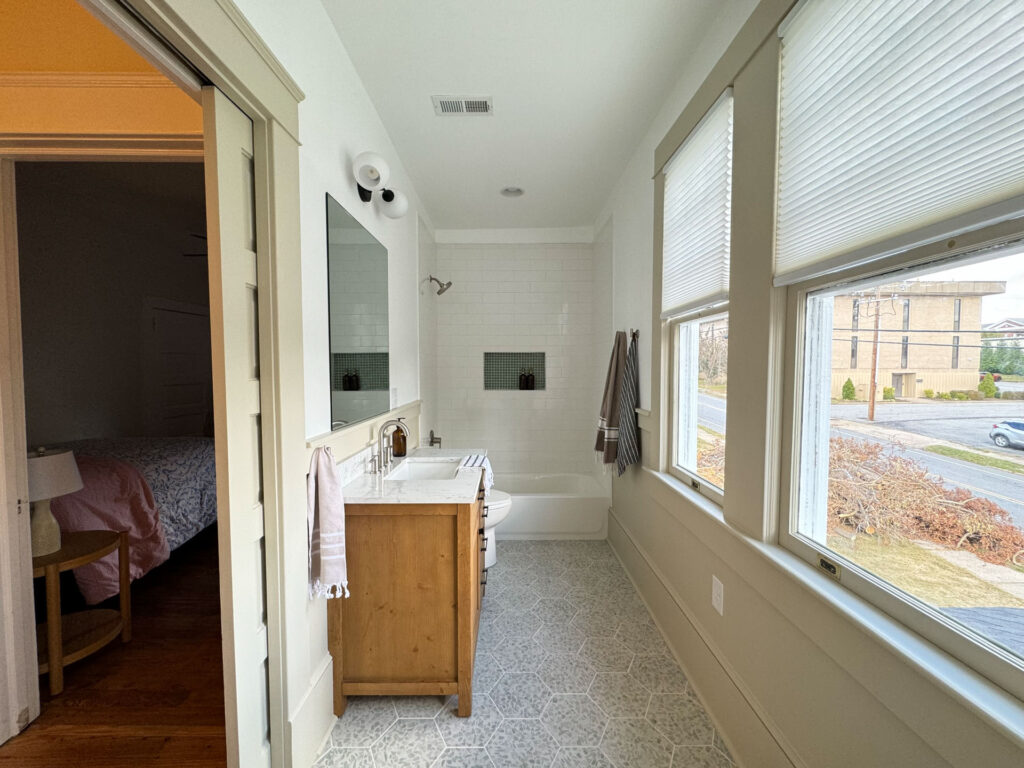
My clients picked out a large white subway tile with large hexagon floor tiles. Once the tile installation was completed, the trim was installed including a chair rail similar to what we added in their downstairs bathroom. To finish up, the spaces were painted, plumbing fixtures set, and the finishing details completed.
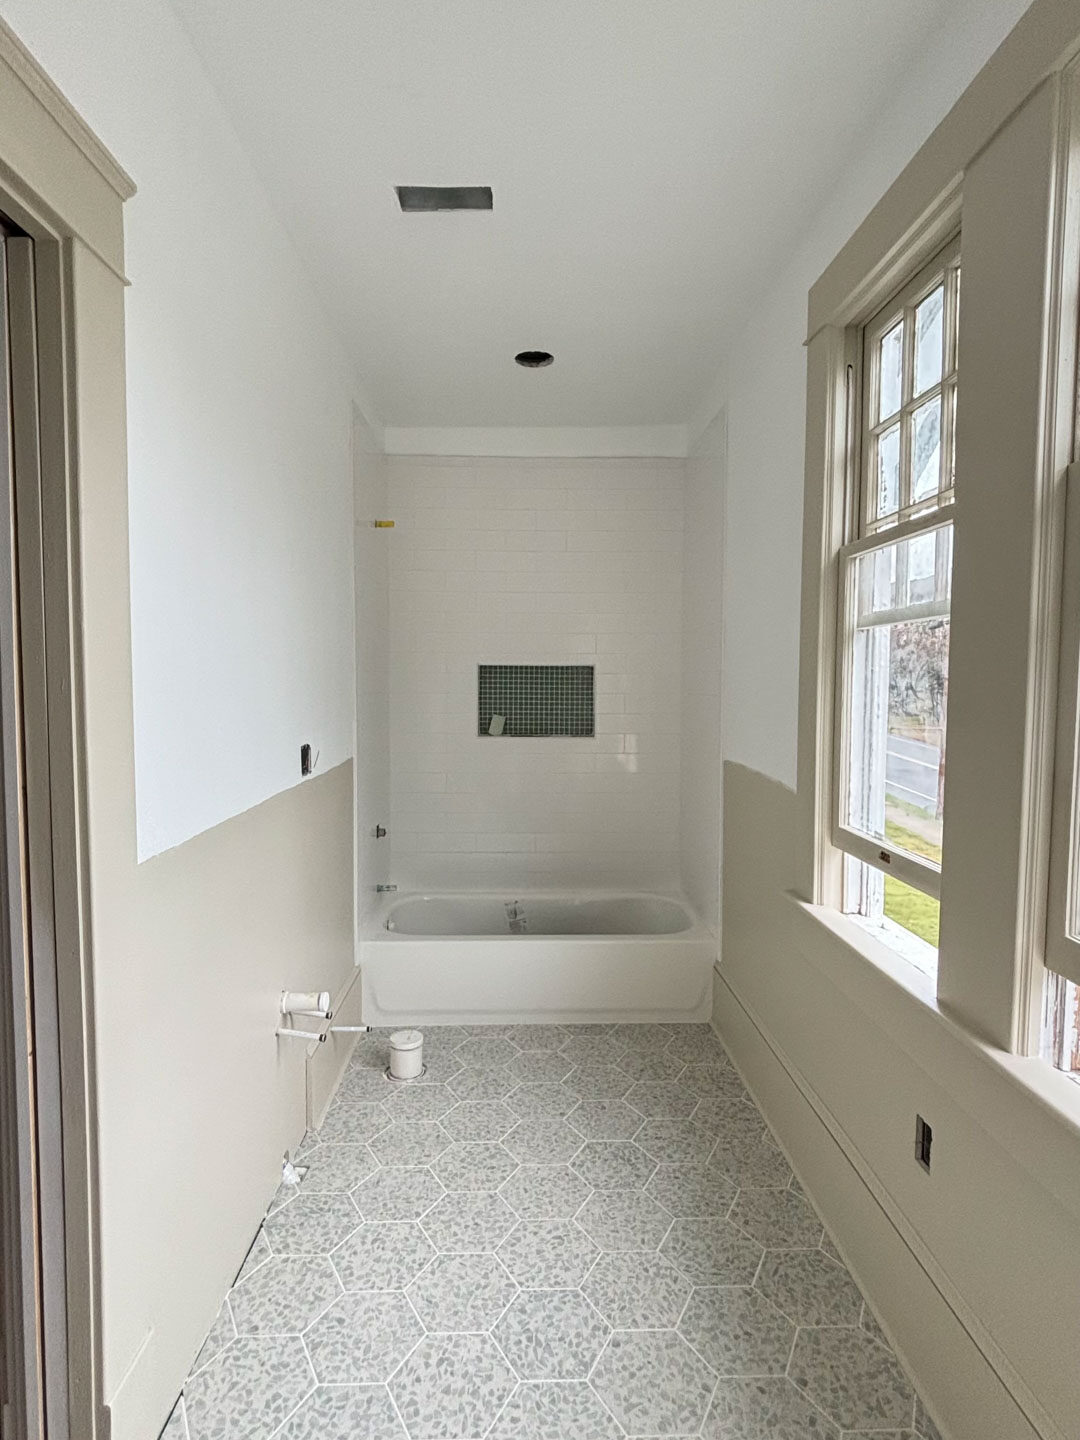
The After: A New Bathroom
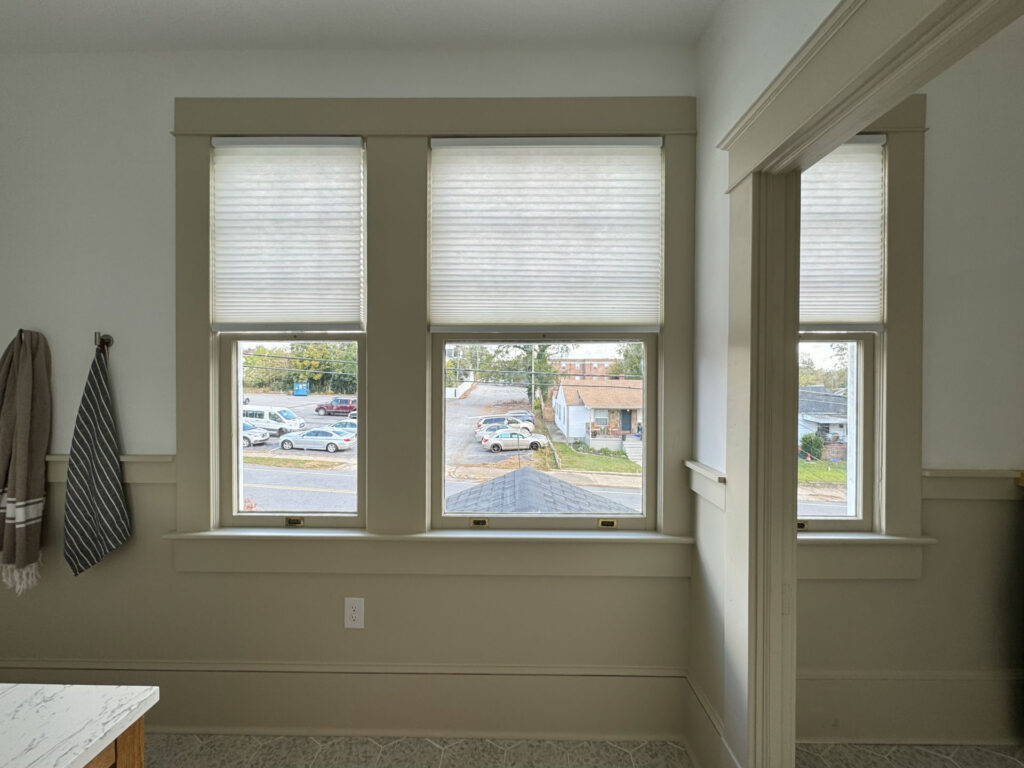
With all of the finishing details completed, my clients now have a brand new bathroom. And yet, the floor plan feels as if it could have been original to the house. My clients chose a bright white for the upper walls and a warm tan for the lower walls and trim. It’s now a beautiful space for my clients and their little boys to enjoy for years to come.
My Favorite Spot
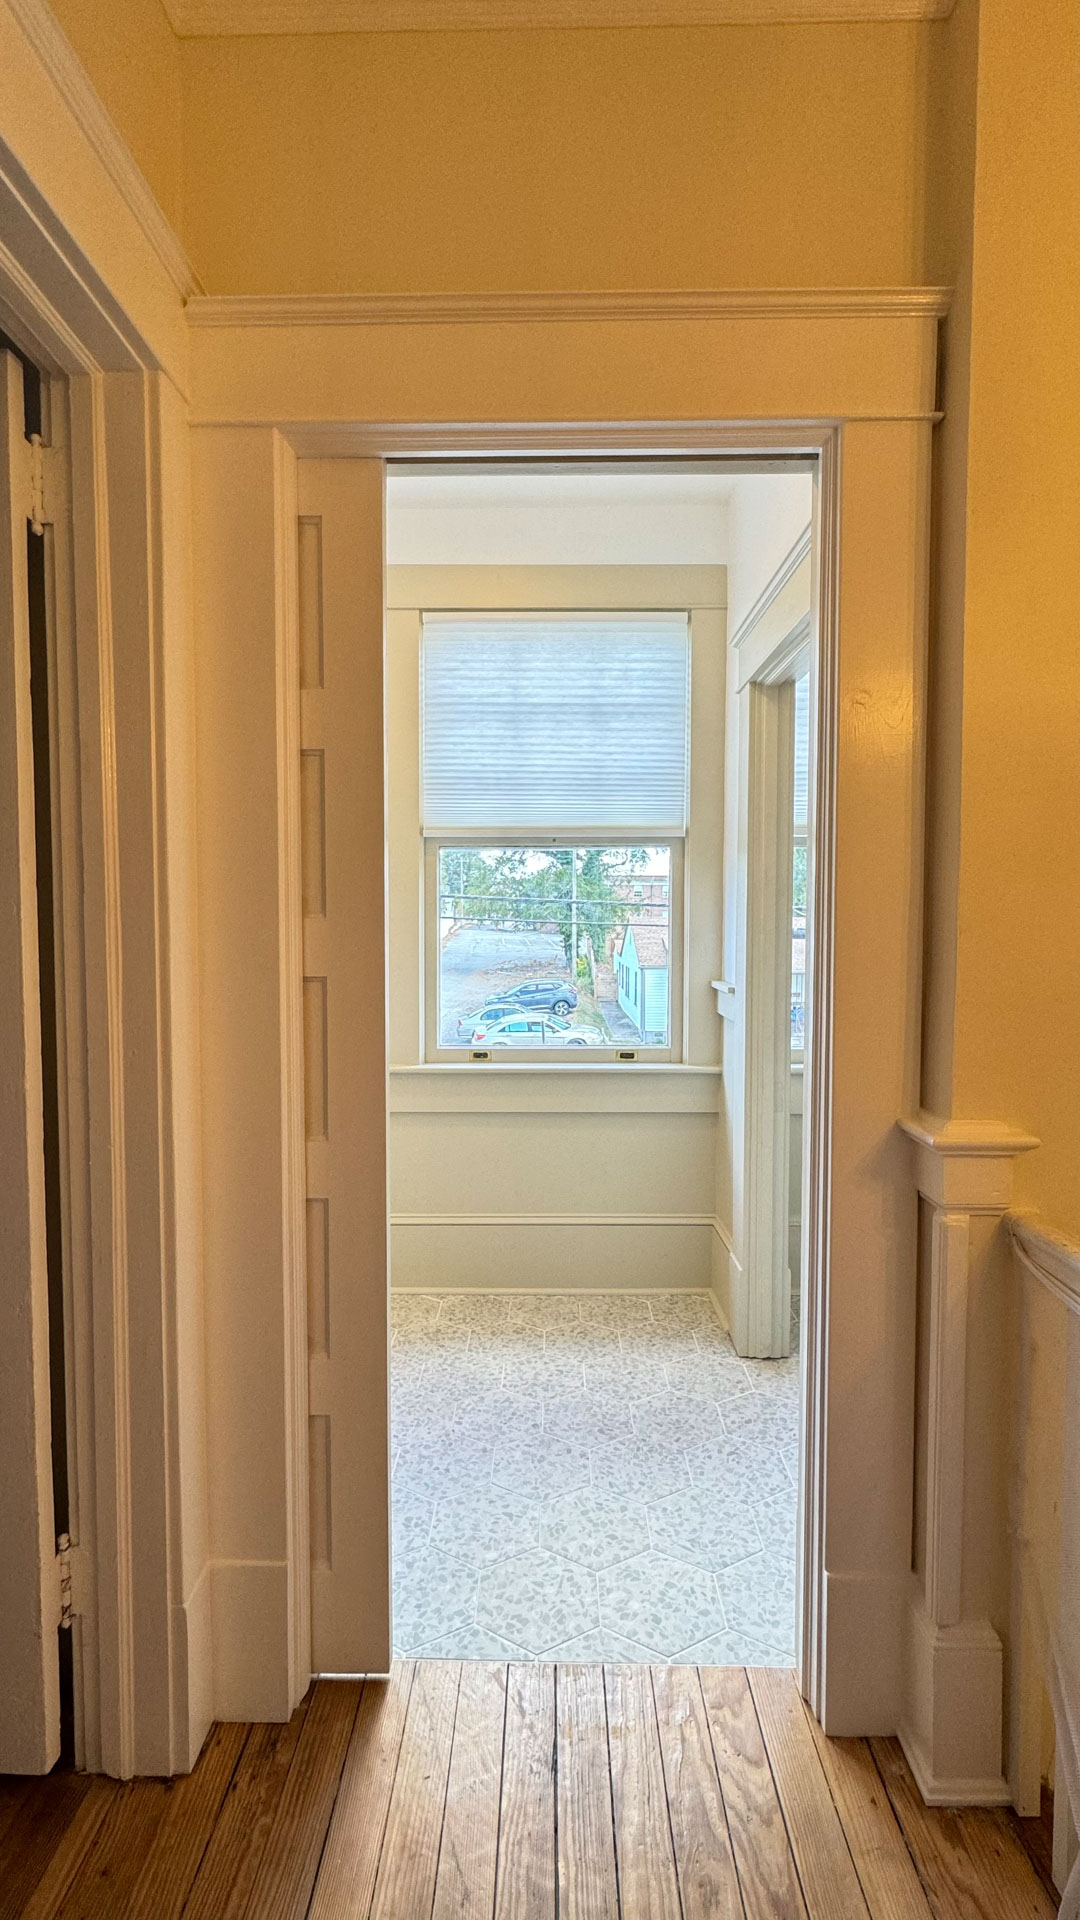
My personal favorite about this new space is the hallway entrance. Not only did it made good use of the space with the pocket door but it also feels original. With the repurposed trim and the door framing the original windows, it’s a bright spot at the top of the stairs. It also lets in tons of sunlight to brighten up the entire upstairs.
If you need help reworking your floor plan, I’d love to help! Head over to my Design Services to see how I can help and then reach out.
shop
favorites
All of our favorite shoppable links and sources in one place! We love to share our projects with you and hope these resources help you as you design your own home.

+ Show / Hide Comments
Share to: