The Switch-Up: From Office Nook To Mud Room
What was once an office nook no longer needed, I decided to switch things up and transformed the space into a pretty and functional Mud Room.
The Before: Office Nook
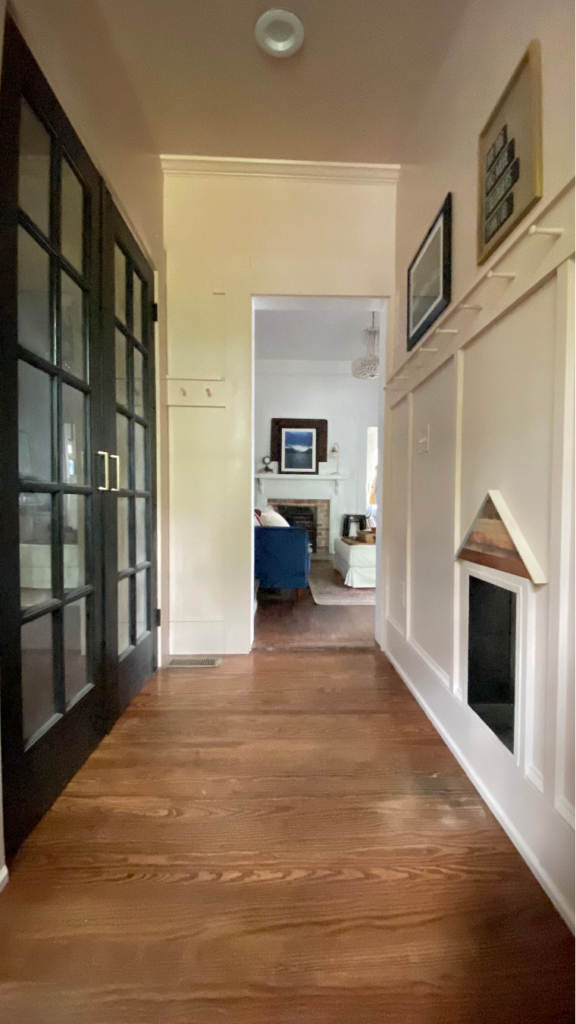
Back when I bought my house in 2017, I tore down what was a dilapidated porch. In it’s place we rebuilt a new and slightly larger addition to the back of my house. On one side is the outdoor screen porch and on the other side you’ll find my quaint master suite. Leading to the master suite is a small hallway with a laundry nook behind double French doors. Along the back wall of that hallway, I set up a small work station that served as my home office.
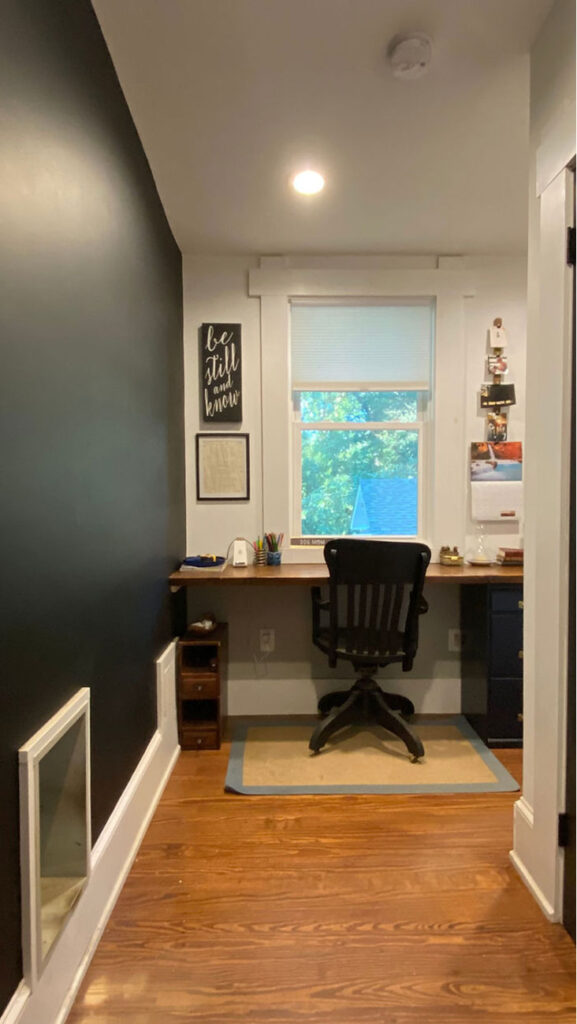
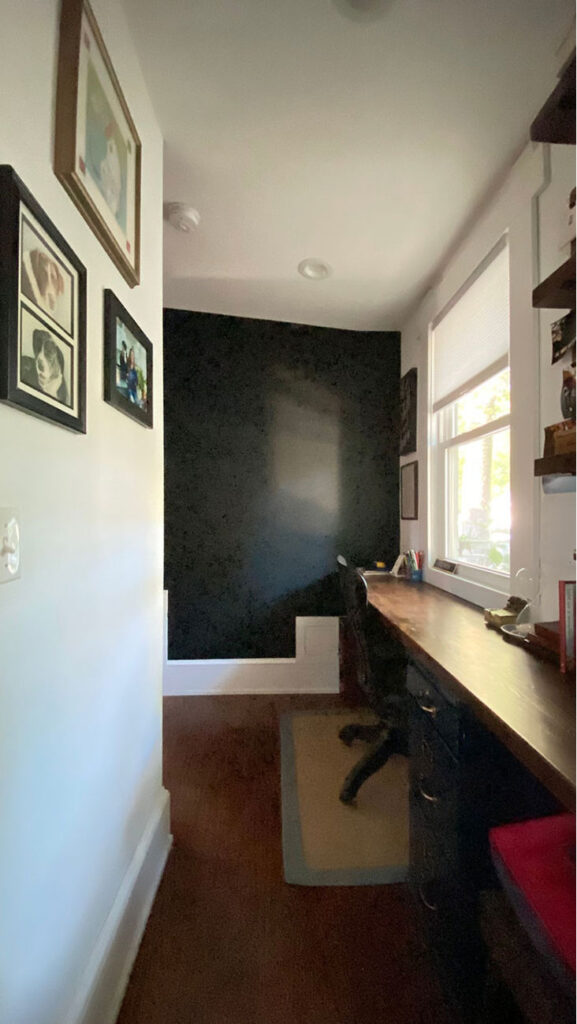
The work station served me well but once the She Shed Office was completed, I never used the space.
So, I decided it was the perfect space to create a mud room.
The Switch Up: Game Plan
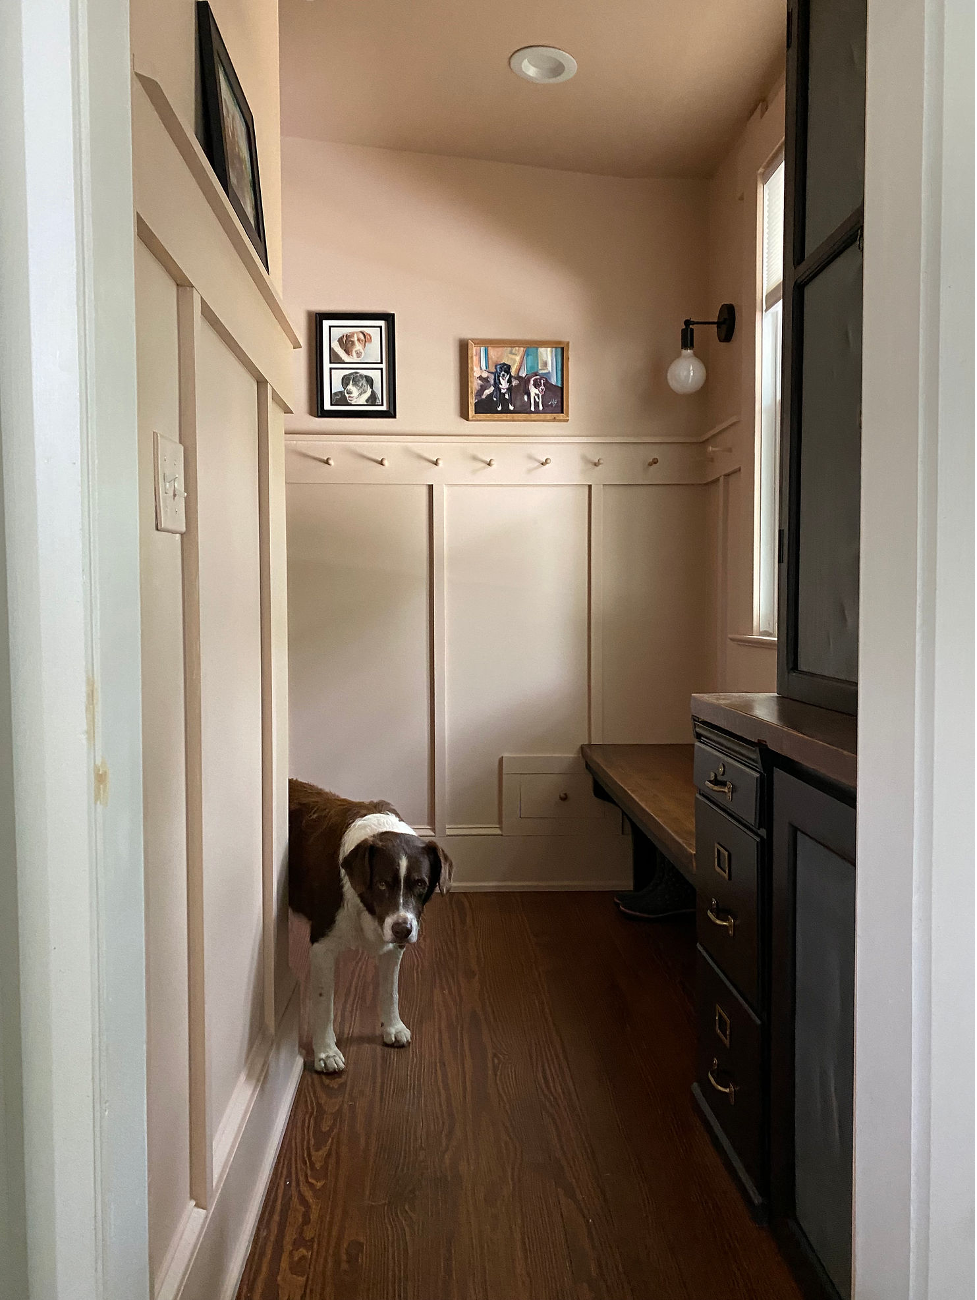
The first step was to rework the cedar countertop by cutting it (almost) in half. I knew I wanted a bench to sit on so reusing the rich wood tones of the countertop made sense.
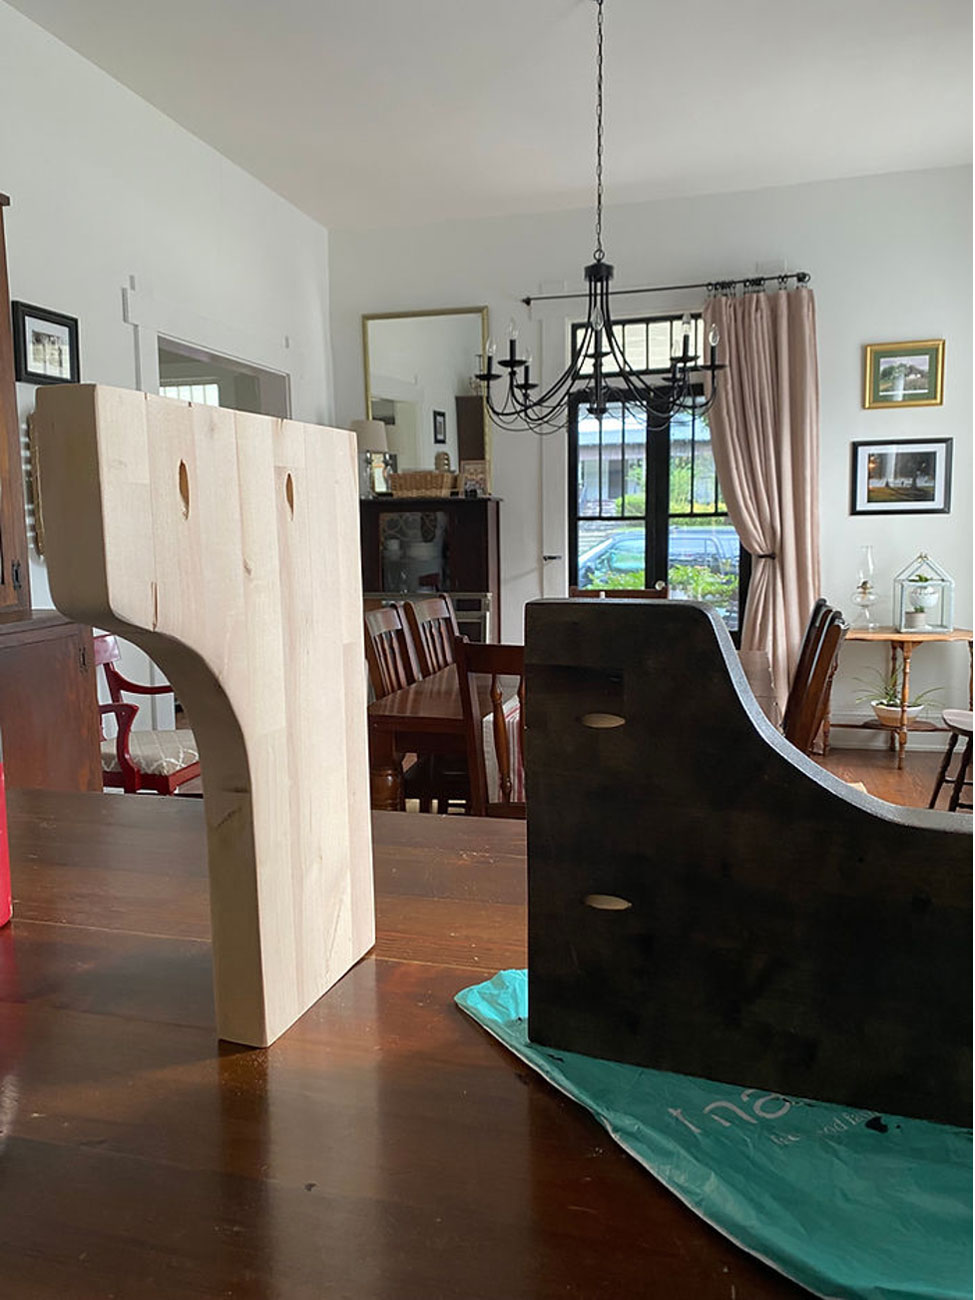
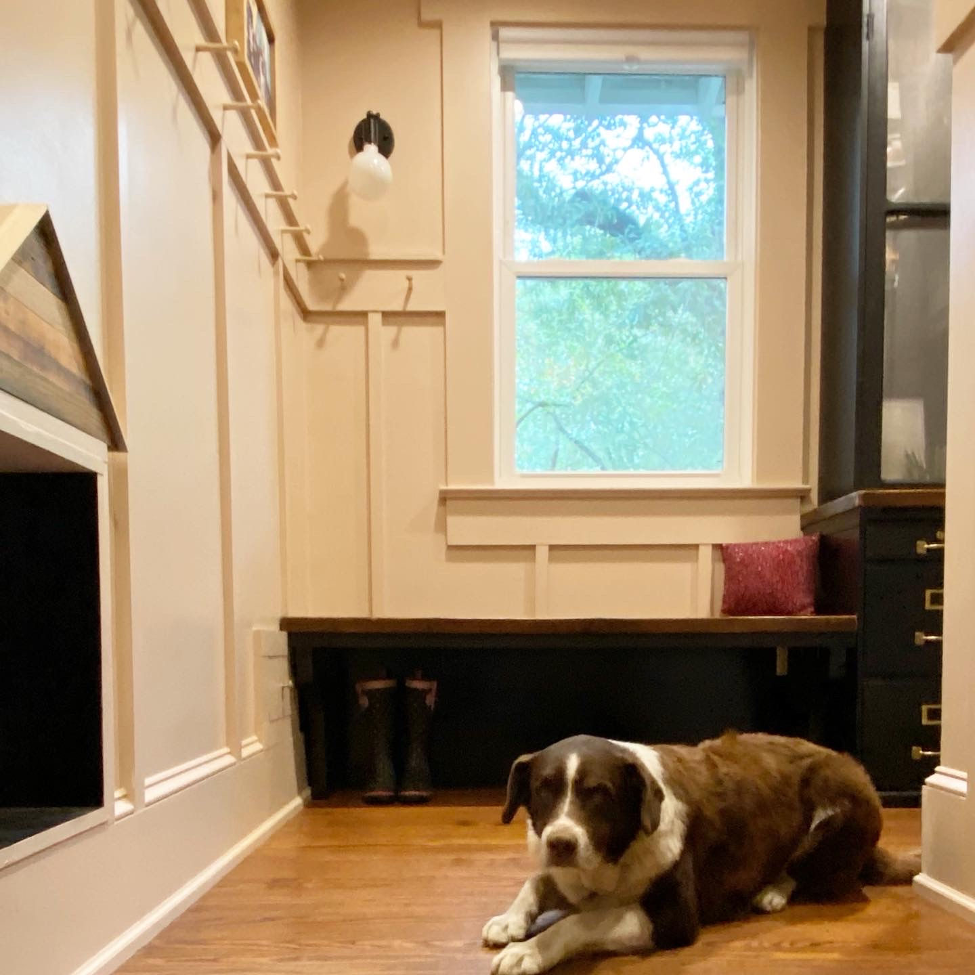
To the left I used some scrap butcher block to create the bench legs. To add a little personality, I cut a curved pattern on the legs with the jigsaw. I painted the legs and underneath the bench black to unify the look and make it feel custom.
To the right I already had a small filing cabinet I had found at the Habitat store. I combined it with an extra cabinet door I had from another project to hide my modem and vacuum cleaner. I also cut out the middle panel and replaced with screen. This makes sure the signal from the wireless router would not be interrupted.
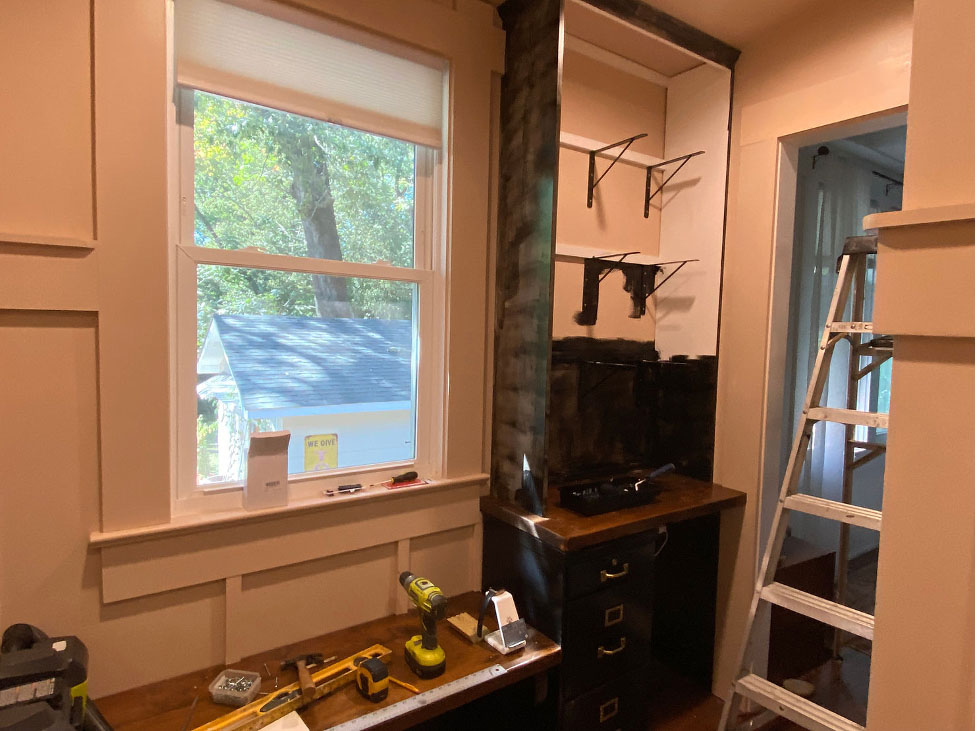
Above the filing cabinet I used some old vintage doors and trim to frame out the doors, making it look like custom cabinetry at a fraction of the cost. After a lot of scraping, sanding, and painting the doors and trim black, I made a last minute decision to add screen to the doors to hide the books on shelves inside. It’s crazy how well the doors fit and make that space feel so much more functional.
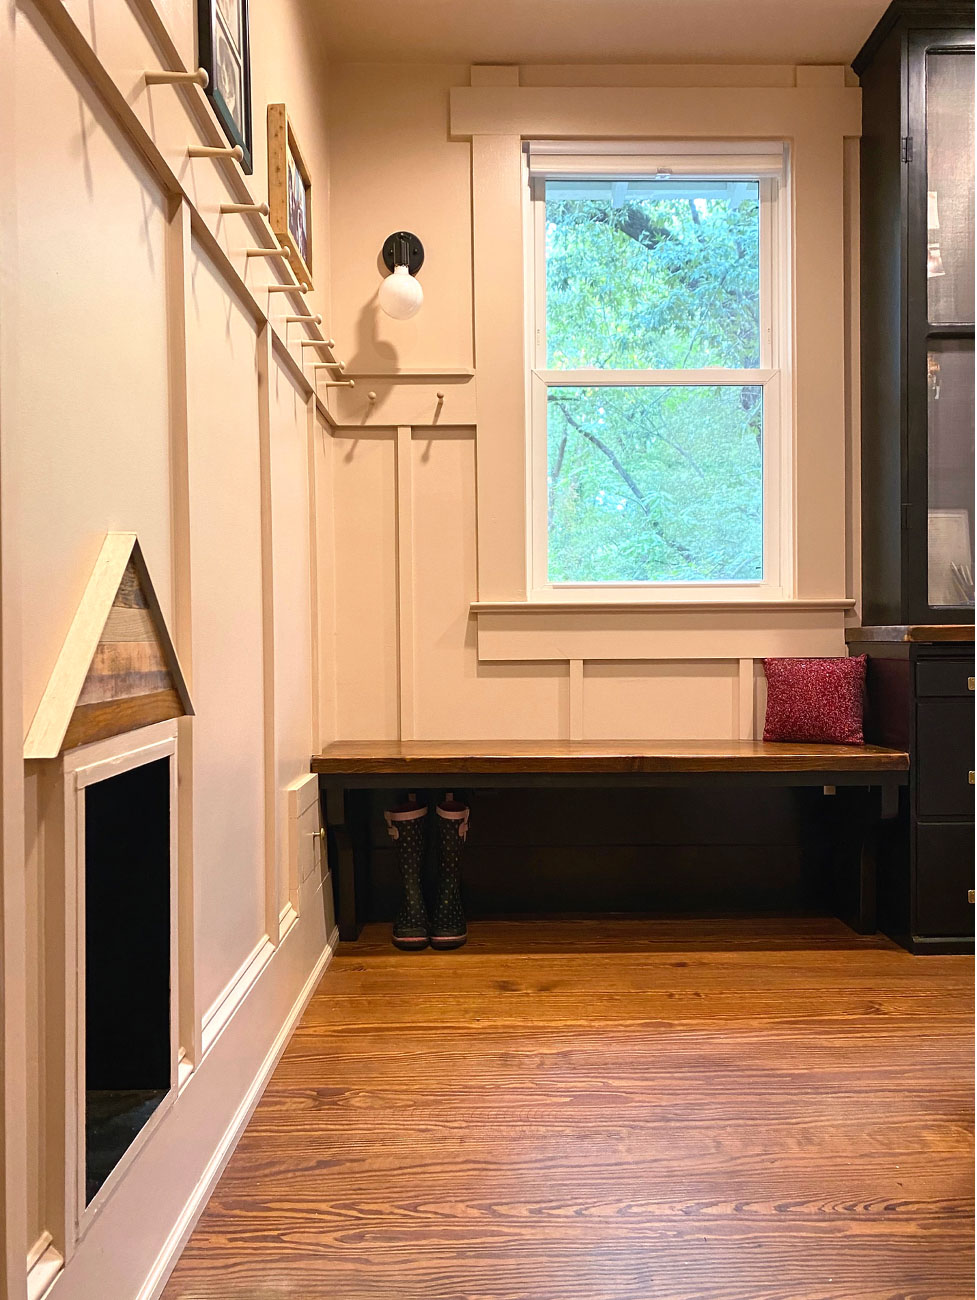
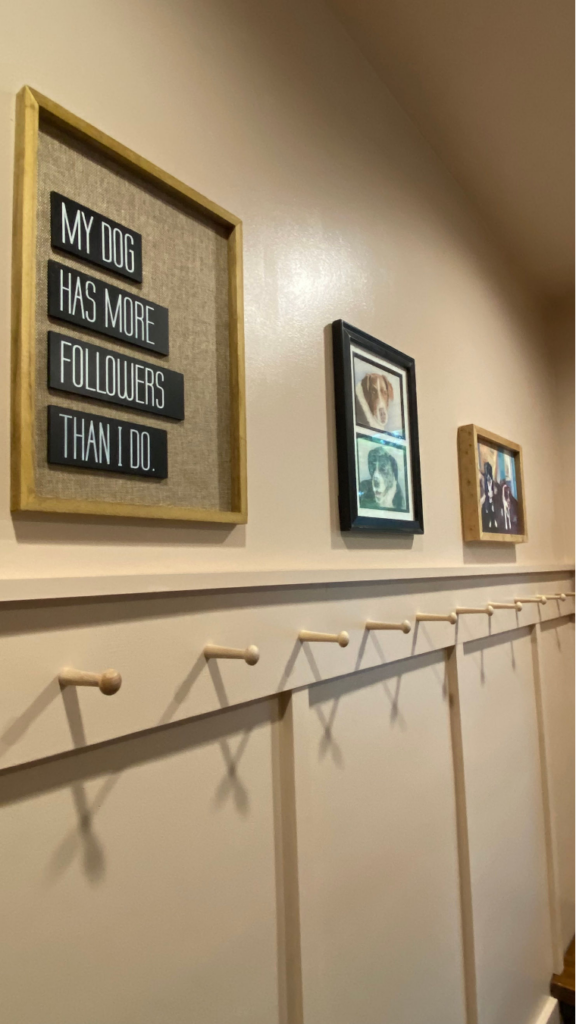
Along the remaining walls I installed a simple board and batten pattern with 1×6’s above and a 1×2 ledge. I then added 1×2 vertical pieces for a little more character. After painting everything – walls, ceilings, and trim – in a beautiful shade of of dusty pink (Farrow and Ball Setting Plaster) I added some natural pegs along the top board for hanging items and essential for a mud room.
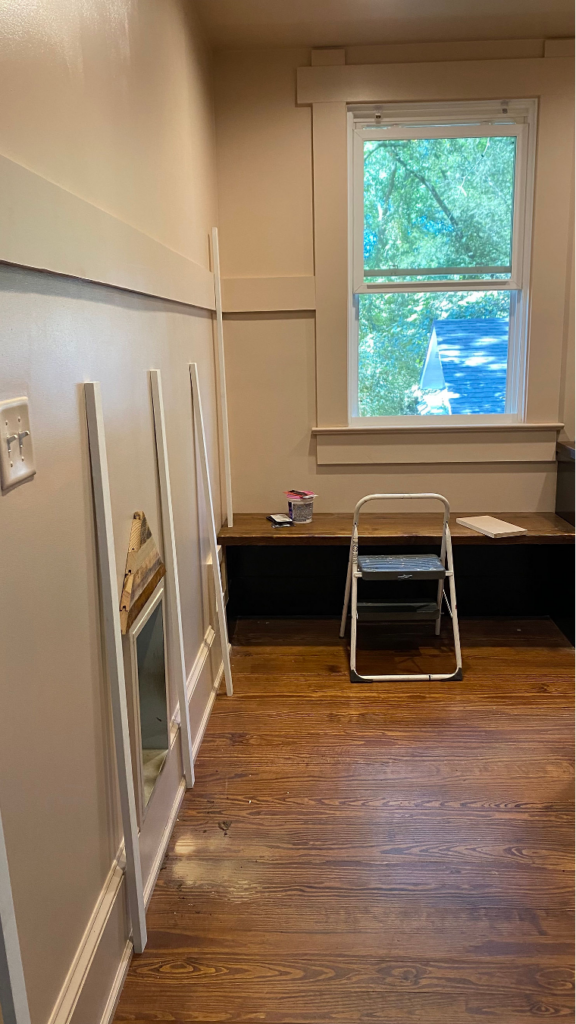
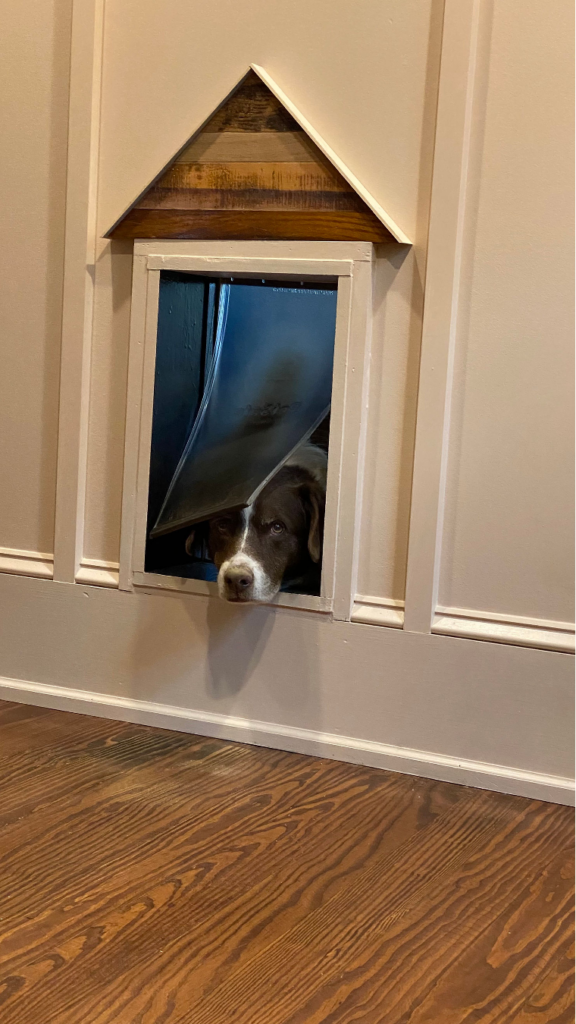
The last but favorite part about the space came late when I decided to spruce up Sampson’s door a little by adding a ‘roof’ made out of scrap wood. I decided to pull together all of my favorite dog artwork for the walls and it finished the space off perfectly.
The After: Mud Room
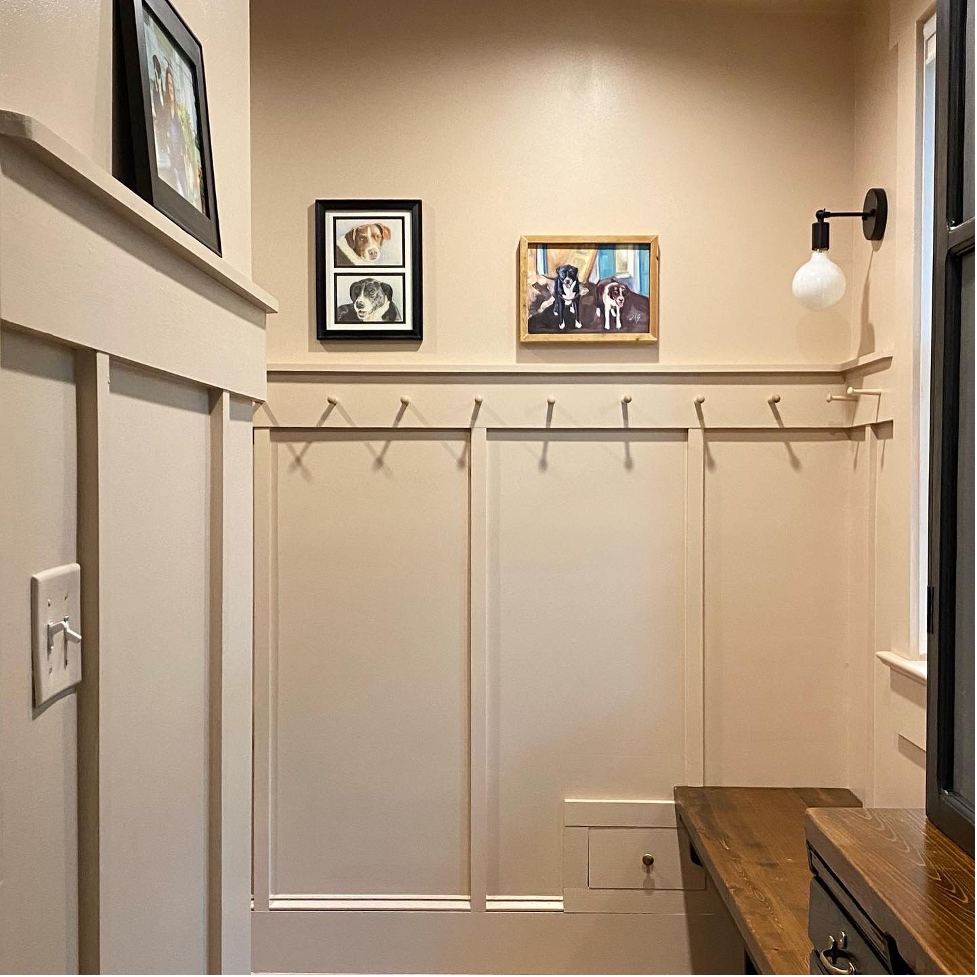
Now I love being able to see this cheerful mud room first thing in the morning and and at the end of every day!
shop
favorites
All of our favorite shoppable links and sources in one place! We love to share our projects with you and hope these resources help you as you design your own home.

+ Show / Hide Comments
Share to: