Simple Closet Organization
You don’t have to spend a lot of money to have a stylish, organized, and efficient closet. Just keep it simple. Here’s how I updated two of my closets to make the most of every single square inch. And of course I added in a couple of old house touches where I could.
Affordable Organizational Unit
Before I walk you through my two closet redesigns, I wanted to share one of my favorite economical closet solutions. This ClosetMaid White Wood Closet System from Home Depot comes in two widths and you can add drawers or doors if you need them. I have used these units several times and I currently have them in both my master closet and guest closet. My belief is that a closet just needs to be organized and this certainly does the trick. It’s also a fraction of the cost of what custom closet cabinetry costs. Let me show you how I used them in two of my closets.
Master Closet
While my master closet is a nice size for an old house, it’s more long than it is wide. Even though I had plenty of storage with the 25″ wide ClosetMaid unit, it always felt cluttered with plenty of places to pile clothes.
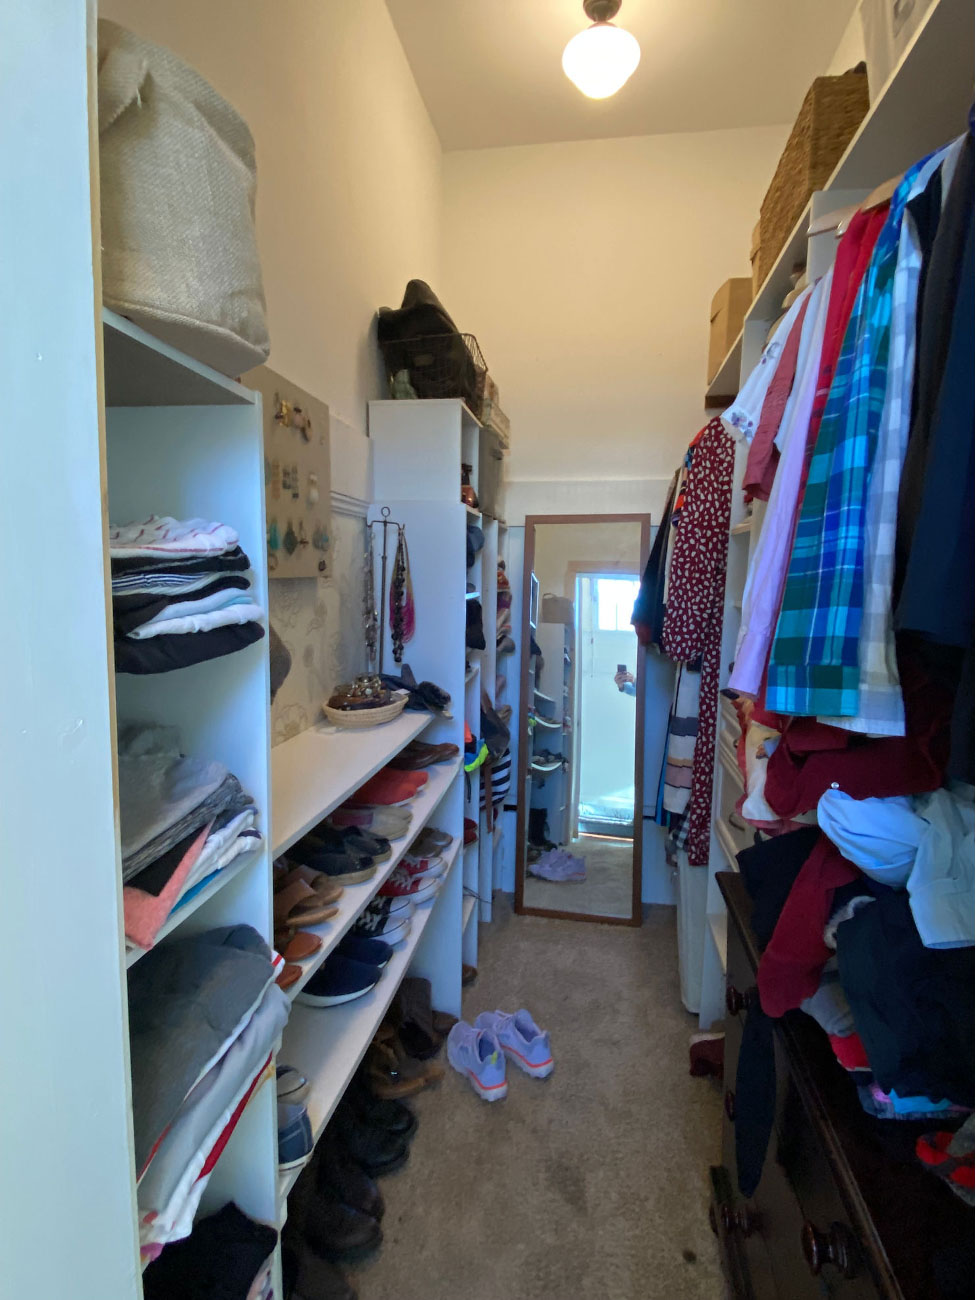
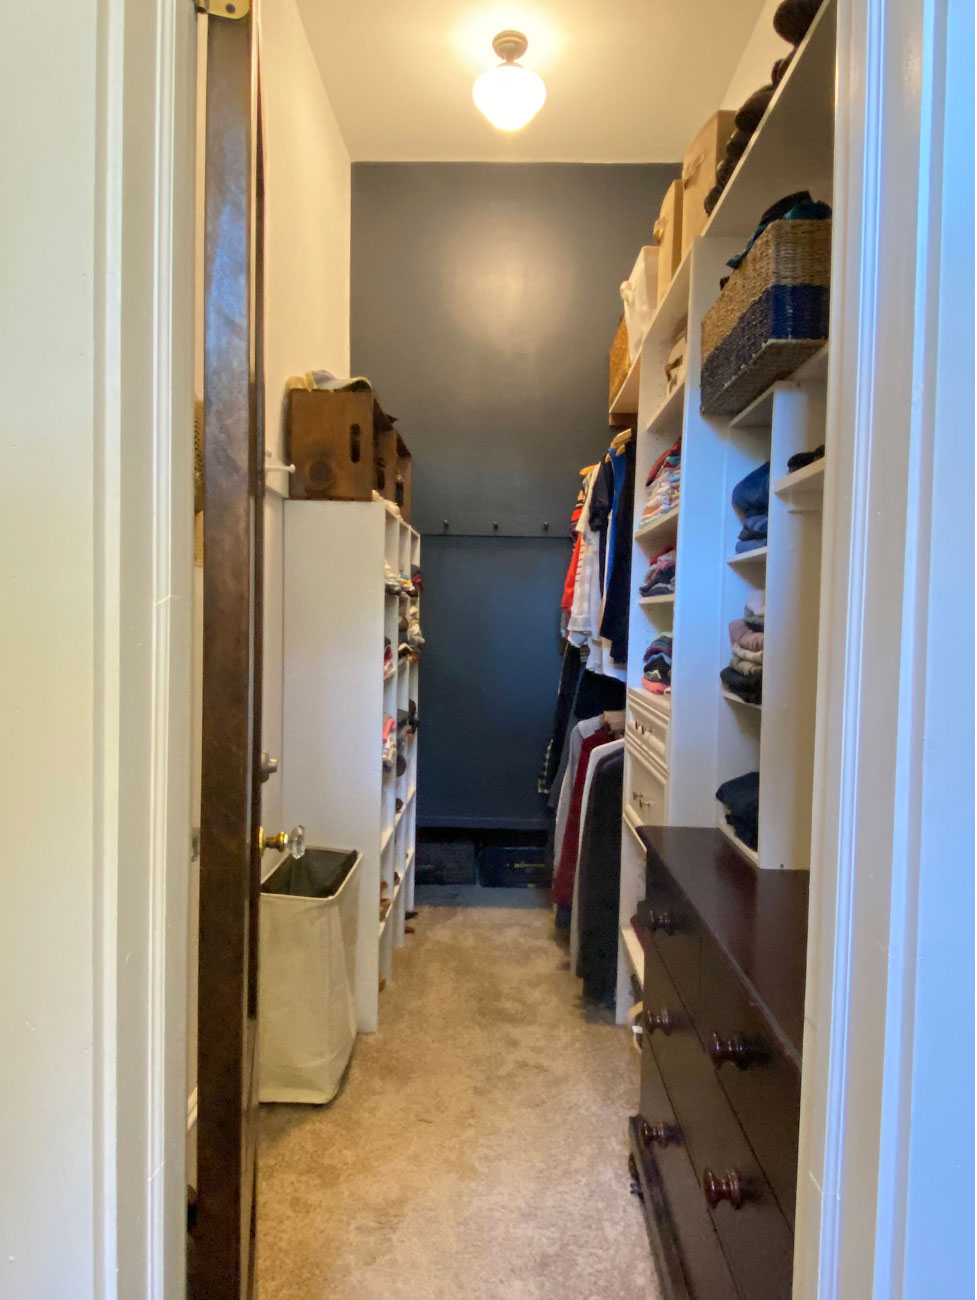
So, after committing to purge quite a few boxes of clothing, I got to work. By completely removing the storage units on the left side of the wall, I could reorganize them in a more efficient way.
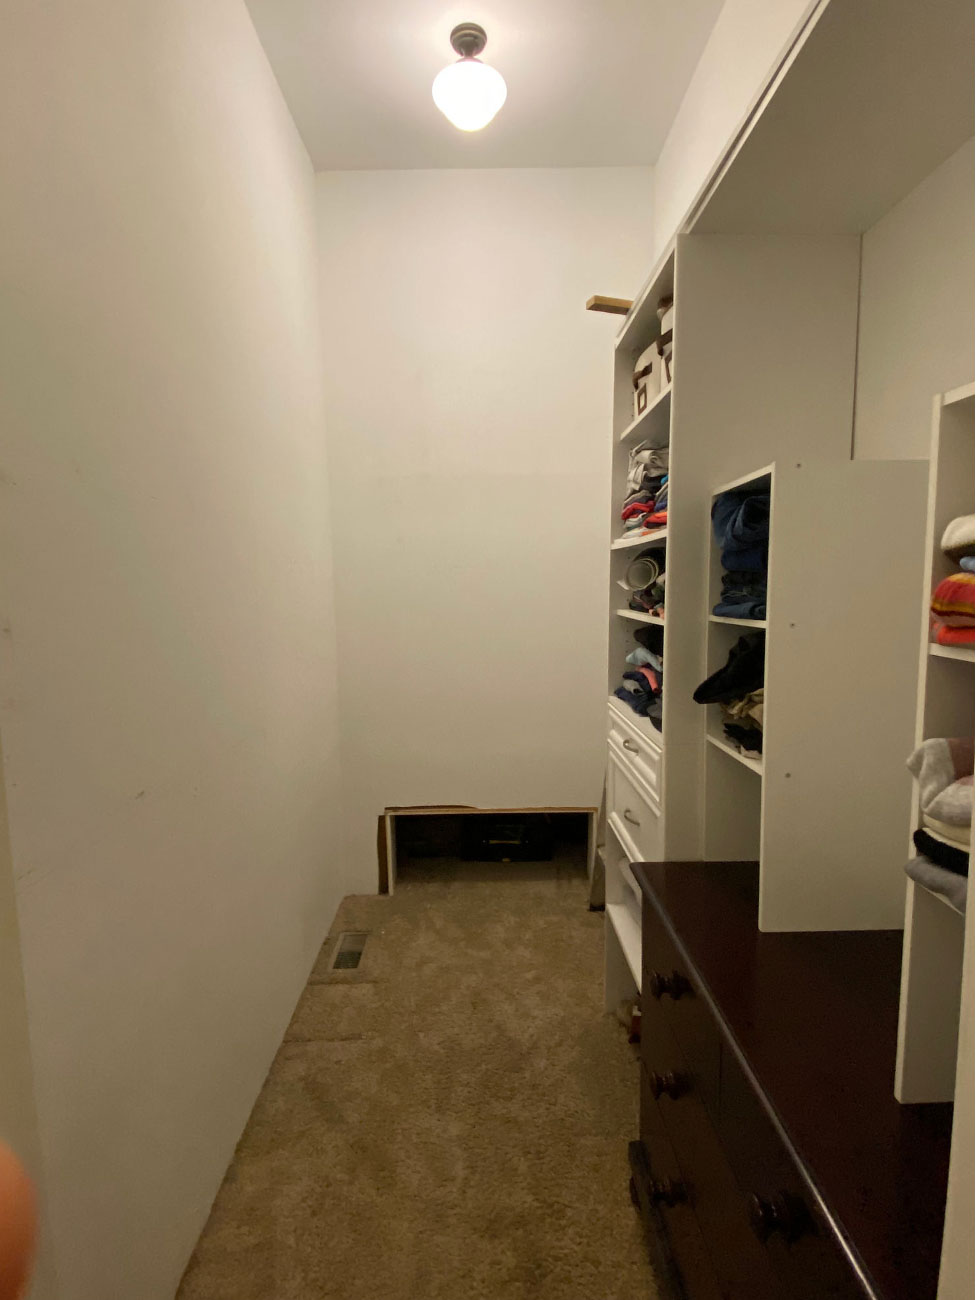
Next I shifted the cubbies to the end of the closet and set them up side by side. This created a compact area to store shirts up top and shoes down below. I then used extra shelving to create shelves to go within the lower cubbies to house all of my shoes.
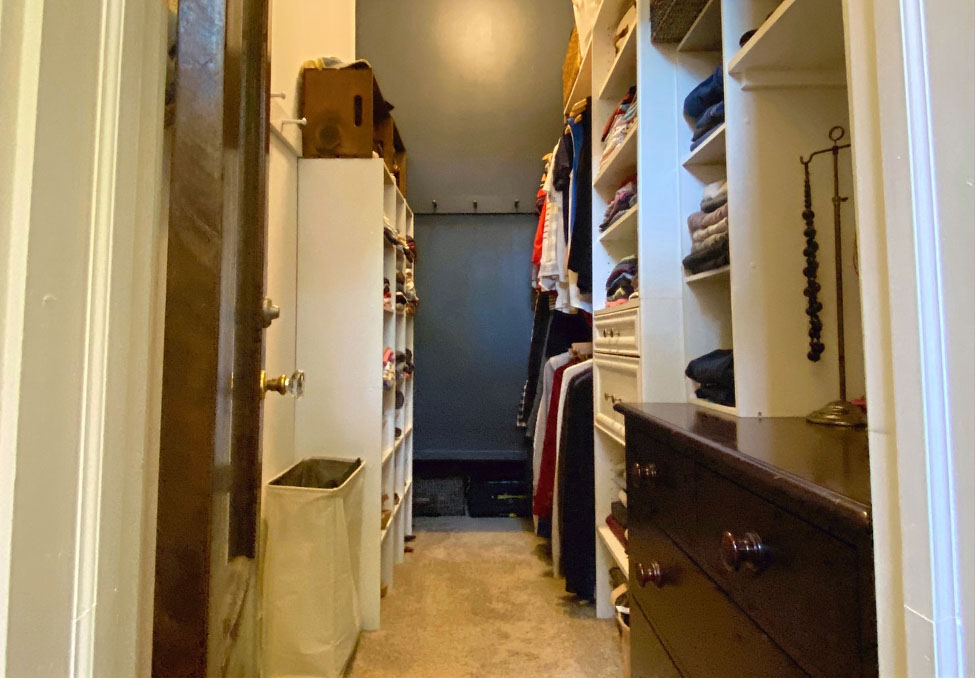
From there I eliminated one of the upper clothing racks on the right side. In its place I stacked another small cubby for jeans, and shorts on top of the small hand-me-down dresser I scored from my sister. To the right of that cubby I added a shelf for all of my boots to keep those organized. And last but not least I neatly organized all of my jewelry below. I believe that when every single thing has a place to be stored it’s easier to keep a space organized.
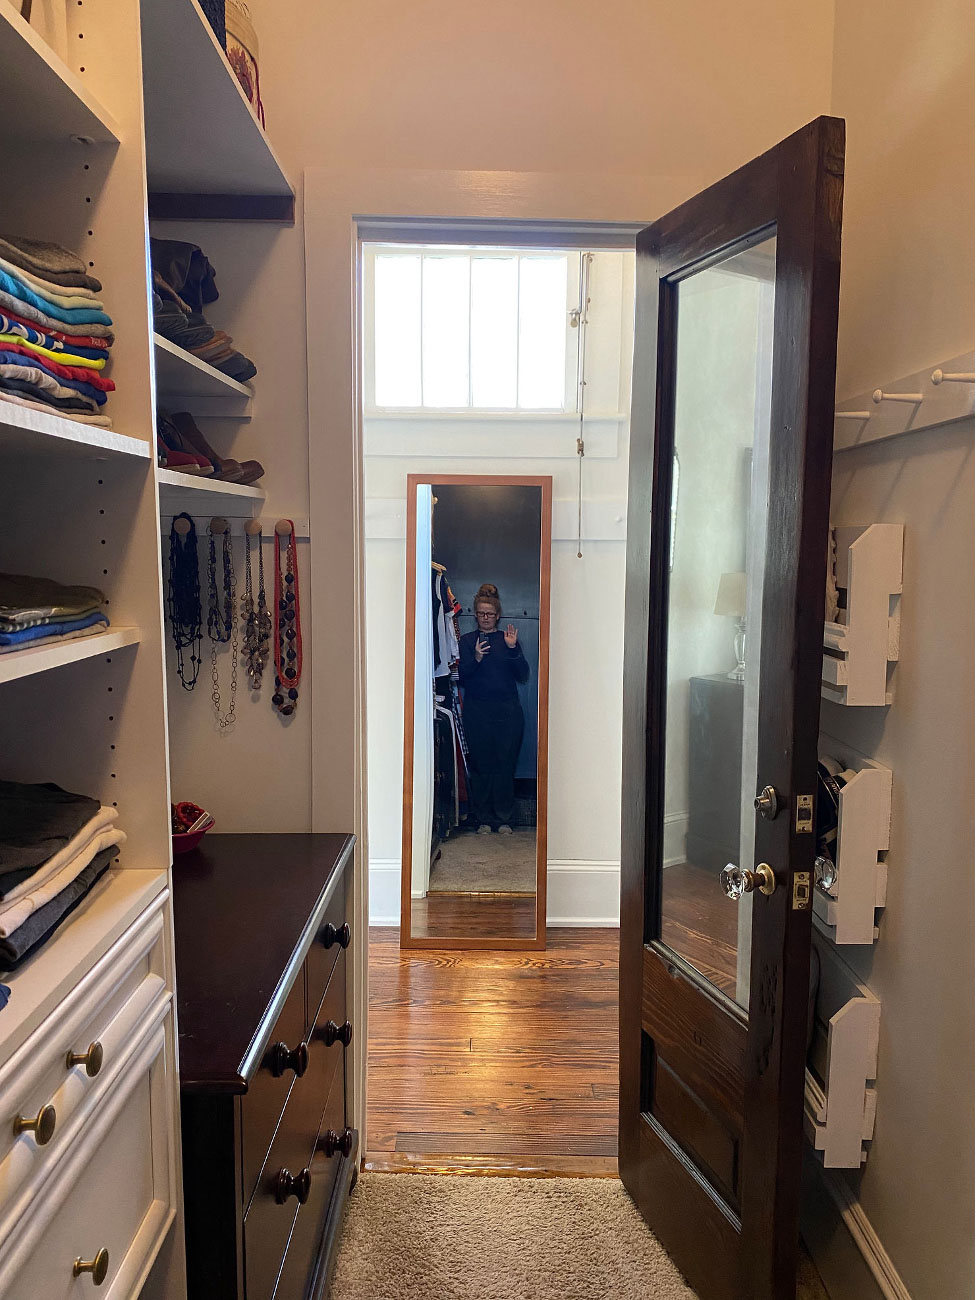
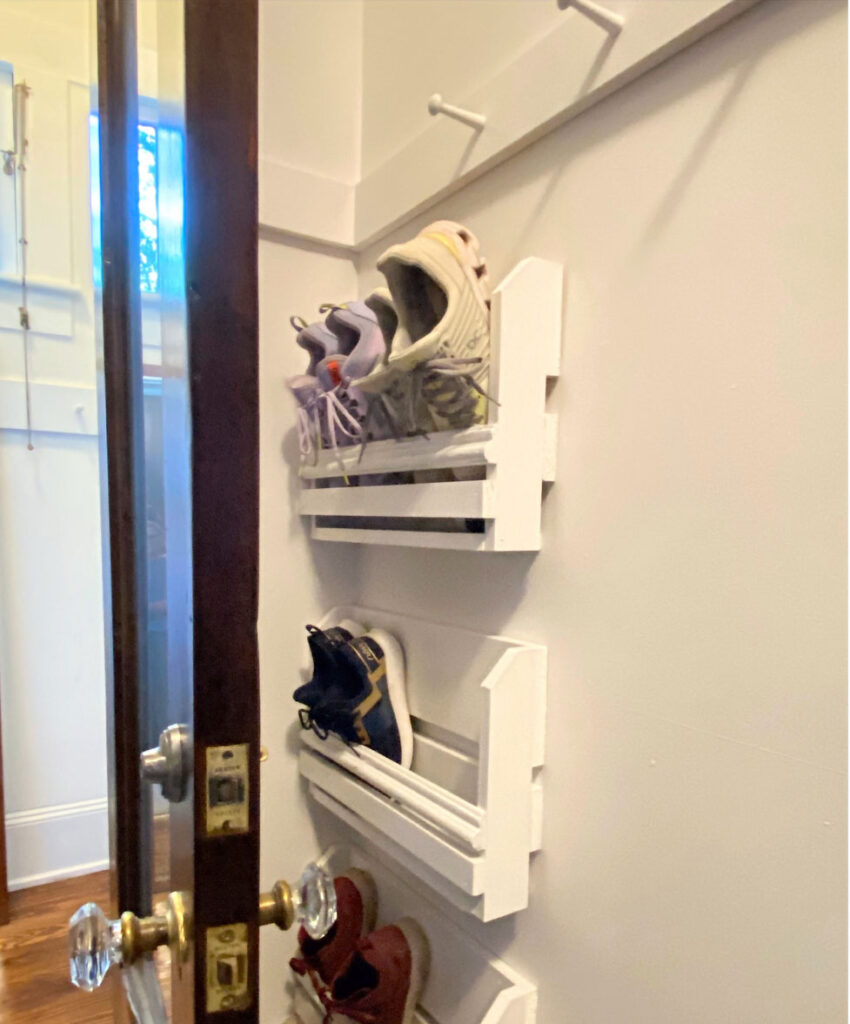
The last few finishing touches were to paint the back wall a dark navy for contrast and I added some wood pegs. I also built three small storage racks out of scrap wood to hang on the wall behind the new vintage door for all of my sneakers.
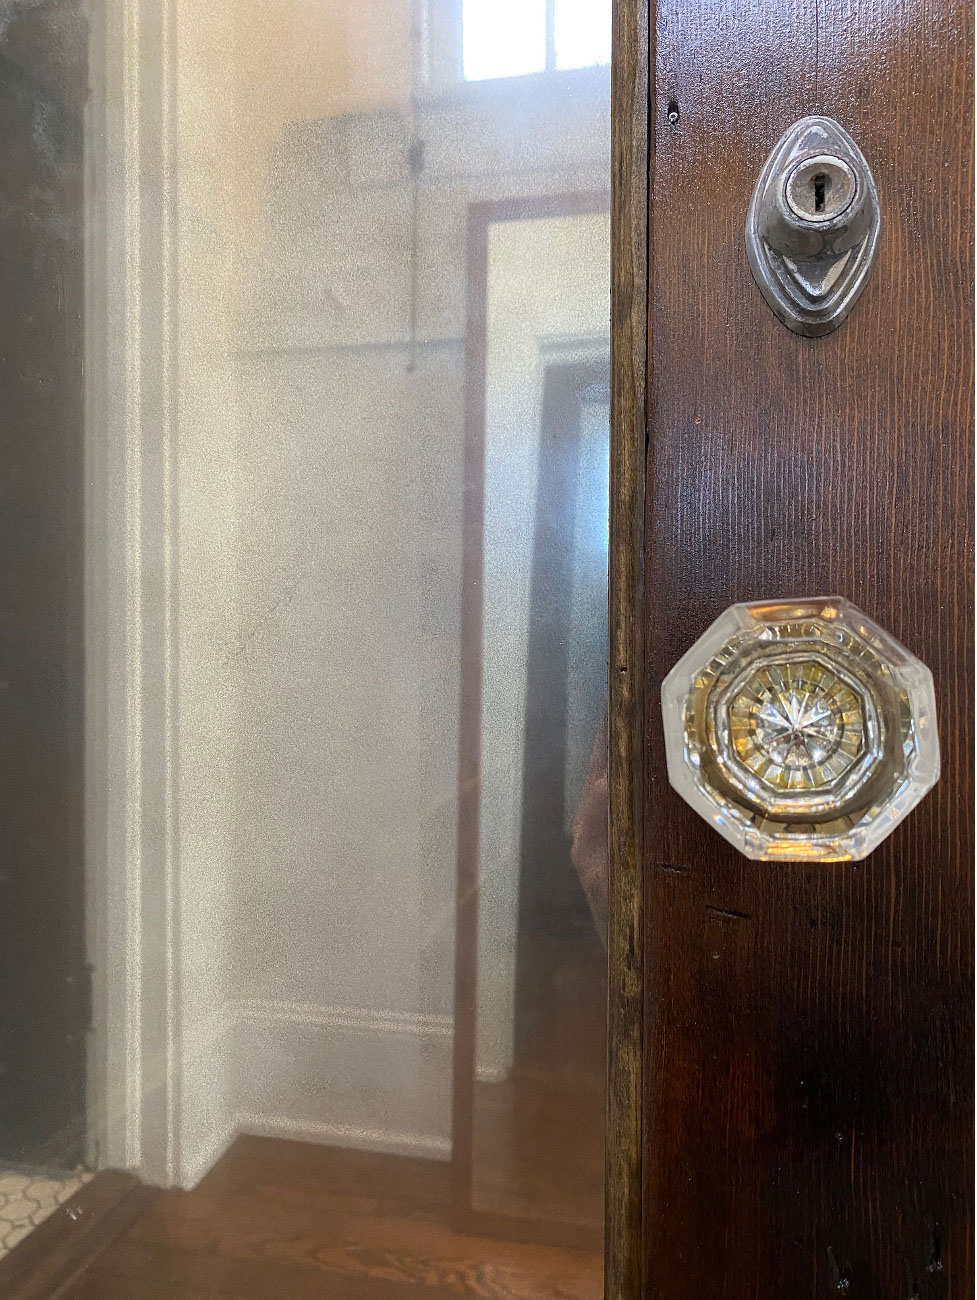
And let’s not forget how pretty that glass door knob is. I now have a pretty closet to store all of my clothes and find that with every item having a home, I find joy in keeping it clean.
Guest Room Closet
In short, this closet is where things went to die.
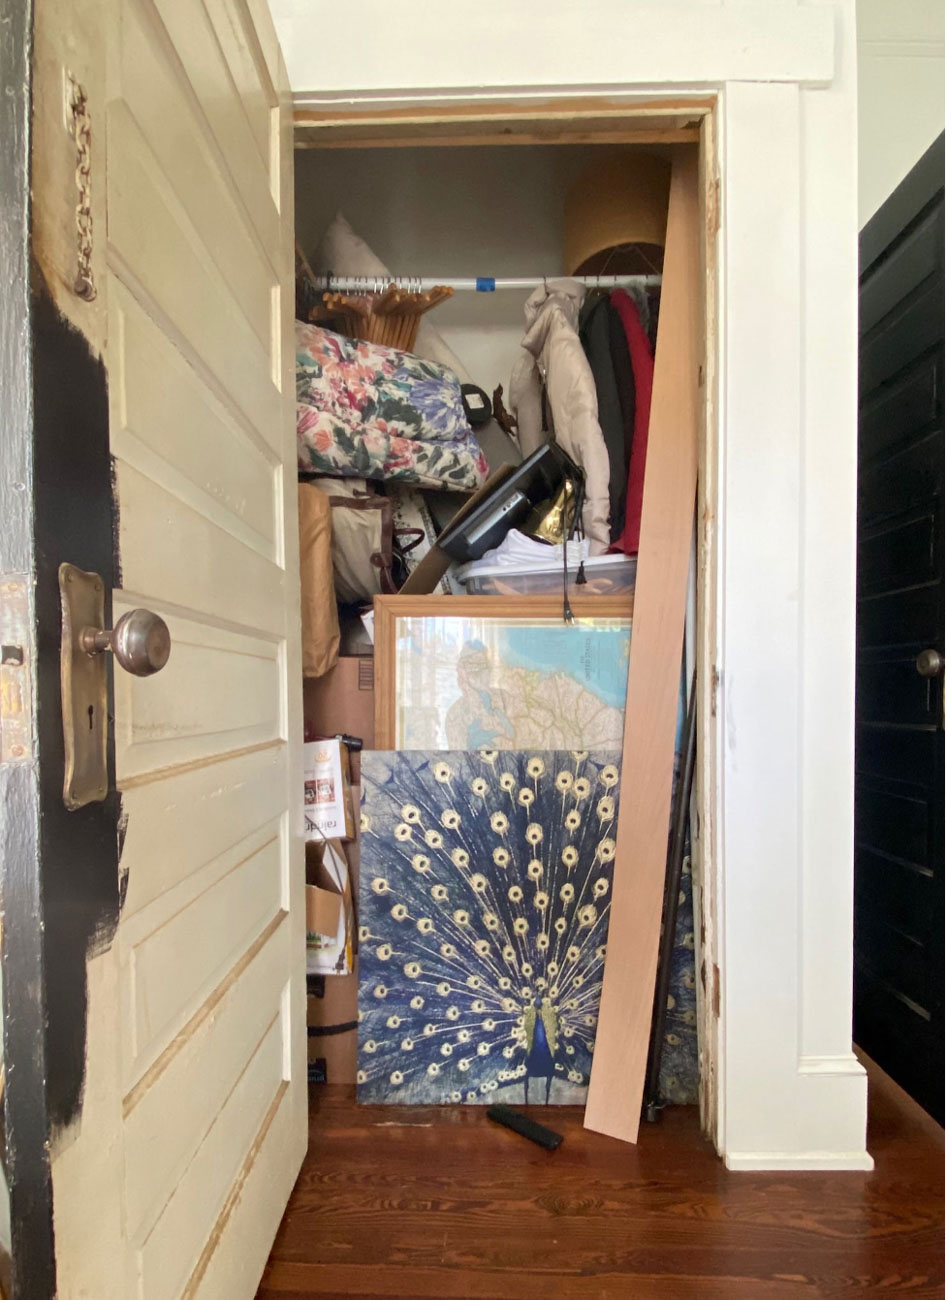
Honestly when I cleaned it out I was afraid I might find something dead hiding in the back. Luckily that wasn’t the case but when I cleared everything out I quickly realized that this was the one space left in the house that had not been touched since I moved in. The walls needed sanding and painting and I needed to add baseboards as well.
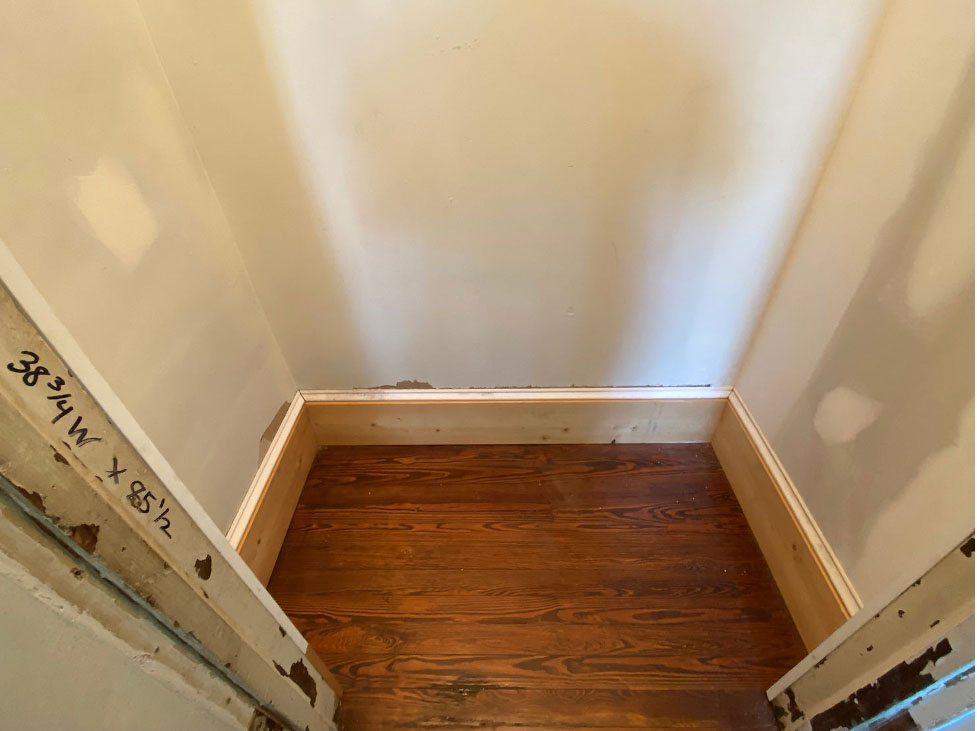
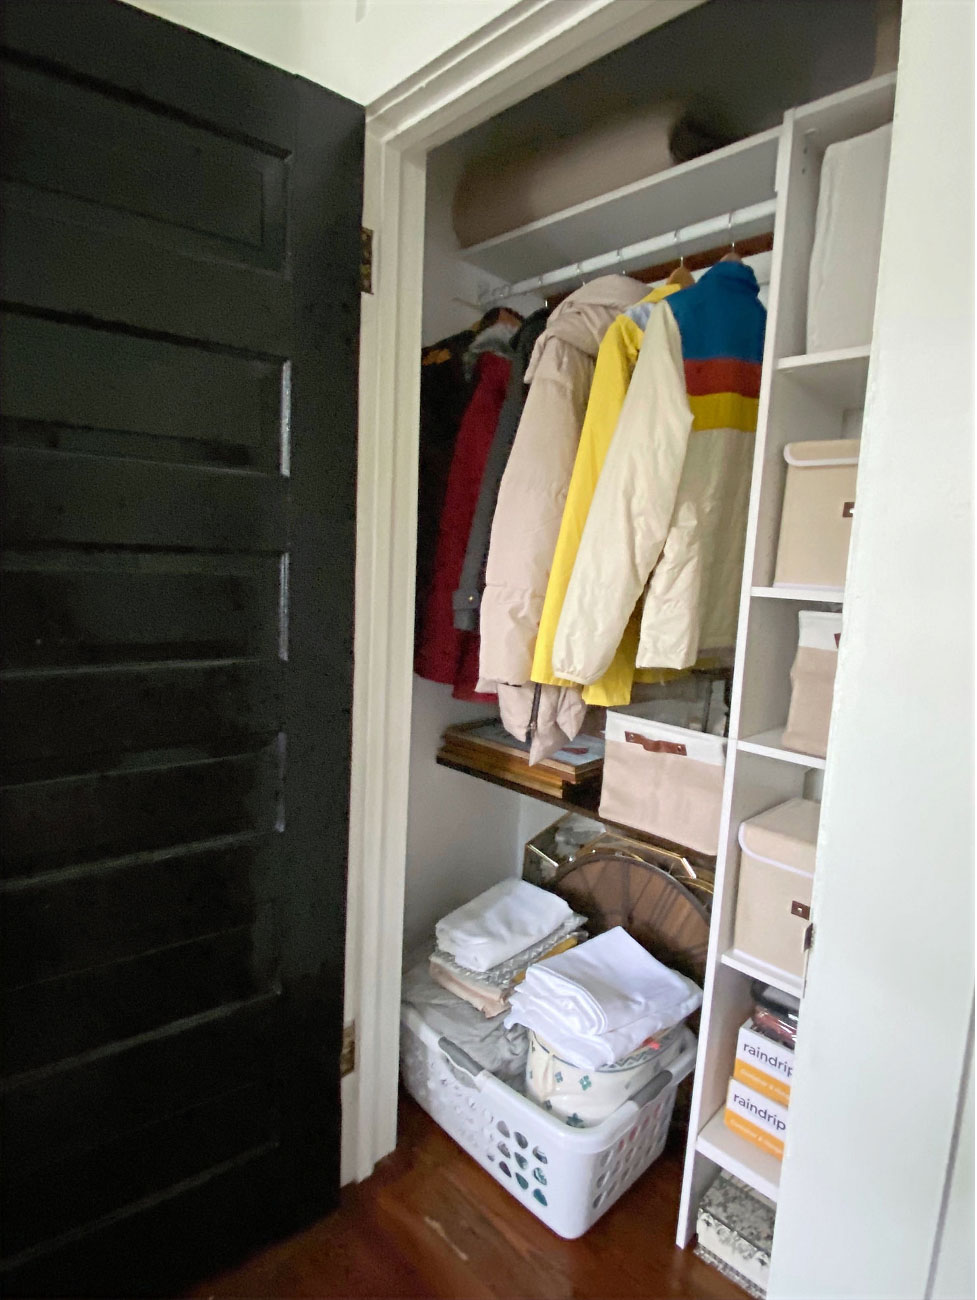
With those details out of the way, I went to my go-to closet organization unit, this time the 16.85″ wide ClosetMaid system. By moving it to the far side of the closet I was able to add shelving and one hanging rack to the left. You could certainly add a second hanging rack if needed but since this closet is for very few clothes, and more home decor items, I need shelving space more.
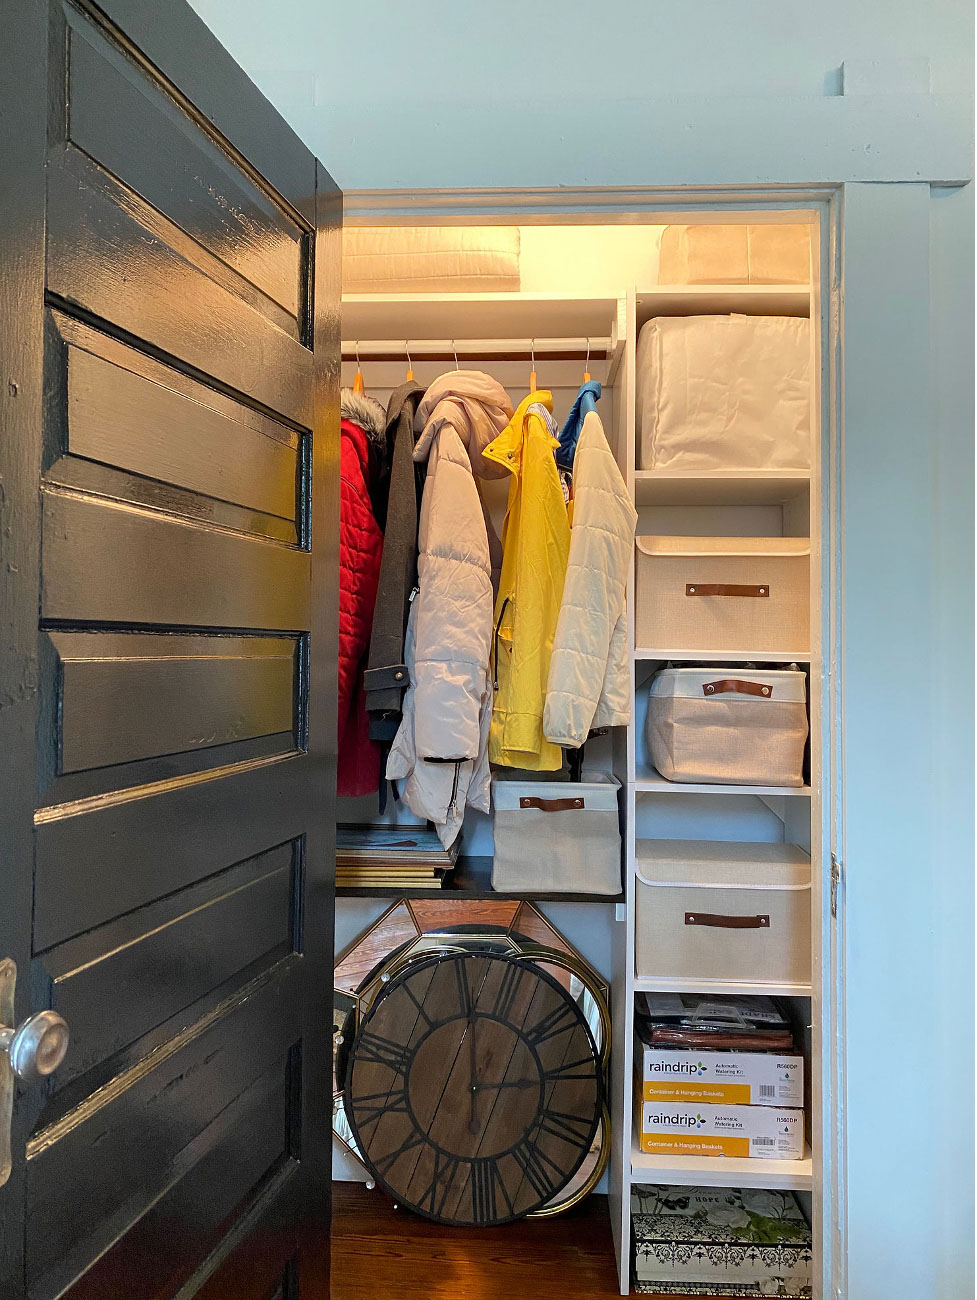
Now that the structure was in place all I needed to do was fill it. I wanted to keep a light and airy feel in this small closet and also did not want to see everything I fill the shelves with, so I purchased two sets of pretty storage boxes that I love.
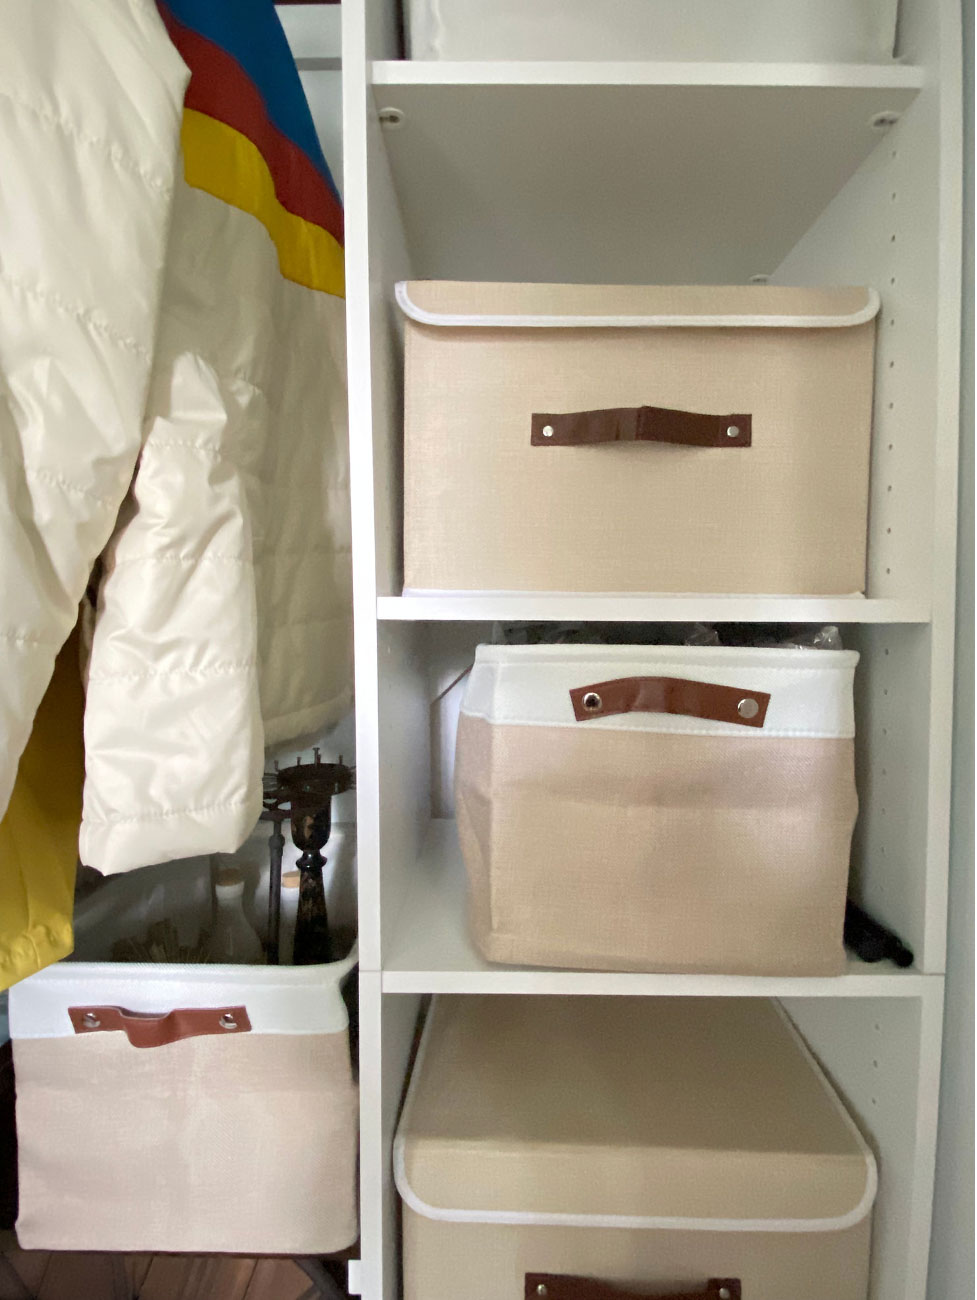
The final storage option I’m most excited about is a small organizer for all of my extra wood coat hangers. Years ago my sister and I hit the jackpot when a store was closing. They were selling their wood coat hangers for pennies on the dollar. Those hangers make my closets feel sophisticated but I have more than I need. And I have always had a hard time finding a neat way to store them. This collapsible bag is the perfect solution!
The crazy thing about both of these closet redesigns is that it made me purge many items I didn’t need. With those out of the way, I have more room than I need. Crazy how it works out that way.
shop
favorites
All of our favorite shoppable links and sources in one place! We love to share our projects with you and hope these resources help you as you design your own home.

+ Show / Hide Comments
Share to: