Second Floor Renovation and Addition at the Corner Cottage
When I first toured the Corner Cottage, I was surprised to find a finished second floor in this historic home. From the outside the house seems pretty modest. And yet, inside there’s a total of 2,700 square feet because of the second floor. If you’re new to this historic home renovation, first check out the Exterior Transformation to see what I mean. Inside we first Reworked the Floor Plan on the first story and in the Kitchen and Breakfast Nook before heading upstairs. Today we’ll look at how we approached the second floor renovation and added onto to the back bedroom.
The Before
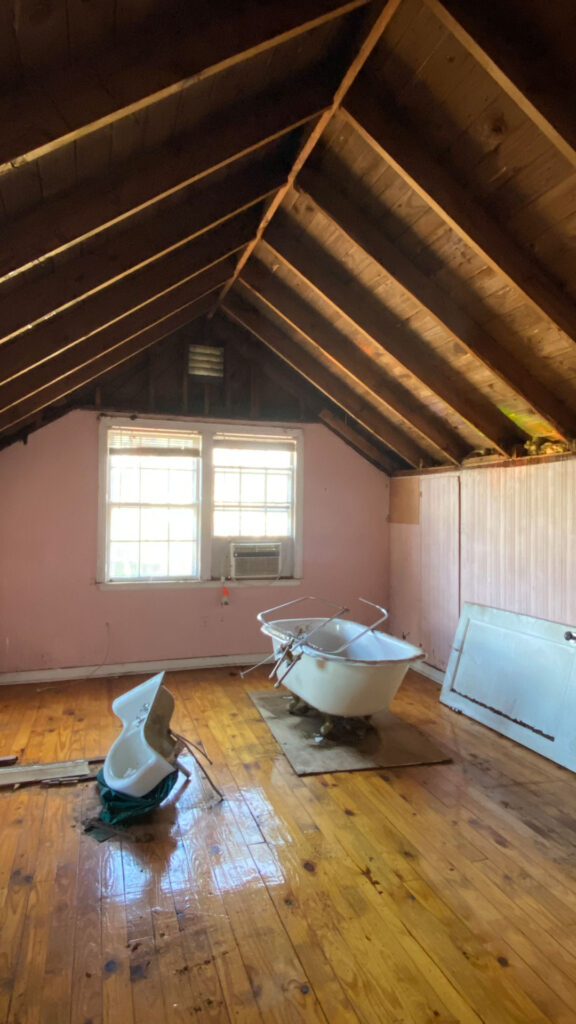
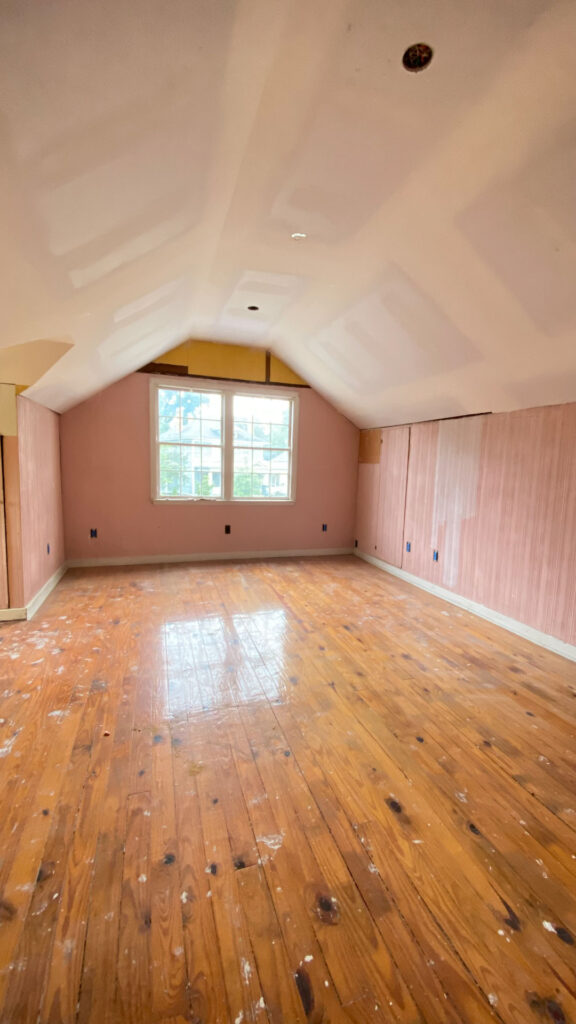
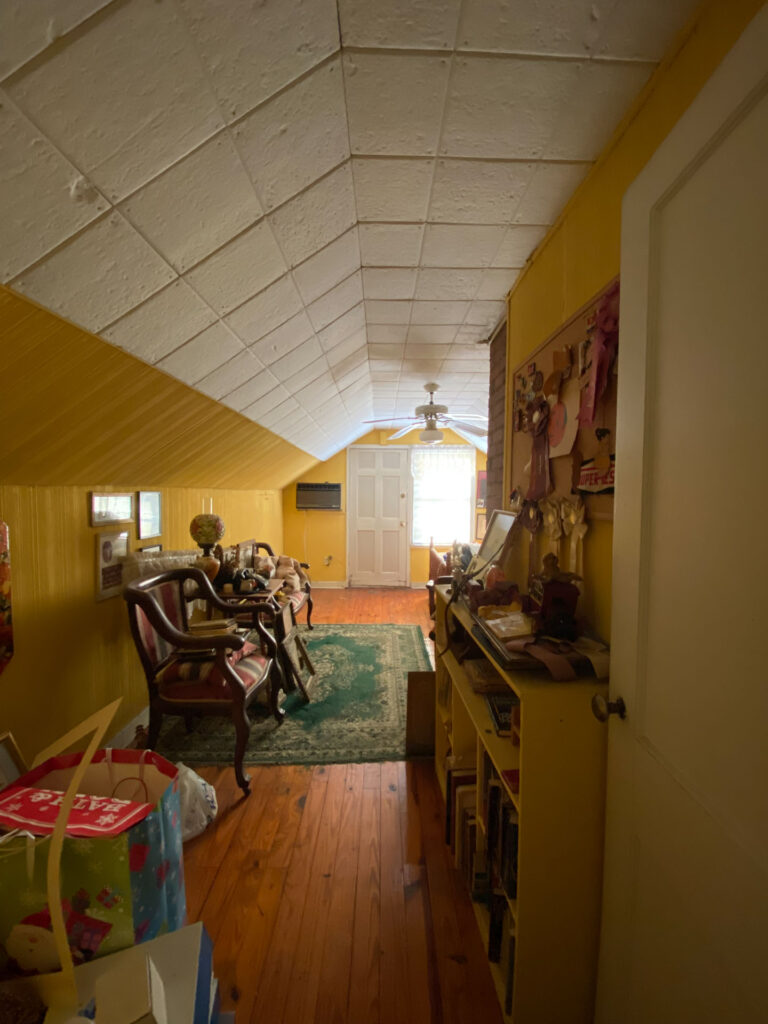
Much to my surprise, the upstairs at the Corner Cottage had already been converted into living space at some point over time. It felt like a little secret hideaway. The floors were all pine and the walls were covered in a type of paneling. Once the contents were cleared out, we were ready to get to work.
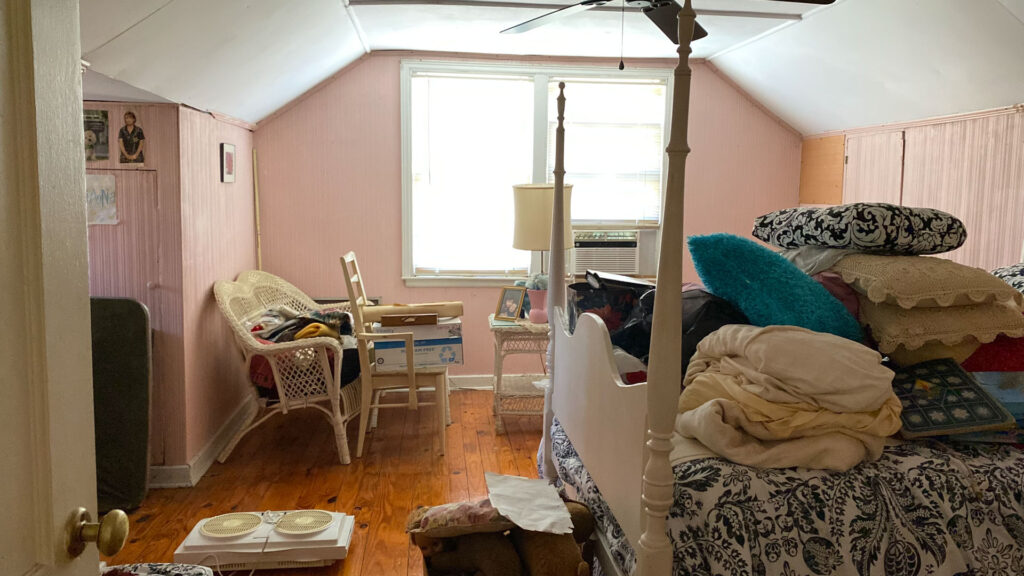

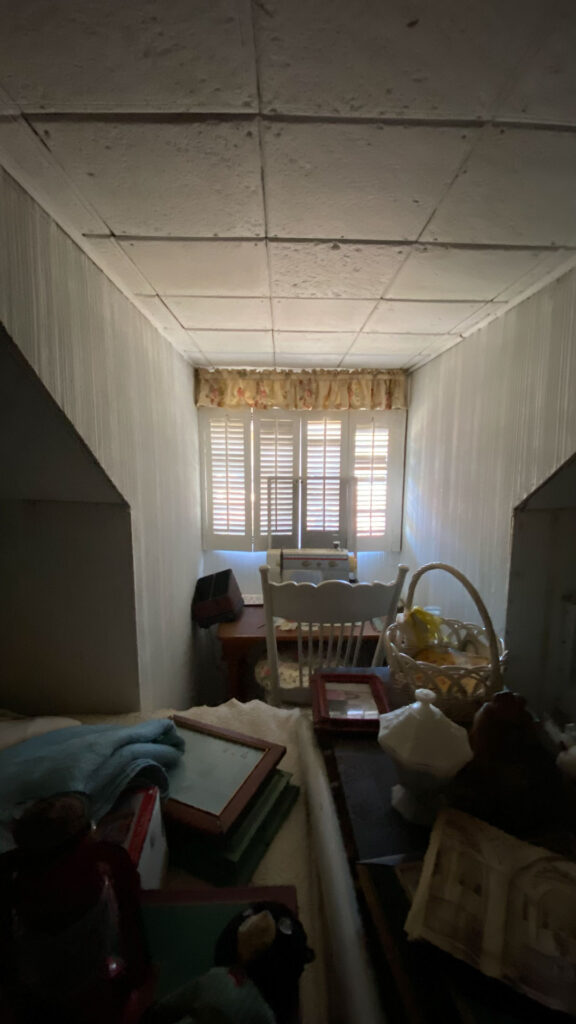
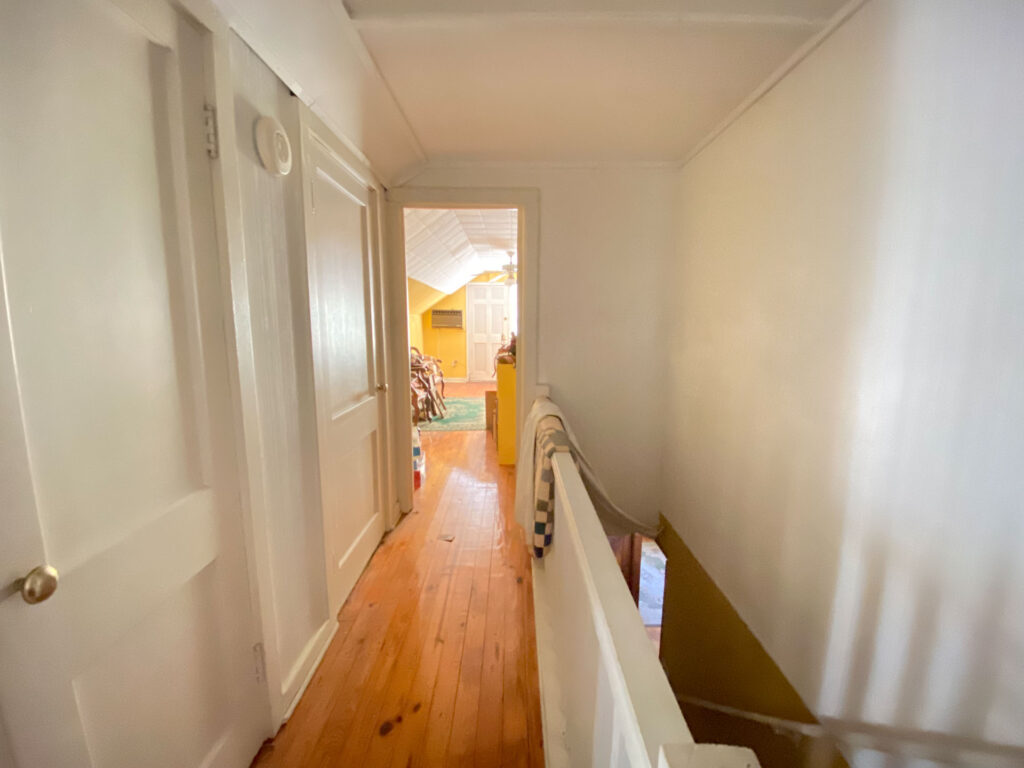
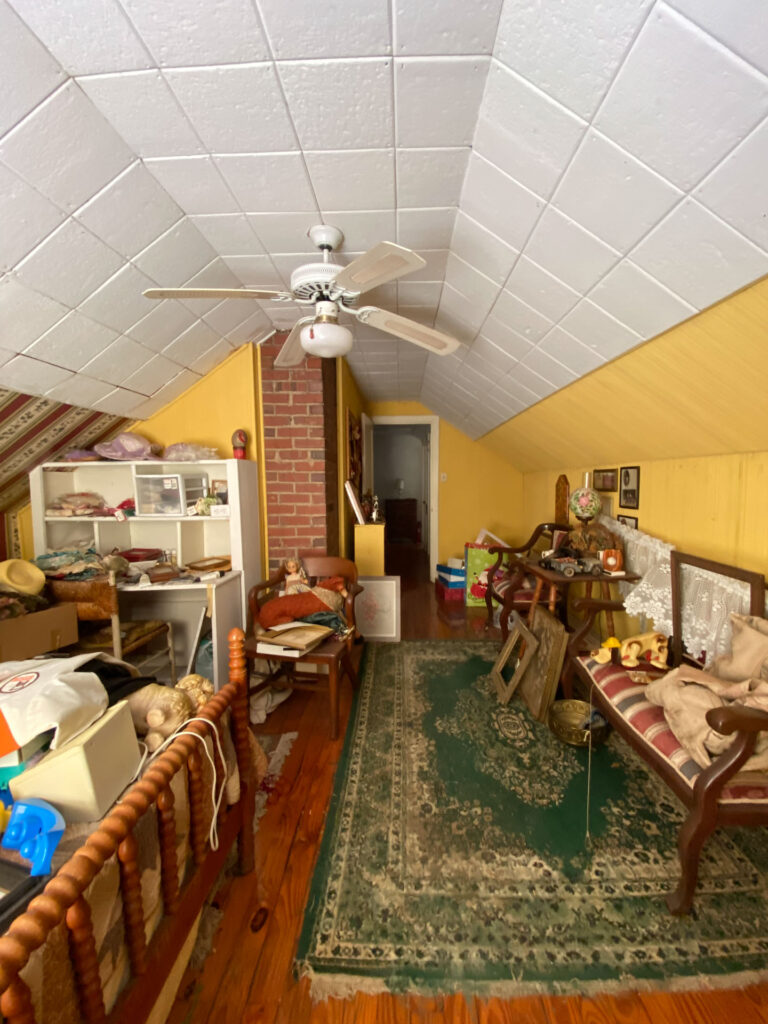
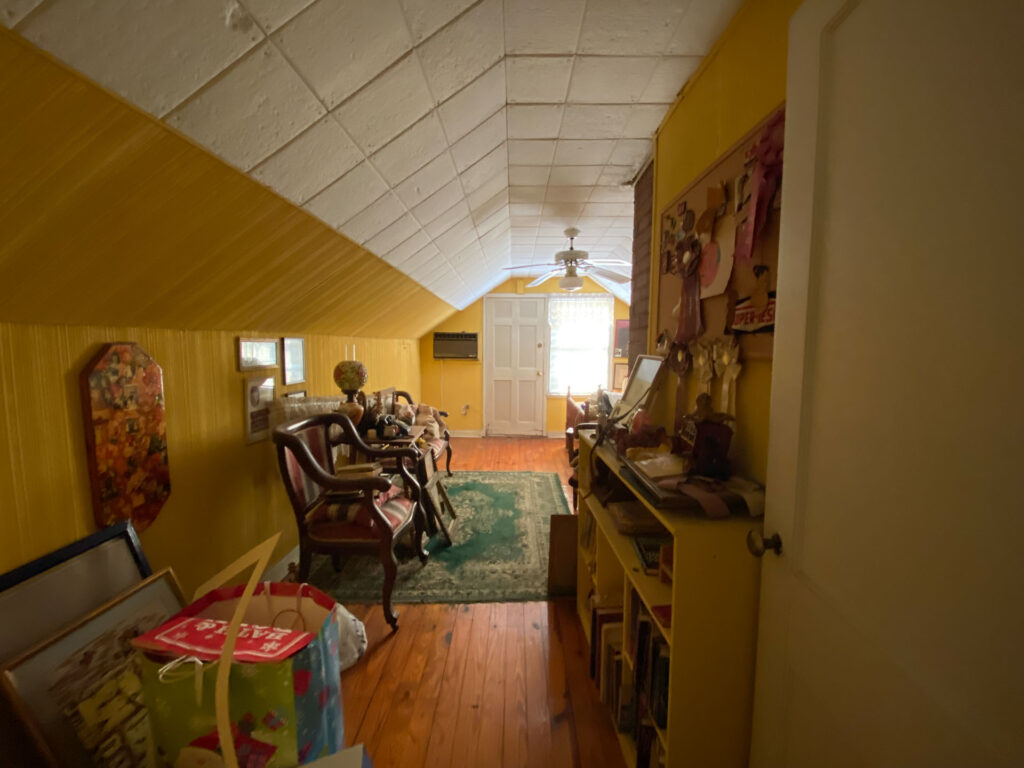
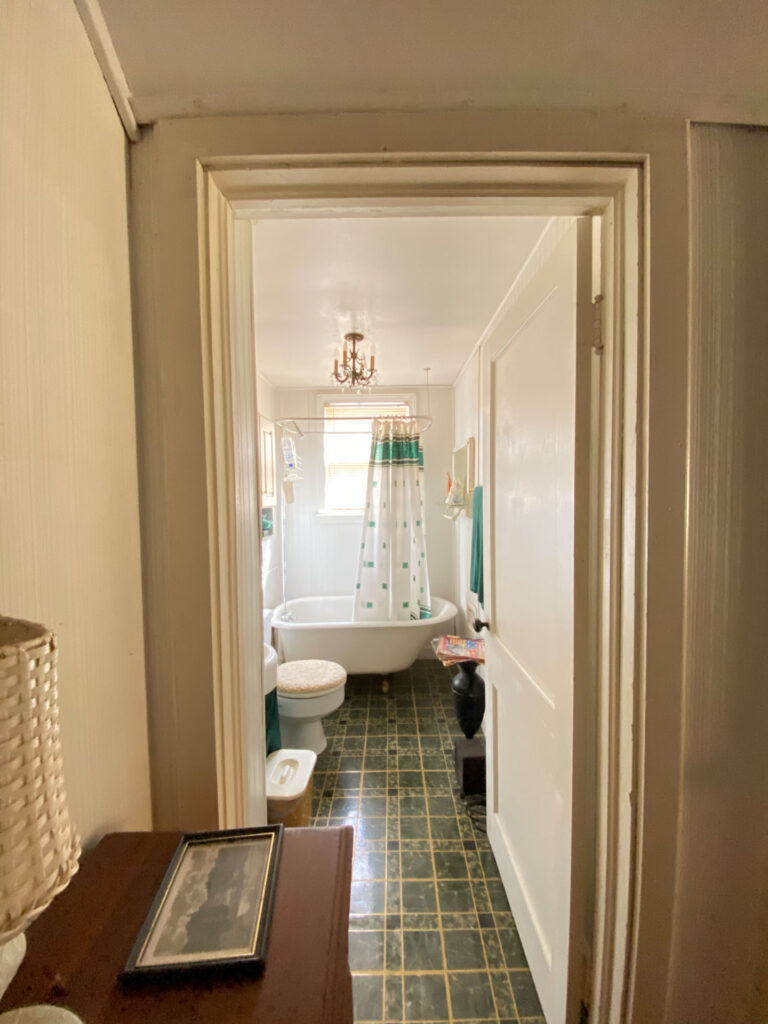
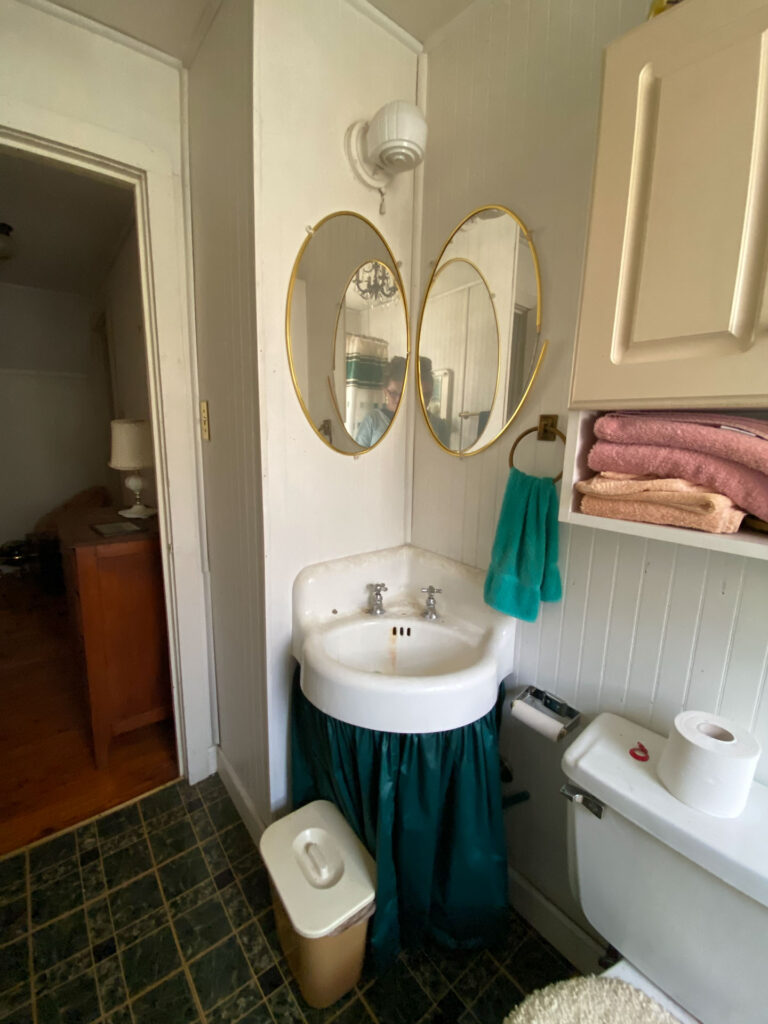
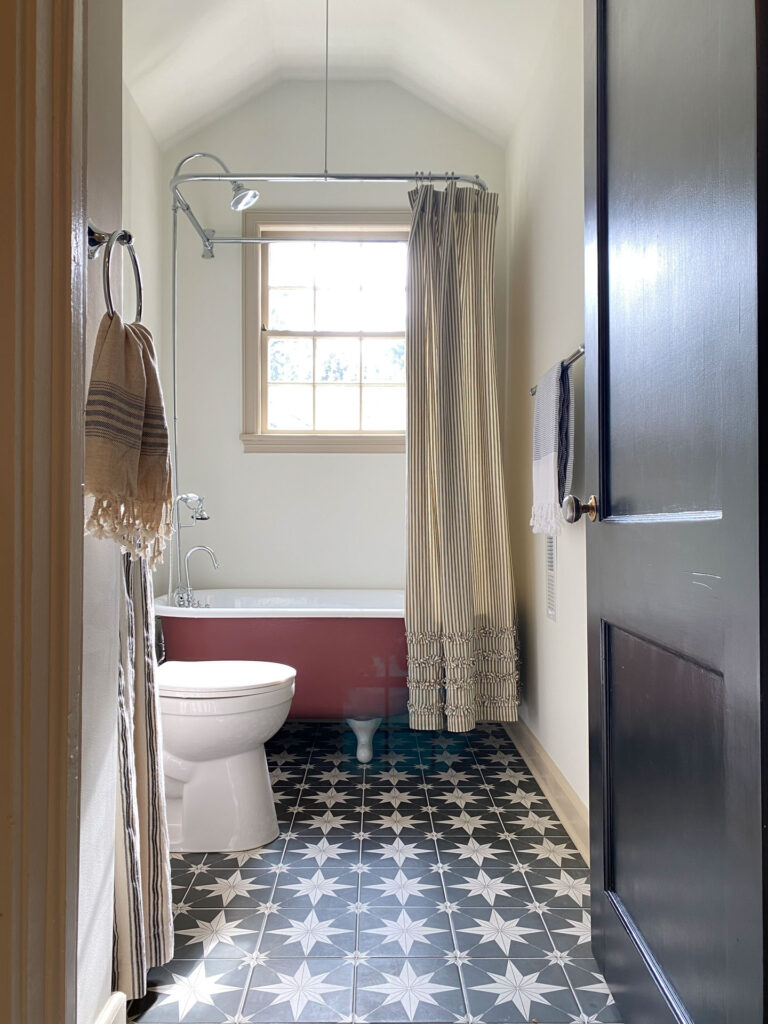
The small bathroom had a petite clawfoot tub and made the best use of the space it had. Oh, and two of the bedrooms had little nooks where dormers had been installed. Overall, it felt like a little dollhouse up there.
The Changes
The Addition
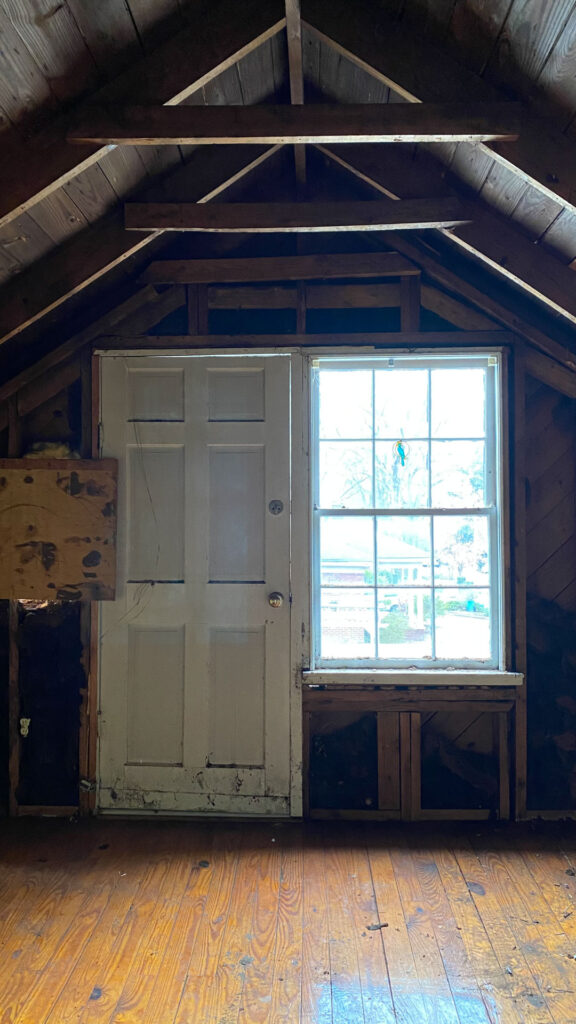
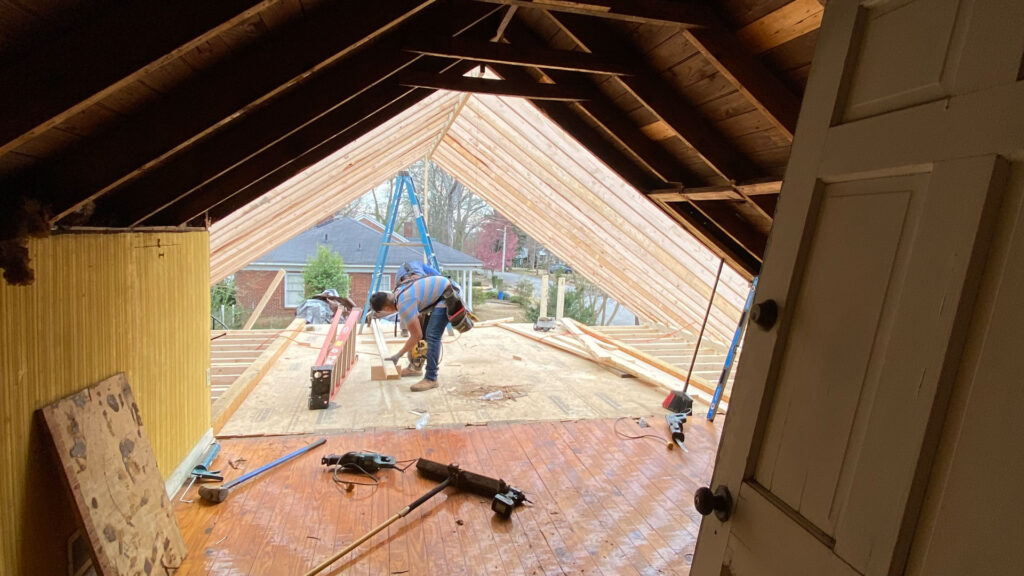
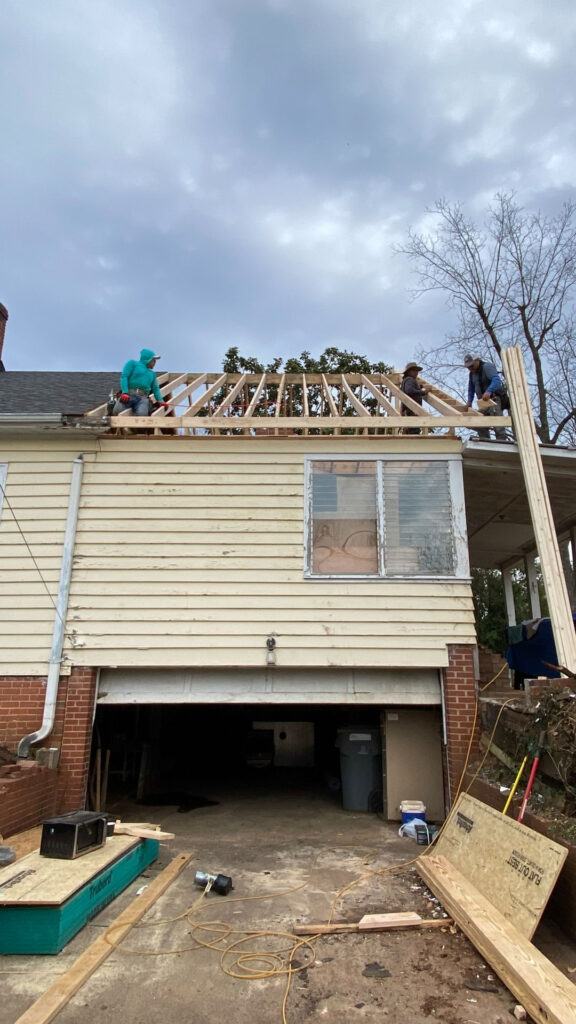
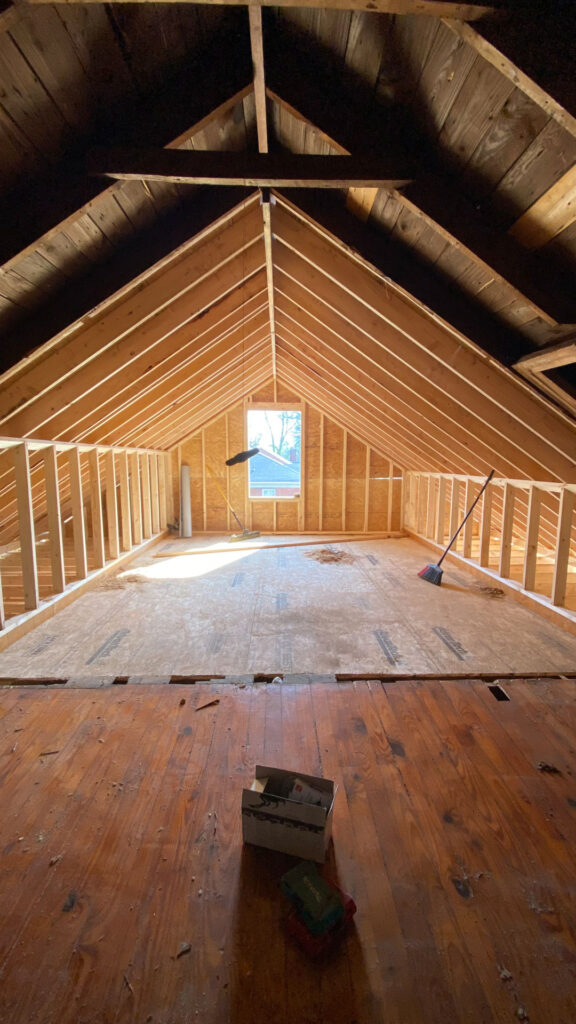
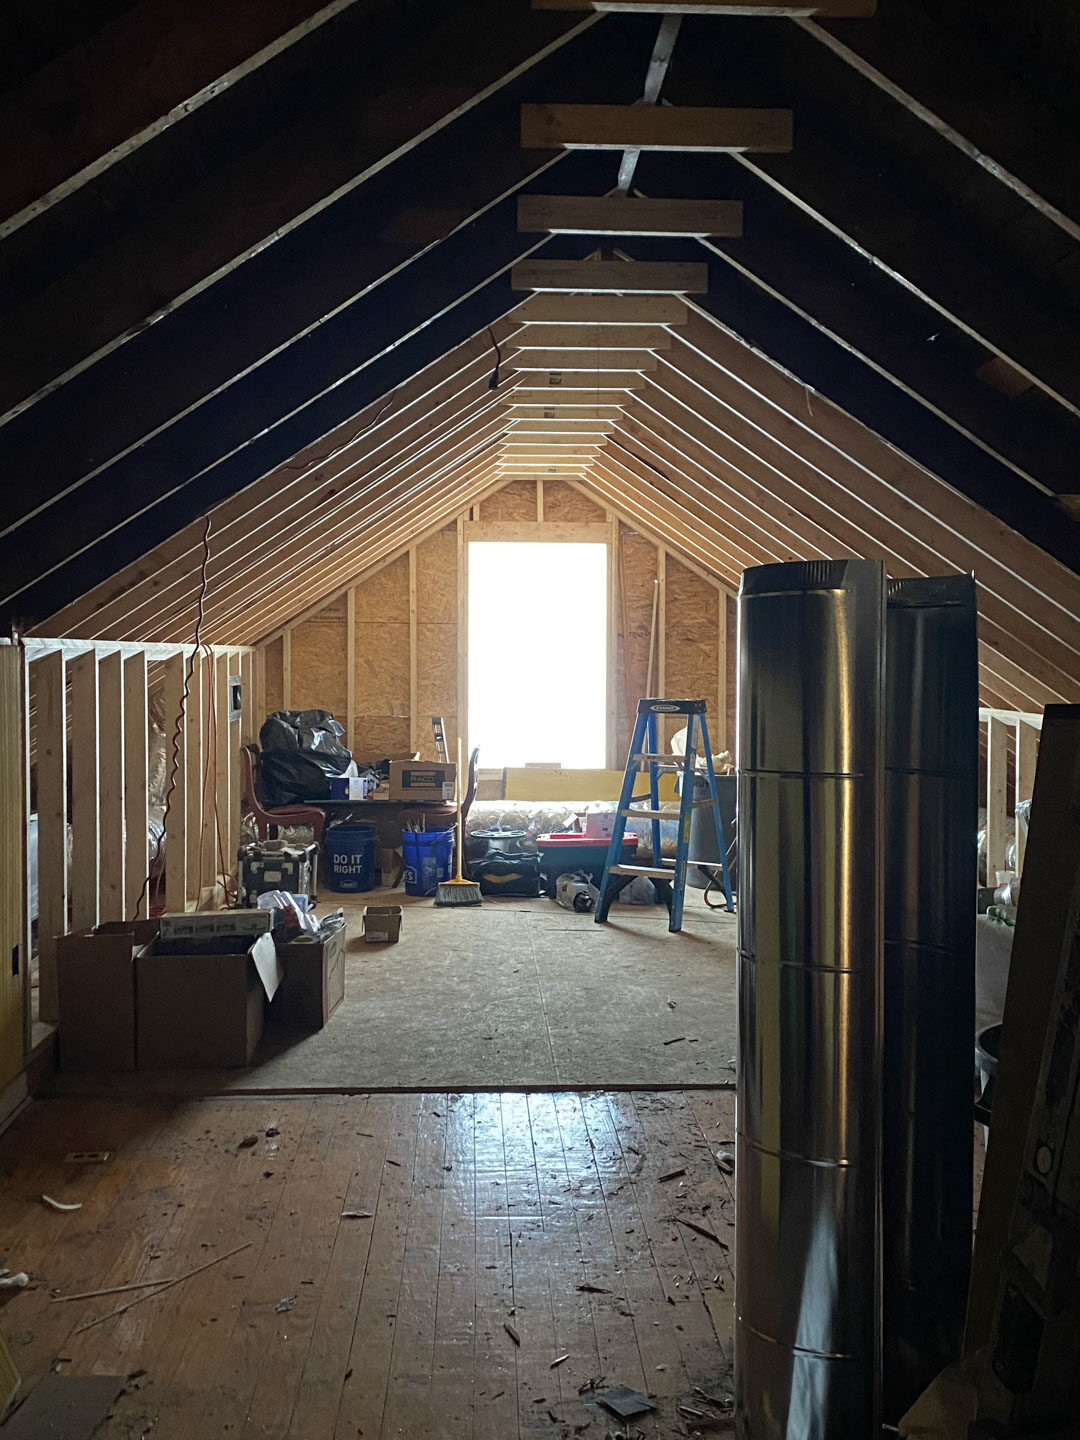
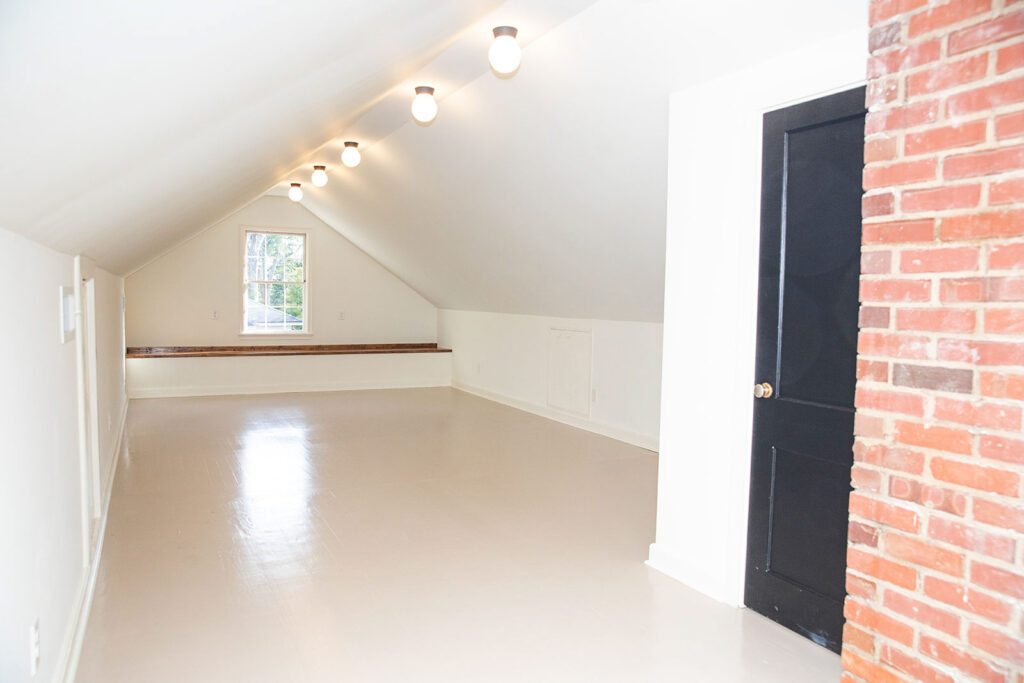
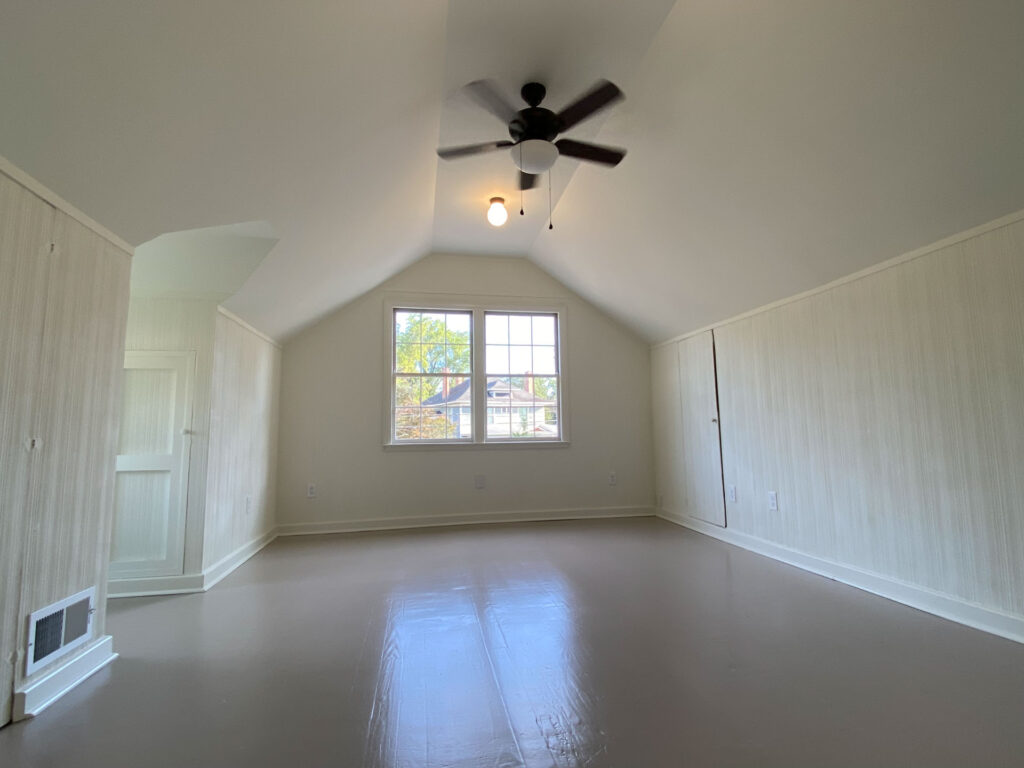
Before any other changes happened upstairs, I received approval from the local historic board to extend the gabled roof along the back. Downstairs a bonus room had been added and a flat roof was installed. Those type of roofs are notorious for leaks and you could see the damage from over the years on the ceiling below. My thought process was that if I was going to have to build a new roof, I might as well make the best use of it. So, we extended the gable, doubling the square footage of the back bedroom.
Raised the Ceiling Height
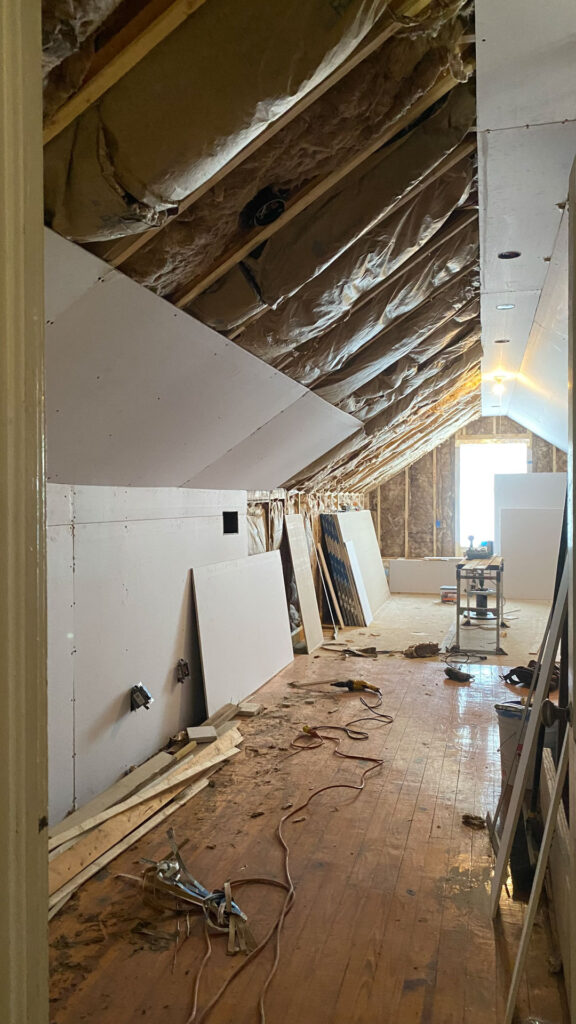
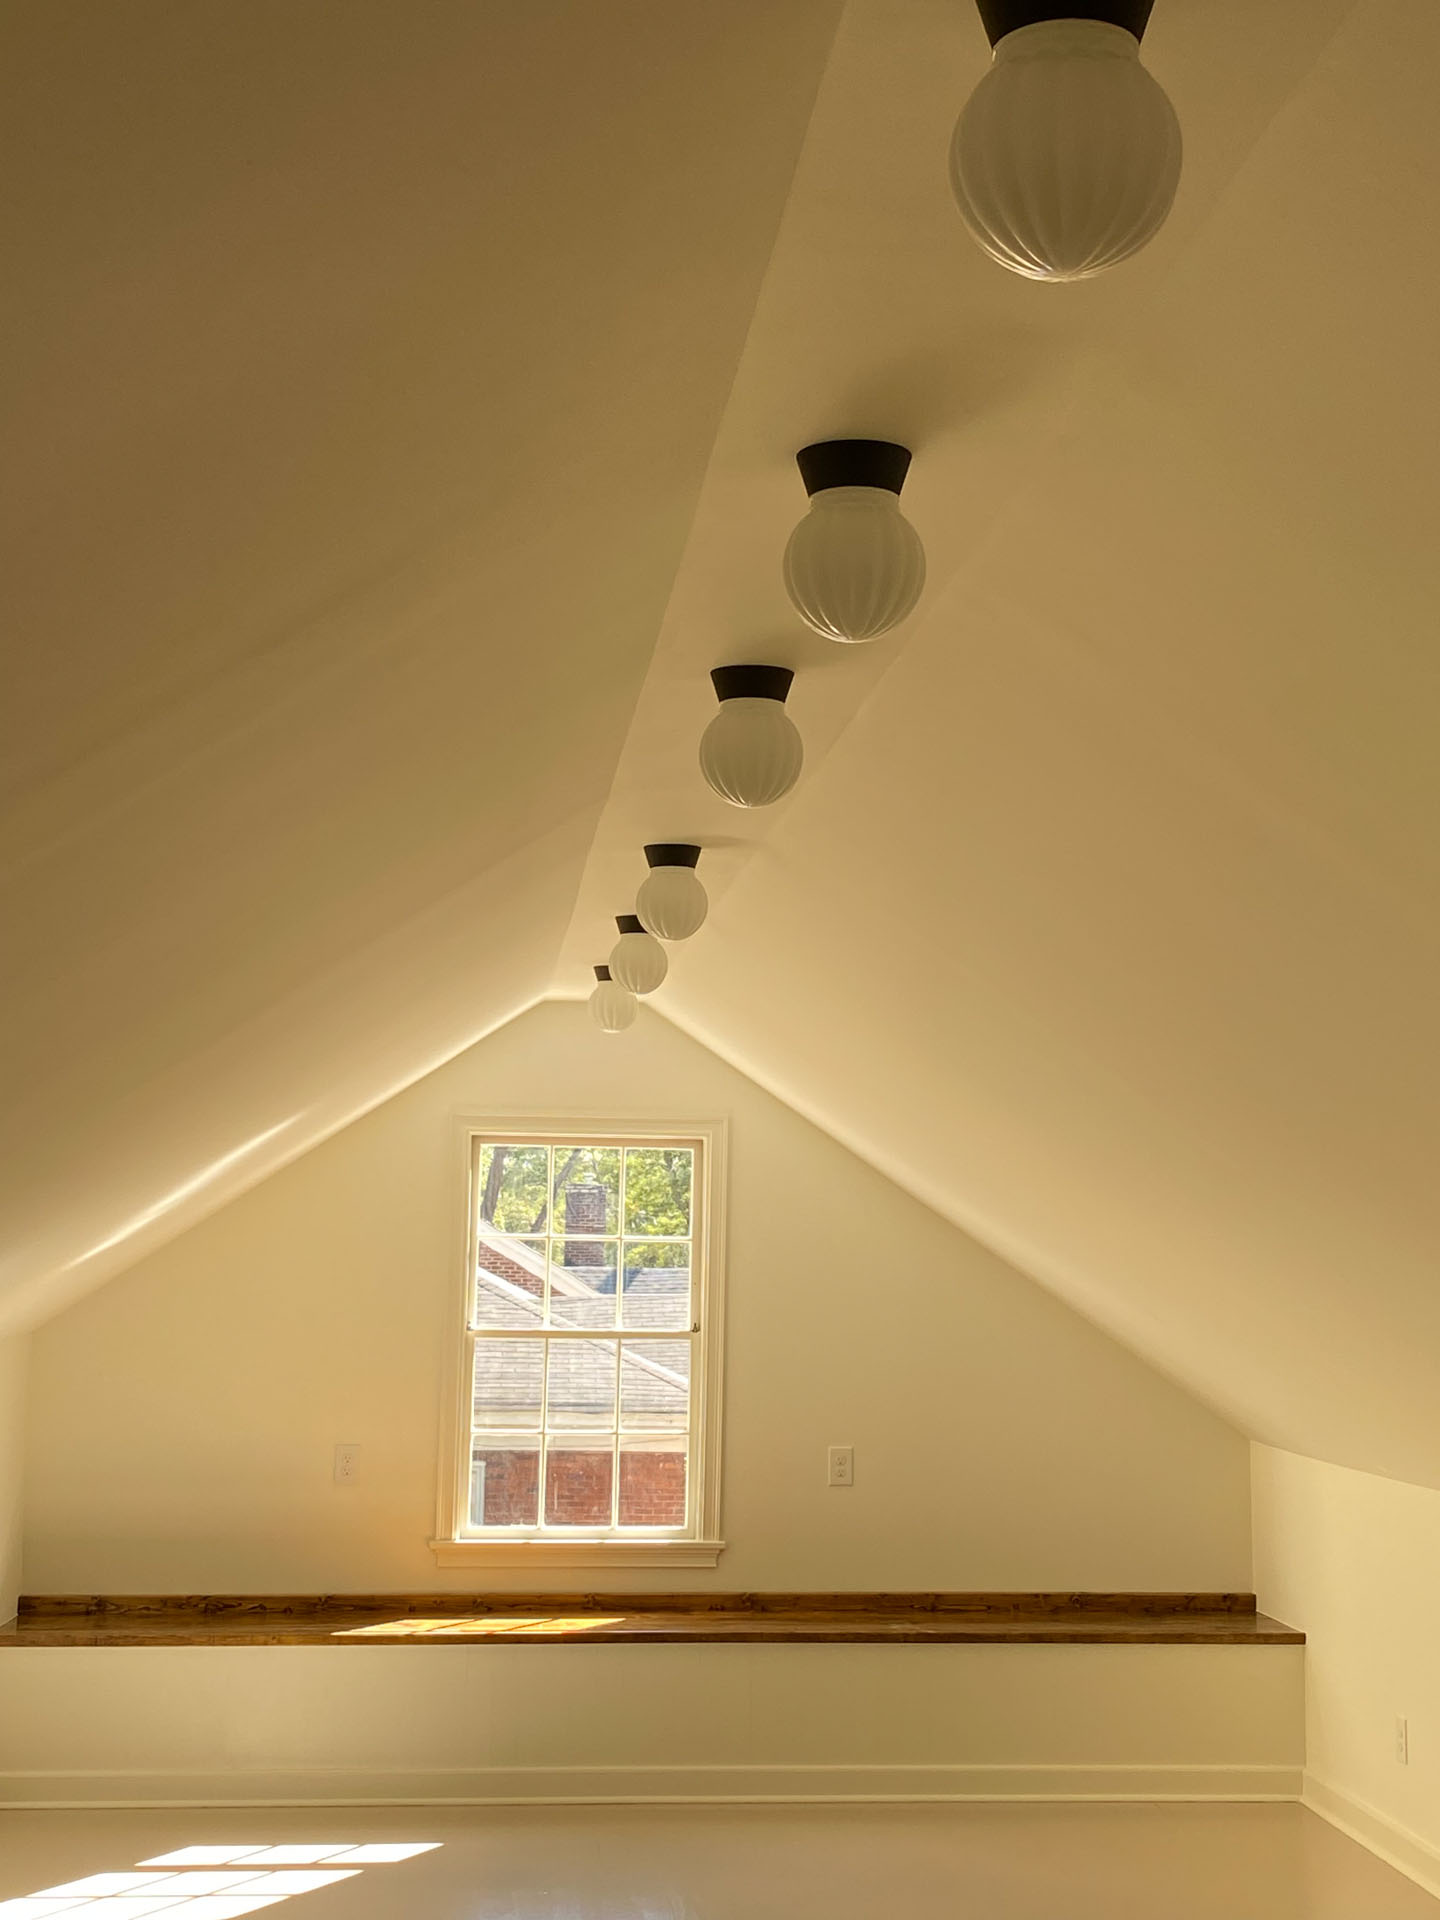
While one team was tearing out the back wall and framing for the new gabled roof, more demo was being done inside. As they say, one thing led to another and I gave the green light to tear out the ceilings in all of the rooms upstairs. By doing so, we were able to raise the ceiling height which made a noticeable difference to the scale of the rooms. It also gave us the chance to replace the old insulation along the roof since it was pretty drafty upstairs.
The Wall Paneling
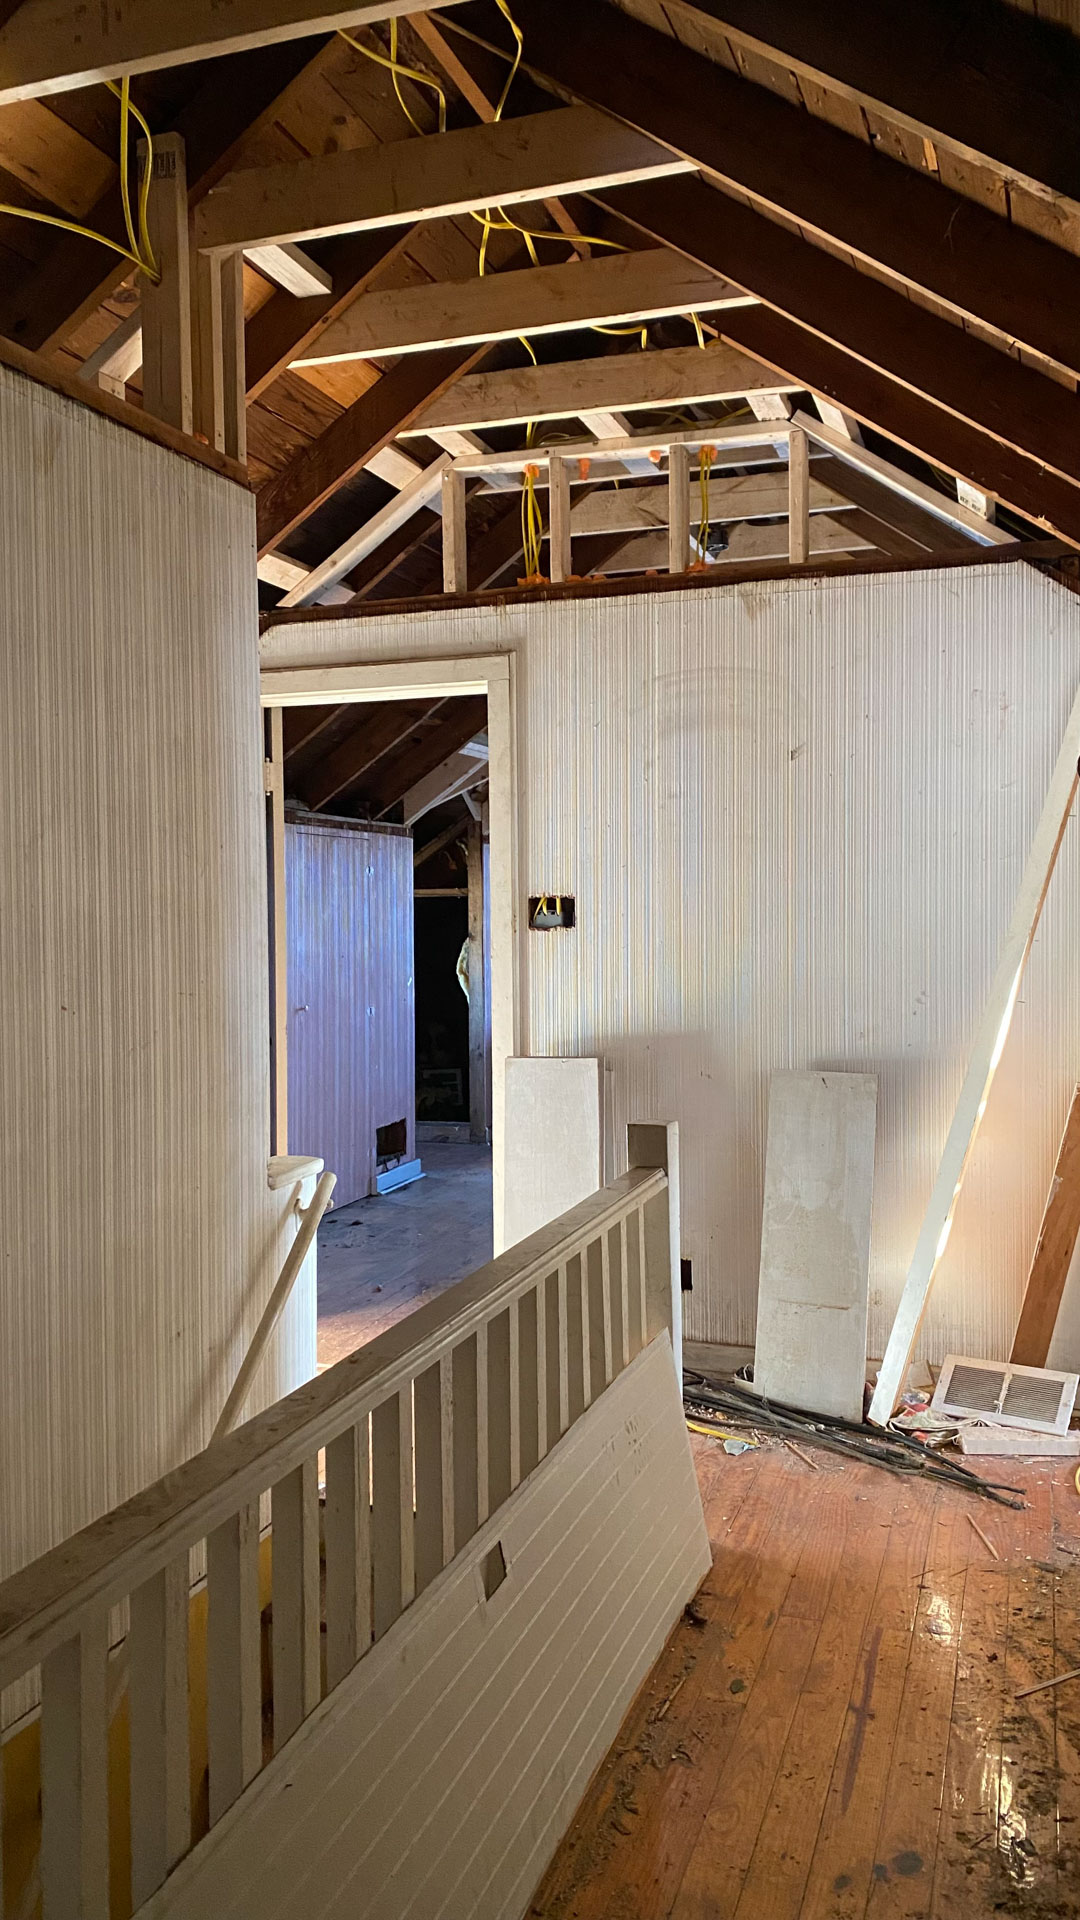
Throughout the upstairs, a thin paneling had been installed. It had a neat pattern that mimicked a textured wallpaper that I really liked. So, I made the decision to remove all of it from the back bedroom and install drywall. This way we could use what we saved for repairs to the rest of the bedrooms and hallway. Once trim was installed to hide the seams and everything was painted, it was hard to tell we had made any changes.
HVAC and Electrical
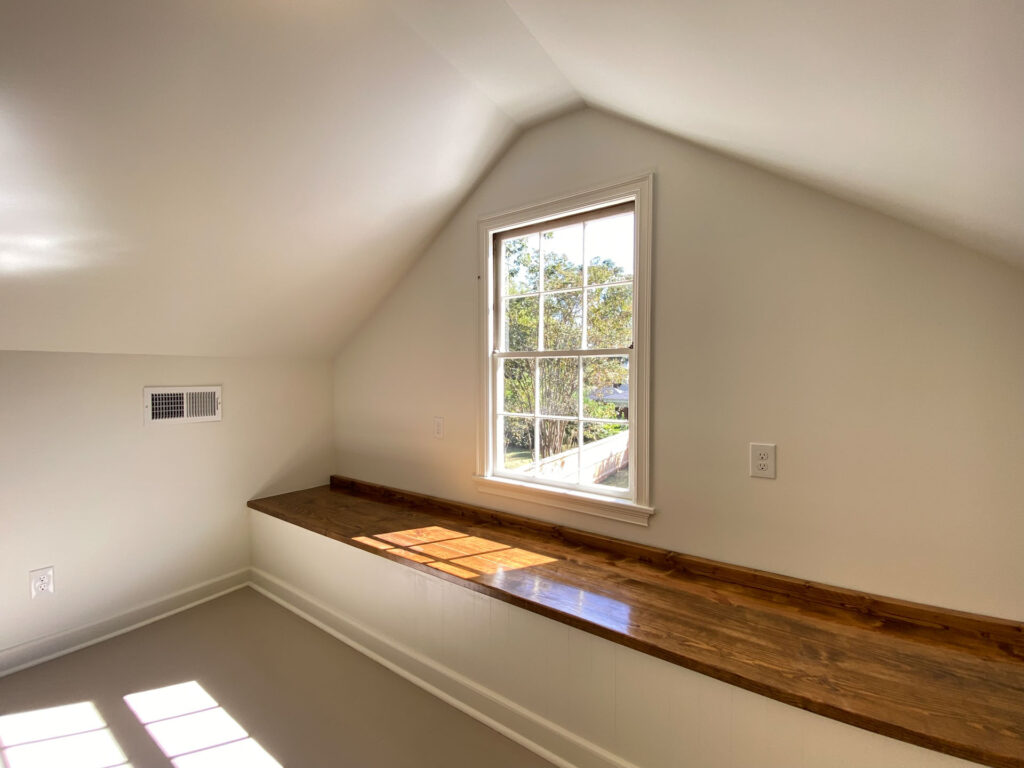
While the ceilings and some of the walls were opened up, the electrical team had better access to update the wiring. We also added a second HVAC system upstairs. We hid the handler in the attic space and the ductwork under the bench we built along the back. As with the majority of the houses I renovate, updating the wiring, HVAC and plumbing are always a top priority.
The Bathroom
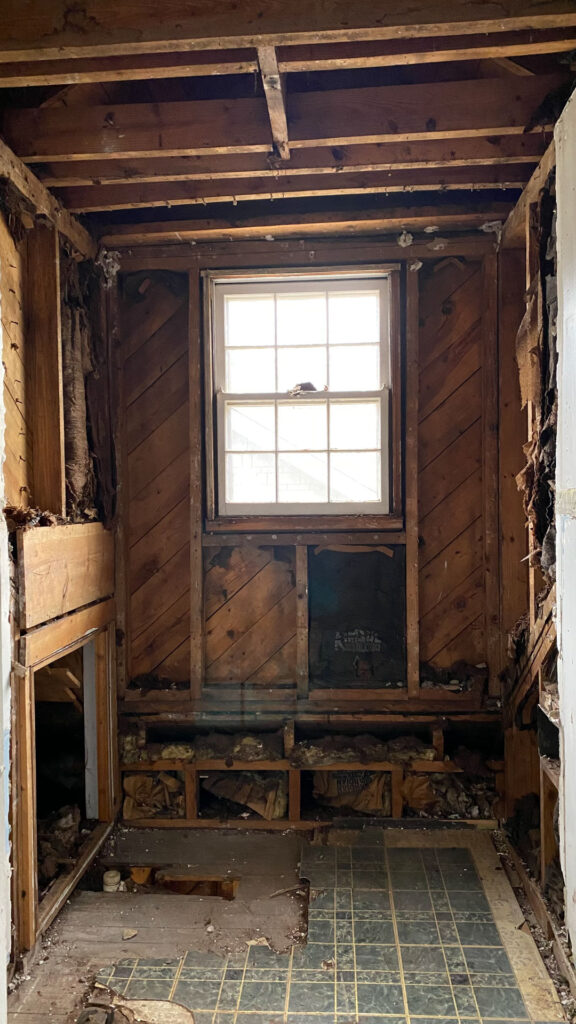
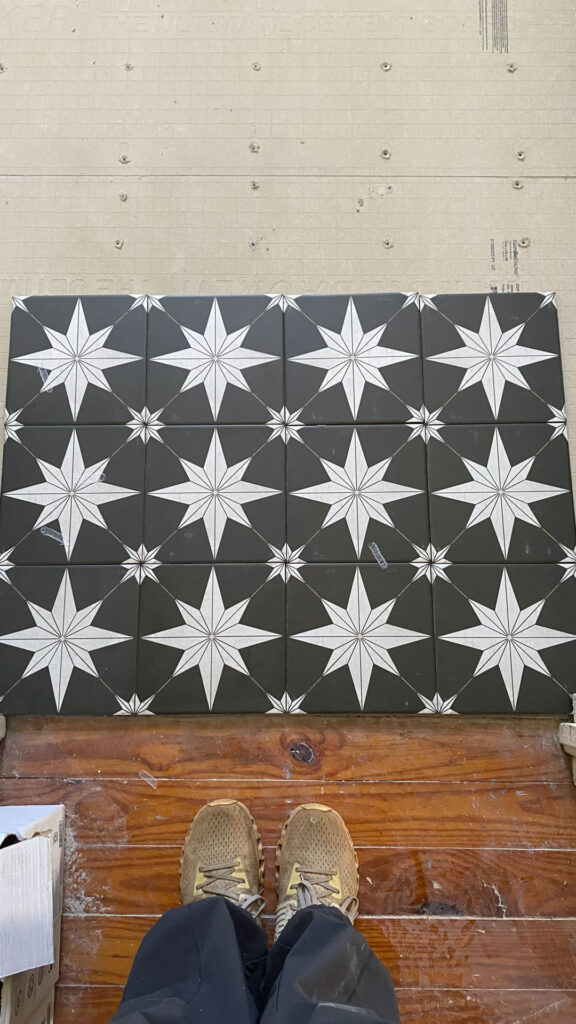
The bathroom was still quite small, so I chose to keep the same layout. We ended up gutting this entire space for a few reasons. First, we could strengthen the floor joists and raise the ceiling height. And second, with the open walls, ceilings, and floors, it made it easier to run all of the new plumbing. Once all of the rough-ins were completed, we added drywall and a new vintage floor tile since I was refurbishing the clawfoot tub.
The Pine Floors
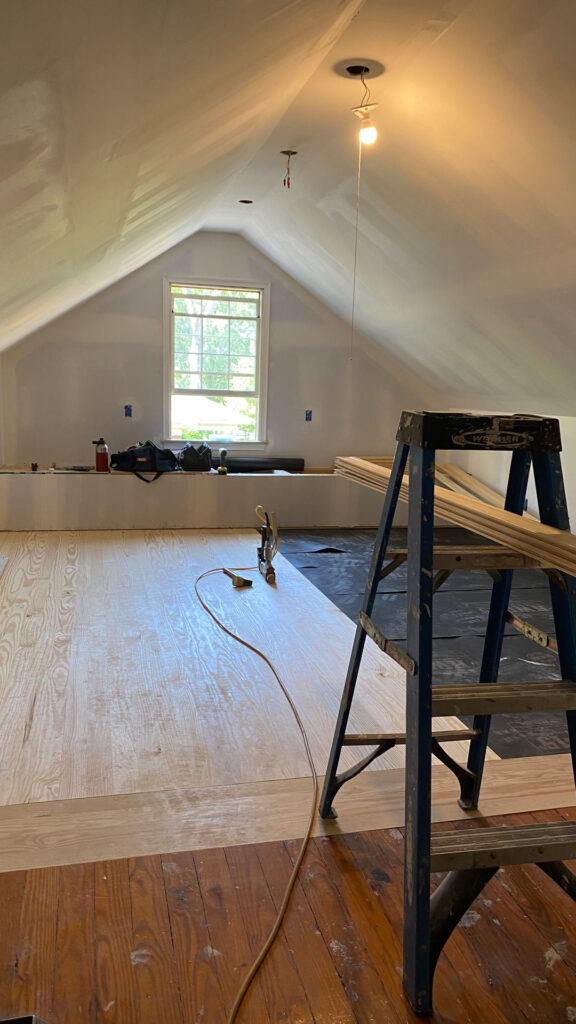
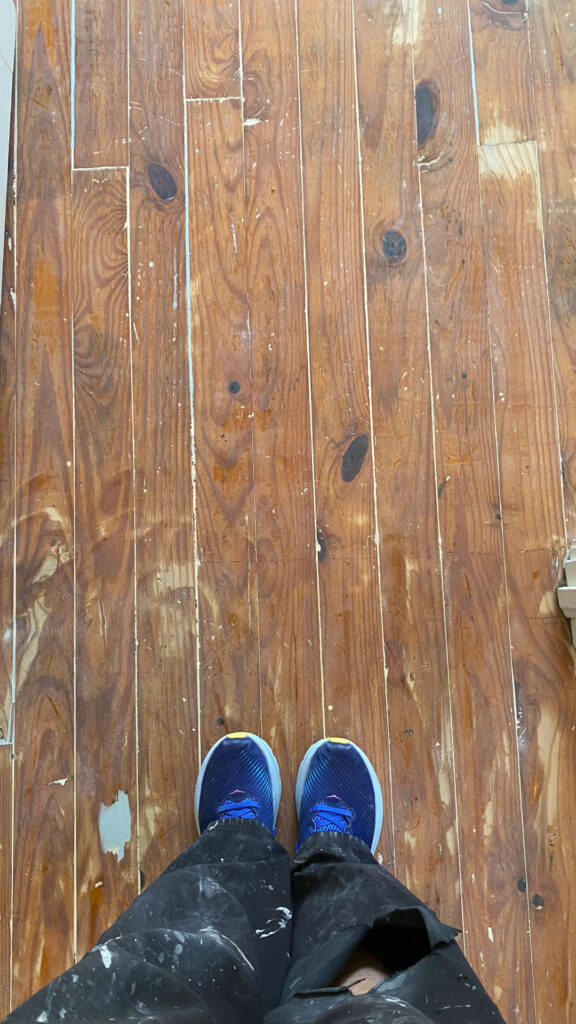
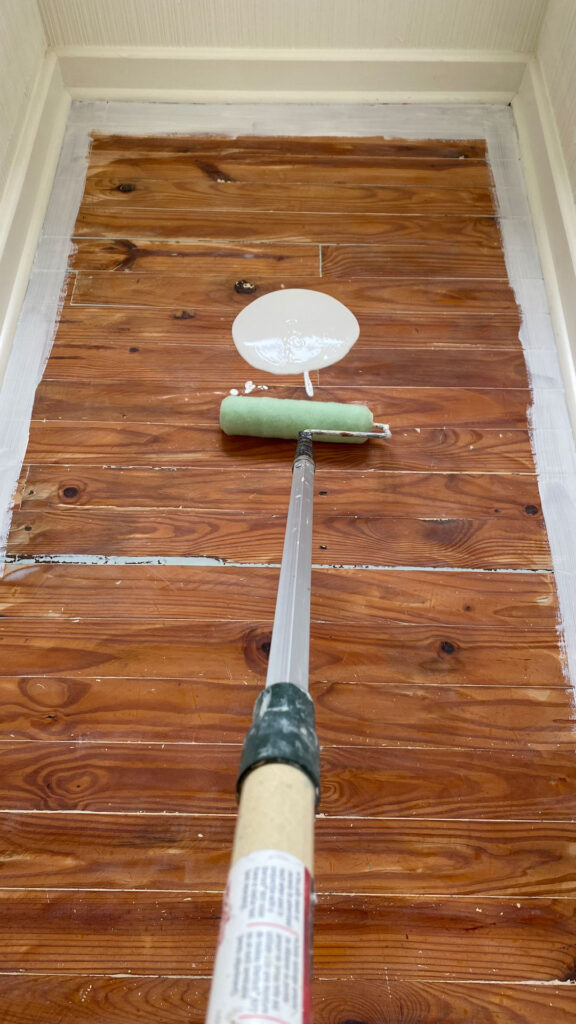
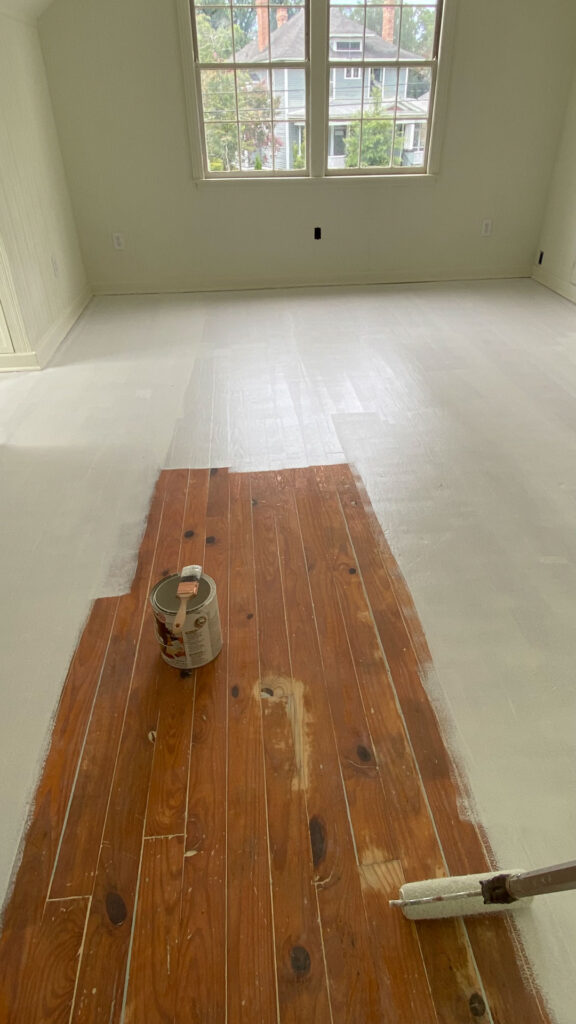
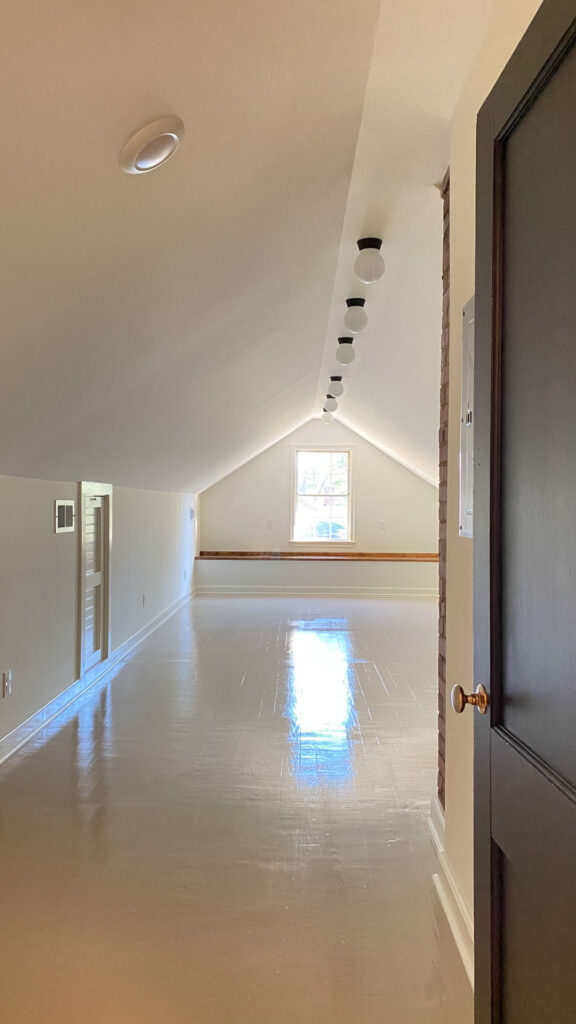
The last piece of the upstairs puzzle was the pine floors. Some of the floors had significant cracks and rough sports but the budget did not allow for new floors. Instead, I chose to fill in all of the cracks with bondo and wood filler and then prime and paint. Typically I would have them refinished but after talking with my floor guy it was going to be nearly impossible to work around those large cracks. Plus, in the enlarged bedroom we added new pine up against the old. New and old wood seldom can match so all factors considered, I opted to paint them a neutral color in a porch paint. The polyurethane based paint should hold up over time or at least that’s the hope and expectation.
The After
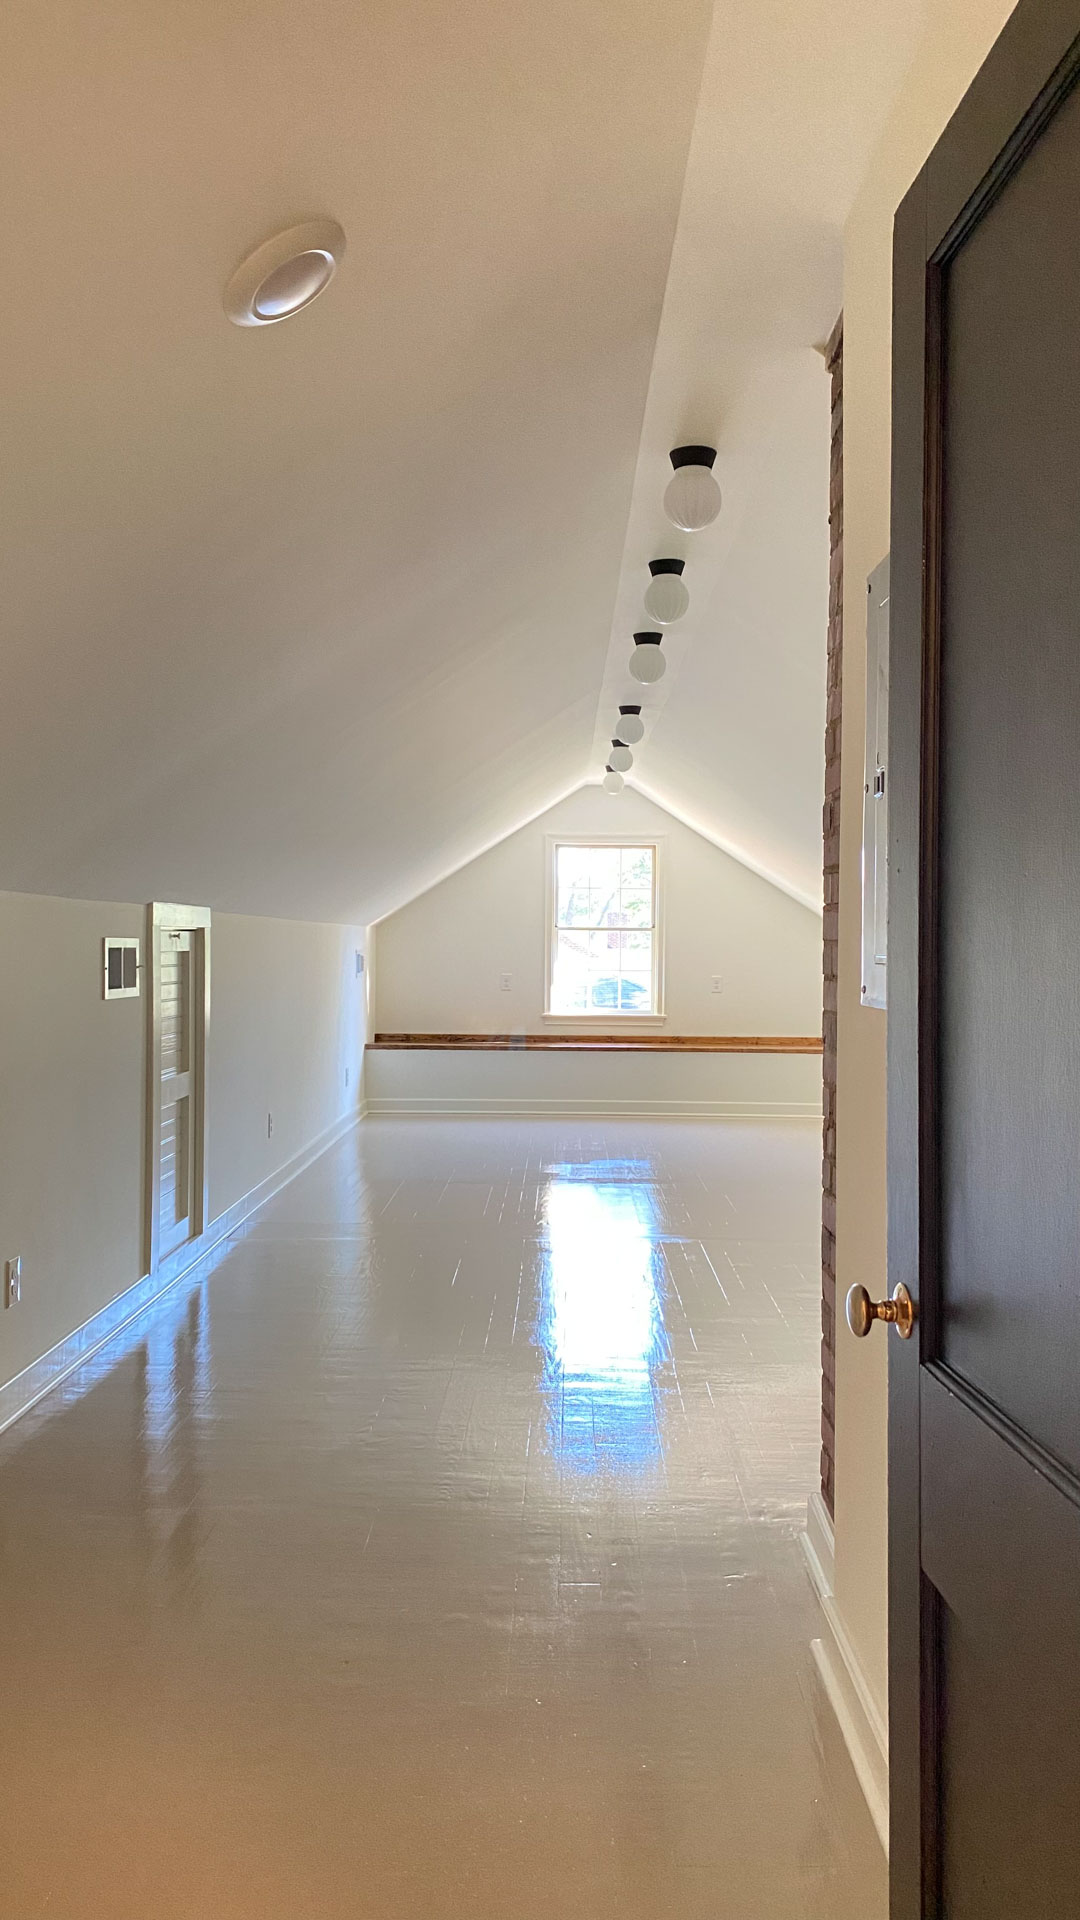
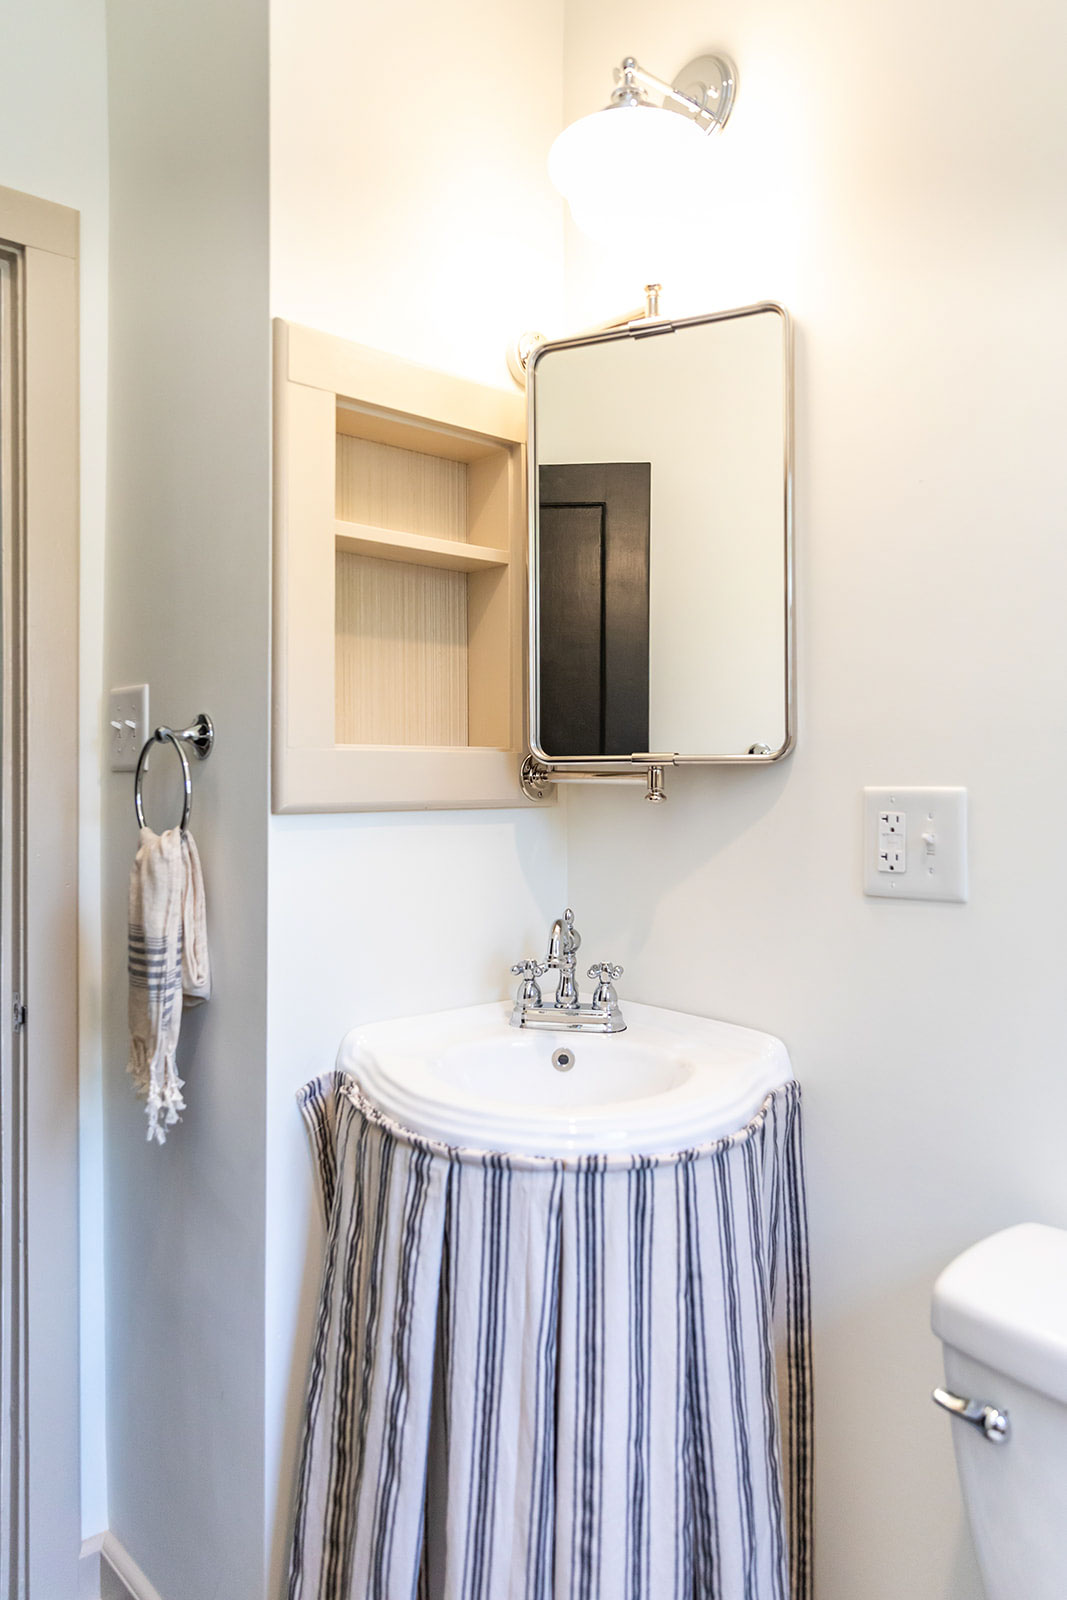
Once all of the drywall, paneling, and trim were installed it was time for paint. I chose BM White Dove for walls, ceilings, and trim in all of the bedrooms and hallway and for contrast, painted the bathroom trim in Valspar Oatbran. Once the lighting was installed and the bathroom fixtures set, the spaces upstairs felt just as cozy as could be.
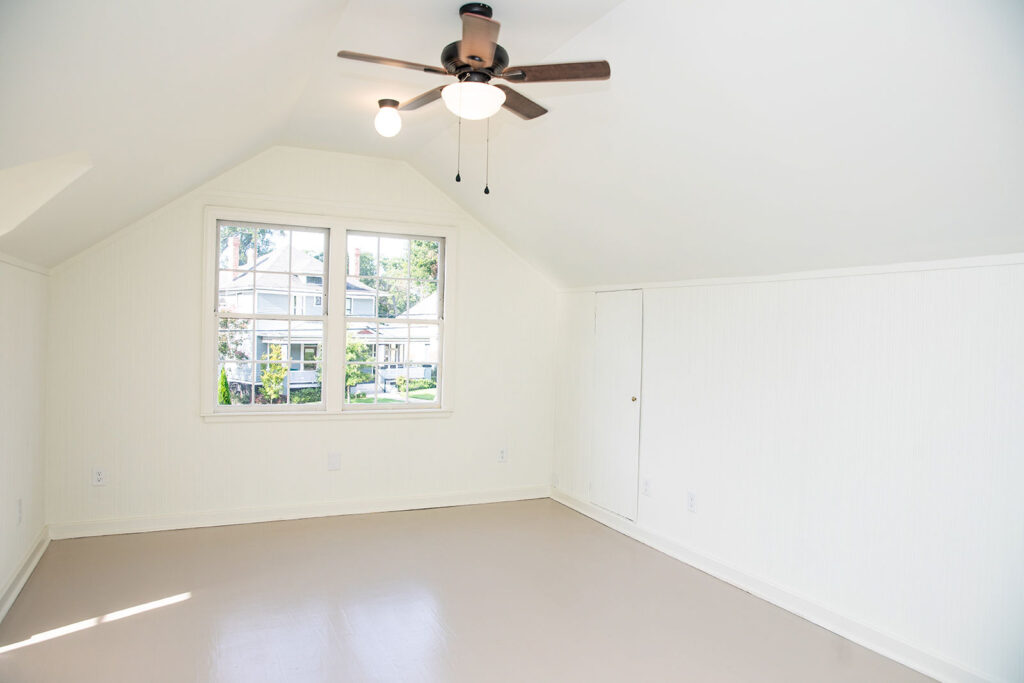
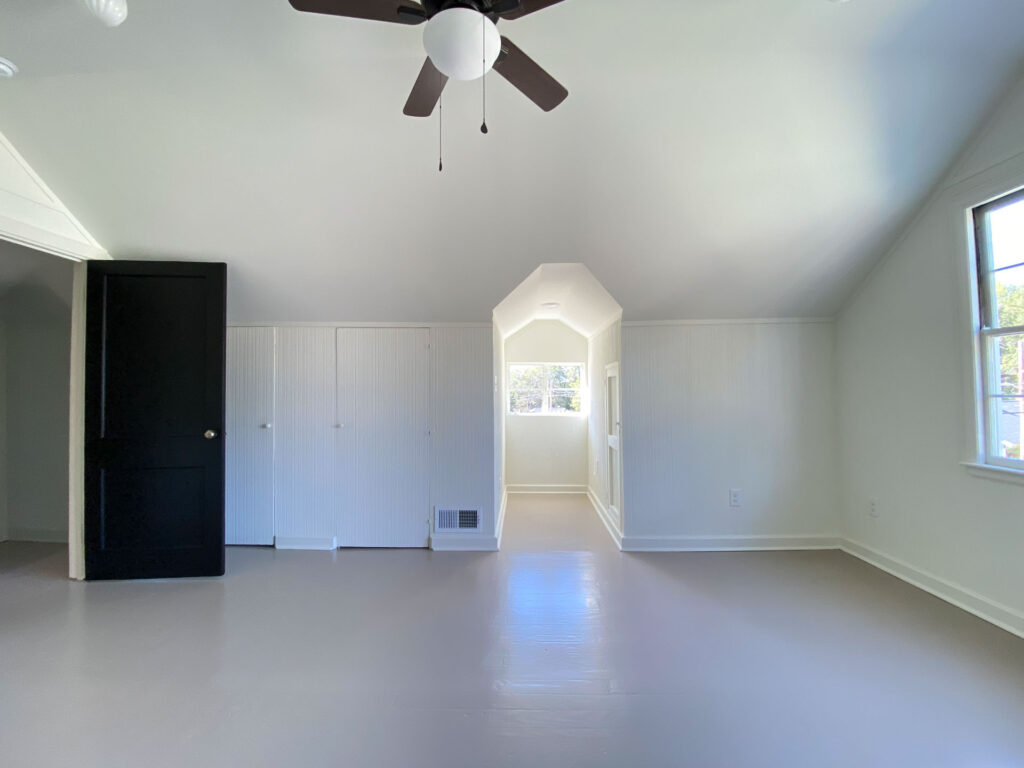
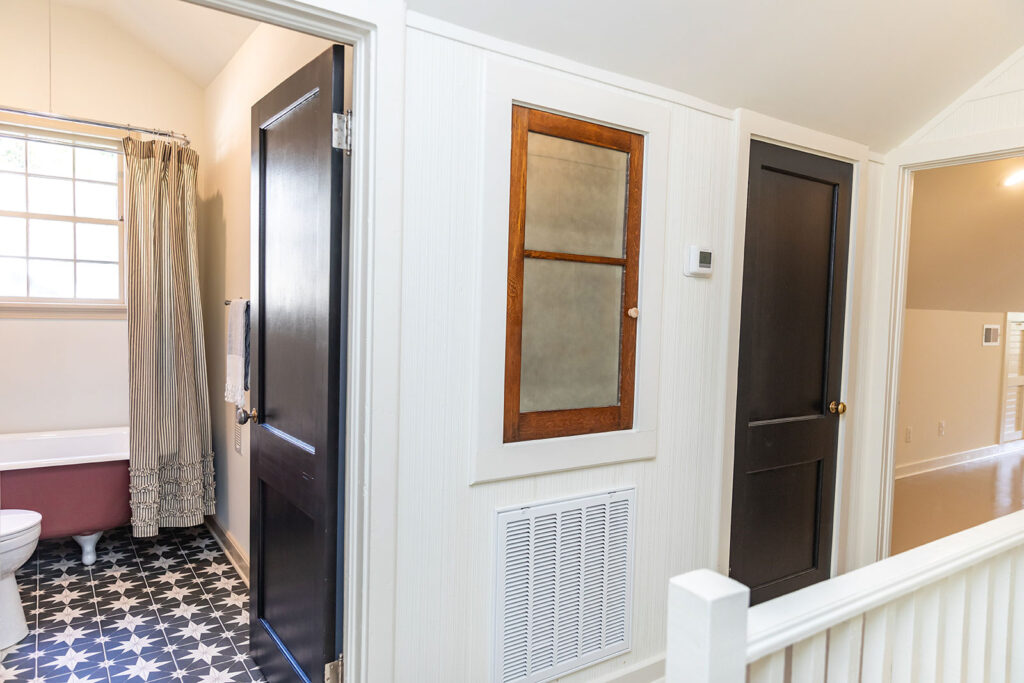
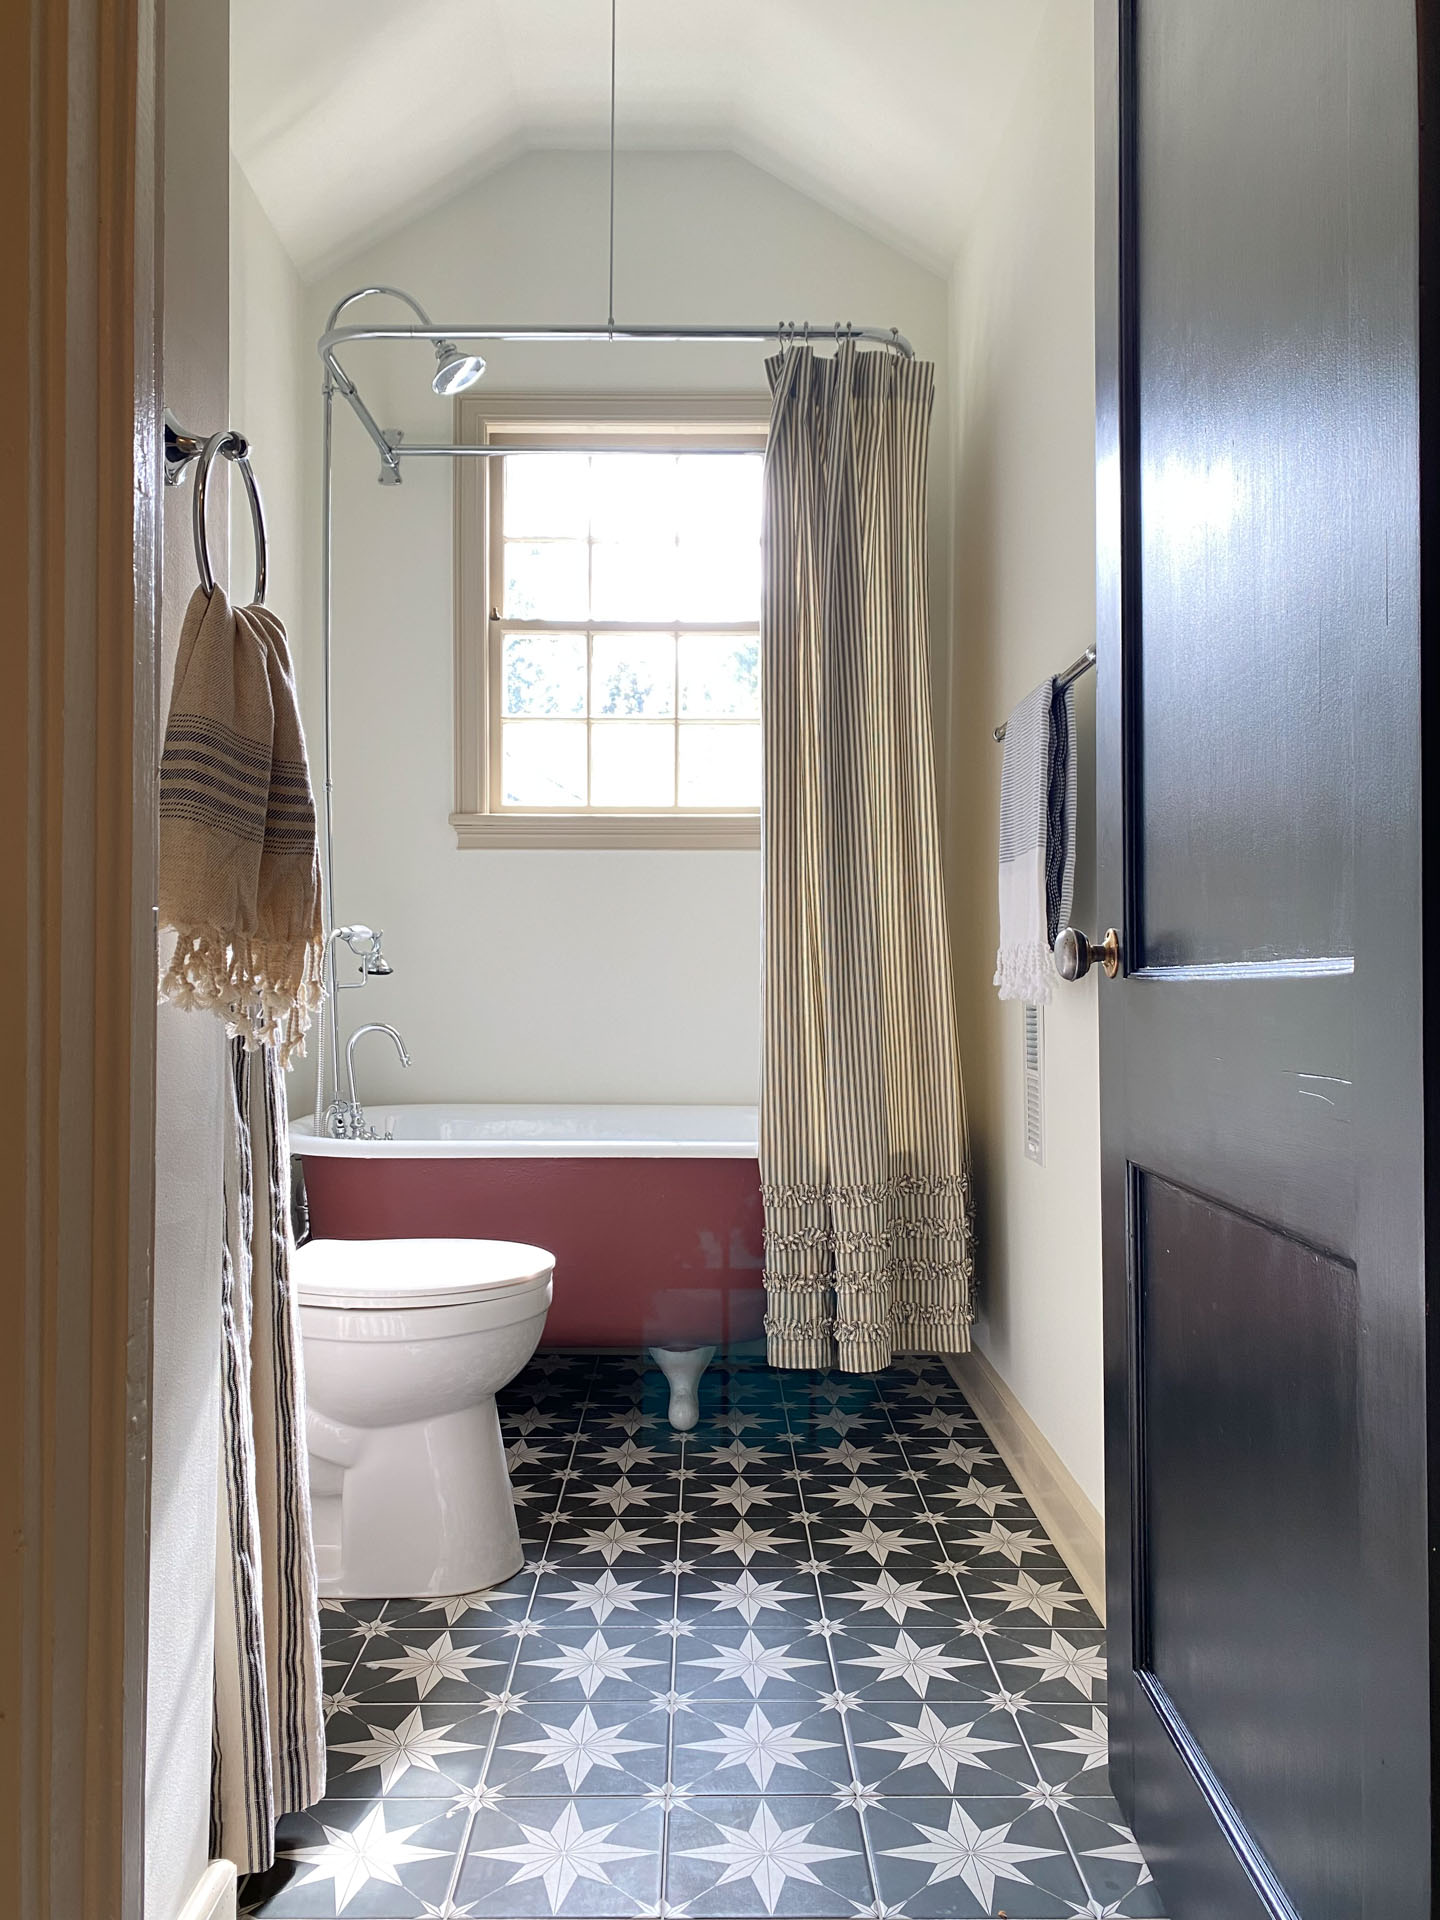
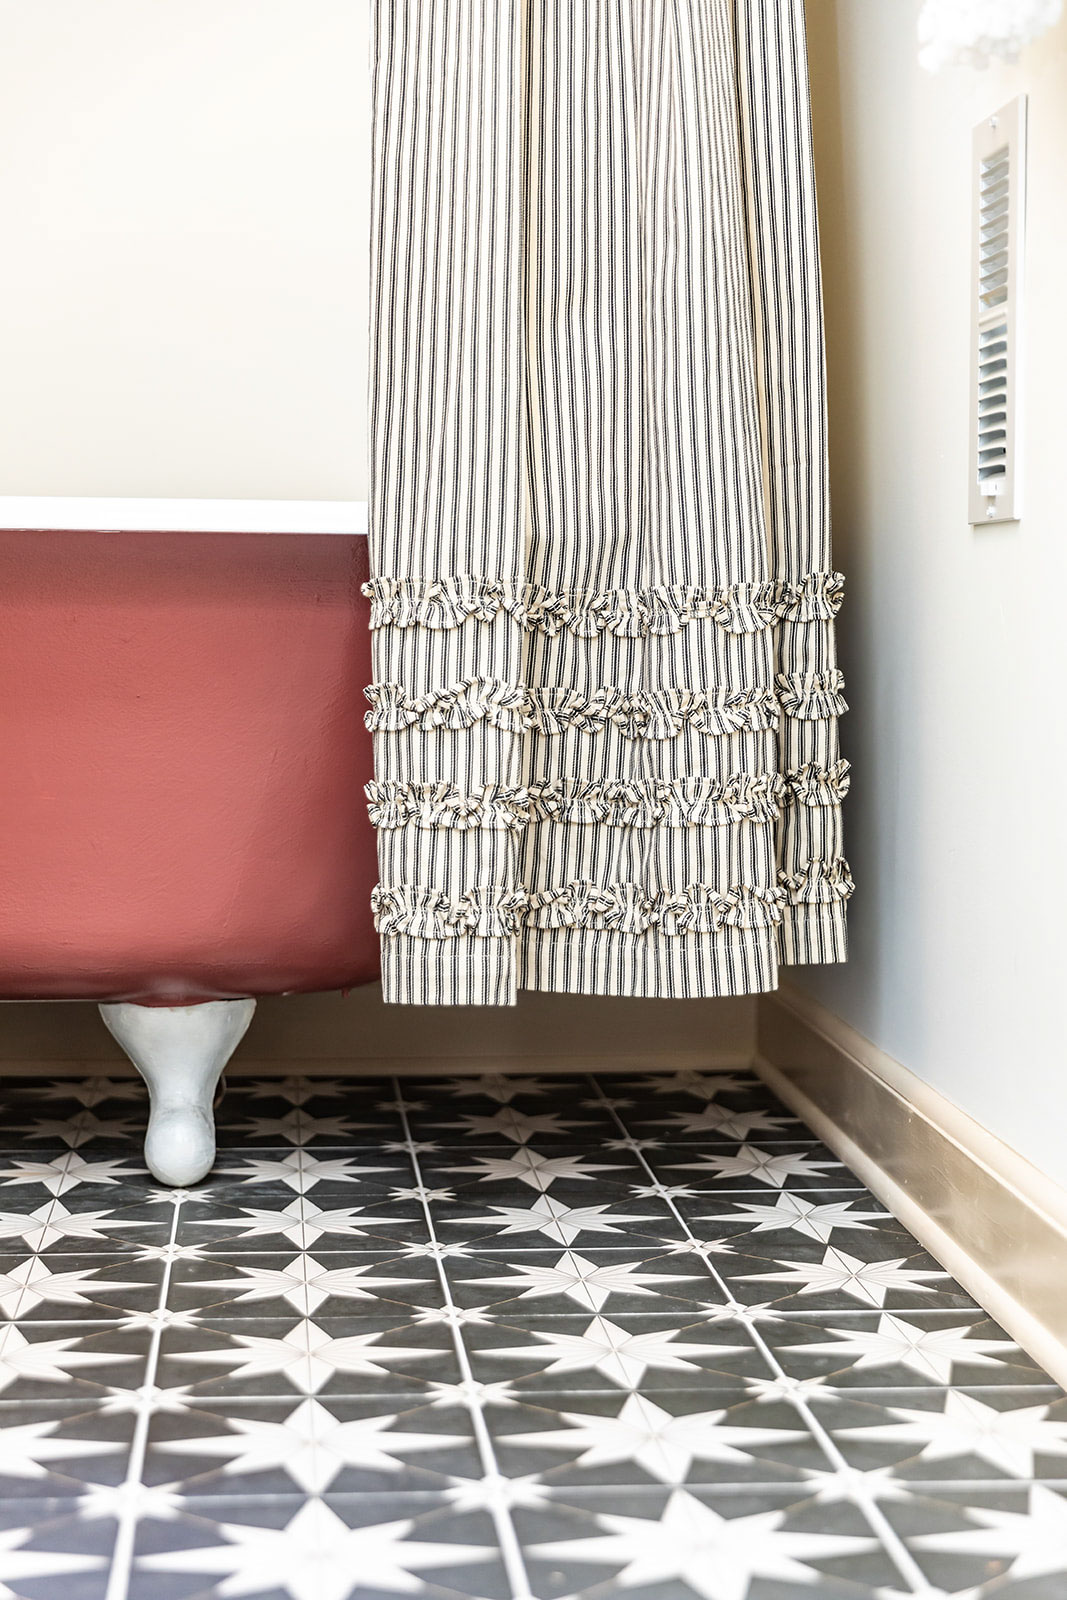
And that back bedroom is quite the large space. It more than doubled in size and now can be used in a variety of ways for the new homeowner. I love the way the upstairs of the Corner Cottage turned out and the notion that it’s a little hidden space makes it even more special.
Before & After Comparisons


SECOND FLOOR SOURCES:
Bedroom Globe Lights
Bathroom Wall Sconce
Bathroom Floor Tile
Swivel Mirror
For all of the sources for the Corner Cottage, click here.
shop
favorites
All of our favorite shoppable links and sources in one place! We love to share our projects with you and hope these resources help you as you design your own home.



+ Show / Hide Comments
Share to: